How to Make a Stick Horse
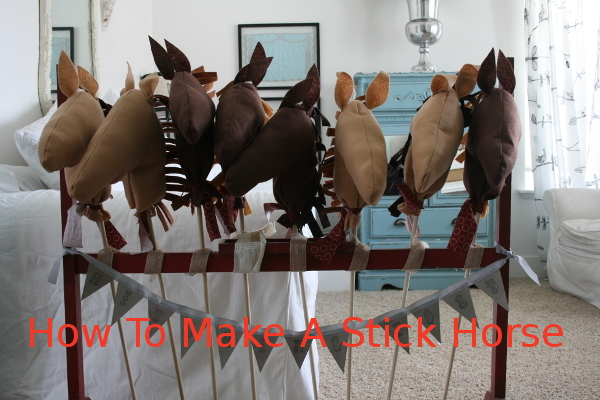
Last month I made eight stick horses for my son’s birthday party. A year ago I made the first one, and as I was making them last month I was kicking myself for not keeping a pattern the first time around.
So here it is, my version of How to Make a Stick Horse.
What you need:
To start, you can draw your own horse’s head on a sheet of 11×15 inch paper, or you can just download my pattern. It’s not fancy, but you won’t have to draw your own. Print it (no scaling) then take it to a printer to enlarge it 200%.
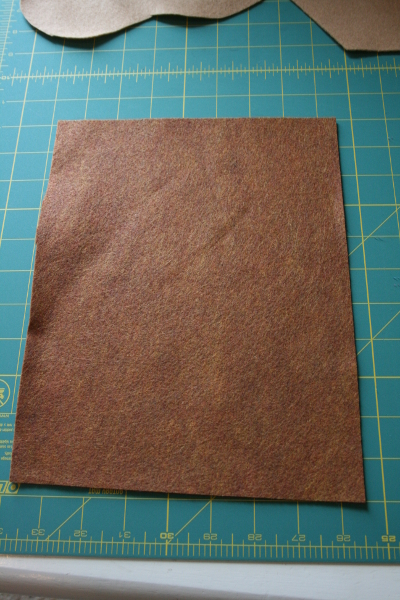
DOWNLOAD HORSE HEAD PATTERN HERE 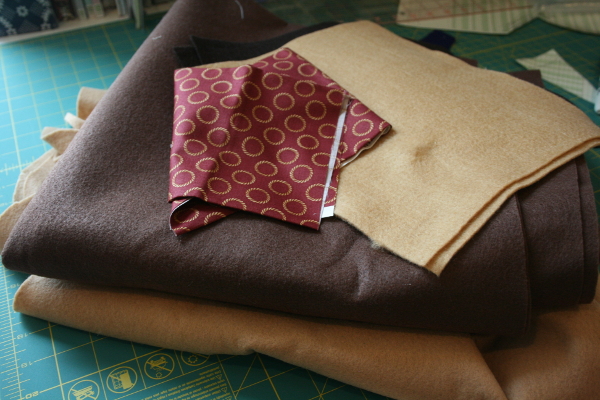 To begin, you need felt. One half yard of felt will make two horses, but you must buy the felt in half yard increments because 1/4 yard will be too narrow. You can get 4 horses per yard, so I bought two yards to make eight horses. In addition, you may want smaller pieces of other colors for the horse’s mane. The sheets of felt that stores commonly sell will work for this.
In addition, you need some cotton fabric (a fat quarter should do). Not pictured but needed: scissors, sewing machine & coordinating thread, pins, hot glue gun and glue, marker, fiber fill to stuff. And dowels.
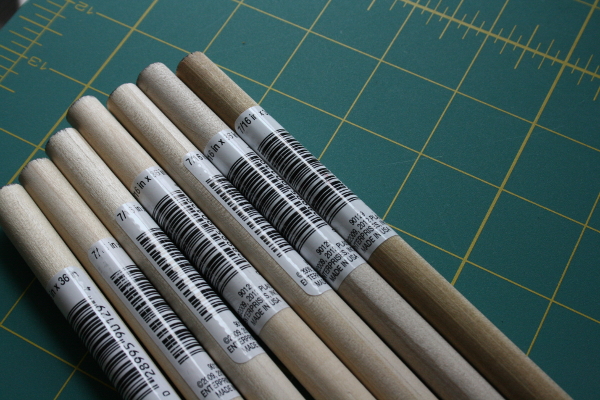
I bought 36 inch long dowels that are 7/16 inch in diameter.
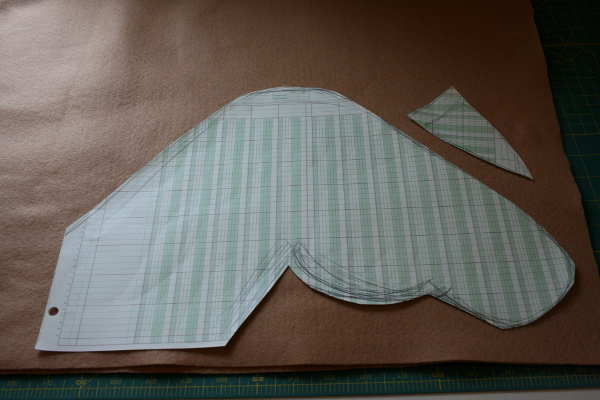
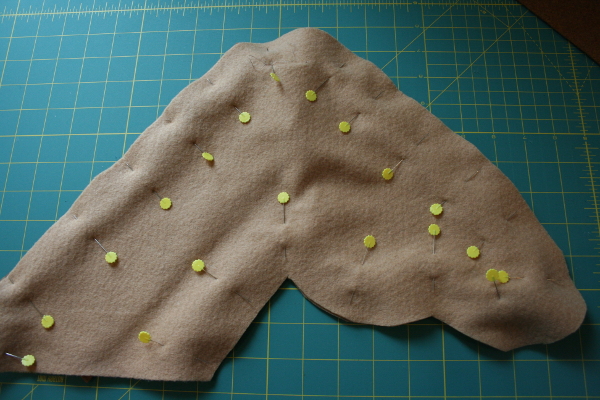
To begin, cut out pattern and lay on top of a double thickness of felt.
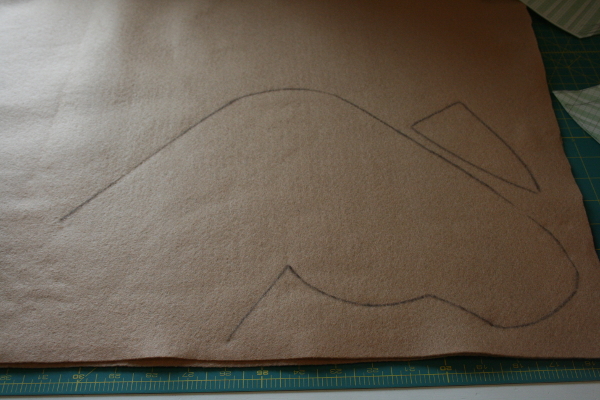
Trace with a marker.
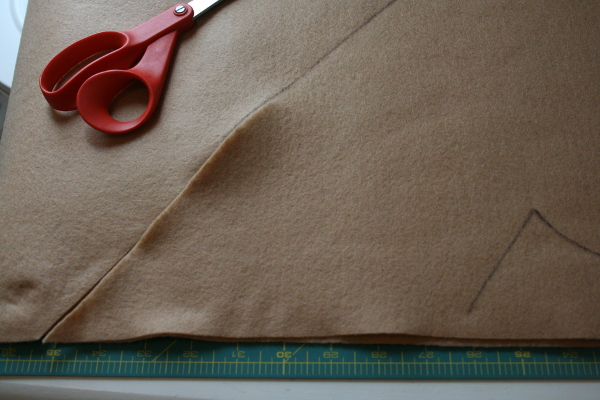
Cut along lines. On the outer edge of the horse’s neck, continue the line on down and cut along that line.
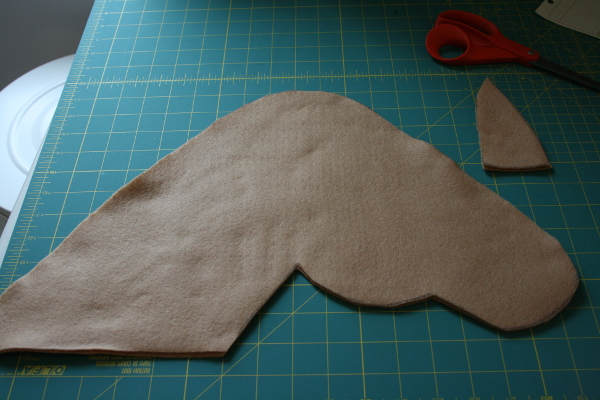
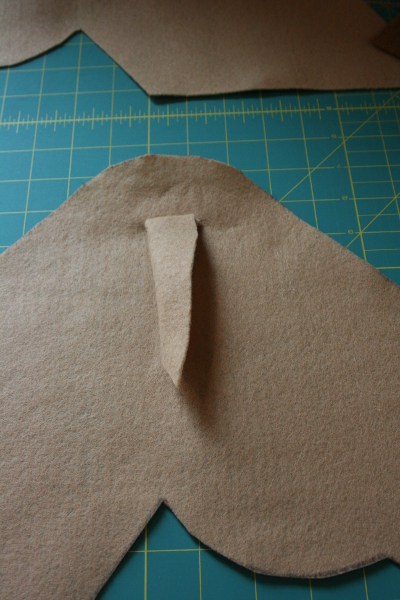
Cut out pattern. You should have two ears and two head shapes.
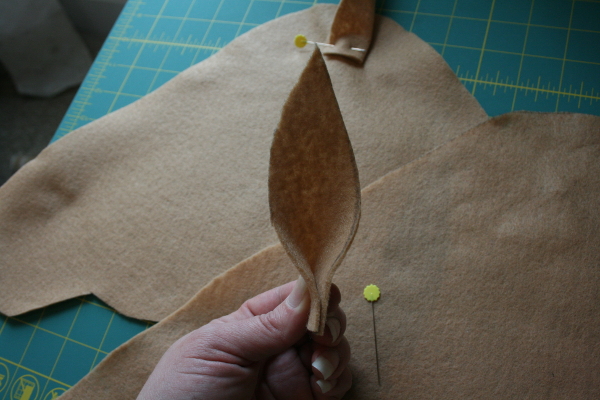
Fold ears in half along straight edge.
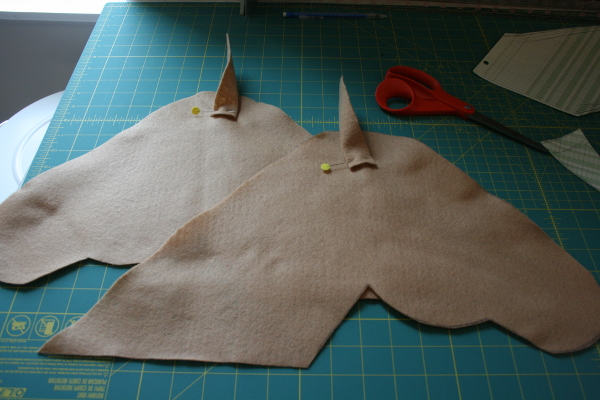
Flip one head shape over so it’s facing the opposite direction. Pin an ear on each shape, with the open side of the ear facing the horse’s nose and the fold line facing the neck. Pin in place near the center of the top of the horse’s head.
Sew each ear in place.
Note: If you have big plans for adding ears at this point, do it now. I opted to leave the eyes off my horses and here’s why: I’ve learned it’s important to have a starter activity/assignment for children to do while you wait for party guests to arrive, so I chose to begin the party by having each boy choose a horse and draw his own eyes on it. I wanted the horse to be their own, since we were also asking them to name their horses. And they LOVED this activity, by the way. Some of them wanted their horse to have just one eye, others got going and drew spots on ears or around the eyes. I wasn’t going for a professional, perfect looking horse. I was trying to provide the basics so their imaginations could run with the idea. It worked.
For the mane, take a piece of felt approximately 8 inches wide by 11 inches tall.
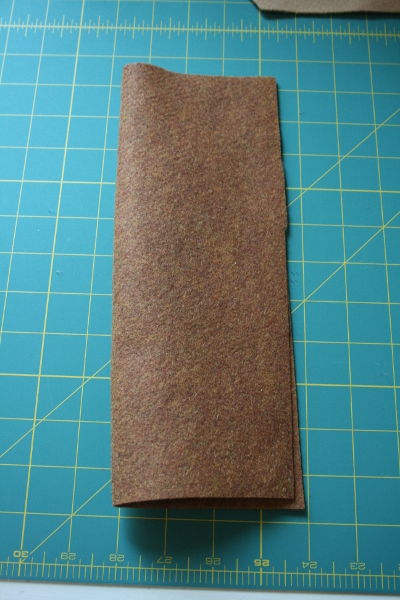
Fold in half lengthwise.
Fold down the ear on one of the horse head pieces.
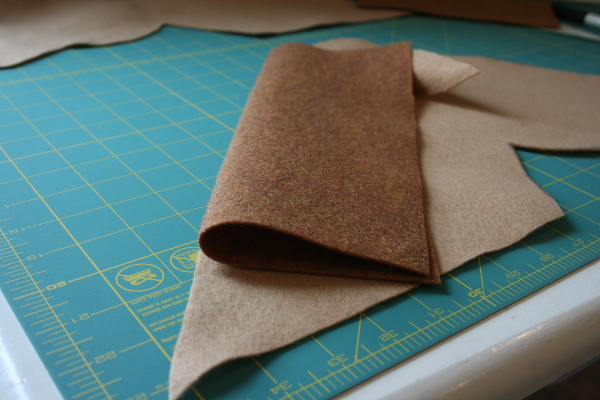
Lay the folded piece of felt (mane) along the outer edge of the horse’s neck with the fold along the edge of the neck.
Fold down the ear on the other horse head piece and carefully lay down on top of the mane and first head shape. You should have both ears and the mane tucked inside the sandwich. Pin the pieces together carefully.
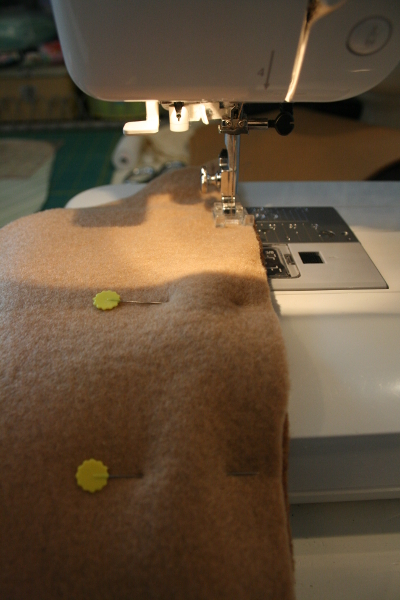
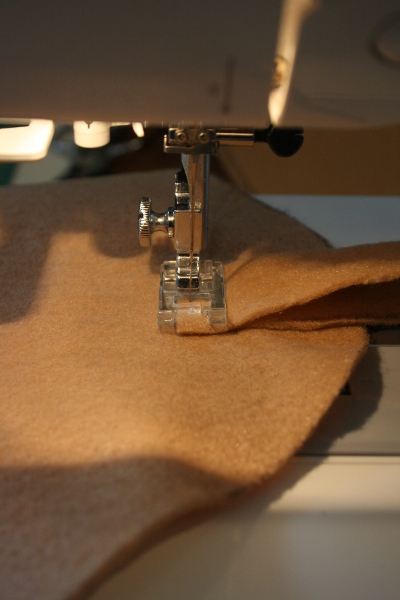
Sew along the edges of the felt with a 1/4 inch seam.
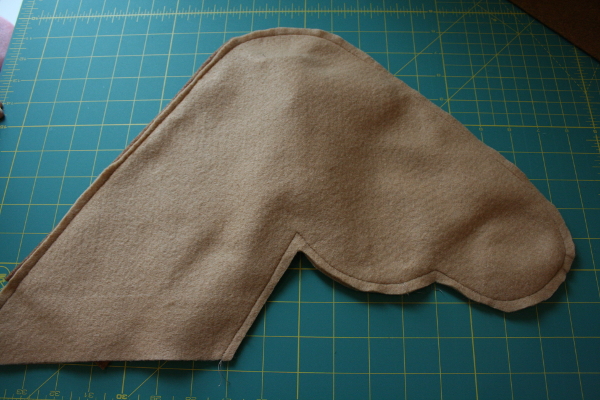
Remove pins. The horse should look like this.
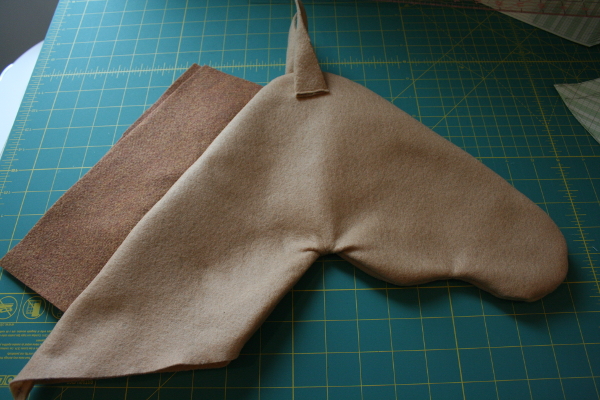
Carefully turn horse inside out. Fold the ears back up and fold the mane piece out.
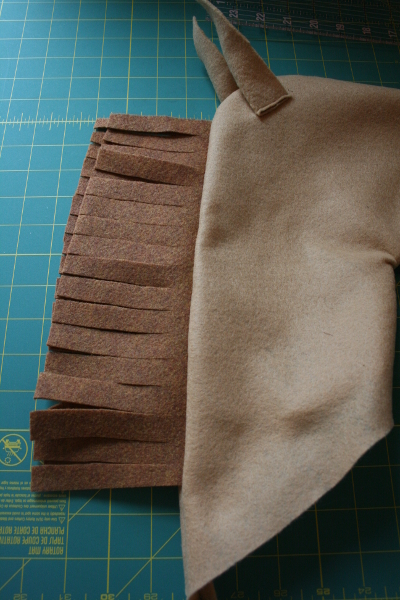
Cut the mane into fringe strips, being careful to stop before you snip into the seam and the horse head.

Stuff the head until it’s filled out to your liking.
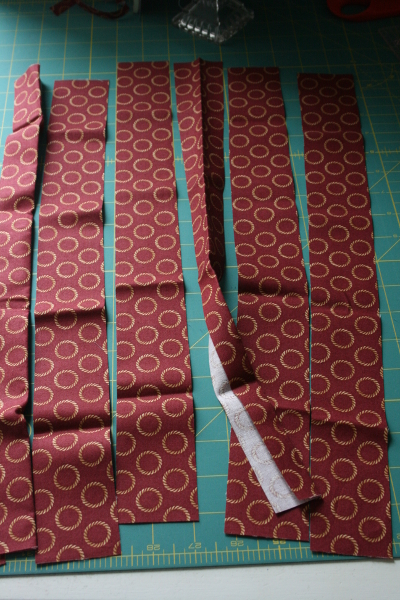
Cut strips of cotton fabric that are 2 inches wide and approximately 18 inches long.
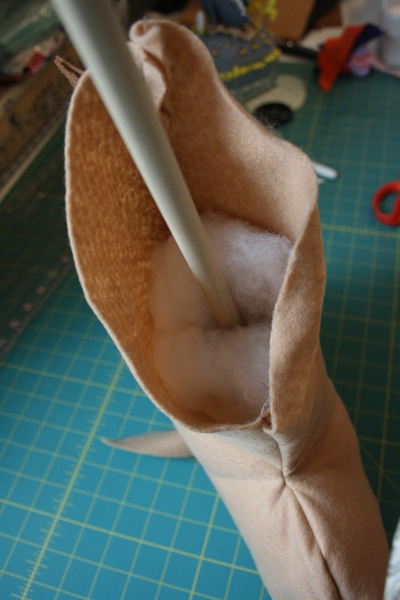
Carefully insert one end of a wood dowel into the center of the neck, gently pushing it up into the top of the head while leaving some filling so there’s no hard spot on the head. I used the end that had the barcode sticker on it so I didn’t have to bother removing it.
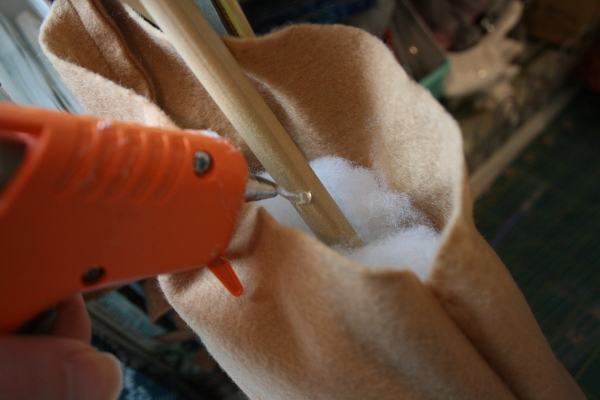
Using a glue gun, place hot glue all around the dowel just above the point where the stuffing ends.
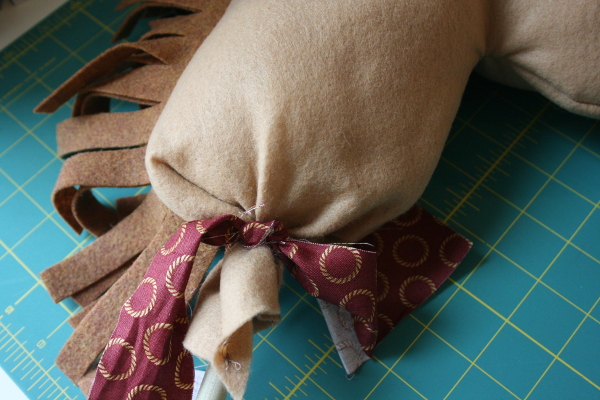
Squeeze the felt around the hot glue and tie a length of fabric in a knot around that spot to secure the horse head on the stick.
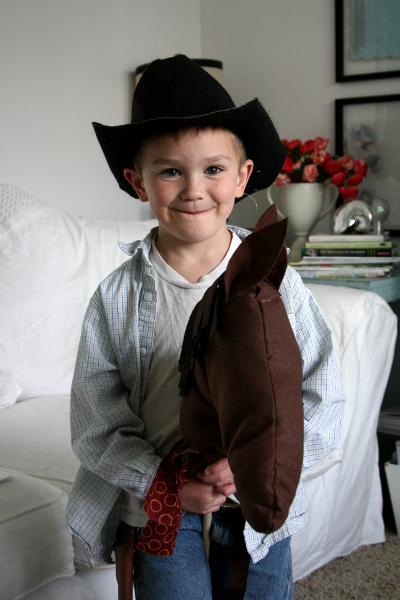
And you’re done! Keep going until you’ve made as many horses as you need for your group.

For my hitching post I used the frame for a standing chalkboard that my son broke a few years ago. We tied loops of ribbon to the frame that were just a tiny bit loose, then put a stick through each loop to “hitch” them to the rail. I made a simple bunting that said “hitching post” and the setup was complete.
Each cowboy picked a horse, 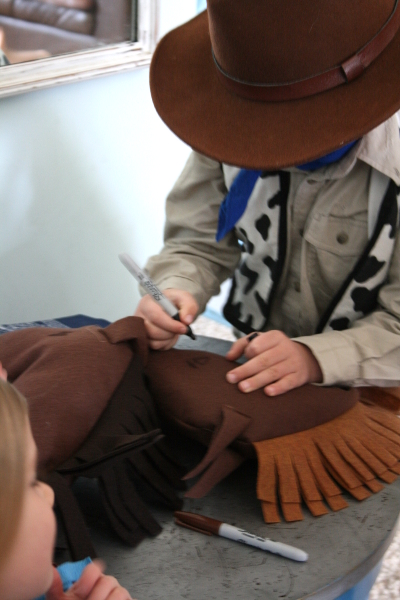 added eyes,
 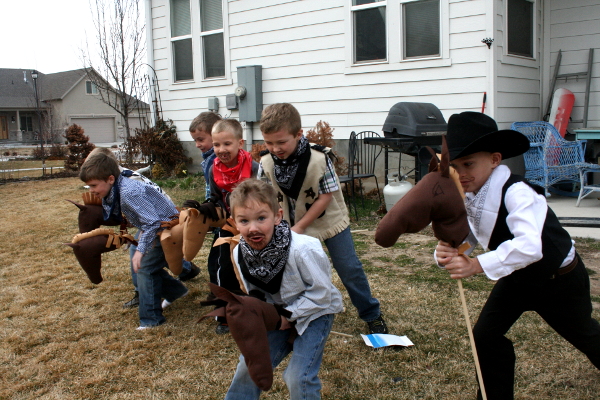 and then they were off!
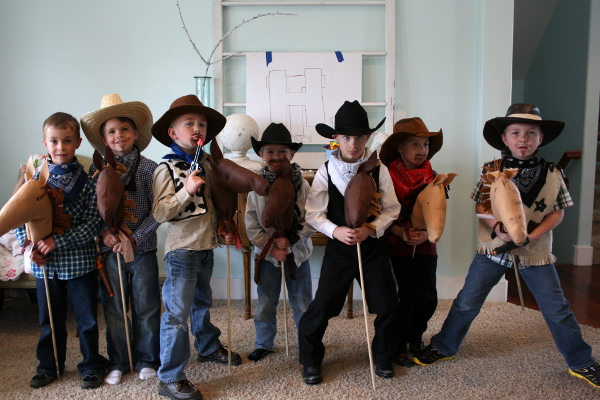
We had a happy group of cowboys which added up to a very happy momma as well.
If you’d like more ideas for simple but really fun games to use at a cowboy party, you can read more about ours here . As for the horses, my younger girls all want one now, so there will definitely be more of them in our future. I hope you enjoy making yours.
Jennifer