A Year of Habits, no. 47


Only five weeks left in the year, and I am most definitely not the person I wanted to be at the end of the year.  Have I improved?  Yes.  Have I arrived?  No.

We had a wonderful Thanksgiving holiday surrounded by family we love, and I enjoyed my time in the kitchen preparing the meal and baking pies.  The pause Thanksgiving brings is now behind us and it’s full speed ahead for the duration of  the year.   I feel excited for the Christmas season; looking forward to decorating, a little worried about getting everything done, hoping I can find time for some things that only I care about, praying that somehow my children can set aside the petty things and let their better natures rise to the occasion.

I was up all night last night with a sick child so today my perspective on the week is tainted by a weary ache behind my eyes and the feeling that I’m looking around, holding my breath while we wait for the next one to succumb to a virus.  I have so much to do this week:  do I pray they all get sick tomorrow or hold on to the hope that some of us will escape?  It’s been a few days of quiet, which I appreciated, but at the moment I feel completely unprepared to hit the ground running with a new school week tomorrow.  I’m sure there’s some unfinished homework in at least one backpack and I don’t even want to see what’s on the calendar.  And I wonder, why is it that after brief breaks like this I dread getting back to real life so passionately?  I know others who love it and wish I knew why it makes me sick to my stomach.

Last night my husband and I were honored to attend a birthday dinner for a friend.  I’ve found myself reflecting on it today.  There are so many things we worry about and spend our time and resources on, but people are what matter; relationships are what count.   I want to do a better job of remembering that all the time.

I continue to work at getting and keeping the house cleaner.  I continue to try to finish things when I start them and to avoid starting things I really don’t have time for.  I’m trying to be a better mother, to respond calmly to my children no matter how upset they are, to be more patient with the newterrain that seems to come with teenaged children – a landscape full of unexpected emotional land mines and sprinkled with times of real humor and enjoyment.  I am trying to be of greater service to others, trying to spend my time doing what matters most.  I think I’m slowly improving but I make a lot of mistakes and am continually humbled by how hard I can try and still fall short.

I am grateful for my blessings, humbled by my responsibilities.  I rejoice in knowing there is a God who cares about us all, who knows me personally and on whom I can lean when I am tired and in whom I can trust when I am worried.  I am so thankful for the gifts of love he leaves all around me, this week in the form of stunning sunrises especially.  We even had a day of total sunshine this week!

Life is good.  I am so blessed.  I hope your week is amazing!
Jennifer

Felt Rosette Pomander


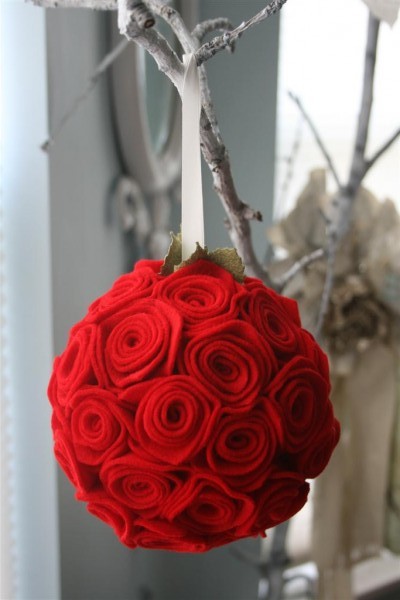
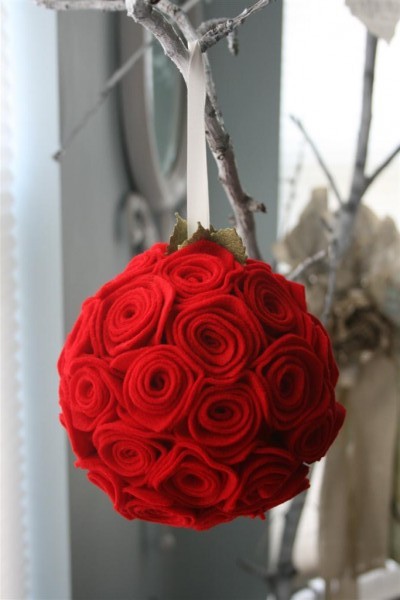
While going through my felt for this project, I discovered some red felt in my stash and couldn’t help making a bunch of flowers with it.  I got out a styrofoam ball I had on hand and decided to see how long it would take me to cover it with red felt rosettes.   This was a fun and easy project.

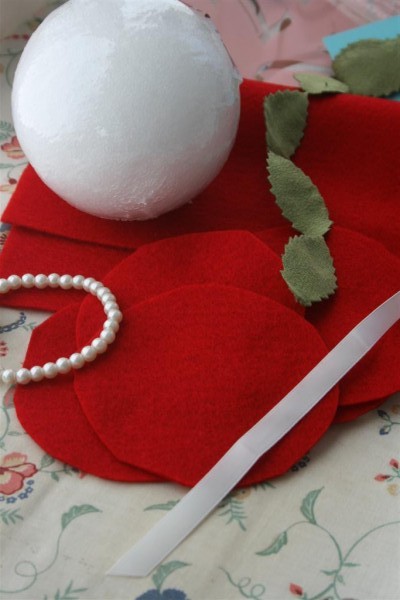
Here’s what you need to make one:


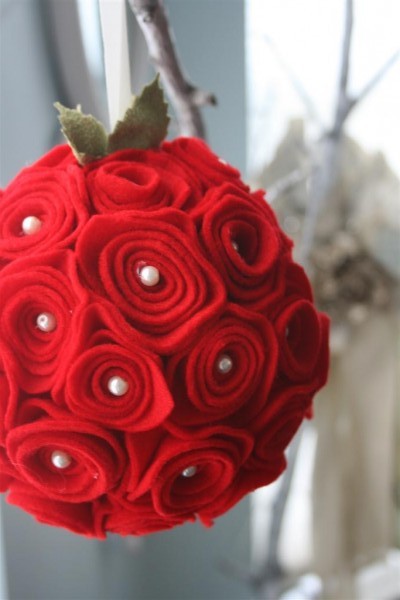
Mine was a four inch diameter ball.  I used about a quarter yard of felt, or approximately 45 rosettes to cover my ball.  The circles I started with ( using this tutorial ) were about 2.5 to 3 inches across.  In addition to the ball, felt, and a glue gun, I also used a length of ribbon to hang it, four little faux suede leaves cut from May Arts ribbon (you can find some here if you’re interested), a straight pin and some little pearl beads.

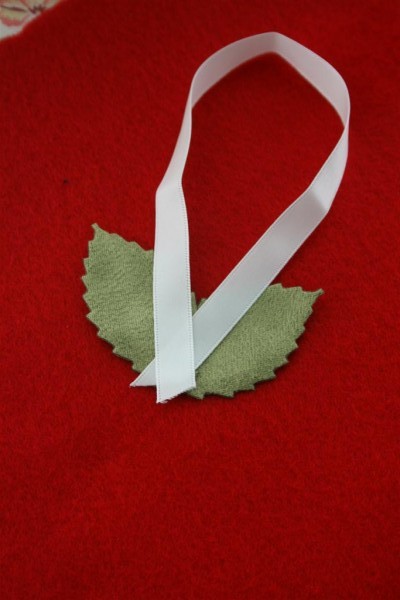
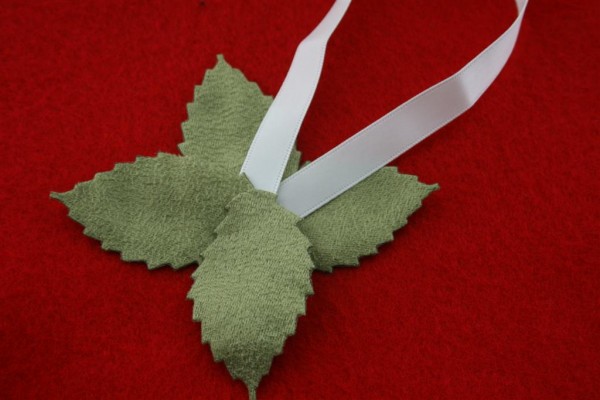
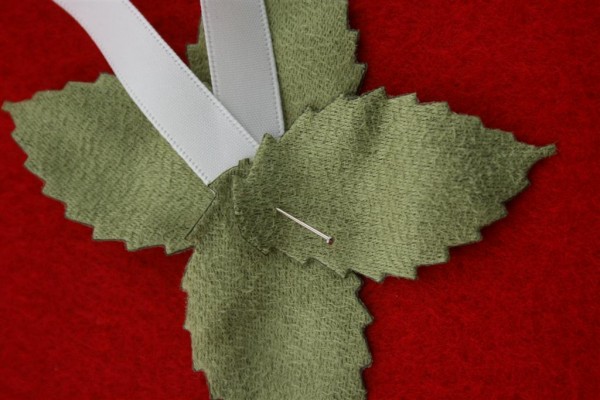
To begin, I arranged the four leaves and the ribbon to attach to the top of the ball:


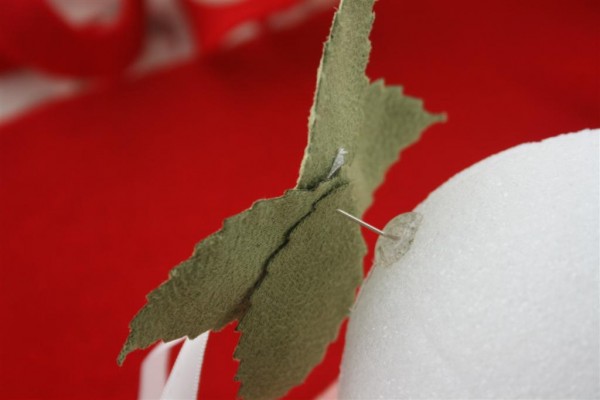
Then I stuck a straight pin through all of it.


A drop of hot glue on the foam ball and then I stuck the pin down into it to hold the ribbon and leaves in place.  My reason for adding the leaves was to have more than just a white ribbon sticking out of the top of the ball.


Then simply start rolling up the flowers (again, you can find a tutorial for that here ) and gluing them to the ball.  I started by attaching the first rosettes right next to the ribbon.


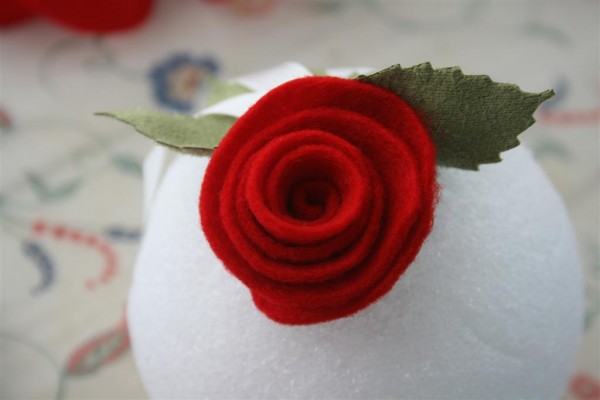
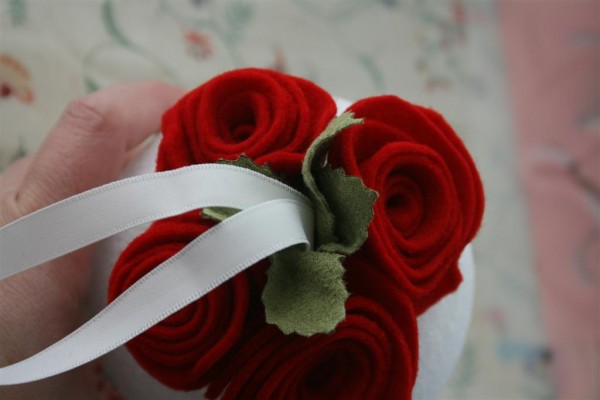
The first four flowers surrounded the ribbon, creating the top I wanted.  I love how the green leaves stick up like the top of a strawberry.


Just keep rolling and gluing until the ball is covered with flowers.


Then, if you wish, glue a small pearl in the center of each flower.


This ball ended up being about 6 inches in diameter when I finished it, so it’s a good-sized ornament or decoration.  It’s also my first Christmas project of 2011, and I’m excited to decorate!

Tell me, do you decorate for Christmas over Thanksgiving weekend, before Thanksgiving, or do you wait till December to deck the halls?

Have a great day!
Jennifer

Felt Napkin Holder DIY

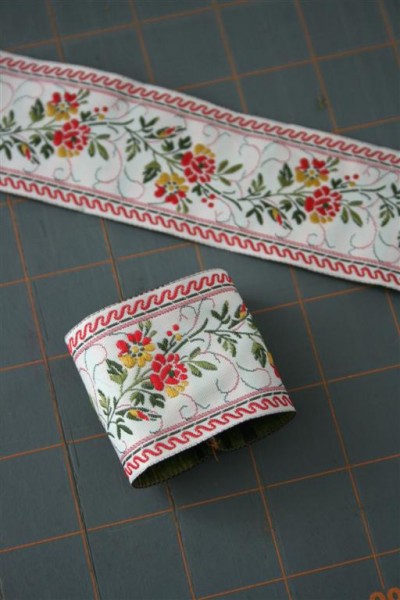
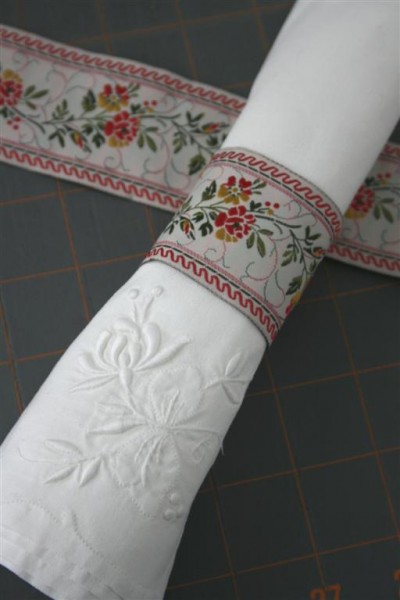
About a year and a half ago I had an “aha” moment and made some ribbon napkin rings .  I made more a couple of weeks later for my brother’s graduation party .  Last week I remembered them and thought that it would be so easy to make some for the holidays.  It’s such a quick and inexpensive way to do something new.  This embroidered ribbon would be so beautiful for Christmas, I think:


I was about to make a whole bunch of them when another idea struck.  I have a bunch of felt laying around from other projects… why not put it to use?  And so I went to work, and soon this was what I had:


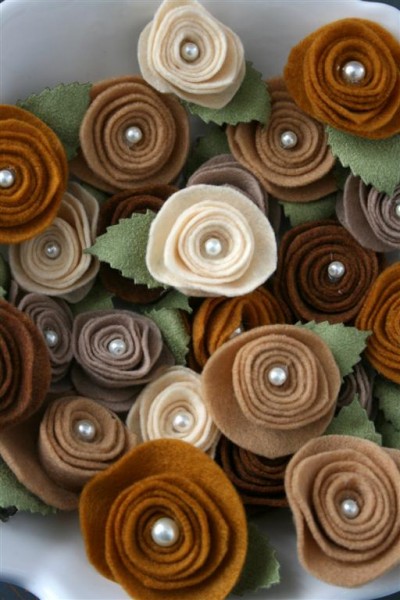
Lots of brown felt flowers!  And on the backs:


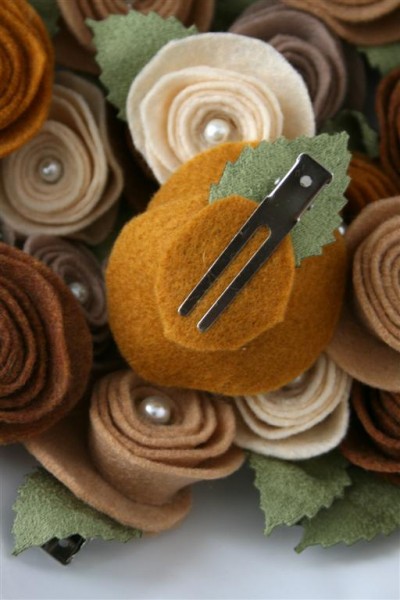
To make the flowers you can find a felt rosette tutorial here .

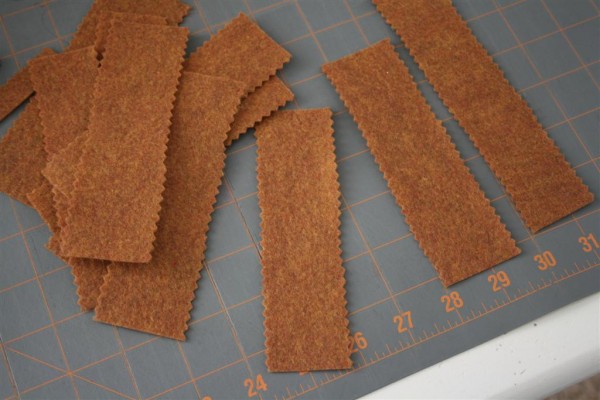
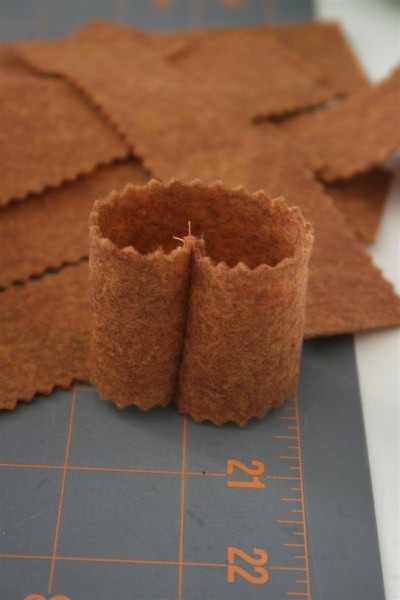
After I’d made the flowers I whipped up some simple napkin rings using more brown felt.  I cut strips about 5 1/2 inches long and used pinking shears to cut the sides.  They’re about 1 1/2 inches wide.


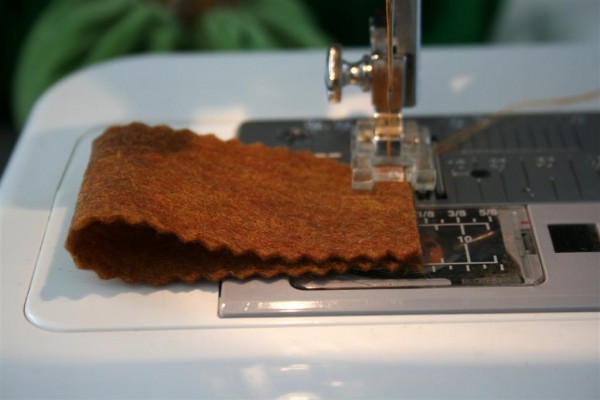
Simply fold them in half lengthwise and sew the ends together (right sides together, of course):


After sewing, trip threads and turn right side out.  It should look something like this:


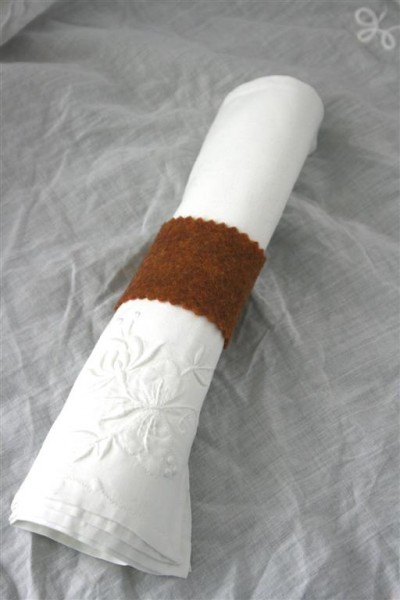
Insert a napkin in the ring…


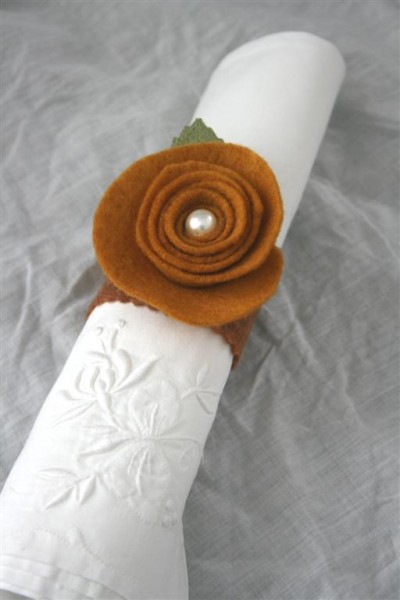
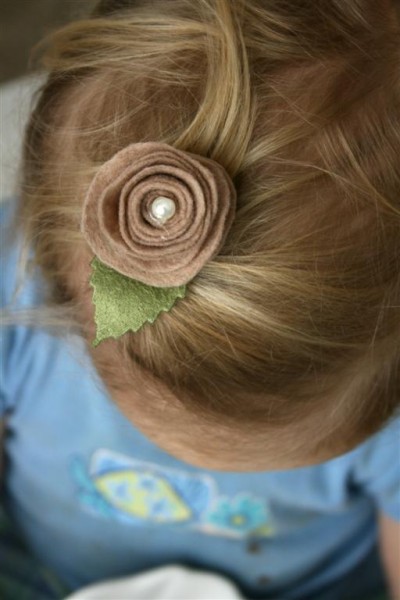
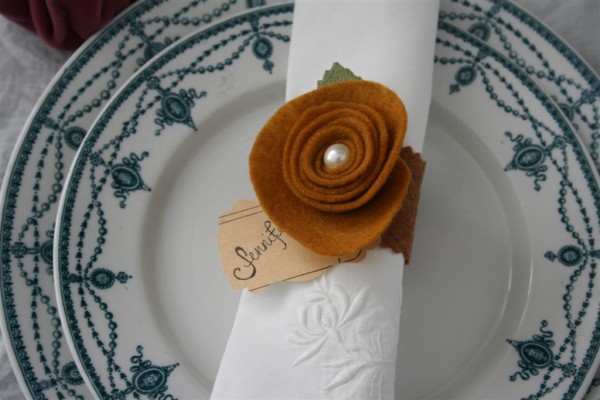
Then you just clip the flower onto the napkin ring and you’re done!


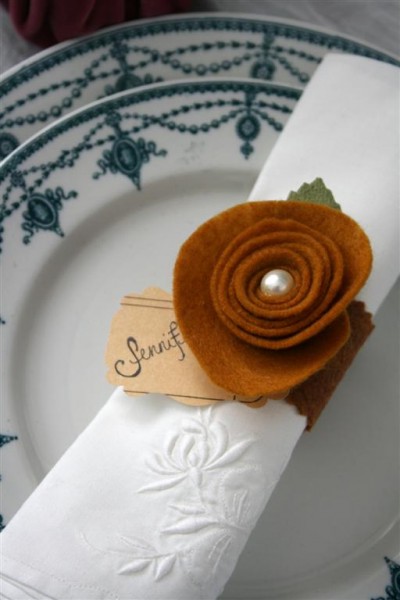
It’s also easy to add a tag to the clip.  You can assign seats this way or simply express a sentiment.


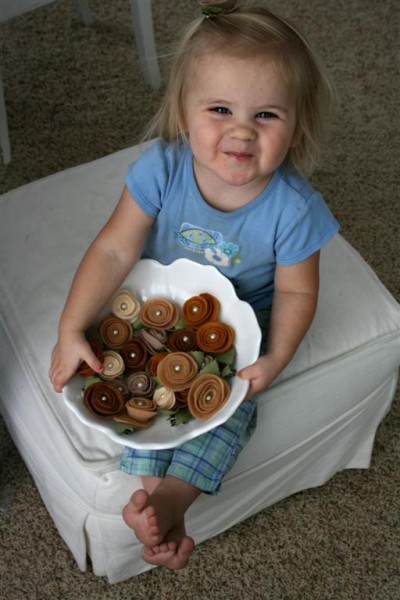
Why did I put the felt flowers on a clip instead of gluing them to the napkin ring?  I’m not sure, exactly, except that I thought it would be fun.  I guess it sounded like a fun surprise to be able to re-use the flowers, or send them home with our Thanksgiving guests as a little favor.  Doing it this way certainly got the attention of my girls, and one little helper in particular!


I love the way the various shades of brown work together and am excited to see them on our Thanksgiving table.  I also wouldn’t mind it if I see some of this after our meal:


And so, using materials I had on hand I was able to make two dozen new napkin rings for Thanksgiving dinner.  I’m enjoying the less-traditional shape (a flower) with more traditional fall colors.  I hope our guests enjoy them, and I particularly hope my nieces are happy with them.


Can you believe Thanksgiving is tomorrow?  Where did November go?  I’ve still got SO MUCH work to do… I’m crossing my fingers I’ll get it all done.

Jennifer

1 239 240 241 242 243 519