Ribbon Party!
Here’s what I’ve been working on:
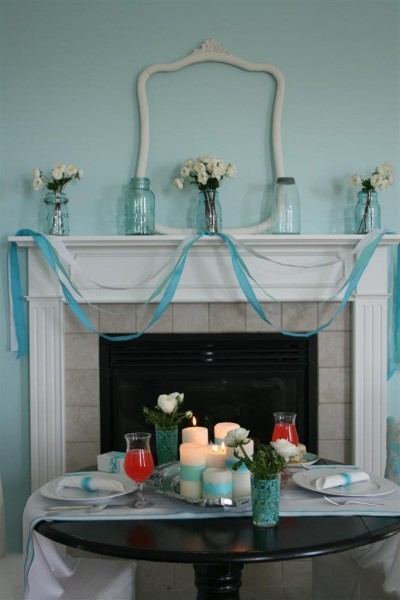
Today I’m guest blogging for May Arts, and it’s all about how to use ribbon to throw a beautiful, festive party.
Click here to read it!
Jennifer
nurturing hope, creativity, family

Here’s what I’ve been working on:

Today I’m guest blogging for May Arts, and it’s all about how to use ribbon to throw a beautiful, festive party.
Click here to read it!
Jennifer
Here we are again! Another week gone. This was a week when many friends and relatives have been on my mind and in my prayers. Interestingly, all related to little children. It’s been a thoughtful and introspective week.
My report: 58 steps. Good enough.
A few highlights:
1. We got everyone up and ready for Church on time this morning, even with the daylight savings time change. (Wish me luck in the morning for the school routine) 2. Re-read my patriarchal blessing and spent some time pondering what I need to do in order to “lay hold” of the many good things I’m promised to a greater degree.
3. We were able to re-stock our freezer significantly for our food storage: 80 pounds of chicken, 40 pounds of butter, 20 pounds of veggies, all at super prices! (This is how I shop, stock up on the great sales and then use it for months while I wait for another great sale.)
4. Went through all the clothes in the bedroom that sleeps 3 little girls. We removed everything they’re growing out of and organized it all.
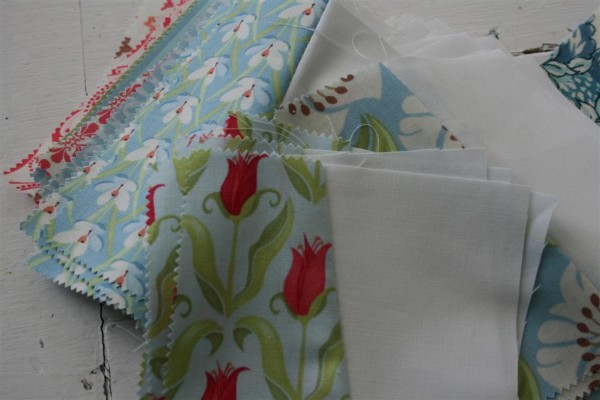
5. Found a few minutes to begin sewing together the blocks for a new quilt. Lots of color and lots of white!
6. Made it through an unanticipated object lesson in what happens when you have a jumping contest on your little sister’s bed. (Hint: it breaks.) I started off a little angry until I remembered my bowl of beads in my bedroom, and then changed my strategy. Having them pay for the repairs will teach a better lesson than a mom who doesn’t control her emotions will teach.
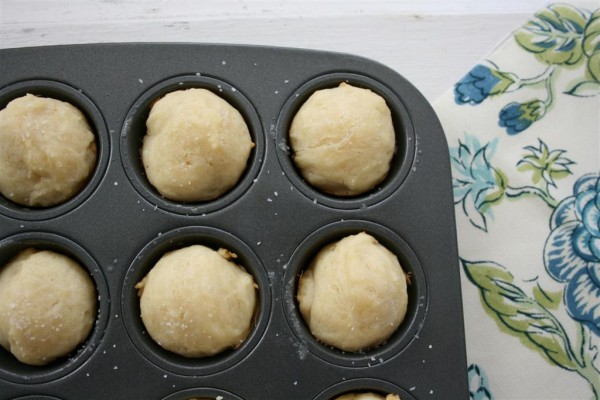
7. Tried a new recipe for homemade rolls. More to come on this another day.
In all, a really good week. I feel very grateful for the many blessings I enjoy. Tonight I’m hoping that everyone will co-operate on the early bedtime plan so that tomorrow morning they won’t be grumpy. It’s not looking too promising since the sun JUST CAME OUT for the first time since Friday, but I will try!
I hope you have a great week!
Hopeful Homemaker
Yesterday the weather was so warm that my children played outside all afternoon, then treated themselves to homemade snow cones. I was able to begin painting a couple of things that I’m excited to finish.
The painting, however, will have to wait.
Today I’m sitting curled up on the couch in my husband’s favorite fleece blanket. It has been raining and snowing all day, and our world is slowly turning white. The temperatures have dropped significantly, and just looking outside makes me cold.
Although I know the precipitation is a blessing, I admit I prefer a different kind of white:
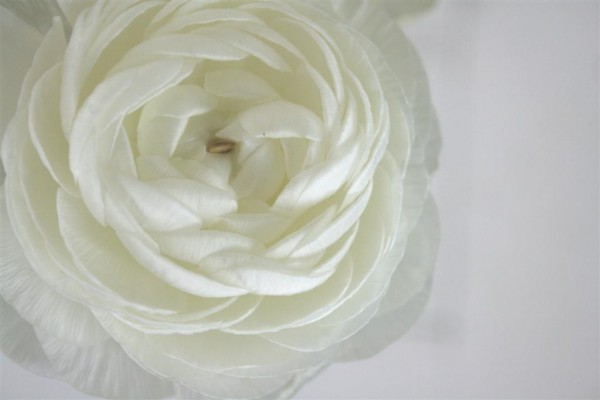
Remember my ranunculus from a couple of weeks ago?
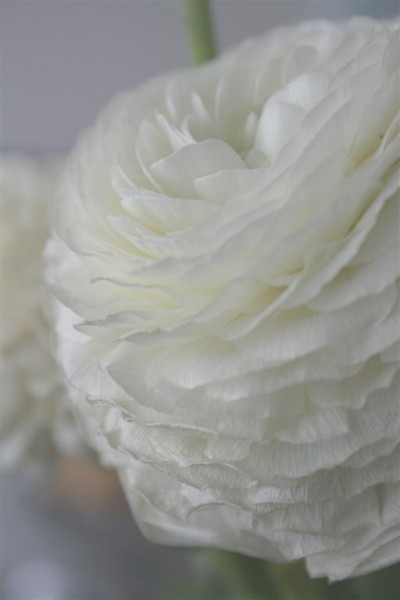
They stayed fresh and gorgeous for over two weeks! They simply continued opening up, wider and wider and bigger and fuller. I am in awe of each perfect petal.
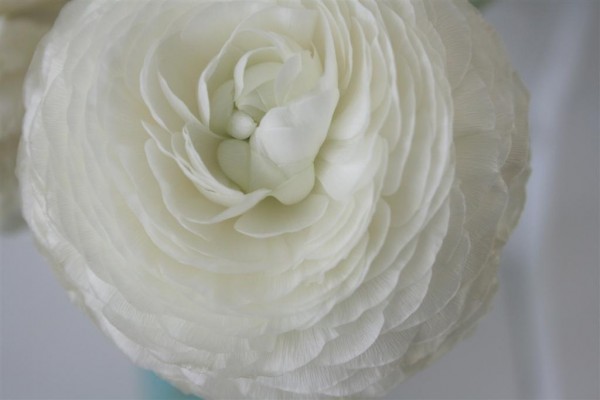
Now a couple of them are in my flower press, sure to bring a bit more happiness soon!
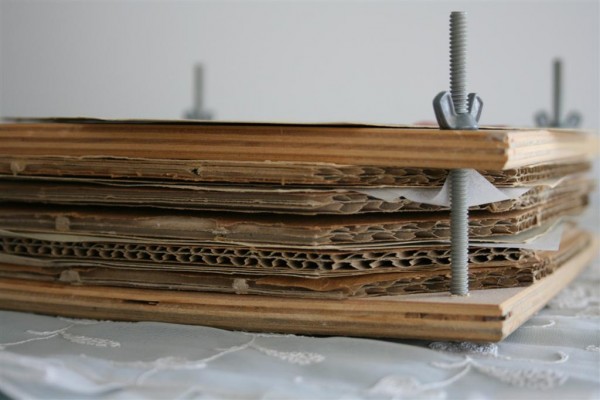
Upon opening the press (an old yard sale find) I discovered some forgotten wildflowers, evidence of a summer’s day gift from my little girls. The sight made me long for the carefree days of summer vacation.
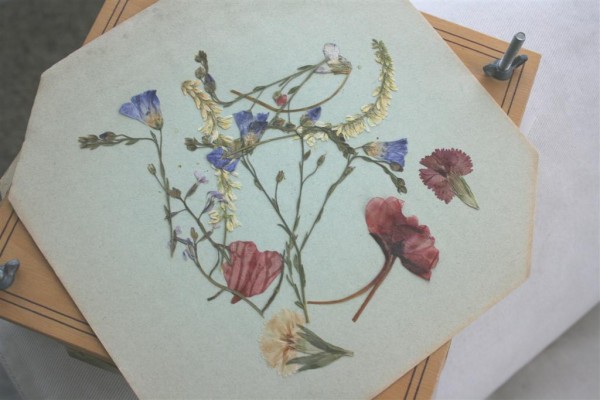
For now, we’ll keep waiting while we watch the snowflakes fall…