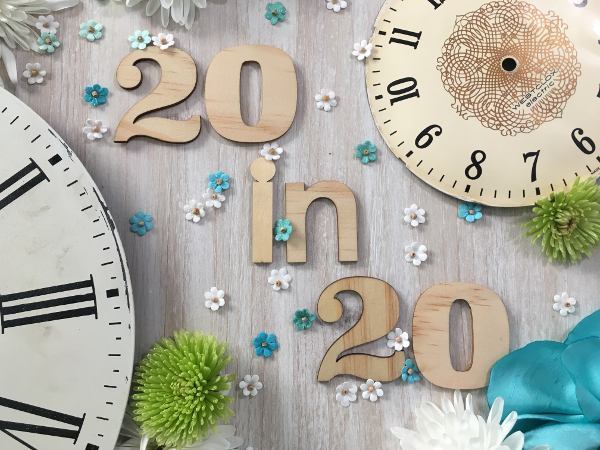
20 in 20 September/October Report
I can’t believe it’s the last Monday in October. Life at my house has been full speed ahead since August, and it’s still going strong. While lots of things are strange and we all have much we wish we could change, I am grateful to be where I am and living this life. I was out of town at the end of September and forgot to post about my progress, so this is a combined 20 in 20 September/October Report.
I am still sewing! It feels like an accomplishment again to fit it in. Most of it has been deadline related sewing, or hand stitching in my car. Unfortunately I don’t feel like I have a lot to show for my 20 minute sewing sessions. I saved one empty spool of thread for this month’s photo, as a reminder that I am making progress.
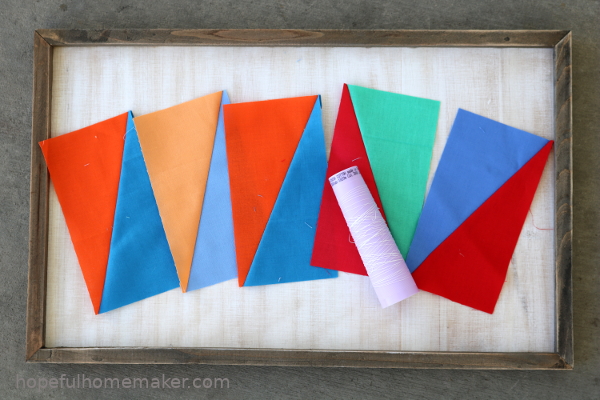
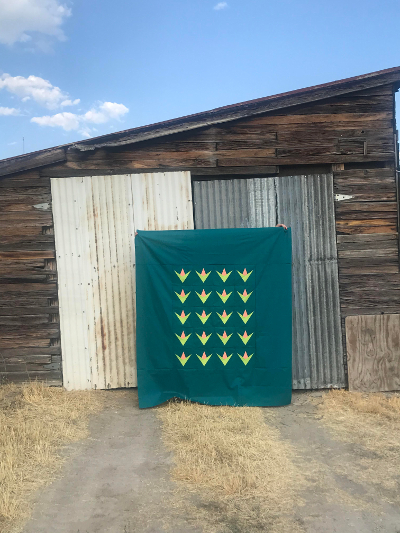
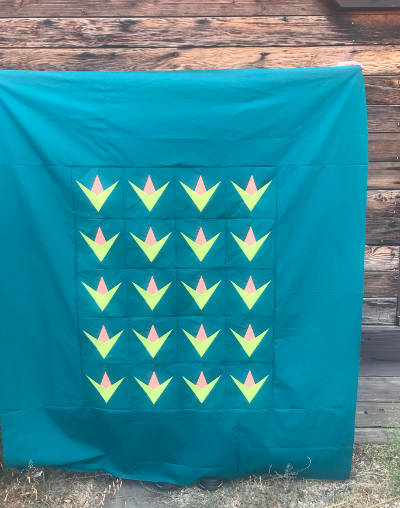
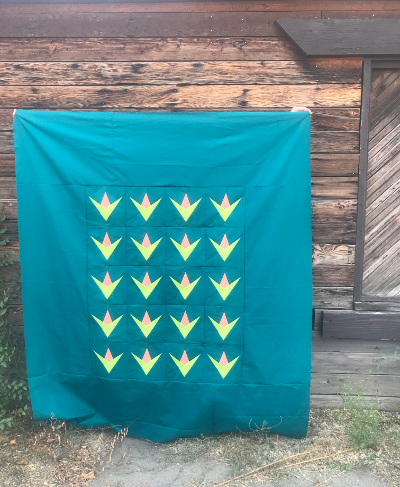
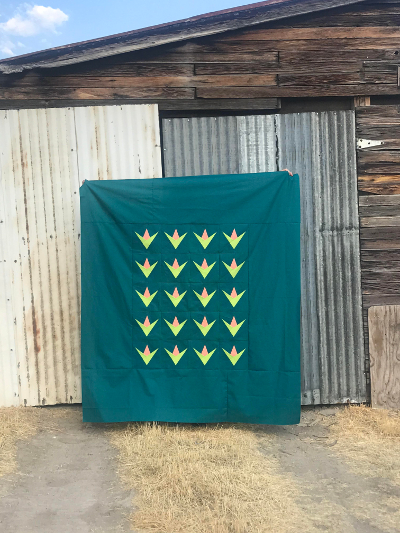
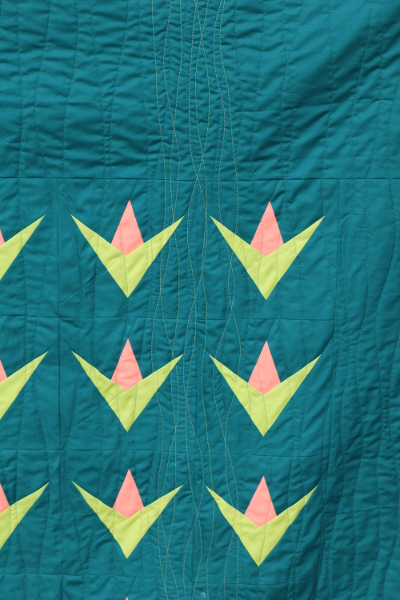
As the end of the year looms I have long lists of what I WANT to sew and what I NEED to sew. I’m working on the need to finish list, leaving a long list of hopeful projects ahead of me. In all the deadlines, however, I have also neglected to make some of my half rectangle triangles, so I will be sewing a lot of these very soon. Once in rows, I will add embroidery to journal a few more things. Covid-19 continues to affect our lives, and other events deserve to be noted on this quilt. I have a lot of work to do! For now, I write each day on my planner how long I sewed for, and what kind of sewing it was.
That wraps up my 20 in 20 September/October Report. Hopefully I’ll have a nearly finished quilt top to share next month. Wouldn’t that be nice! Now I’m off to finish and photograph a few things to share with you! Have a great week.