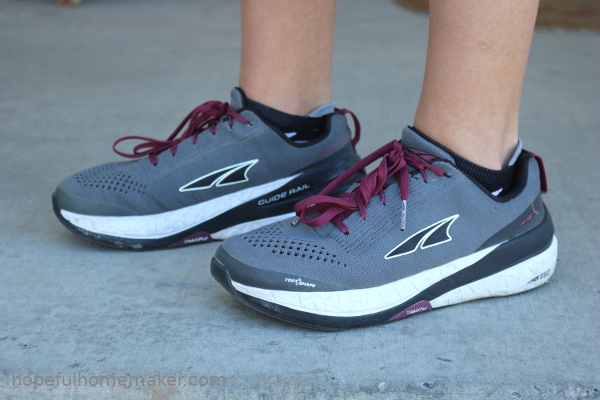
What Runner Am I?
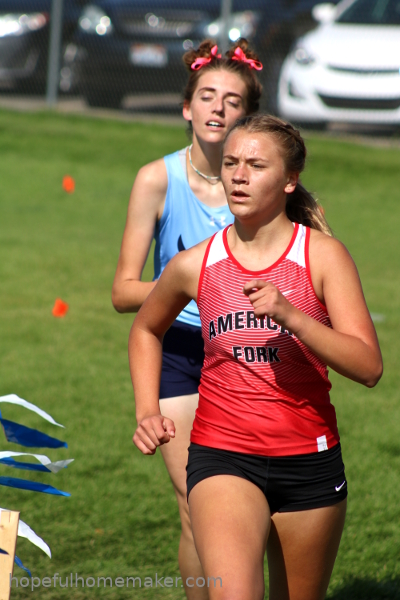
First of all, I’m not a runner at all. I think I’d like to be, but right now I’m the lady on an elliptical machine trying to get full range of motion and strength back in her ankle. It’s not impressive. Furthermore, I have spent a ridiculous number of hours and dollars over the years watching and funding soccer for my children. I know soccer, not running. But this past year brought a new opportunity to me, and I’m thoroughly enjoying it. My daughter is running cross country and track, and I’m learning more about the sport. I love watching my kids compete; watching Anna run makes me cry. I leave every meet asking myself, What runner am I?
A Quaker proverb says, “Thee lift me and I’ll lift thee and we’ll ascend together.” Occasionally I witness moments in life where this is true, but not usually in athletics. Until now.
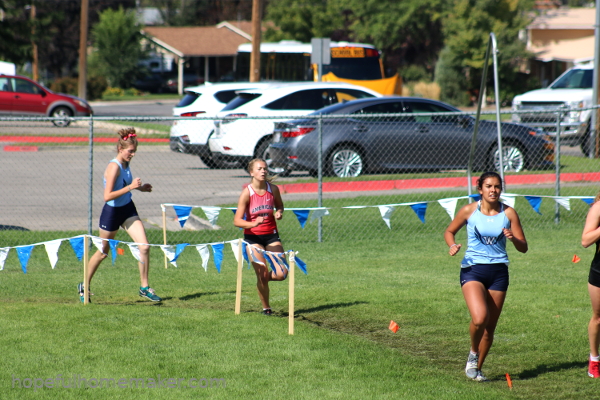
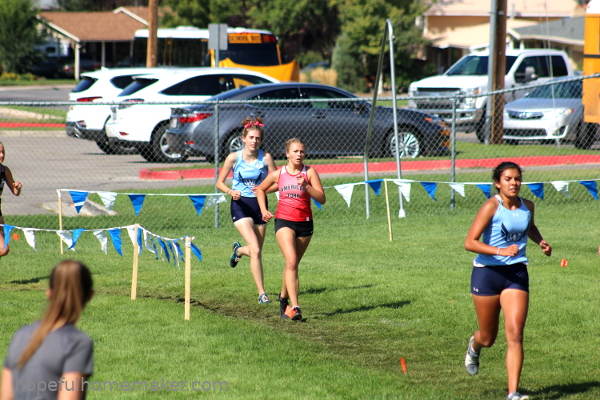
One week my daughter ran a race without her coaches there. Hungry to improve, she asked me to stand at certain points on the course to report her time and push her to run faster. I did my best, and on every lap I noticed a girl from another school who stayed with her but never passed her. Anna pushed herself to a 4th place finish in her race and a new PR. I was so happy for her!
After the race she told me about the opponent who had run just behind her the entire race. There were a couple of times on the course when she felt tired and started to slow down a little. Instead of just passing Anna, this girl said to her, “Oh no you don’t! You’re faster than that. You can do this!” She wouldn’t let Anna fall behind but instead pushed her to keep her pace. Anna laughed as she described feeling tired and out of breath, but trying to encourage the other runner in return.
As Anna shared this story with me, admiration rose in my heart for an anonymous girl who had not just run well, but encouraged the runners around her do the same. She helped push both of them to a faster finish. I stood on the track and listened to other runners describe similar experiences, times when opponents pushed each other to keep going.
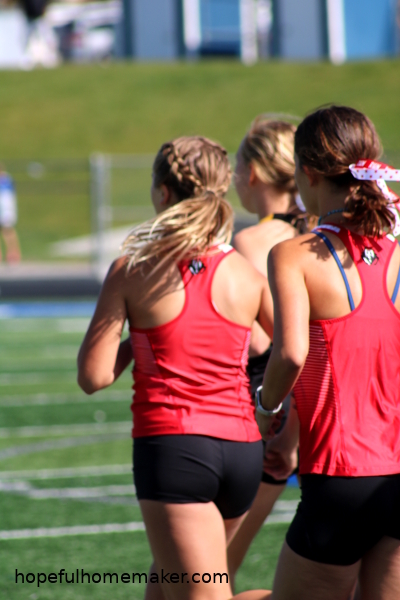
It reminded me of another race I watched. At the back of the group on the second lap there were two girls from the same school. One wore a knee brace and was struggling, but her teammate held her hand to keep her going. They ran the race together.
So I ask myself as I watch these races, what runner am I? In the race of life do I run for myself alone, maneuvering around those who struggle to get ahead? Do I focus on my own exhaustion and goals so much that I fail to notice the runner who falls back? With the world in turmoil right now, we’re all running the same race, perhaps more than usual. Who will we encourage? What can we do to make sure we all finish? How will we strengthen those whose hearts and courage may be failing them?
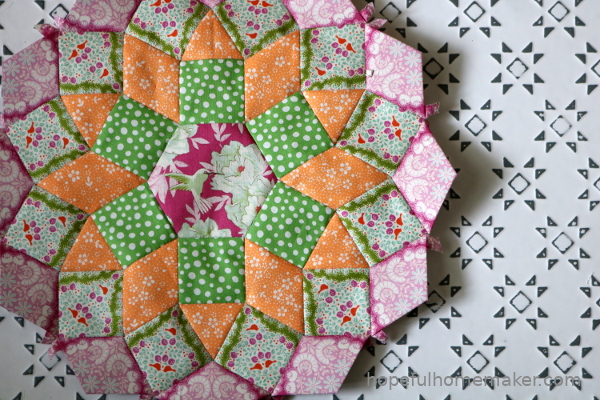
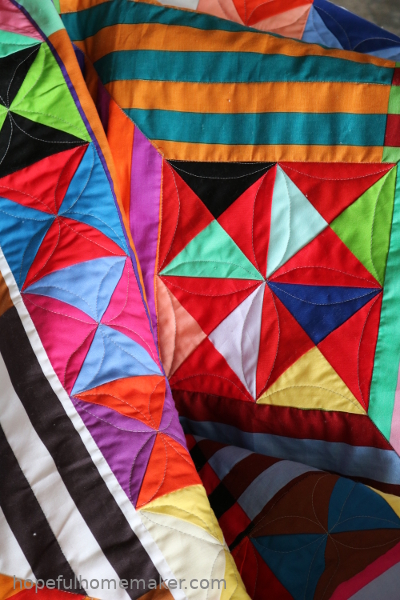
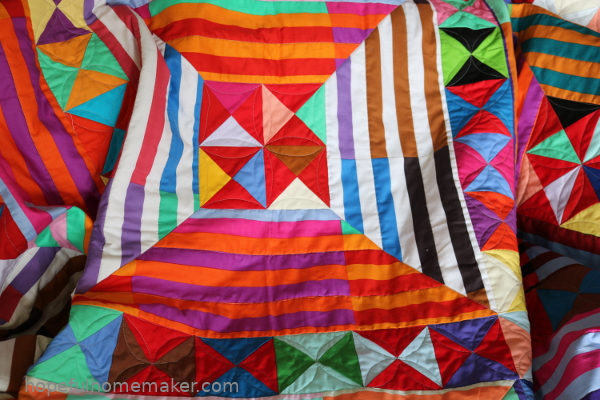
Whether in a race, in quilting, in hard times or on hard days, I want to be the runner who encourages others to keep going. I want to be the runner who says, “You can do this! Let’s push and finish together.” So if you’re not sure what to think or do right now, remember that you’ve always made it through up till now. We’re durable, and society is too. Together, we’ve got this, because God’s got this, and he’s got us. He’s counting on us to help each other.