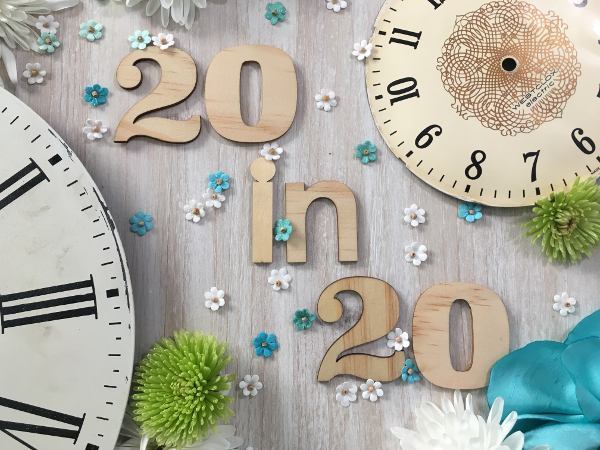
At last I am here, with a 20 in 20 February Report to share! I’m a week late with this report, but the daily 20 in 20 Challenge sewing continues. February brought a particularly fun opportunity: I attended QuiltCon for the first time with my sister and a few good friends. I got sick promptly upon returning home, however, and so I’m writing my report today instead of last Monday. Life. It’s tricky sometimes, right?
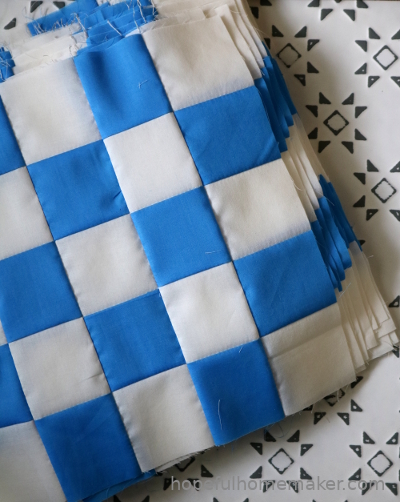
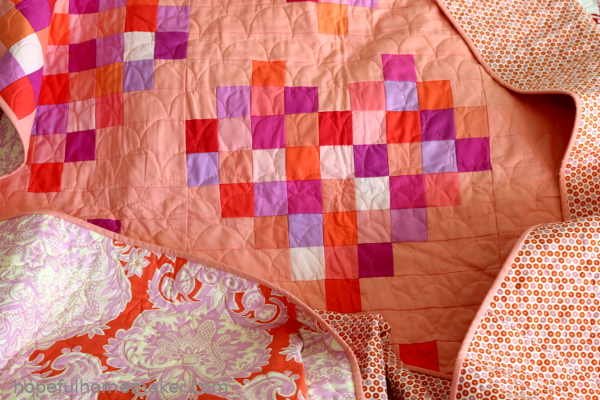
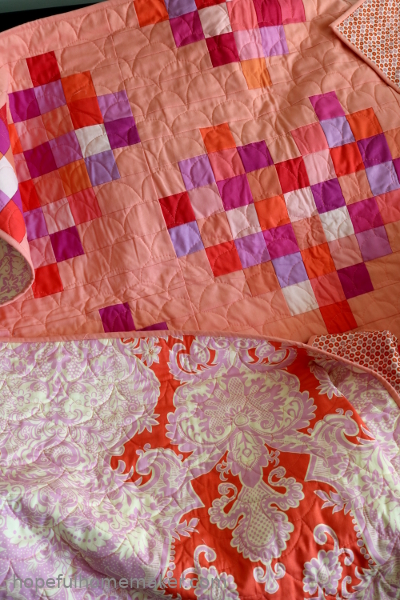
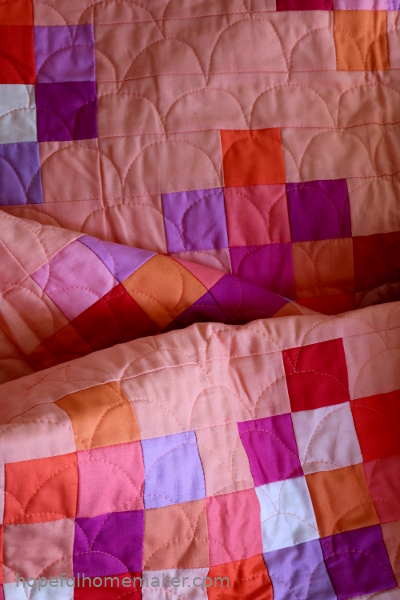
In February I began to see some results from my twenty minute sewing sessions. I finished a quilt top, which I took to have quilted. I also spent some time finishing up a few projects, mostly by quilting and binding. That means more purple made it’s way into my HRT blocks, and there’s also some red to be seen, the result of joining a sew along.
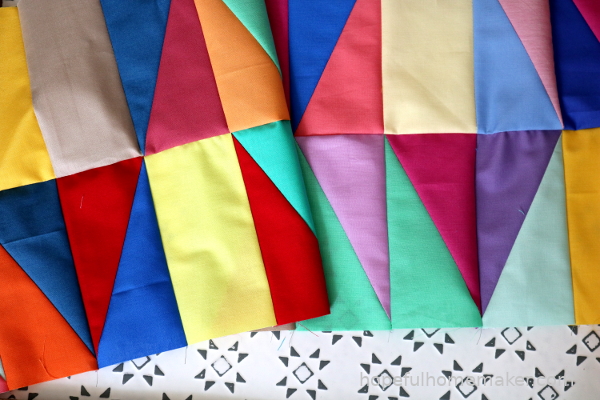
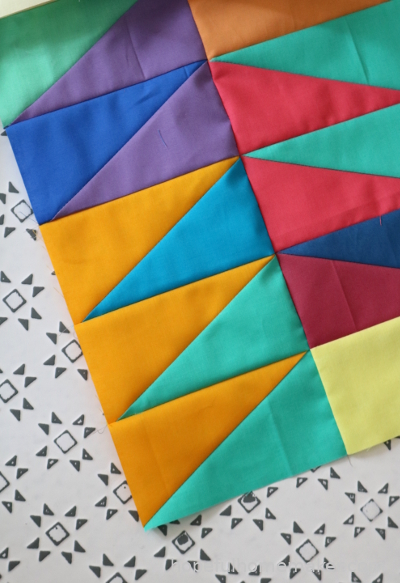
I sewed my blocks for both January and February into the long rows that will comprise my 20 in 20 quilt, so now I have the first two rows of the quilt. I love how colorful it is!
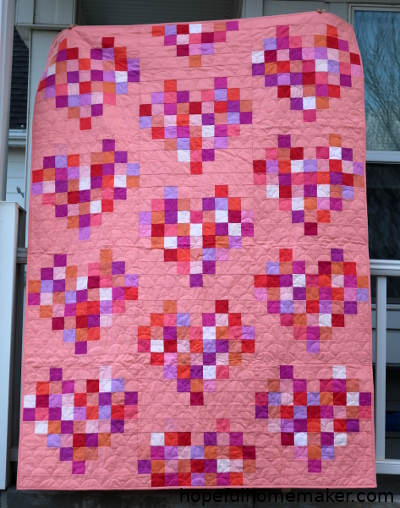
My biggest challenge seems to be photography at this point. It was a dreary month, with bad lighting. There never seemed to be a good time to take pictures when I had someone around who could hold quilts for me. This means I have a stack of finished quilts waiting for photos so I can share them. Perhaps I need to set a goal for taking photos?
Now, for my 20 in 20 February Report regarding creative routine. It was not a month of solid routine in our home, which made it difficult to construct my days the way I hope to. I keep reminding myself that it takes time to do this, to be patient, and enjoy the journey. Just keep sewing, right? It has felt like a hard winter, emotionally, for our family. I really hope that spring comes early and that we feel a lift.
I’m enjoying one benefit from my daily sewing. It’s called “accessibility.” Because I am returning every day to my sewing room, even for a few minutes at a time, it stays accessible. I don’t have to spend precious time every day getting my head back into sewing. It’s still in my mind and is easy to simply get started. I have noticed a decrease in the amount of time it takes for me to get going and feel productive, even if I sew for less than twenty minutes. This has been true for both hand sewing and sewing at my machine. I’m really excited about this part of my experience.
I recently read the book Atomic Habits by James Clear . I HIGHLY recommend reading it. And re-reading it. (We’re passing it around our family now.) One great principle he teaches is called the Two-Minute Rule which states that when you start a new habit, it should take two minutes to do.” The idea behind this is that the habit is the action that, if you do it, guarantees a certain thing will follow. He used the idea of working out. For him, the habit isn’t the workout, it’s changing into workout clothes. When he does that two minute habit, it guarantees that he will work out. If he changes clothes, it will happen; if he doesn’t, it won’t.
Interestingly, I realized that my own workout habit starts the same way. If I get dressed to work out while my kids get ready for school, I always do it. If I don’t, I usually don’t work out. My habit is also a two minute one: putting on my workout clothes. This has made me think about my sewing habits. The habit isn’t the sewing, it’s what gets me to sew. As I mentioned last month , typically it’s remembering that this is my goal. What I want to do is create a two-minute habit that always precedes sewing.
In fact, I’ll probably refer to this habit, when I fine-tune it, as a ritual. I want it to be something that helps me slip into creativity and focus faster and with less effort. So here I am, two months in, and finally figuring out that what I need is a two minute habit to start things off! But there’s another reminder in the same chapter: STANDARDIZE BEFORE YOU OPTIMIZE. Good counsel. I can’t improve a habit I don’t have, so the key is always to start, and then to optimize it for best results. I think I’m on the right track!