Summersville Quilt Top from leftover blocks
Way back in 2012, I made a cute pillow for my sister with Summersville fabric. It’s a fabric collection I regretted not buying more of, so when my friend offered me some leftover blocks from her quilt to play with, I snapped them up. The result is this Summersville quilt top.
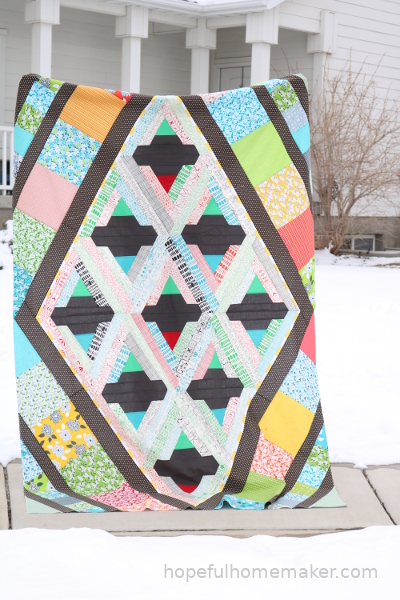
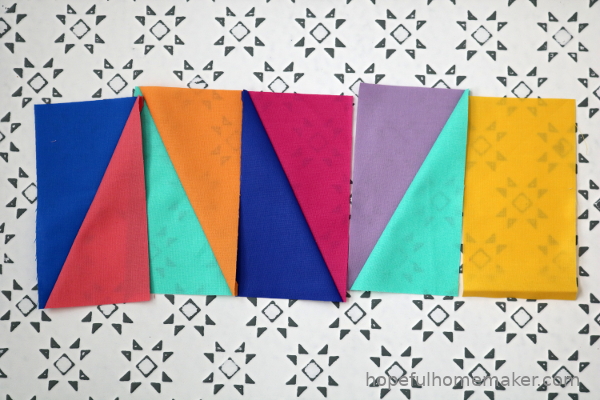
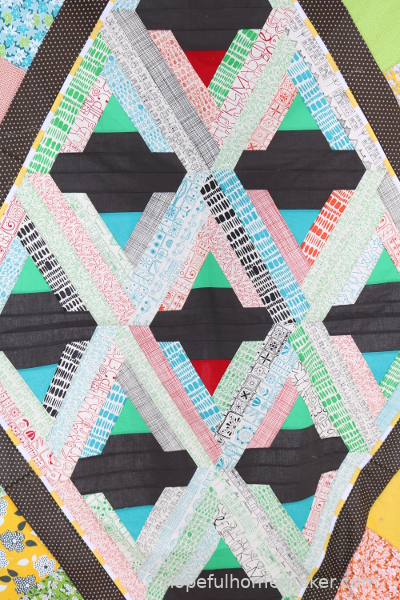
The blocks came to me in triangles, with a solid center triangle and the dark gray on one side. I played with layout and decided to pair them into diamonds, then sewed them into one much larger diamond. I added a thin border using a yellow/white stripe.
And then I felt stuck. It went into the closet for a while, then came back out to get a dark gray border. I was tempted to finish it in a diamond shape, but in the end I decided to turn it into a rectangle. After trying dozens of ideas, I still didn’t like anything or didn’t have enough fabric to do it. I finally pulled out a layer cake that looked good with the blocks.
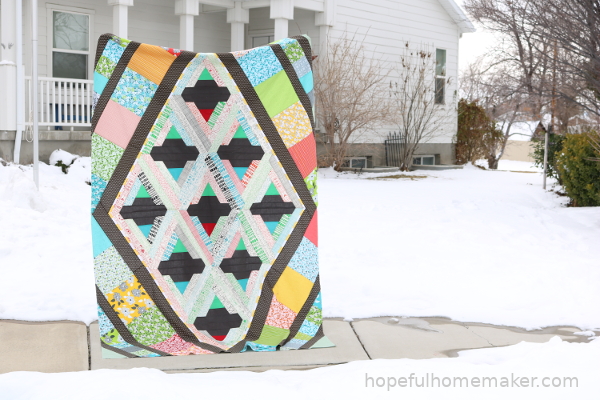
The angles on this quilt made design tricky. In the end, simple won the day. I chose to sew the layer cake squares together into borders, and trimmed them before adding a second dark gray border. At that point I was out of fabric and a charm pack of the same collection came to my rescue! I did the same thing with the smaller squares. One more gray border and some green in the corners allowed me to square up the quilt.
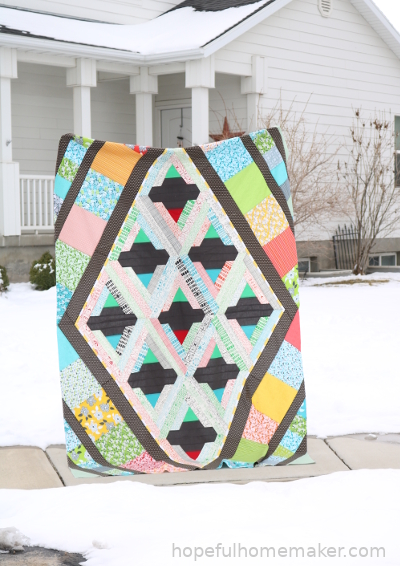
This Summersville quilt top is really simple, but colorful. It was an interesting design challenge because I was working only from my stash. I also had a long, narrow diamond to build around. Way back when I first pieced the triangles together, they were wonky and I didn’t square them up. When I quilt this, I’ll be dealing with a quilt center that doesn’t lay flat. A good challenge, right?