Vintage Sewing Inspiration

For the past week I’ve been strongly tempted to stop at the thrift store just to see what fun thing I might uncover.  I’ve resisted.  As much as I love the treasure hunt feeling of it all, and the satisfaction of finding great old things for great little prices, even thrift stores cost money.  And one thing I know about shopping is that if you don’t go, you never know about that great thing that you can’t live without.  So you live without it quite happily.

I’ve been reminding myself that I have lots of wonderful treasures at home which I’m not fully appreciating.  I want to appreciate them more, and enjoy what I have.   Finish the projects I care about, then get rid of the rest.  So I’ve stayed home, and it feels good.  It’s made the break a lot more relaxing.  It also provided me with time to clean my office and find homes for some of those under-appreciated treasures.

On the same day that I stumbled upon my incredible wood blocks , I found these fun old sewing materials.
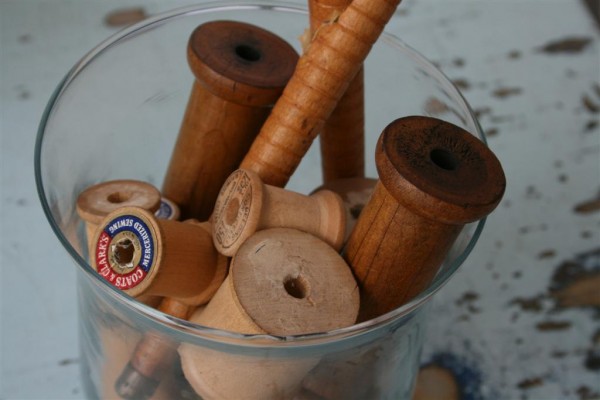

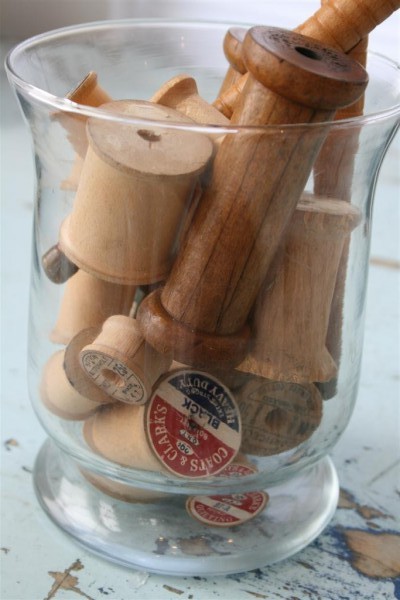
I love the old wooden thread spools.  They look so pretty in my glass jar, which now sits in my office with all my sewing supplies.

I also found this adorable little child’s toy iron, which just HAPPENS to be made in my favorite colors.  Along with that I scored some vintage rick rack, also in my favorite colors.  The aqua and white are the tiniest rick rack I’ve ever seen.  I’m trying to think of the perfect project to use them on.
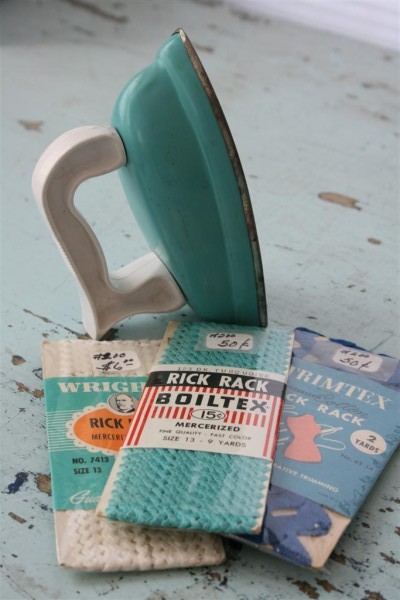

Gratefully the white rick rack was incorrectly marked and I was able to purchase them all for 50 cents each.  Nine yards of vintage rick rack in my favorite color for 50 cents!  Something about these colors make my heart sing.  In fact, I’m pondering a quilt made from these colors, inspired by the iron and the rick rack.

My children go back to school on Monday, which brings the blessing of a better routine, but which also means that most of my time is once again scheduled by the demands of the world.  I had hoped to do some sewing during the break, and I haven’t had time to do it.  I feel a little disappointed, but I also know that the choices I made were the right ones.

Lastly, I also found these old paper flags while at the antique mall.  I rescued them from the store so they could sit on a shelf in my old blue mason jar.  My philosophy is that every room could use a little red, white and blue.
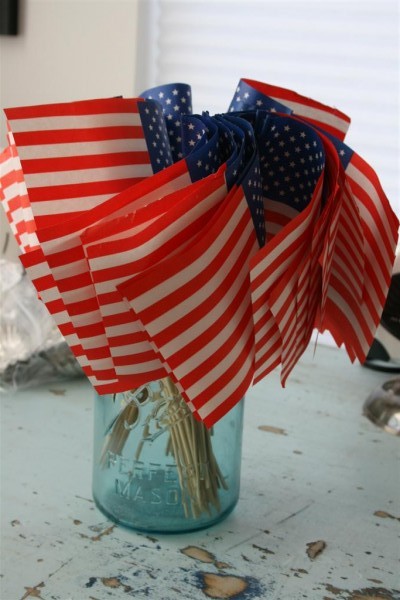

I love how the edges are a little bit worn.
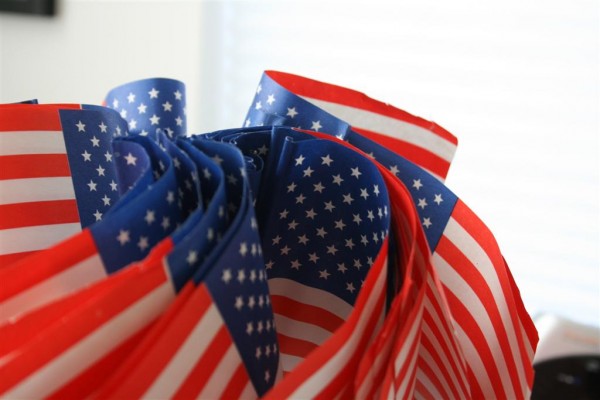

I’ve learned with things like this that you grab them when you find them, especially when they’re cheap, because they won’t be there when you come back.  Last year I passed up an awesome silver star that I’m still regretting.  It will be so much fun to use these flags  next summer.

I’m thankful to have these new bits of inspiration to nurture my creativity this year.  I’m hopeful it will be a great year.

10 Minute Scarf

I discovered something amazing the other day, something I’d never heard of before (but probably should have) and which just opened up a world of possibilities in my brain.


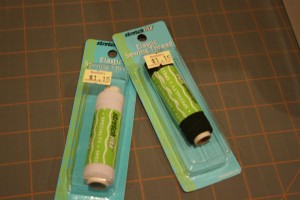
It’s called elastic thread.  I was able to purchase it at a little fabric store in town.  It came on a spool of 30 yards for $1.15.  You can find it with the elastic in your store.  I like it when I can find something I like this much for so little.

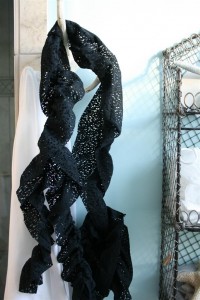
Thanks to this tutorial from Hope Studios , I learned how to use it to make a scarf in 10 minutes.

I’m not kidding you.  Ten minutes.  Two seams.

Here’s what you do.  You need elastic thread (I only found it in black and white), matching regular thread, and material.  Your fabric needs to be something that won’t fray or unravel since you won’t be finishing the edges.


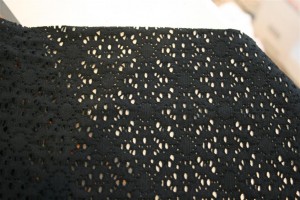
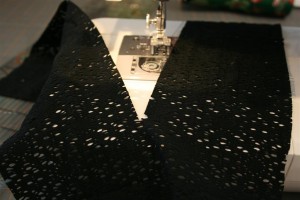
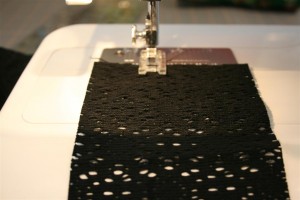
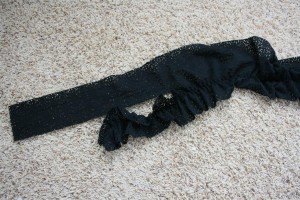
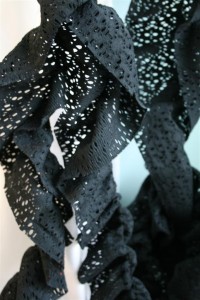
I bought this black stretchy fabric that has a lace-like pattern cut all over it.  In the tutorial they used knit fabric.  I liked this better.


The big key is length, because the elastic thread makes it half as long when you’re finished.  I bought everything that was left on the bolt, which was 1 2/3 yards (60 inches).  The first scarf I made with that length was too short.  It now belongs to my 11 year old daughter.  I’ve since made one that was twice as long (I cut 2 lengths and sewed them together end to end for 120 inches in length) and one that was 1 1/2 times that long (90 inches).  I liked both of them.  So, basically you need at least two yards of fabric, but I would probably go for 2 1/2 or 3.

Cut a strip of fabric that is 2 1/2 yards long by 8 or 10 inches wide.  I’ve tried both 10 inches and 8 inches wide and they were both really cute.  (You’ll be able to make several of these scarves, but that’s a good thing because you’ll be so excited that you’ll want to make one for all your friends!)  From my fabric I was able to make 5 scarves.  Not bad for a $10.00 investment.

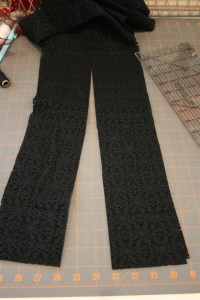
After you cut your fabric (or piece a couple of strips together if you need to), take one end of your strip, and make a straight cut into the fabric up the middle for about 16 inches.  Do this on each end of the fabric.  This will make kind of a tail on the scarf.


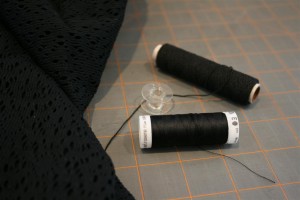
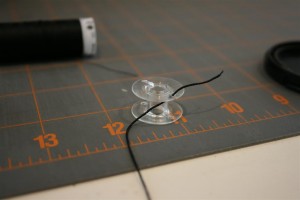
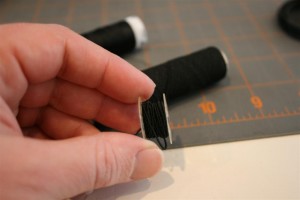
Now for the elastic thread.  You’ll need to wind it onto the bobbin by hand, and then put it in your machine.  Use regular thread on the top.


Now, working from one end of the fabric, pick one of your little tails and start sewing about 1.5 inches in from the cut you made.  BE SURE TO BACK STITCH AT THE BEGINNING AND END OF YOUR SEAM!!!!


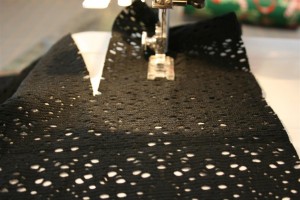
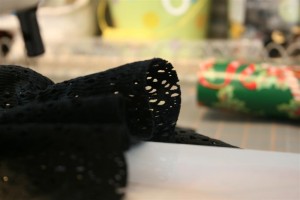
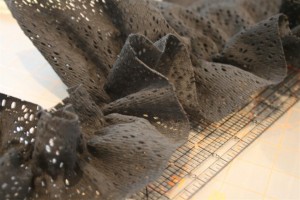
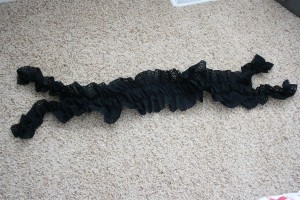
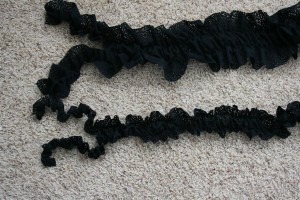
Sew down the entire length of your scarf.  See how the elastic thread makes it gather as you sew?


Then you just do the same thing down the other half of the scarf!  Trim your thread and you’re finished.  That’s it.  I also made a long skinny one (4 inches wide) with my last piece of cloth.   It’s really cute as well.


Now you can do what Jennifer at Hope Studios said to do:  “Prance around all giddy-like with your new scarf.”


Super cute, super fun, super cheap, and super fast!  I love it!

Seriously, go make one.  As in, right now.

Hopeful Homemaker

Baby Stocking

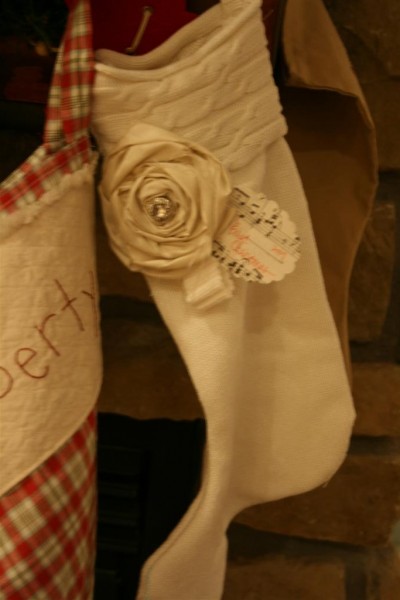
At about 11:30 p.m. on Christmas Eve, I addressed the problem of having no stocking for my 4 month old baby.  The fabric I purchased to make one that matches the family was still sitting on my sewing table, and I didn’t have time to make it then because it requires embroidering her name on it by hand.  I was already tired, and still had breakfast to make and gifts to wrap.

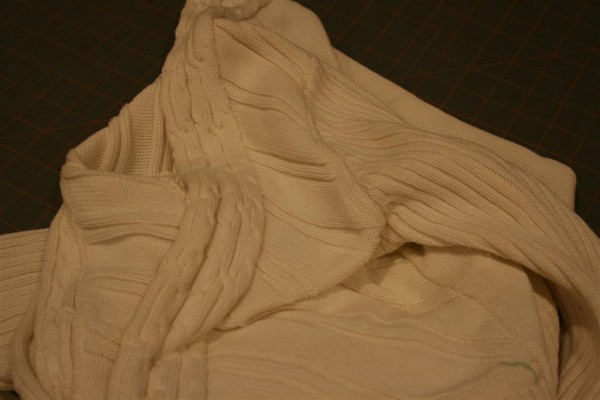
I remembered this sweater, sitting in my bag to go to goodwill.


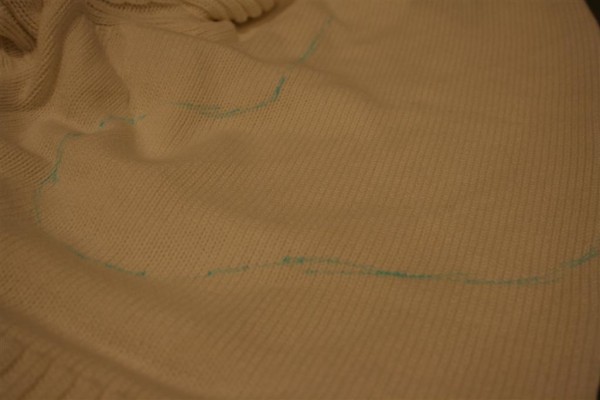
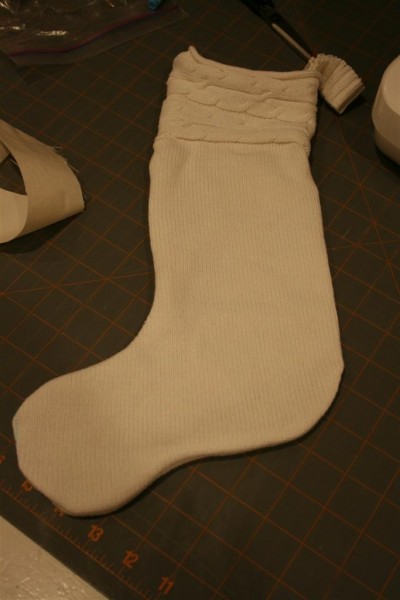
Well, it’s not going there anymore.  I cut the back of it out to make a stocking, and I’m saving the rest for another project.  I took about 30 seconds to draw a stocking shape on it with my fabric marking pen.


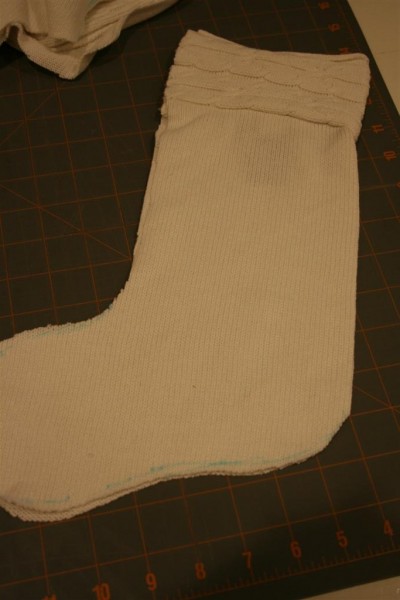
Then I cut it out, folded it with the right sides together, and sewed around the edges.  I used the cable design around the original collar for the top of the stocking.  Simple and beautiful.  (And just for the record, yes, I know it’s crazy to start a project like this at a time like that.  But sometimes your mother’s heart just needs to do something.  I’ve learned that when I listen to those feelings I feel happy.)


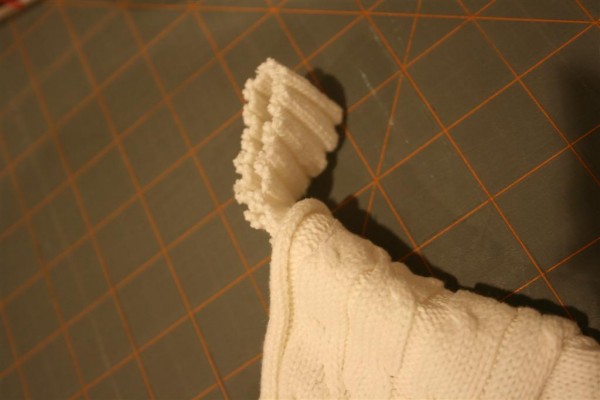
I took a strip from the sleeve to make a little tab to hang it with.


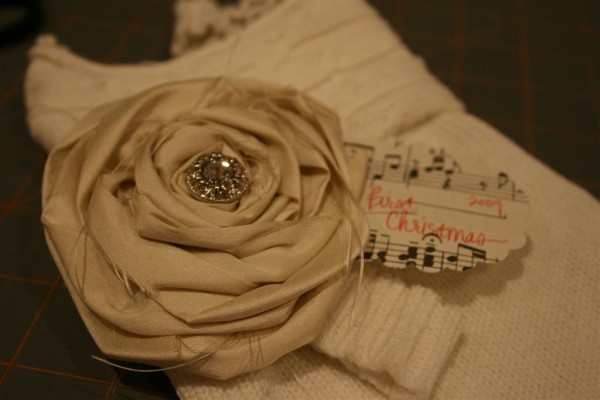
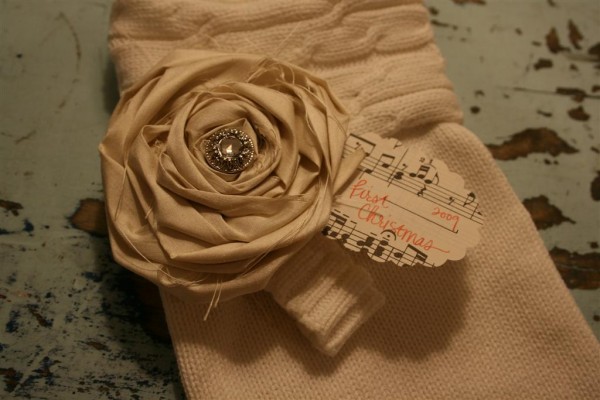
It needed a little something more, so I cut a strip of silk fabric and made a rosette to embellish it with.  I used another piece from the sleeve as a sort of leaf, and then added a paper tag cut from vintage sheet music to write “first Christmas” on it.


Just a little bit of time, and my little bundle has a special first Christmas stocking!

1 8 9 10 11 12 13