Vintage baby crib repurposed

It seems that so often when I see spaces that really appeal to me, the aspects I like most are those that are one of a kind.  It’s the vintage item being used in a new way that always makes me sigh.  I particularly like seeing vintage pieces being used creatively for storage/display.

A few weeks ago I spotted a small vintage baby crib, about the size of a bassinet or cradle.  I snatched it up, knowing I would find many things to store in it, but upon coming home I just hadn’t found the right spot for it so it’s been sitting in my studio.  (And much as I love my kids I wasn’t ready for them to claim it for the toy room.)

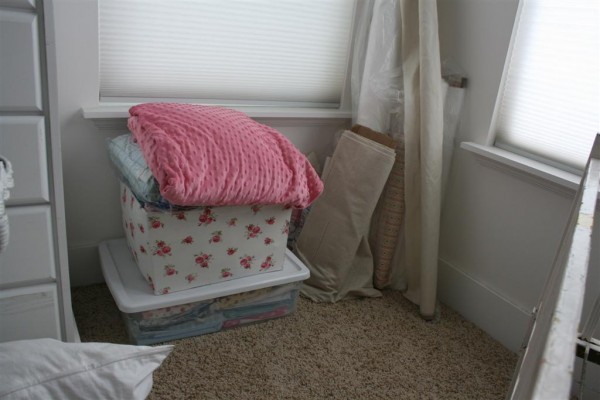
I have a corner in my studio that has been bugging me:

corner: before

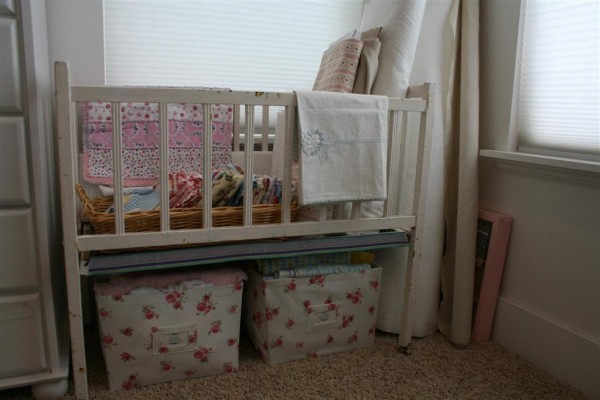
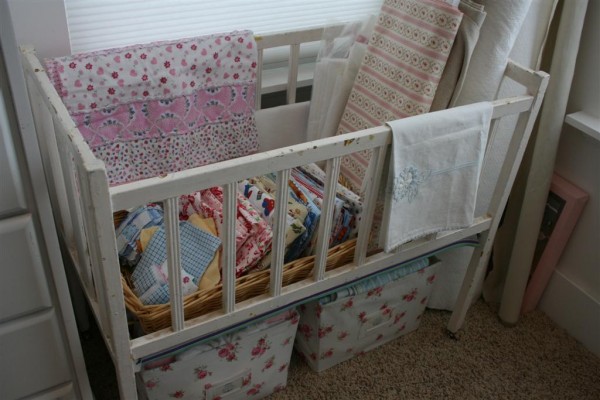
Yesterday I walked in the room and realized that a great solution was sitting on the other side of the room.  I cleared out the spot and wheeled the crib over.  Sure enough, it fit.

corner: after

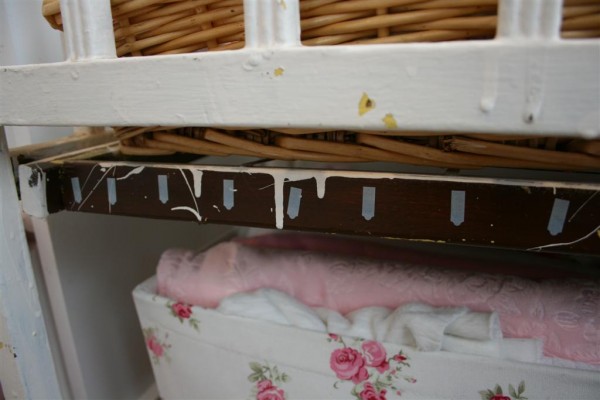
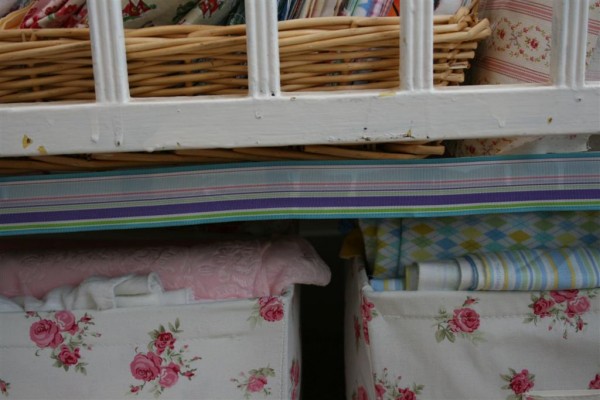
I took the baby flannels out of the plastic bin and placed them in another flowered tote.  The two totes fit perfectly under the crib.  Whoever painted this crib years ago left a brown strip of wood that sticks out so I put some adhesive on it…


and added a strip of ribbon.  Much better.


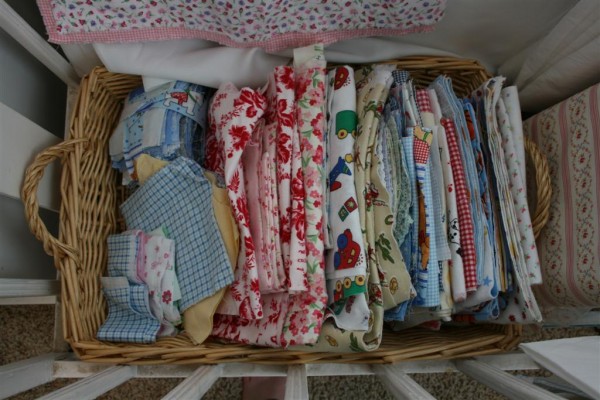
A walk around the house yielded a basket to put smaller pieces of fabric in for easy access.

basket of fabric scraps

An unplanned ten minute project yielded an organized corner with more aesthetic appeal.

vintage baby crib storage

Oh that all my minutes could be spent so productively!

Placemat to Pillow: DIY

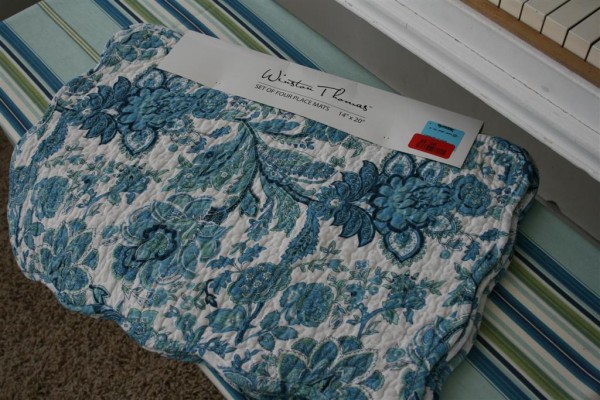
I was on the hunt for pillows with some turquoise in them when I found these placemats on clearance at TJ Maxx.

blue placemats

I liked the colors and the pattern but I didn’t need more table linens.  And then I thought:  wait, there are four of them.  Why not make pillows with them?!  So they came home with me.

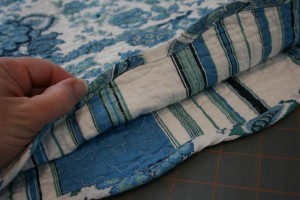
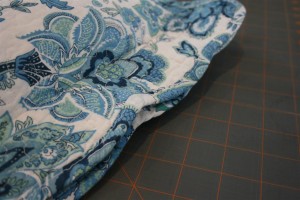
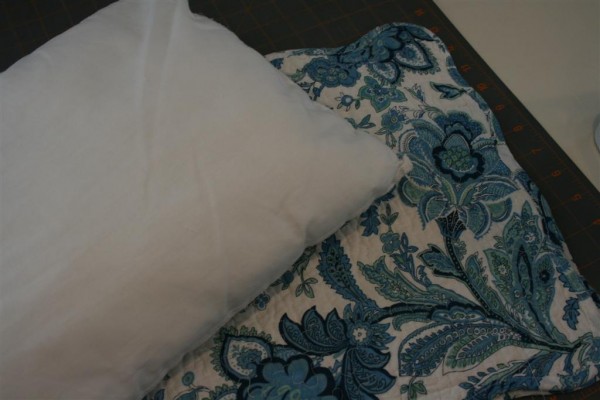
I already had some 11 by 14 inch pillow forms in my basement.  They were the perfect size.  I didn’t want to cut up the placemats because the seams would be so thick.  I also liked the back and the gentle scallop around the edges.

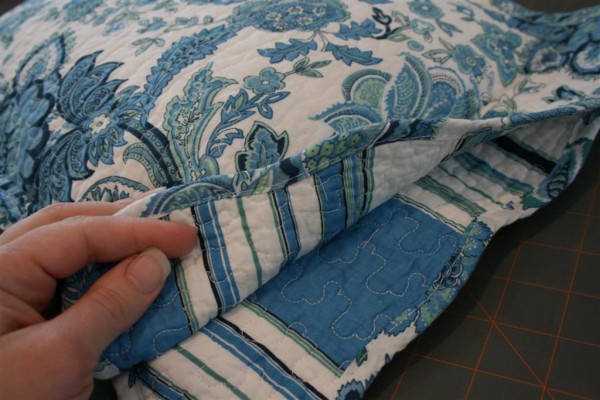
blue stripes on placemats


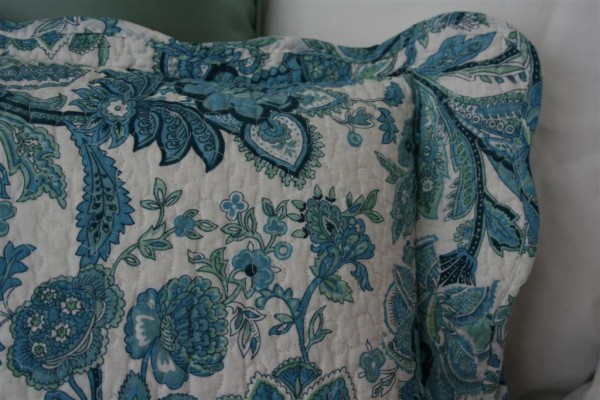
scalloped edge placemat

So I decided to just sew the pillow inside the two placemats.  If I ever get tired of them, I’ll just unpick the seams and have placemats again.  It was the easiest pillow I ever made (as in, 5 minutes per pillow.)


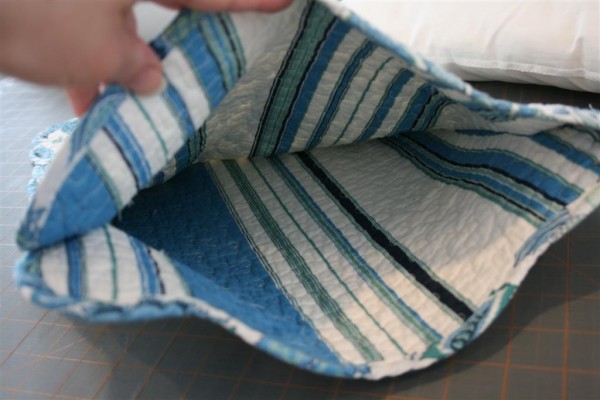
I figured out where on the placemats I needed my seams to be so the opening would be the right size.  Then I simply sewed the placemats together on three sides, leaving one of the narrow ends open.

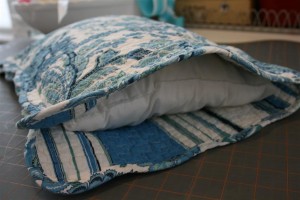
opening in pillow

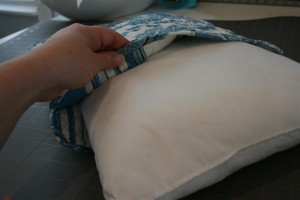
Then I simply stuffed the pillow form inside.


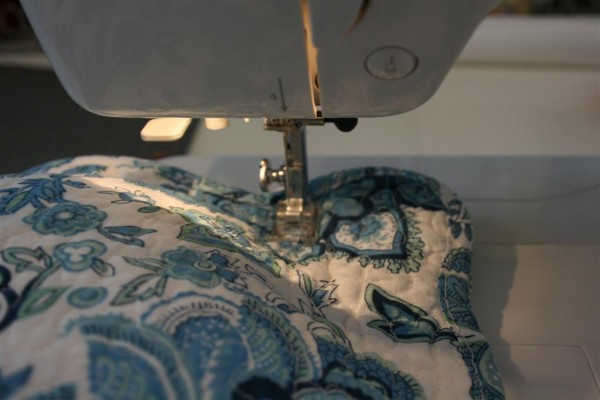
I carefully sewed the opening shut, making sure I didn’t sew the pillow form into the seam at all.


That’s it!  Done.

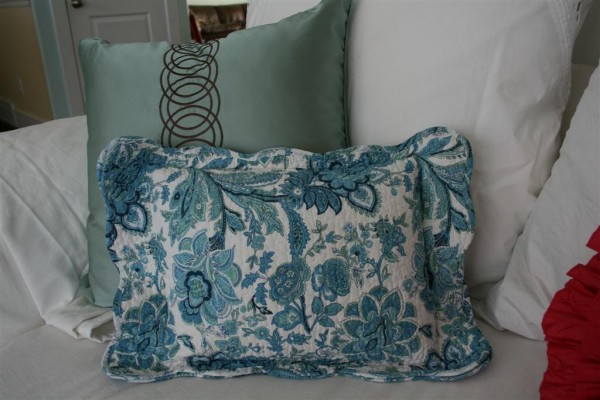
blue placemat pillow

Nobody would ever guess that these were clearanced placemats.  They’re perfect for my space, and they have a nice shape to them BECAUSE of the floppy scalloped edges all around.

placemat pillow

The fact that you can see the striped back if you peek only adds to the charm.


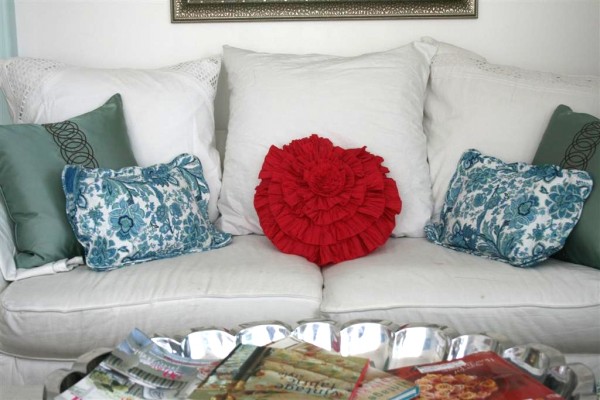
You can’t beat $4.00 per pillow, either!  As far as I’m concerned, it’s a success all around.  It was inexpensive, I used materials on hand (pillow inserts), it was quick (10 minutes) and I was able to be creative.   My new pillows are now at home in this room .

white couch with pillows

Try it sometime!  They’re fun and easy to make.
This post is linked to Kimba’s DIY Day .

Valentine Ribbon Pillow

My project for the May Arts Valentines challenge is completed!
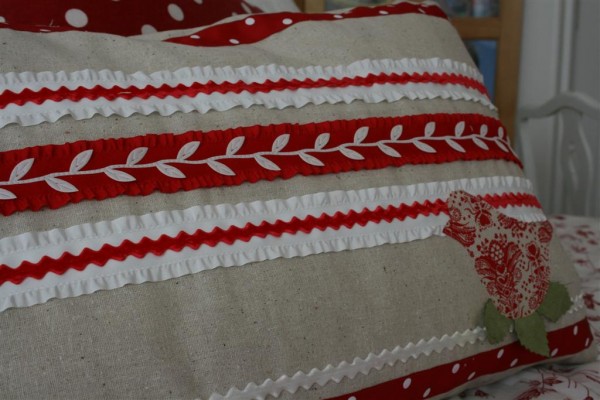
ribbon embellished pillow

This project was fun to do, and I may have found a new favorite ribbon in the process.

The ribbons I used are all manufactured by May Arts.  Here’s how I did it.

I began by cutting a piece of unbleached cotton to the size of my pillow for the pillow top.  The pillow I made is 16 inches high by 24 inches long.  I liked this cotton because of it’s natural color, and because the fibers create a sense of texture that sort of offset the ribbon.  It looks a lot like linen, but was much less expensive.
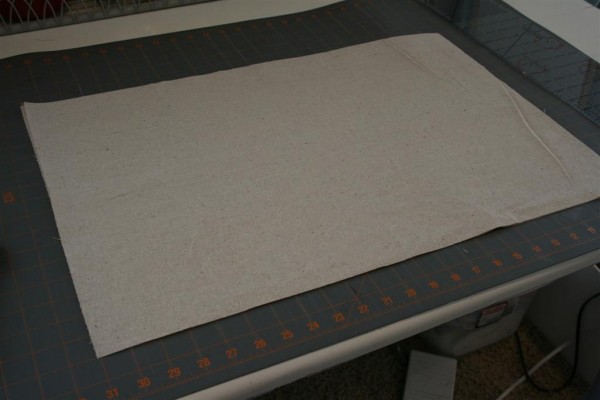
blank cotton fabric

Next I laid the ribbon out on the fabric until I’d arranged it in a design I was happy with.  I was going for some fun stripes.  Then I pinned the ribbons in place.
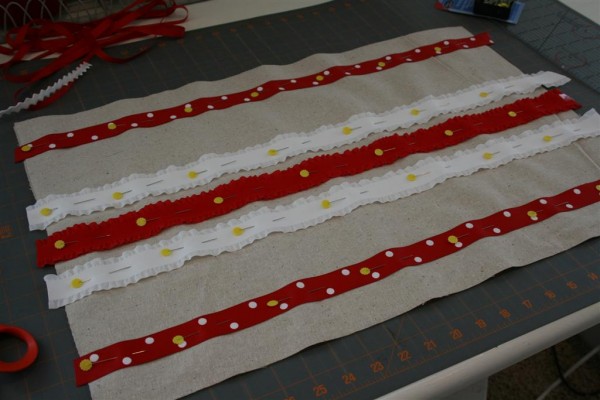
ribbon pinned to fabric

I like this shot of the ribbons with ruffles on them.  This particular ribbon was SO fun to work with.  It’s 1.5 inches wide, and the center is a faux suede.  It’s really beautiful, and I loved using it.  It could be my new favorite.
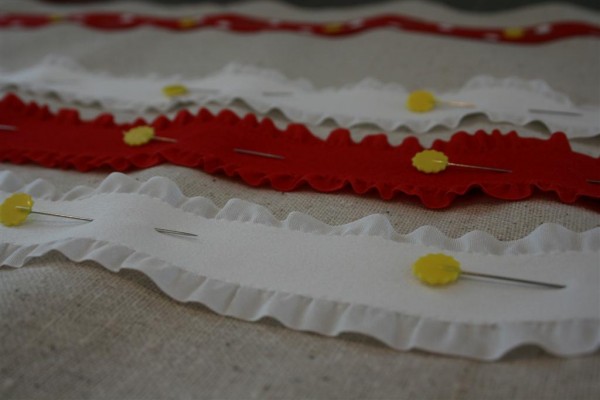
ribbon pinned to fabric 2

Setting my sewing machine on it’s slowest speed, I carefully sewed each ribbon into place, changing threads as necessary to have them coordinate with the ribbon.  These ribbons were fairly wide, so I sewed down both edges of them.
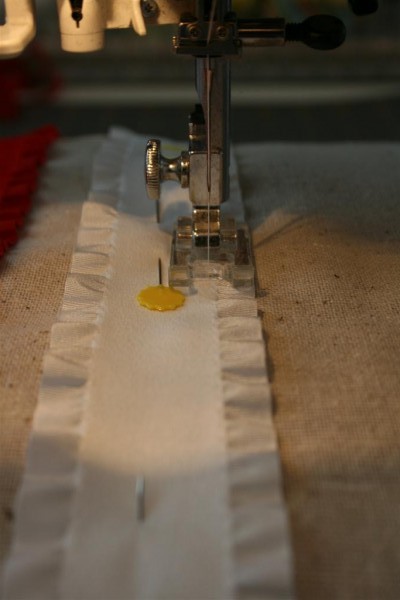

Soon they were all sewn on, and it’s looking cute!
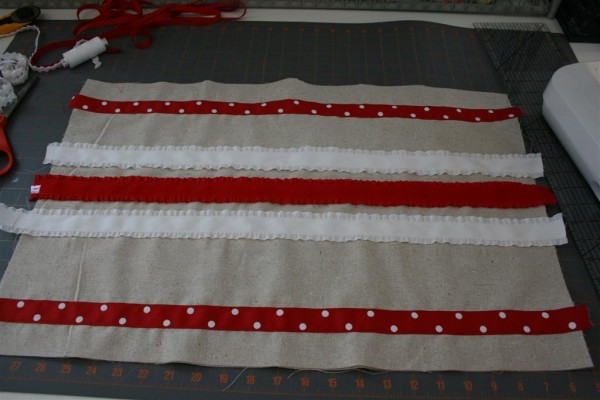
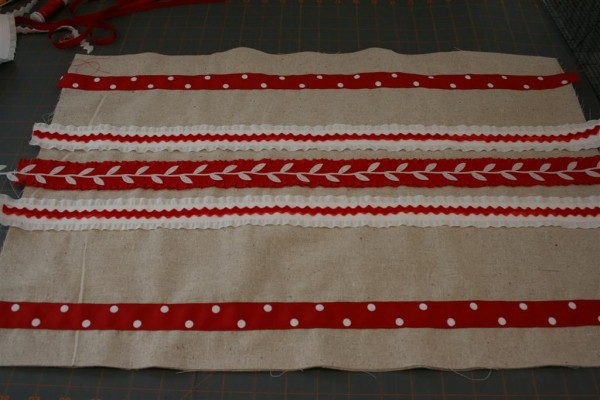
ribbons sewn to fabric

Next I went for a second layer of ribbon on top of the suede stripes.  I opted for the red velvet ric rac down the center of the white stripes.
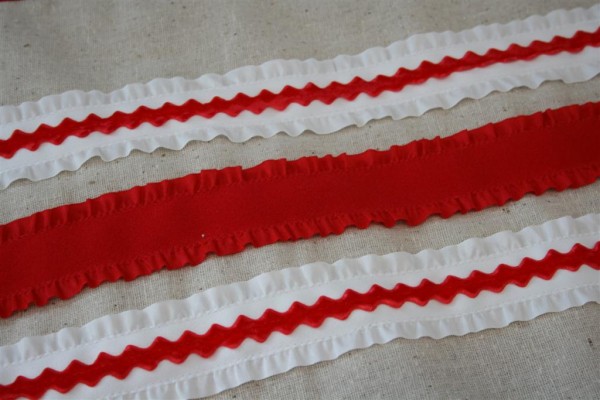

Although I’d never tried it before, I cut a length of the white leaves ribbon and decided to see if I could successfully sew it on, too.
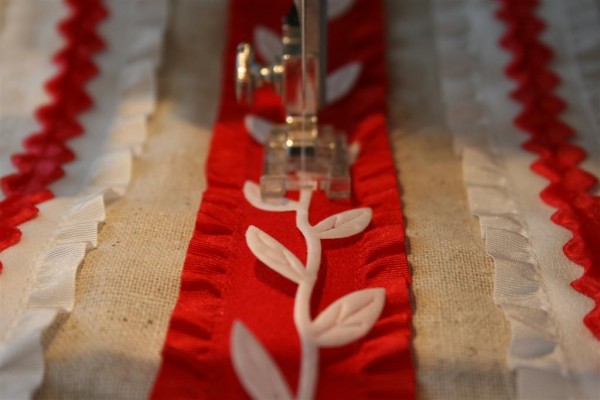

A bit tricky, but it worked!  I love it!
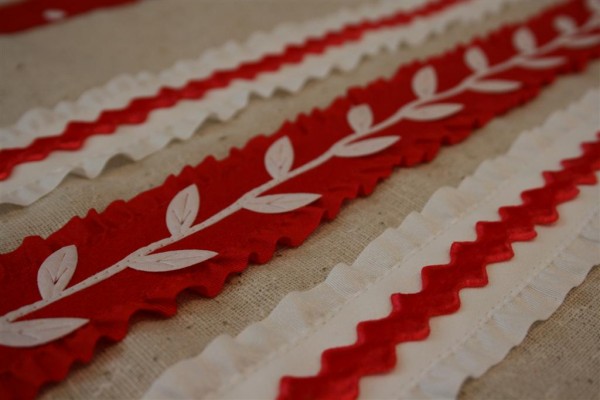
leaves ribbon on pillow

Now the pillow looked like this:

ribbon pillow

I felt like it needed something to help break up the stripes just a bit, so I toyed with several different shapes and decided at last to sketch a little bird (since I’m really loving bird images and a Valentine pillow could certainly have a little love bird on it, right?!).  I grabbed my favorite Valentines quilting fabric and went to work.
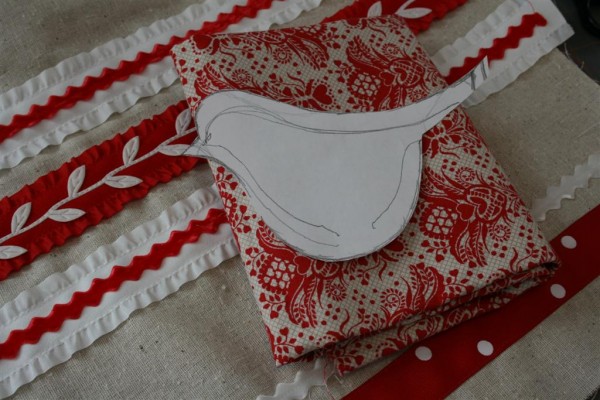
bird sketch

I added a single length of white velvet ric rac for the bird to sit on, but decided that I needed something more.  Then my eyes happened to fall on the length of suede leaves ribbon that I’d received in the mail, and I wondered if I could use some of it.  Isn’t it pretty?
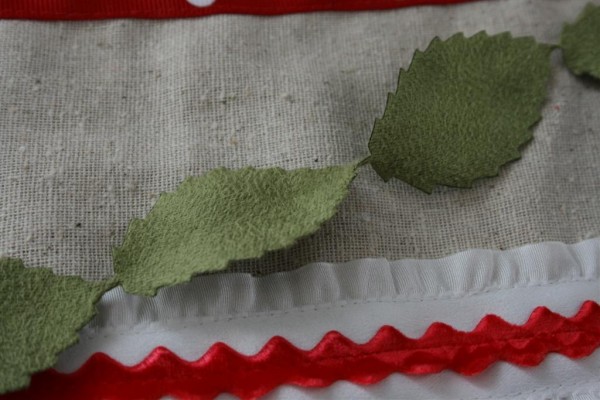
suede leaves ribbon

I cut three individual leaves off and arranged them on the pillow.  Then I sewed across the tops of them, leaving the rest of the leaf free so that it adds some dimension.  ***Easter/Spring pillow idea bells start ringing in my brain at this time!  I also realized how versatile this suede leaves ribbon would be in so many altered art projects.  It’s neat stuff!
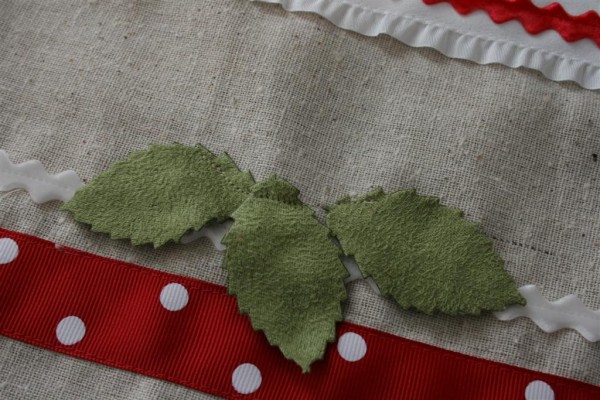
leaves on pillow

I traced my bird pattern on some interfacing and ironed it to the back of my fabric.  After cutting it out, I was ready to peel the backing off and iron the bird to my pillow.
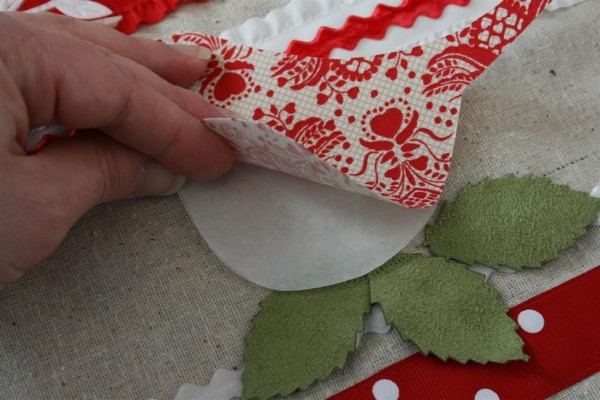

After ironing it in place, I carefully stitched around the edge of the bird for stability.
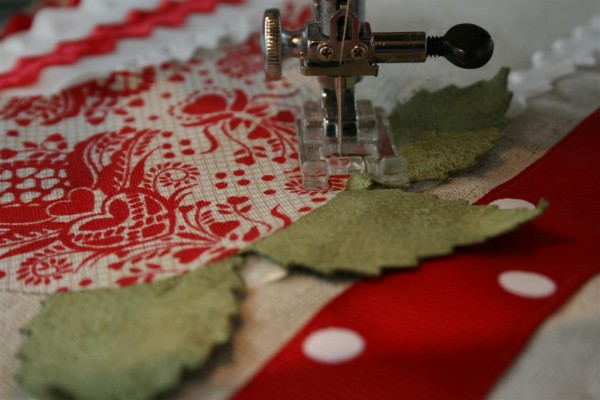

I like the end result.
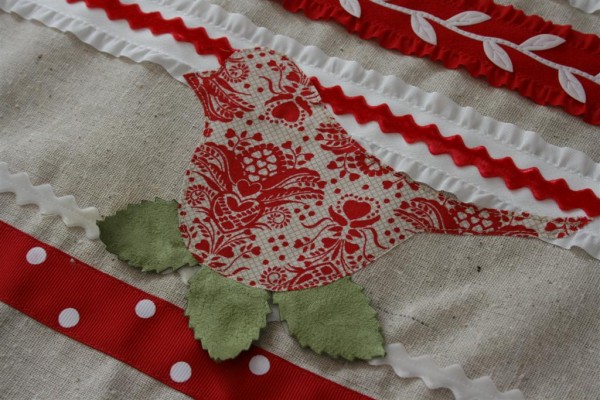
bird on pillow

It was time for the backing.  I chose to piece my back with a zipper near the bottom of it because I prefer to use my pillow inserts year round with different looks.   Lay the pieces with right sides together and carefully line them up.
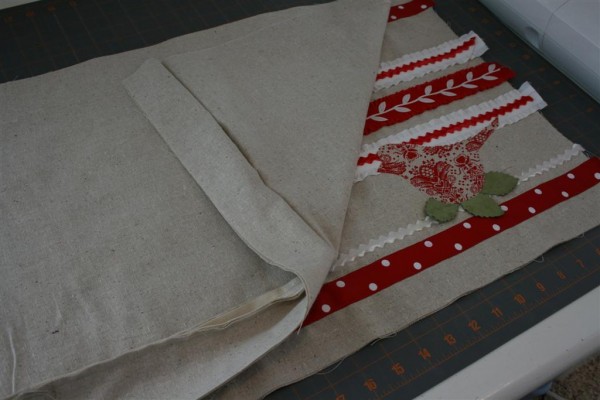

Pin around the edges and sew it together!  If you choose to stuff your pillow, be sure to leave a hole to do it, and if you use a zipper, be sure you open it a little so you have a way to turn the pillow right side out.
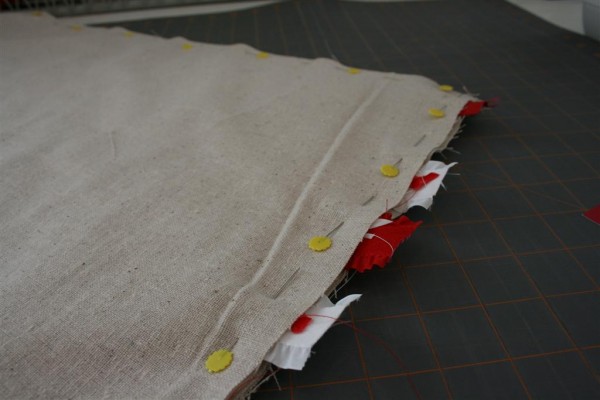
pillow pinned together

After sewing around the edges, I trimmed the excess ribbon and also trimmed a bit at the corners.  Turn it right side out, and ta da!
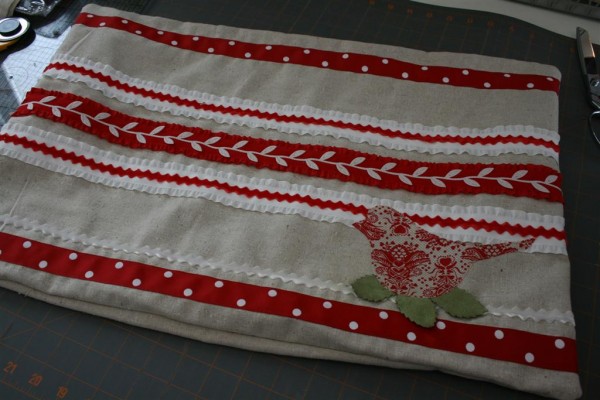
ribbon pillow cover

I quickly grabbed my feather and down insert and stuffed it inside.  Finished!
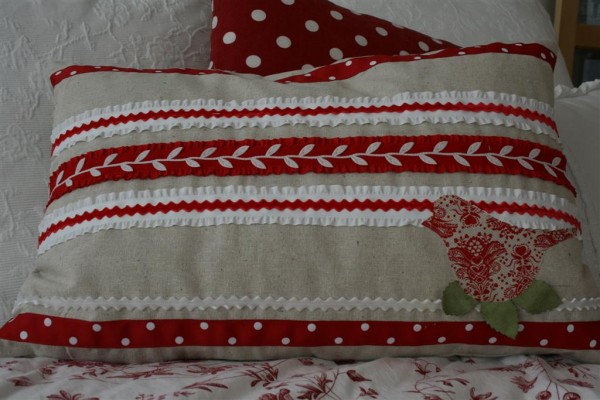
valentine ribbon pillow

It looks great on the guest bed in my studio.
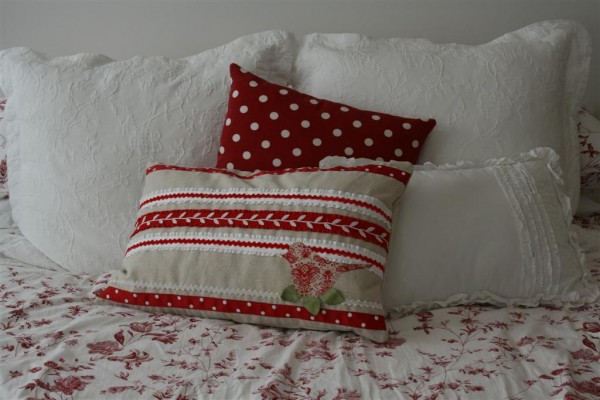
ribbon pillow on bed

I’m liking my little pillow.  This was a super fun project!  The possibilities for embellishment with ribbon are endless.  I enjoyed tinkering around with these.  Thanks May Arts!
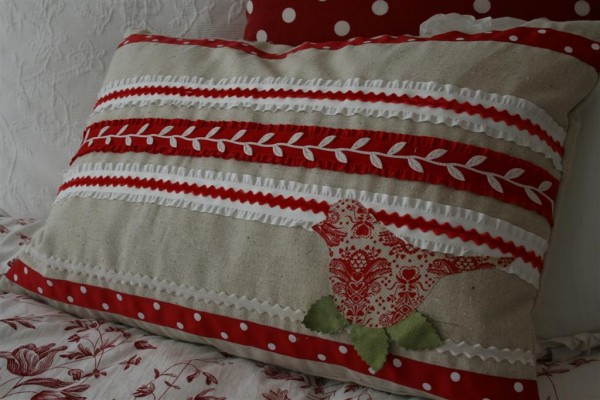
Ribbon pillow with bird

1 6 7 8 9 10 13