Parfait Pincushions

This quick and easy project was fun to make with my mom, sister and sister-in-law a few weeks ago.  We sat at one table and stitched while the guys sat at my dining room table and played a game.


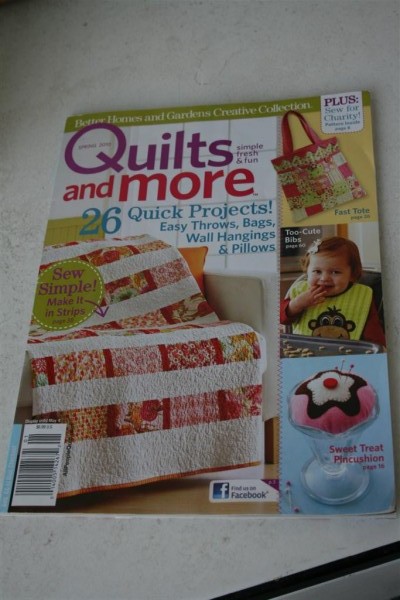
The pattern comes from this issue of Quilts and More.  I purchased it at my local grocery store because it is full of projects I want to make.  I’m guessing you might still be able to find one at a Barnes & Noble.  If not, it would be easy to draw your own pattern.


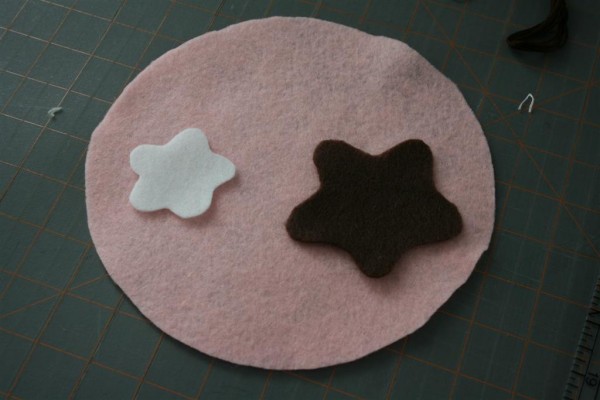
You need a large circle of felt, about 8 inches in diameter, and two pieces for the “toppings.”


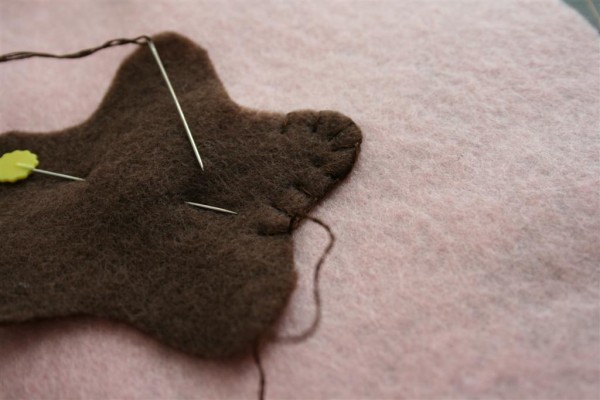
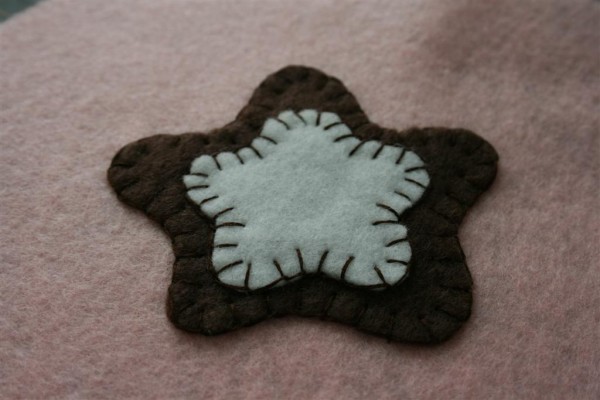
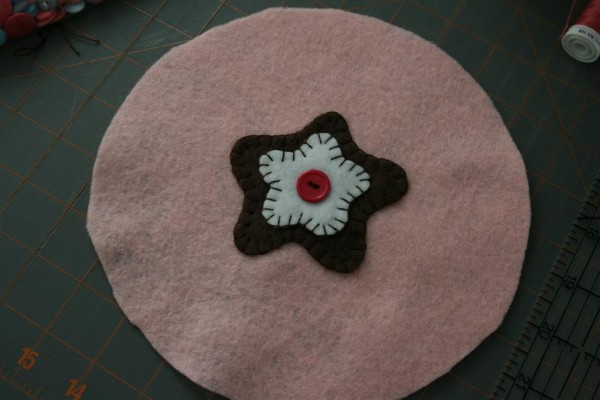
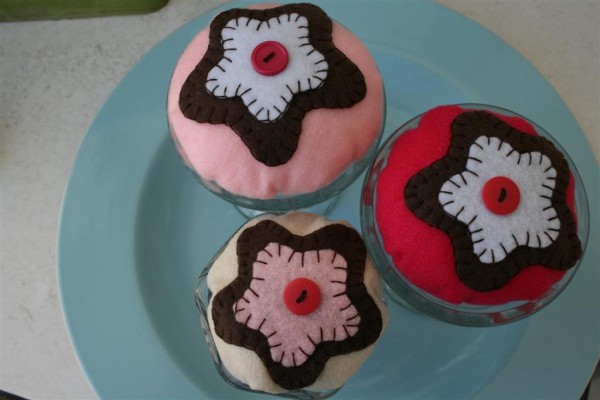
With two strands of embroidery floss, blanket stitch the first, larger topping to the center of your circle.


Repeat with the second, smaller topping.


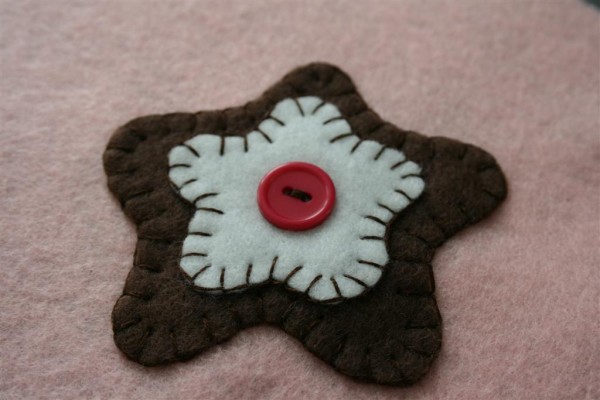
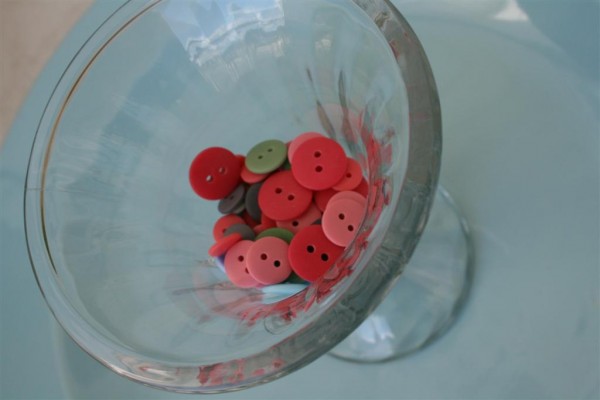
Add a red or pink button for your cherry on top.


Your circle should look like this.


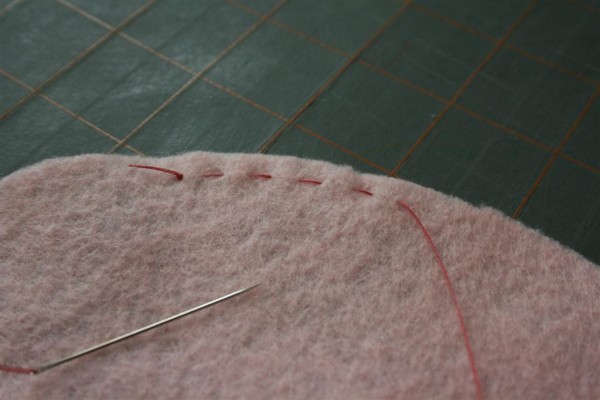
Turn the circle over, wrong side up.  Thread a needle with 36 inches of sewing thread.  Knot the ends of the thread together and begin a running stitch around the perimeter of the circle, about 1/4 inch in from the edge.


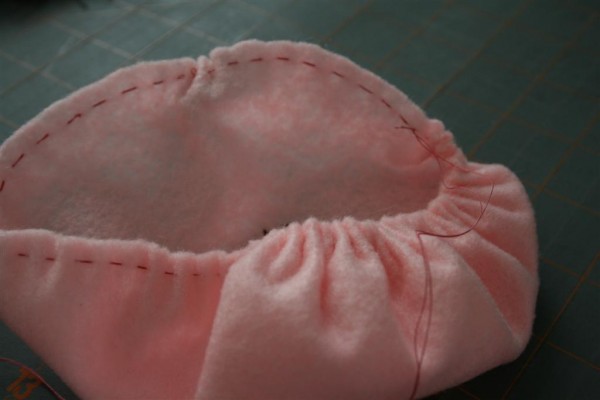
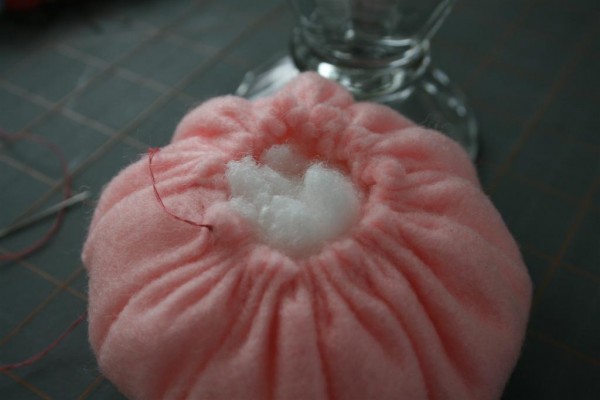
Gather the circle.


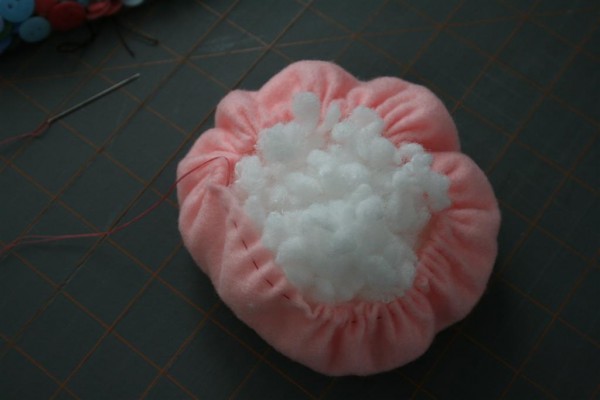
Stuff with filling.


Tighten thread until the hole is less than 1 inch in diameter and carefully knot your thread.


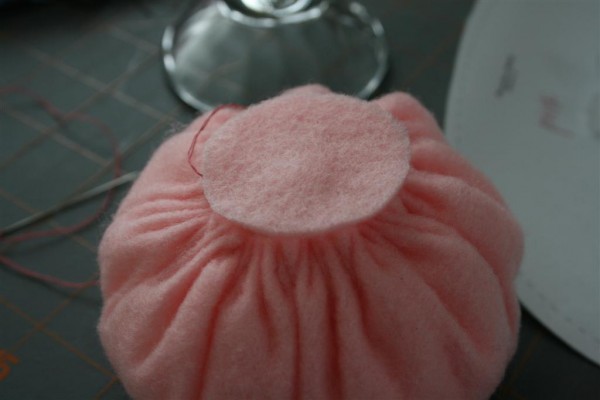
Cut a circle of felt to cover the hole.


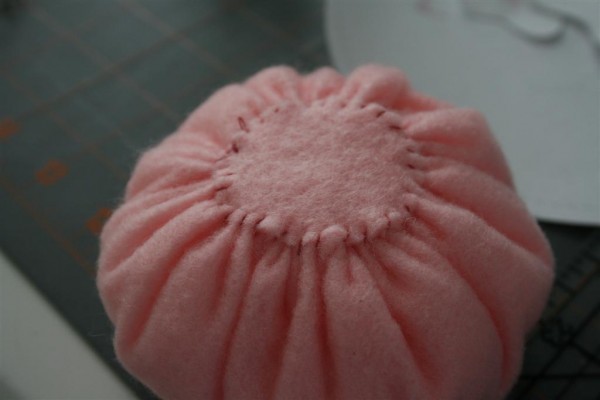
Whip stitch into place.


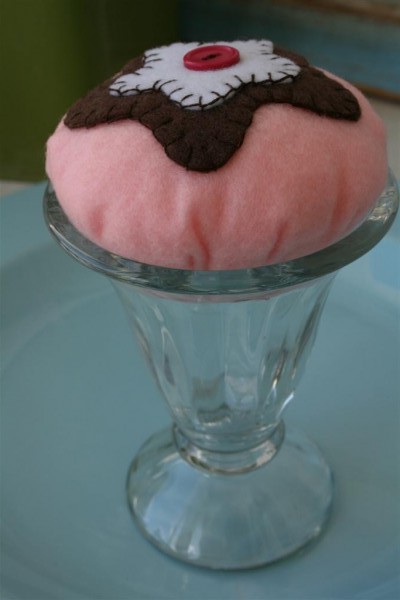
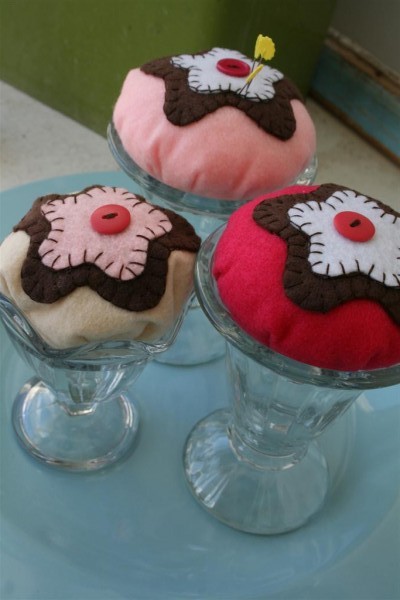
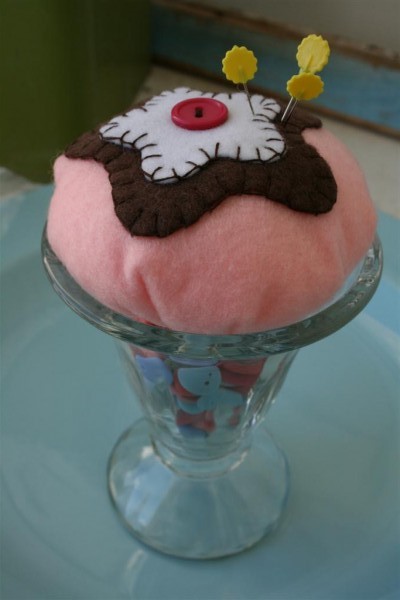
You’re done.  All you need is a parfait glass.  We found ours at WalMart.  This pincushion is designed to sit on the top of the dish.


This allows you to store buttons or other notions in the glass beneath the pincushion.


It was so easy to make that I experimented with other colors, too.


My girls quickly saw the potential of these creations and whisked them away to the toyroom for use with their little kitchen.


I’ve seen some of the cute felt food that people are making for children to play with but I had no idea how much fun it might be to make it!  This project left me wanting to stock the playroom with sweet little bits of food.  Whether it’s used as a toy or a pincushion, this was a fun project.

Hopeful Homemaker Shared at DIY Day

Burlap Storage Bin DIY

I’ve been looking for a storage bin to fit a certain spot for a long time.  Recently it occurred to me that I could just make one instead.

fabric storage bin

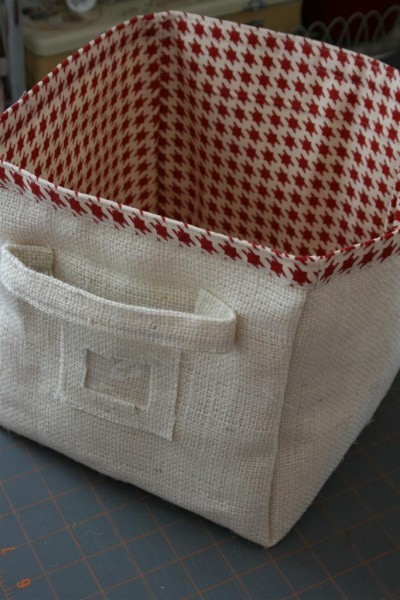
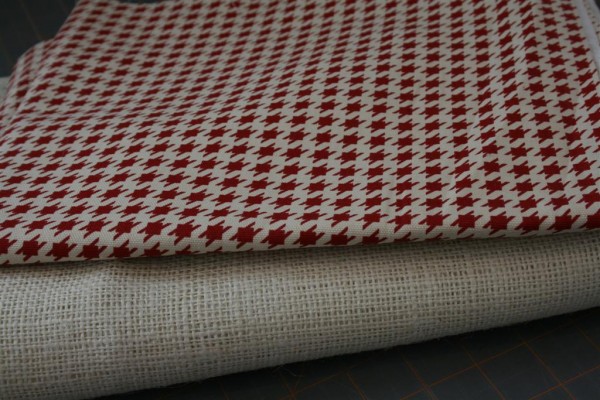
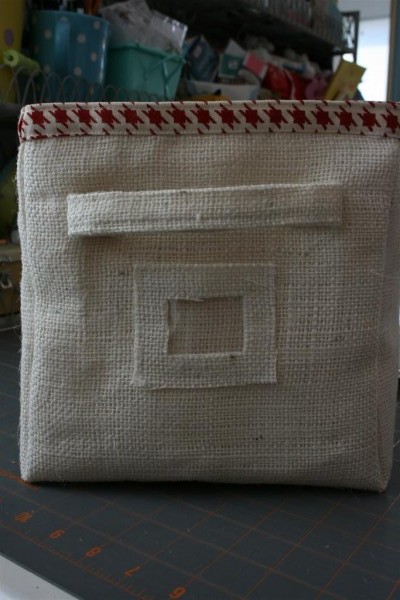
I used a bleached burlap for the outside and chose a coordinating hounds tooth pattern from my stash for the inner lining.


To determine the size of my fabric, I measured the space I wanted it to use on my shelf.  This would be the base, and then I decided how high the sides were to be.  Once you know those numbers, multiply the height of the sides times two, and add that to your dimensions for the base.  For example, if you want the base to be 8 inches wide by 10 inches deep, and your sides to be 6 inches high, then you need to add 12 to the width and height of the base.  This means you will cut your fabric to be 20 inches wide by 22 inches long.

Once you do this, you might want to reinforce the fabric by ironing some interfacing to the wrong side of the fabric.


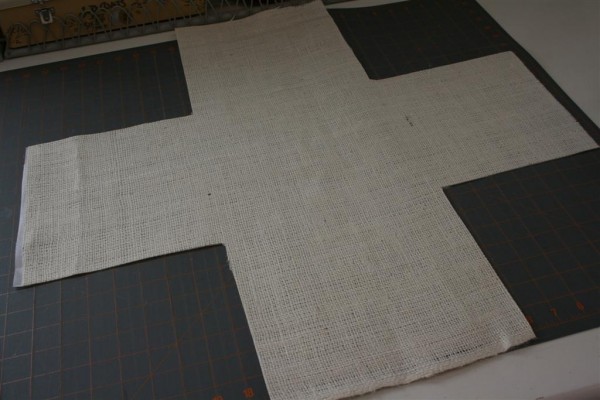
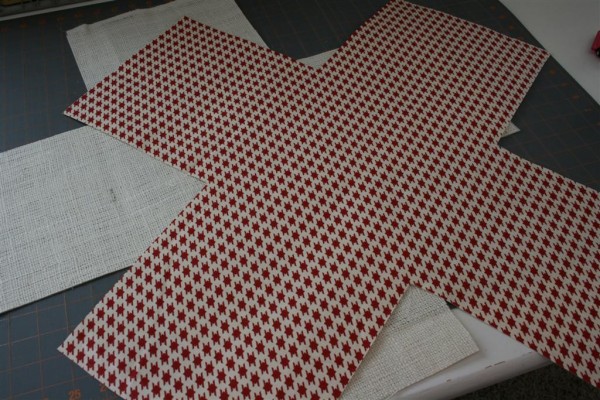
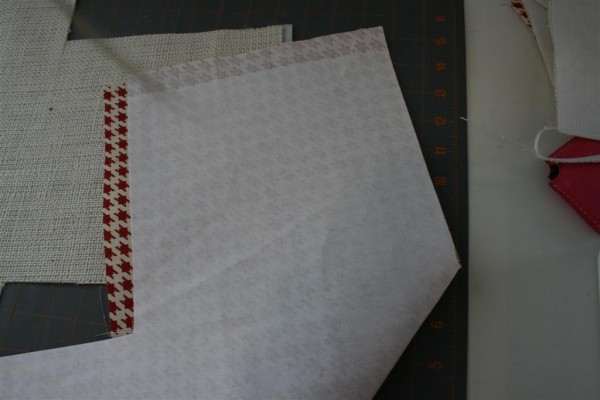
Now you need to lay the fabric flat and on each corner, cut out a square the size of the height of your bin.  If we continue the measurements from the above example, you will cut a 6 inch by 6 inch square out of each corner.  This will leave you with something of an “x” shaped fabric.


Repeat with the piece which will be your lining.


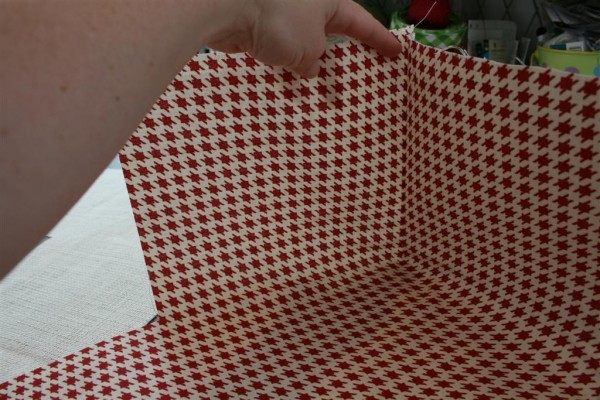
Fold each “x” in half on a diagonal line through the center square or rectangle.  Carefully line up the sides of each piece, with right sides together (RST) and sew down that six inch line.


You will be able to see that you have just formed one corner of the bin.


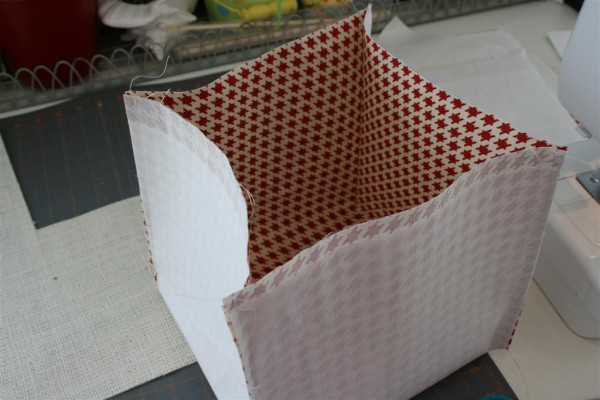
Repeat with the remaining three sides until you have made a little box.


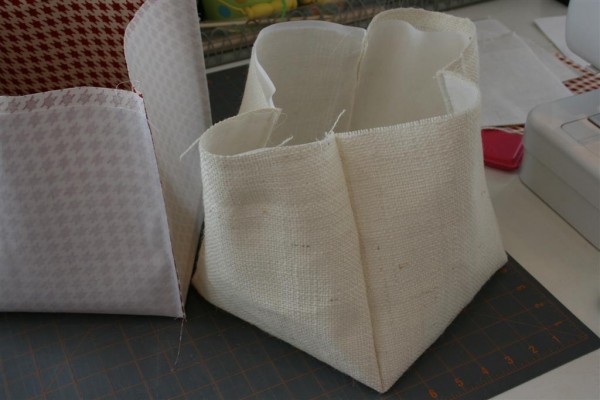
Repeat with the other piece of fabric to form a second bin.  Turn the outer piece right side out.


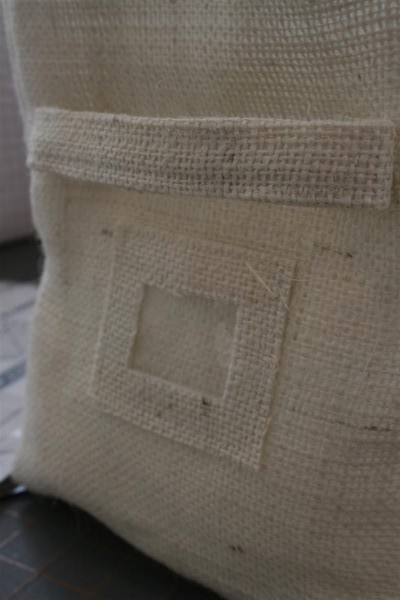
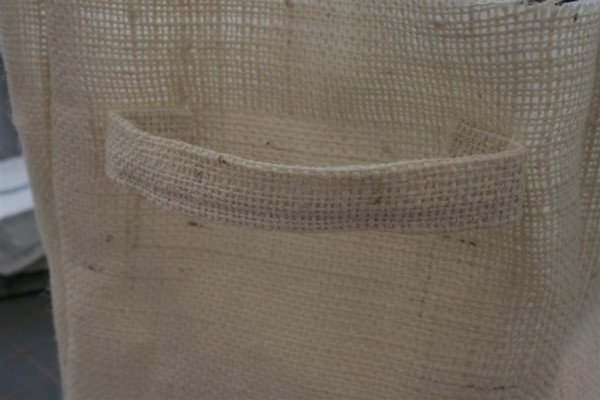
Now for the embellishments!  I chose to make a handle and a little pocket for a label.


For the handle, decide how long you wish it to be, and cut your fabric that long, but twice as wide as you want it.  With RST, sew the fabric into a strip lengthwise.  Turn it right sides out, tuck the ends under, and attach it to the outer bin wherever you want it.


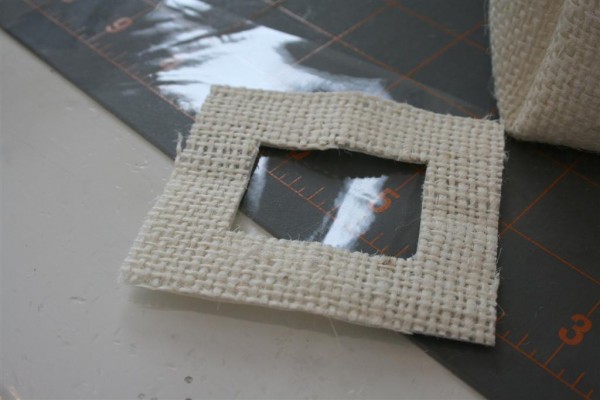
For the label holder, I cut a small rectangle, and then cut another, smaller rectangle out of the center.  I placed a piece of clear vinyl behind it and sewed around the inner edge of the burlap rectangle.  Then I sewed the rectangle to the bin on the sides and bottom only, leaving a pocket in the top.


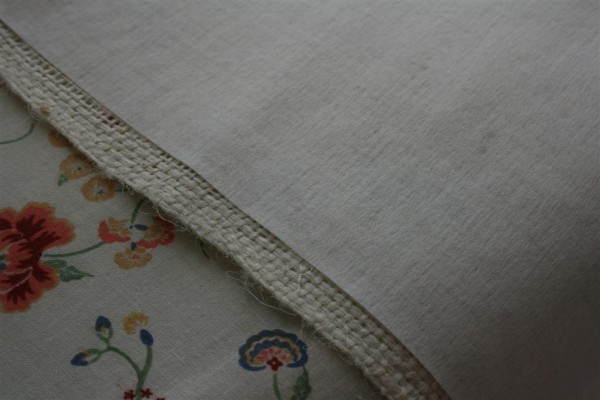
Lastly, place the lining inside the outer shell.  Fold the liner under, and then fold it over the top of the outer shell to form a contrasting strip around the top of the storage bin.  Carefully sew into place.


You’re done!  Now go fill it with whatever you made it to hold.

fabric storage bin

I must say that the burlap was a bit of a hassle to deal with, especially in spots where I was sewing through several thicknesses of it.  Still, I’m happy with the result, and it’s nice to have the size I needed without spending any money.  I love it when I find useful ways to use my stash and it’s always fun to combine creativity with organization.

I hope you’ll try one and tell me what you think.  It was a lot of fun!

Hopeful Homemaker

Handmade Easter Basket DIY


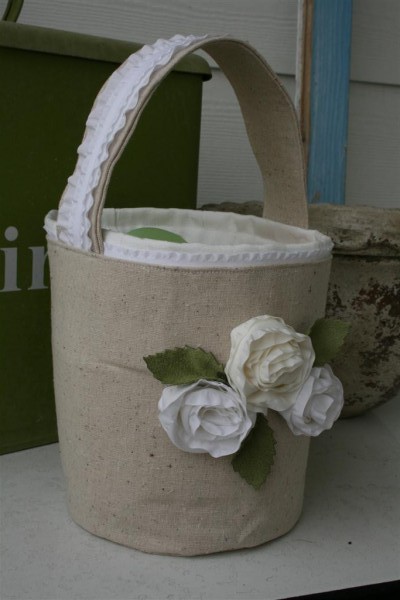
Ribbon embellished Easter basket

Easter is a holiday that means more to me with every passing year but I don’t enjoy the thought of spending a lot of money on the commercialized aspects of the holiday.   I see the cute Easter baskets for sale in the stores and think that I could just make my own, but I never have… until today.

Instead of the traditional brightly colored baskets, I decided to make one in a more subdued color scheme.  I used an unbleached cotton for the outside, white on white damask for the lining, and white and cream ribbons from May Arts to decorate it.

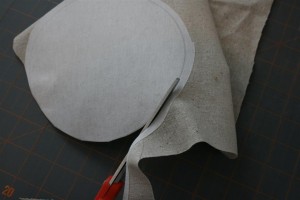
I started by tracing a circle onto a piece of interfacing to give the basket stability.  I then ironed it onto the back of my fabric and cut the circle out.
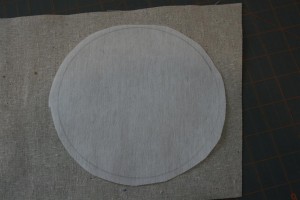


To determine the circumference of the circle, multiple the diameter by pi.  I then added 1/4 inch for a seam allowance, and cut the piece for the side of my basket.  I ironed some interfacing onto the wrong side of this piece as well.  Folding it in half (right sides together or RST) I stitched it into a circle.
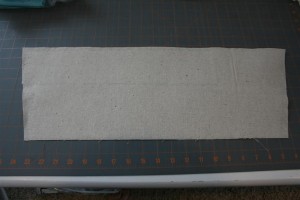


Next I carefully pinned the sides and base together, again with RST.
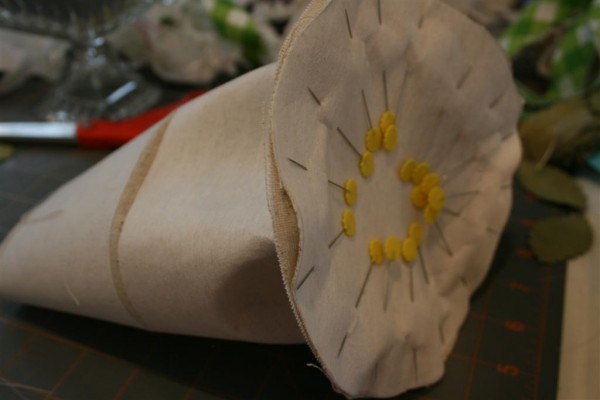

Carefully stitch around the edge of the circle.  I used a 1/4 inch seam allowance and went slowly so I would maintain a good curve and be sure not to have any holes.  Remove the pins and turn right side out.

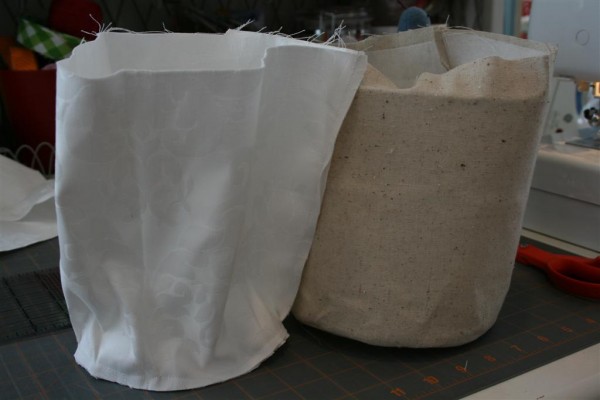
Now repeat the above steps with your coordinating fabric to make the lining.  On this step, I skipped the interfacing because I felt the basket would be sturdy enough without it.  After sewing the base and side together, leave the lining inside out.  You should now have two fabric buckets that look like this:

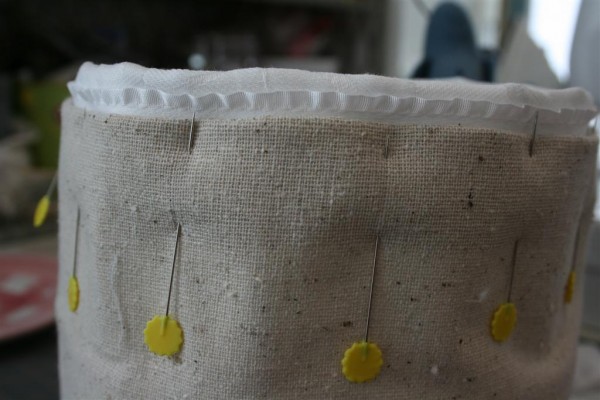
Lining up the seams, carefully place the lining inside the basket and gently smooth it into place.  I decided that I wanted a bit of the white to show around the edges, so I folded the brown fabric down deeper than I did the white.  I also used a piece of 5/8 inch ruffled white ribbon in this seam so that there would be a touch of ruffle peeking out.

Pin in place.

Now for the handle.  Cut a piece of fabric that is as long as you want but twice as wide as you want, plus 1/2 inch.  For example, I wanted my handle to be two inches wide, so I cut my fabric 10 inches long by 4 1/2 inches wide. I then cut a piece of interfacing that was 10 inches long and only 4 inches wide.
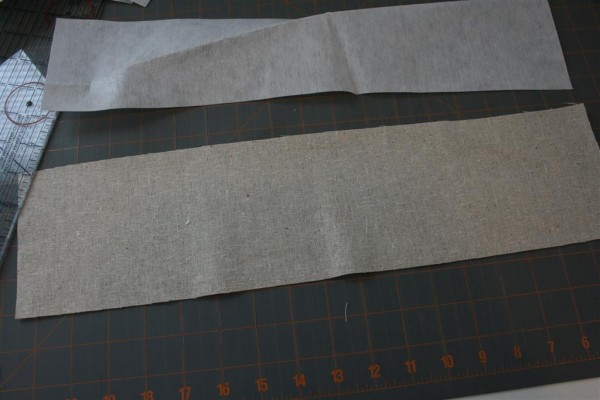

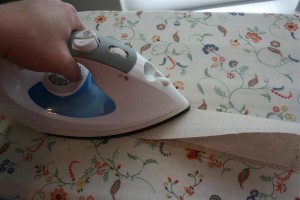
Iron the interfacing onto the wrong side of the handle fabric.  Now fold in half lengthwise and iron, then turn the raw edges under 1/4 inch and iron.


Stitch down the edge of the handle to close it.  I usually stitch down both sides so the appearance is uniform.
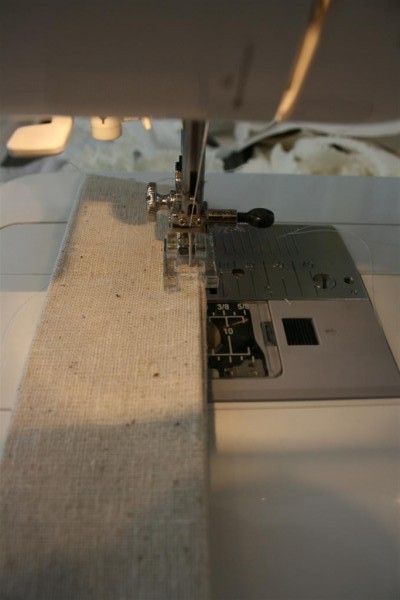

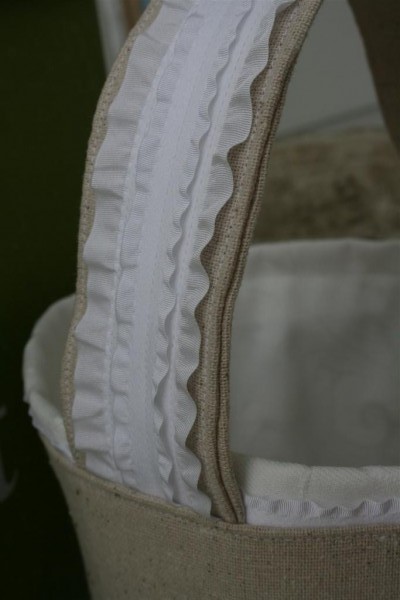
Next I used more ribbon to embellish the handle.  First I sewed a strip of the May Arts suede/ruffle white ribbon that is 1.5 inches wide, and then I added a strip of the same ribbon but in a 5/8 inch width on top.  These ribbons look so pretty layered on top of one another.  It reminded me of a tuxedo shirt.
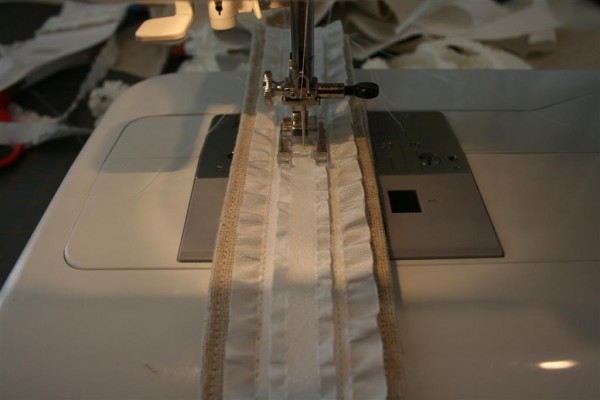

Once the handle is finished, pin it into opposite sides of the basket.
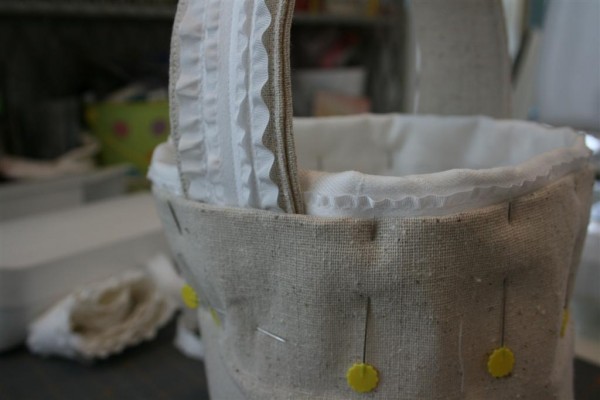

Now CAREFULLY stitch around the top rim of the basket.  This seam will hold the handles in and also secure the lining.  I set my machine on its slowest setting and went slowly, remembering that when I stitched through the handle my needle was going through 8 thicknesses of fabric, four layers of interfacing, and three layers of ribbon!  Gratefully, my machine did well and we had no broken needles!
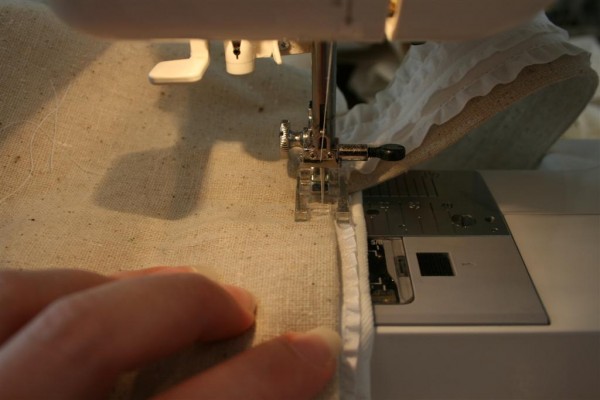

Look how pretty the handle looks once it’s all sewn together!

Inspired by my Ranunculus from weeks ago, I wanted to create some white flowers on the basket.

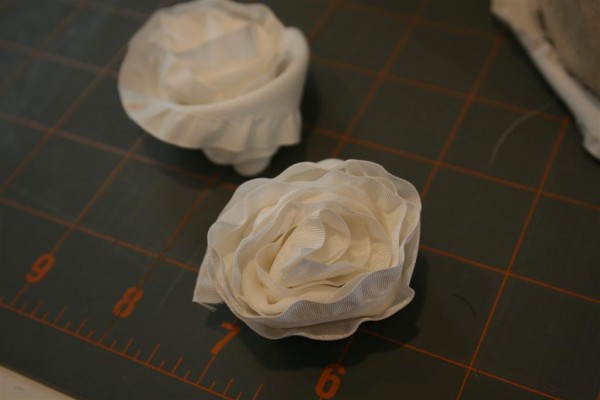
I used more of the suede/ruffle ribbon in both white and cream.  With a needle and thread, I started rolling the ribbon, tucking and winding as I went with a stitch here and there to hold it in place.

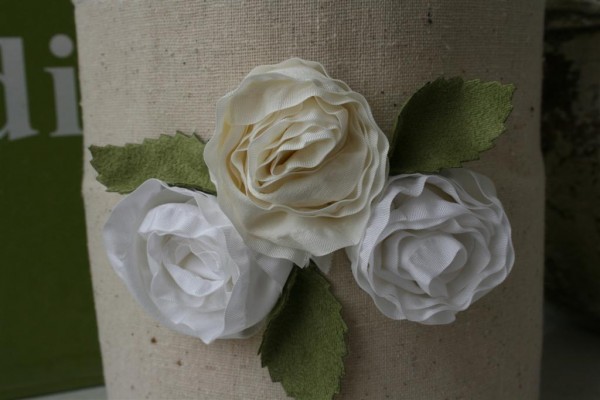
To secure them to the basket, I simply used my hot glue gun.  After the rosettes were in place, I cut three suede leaves (again from May Arts), pinched one end, and glued them in as well.

The verdict?  I love it!
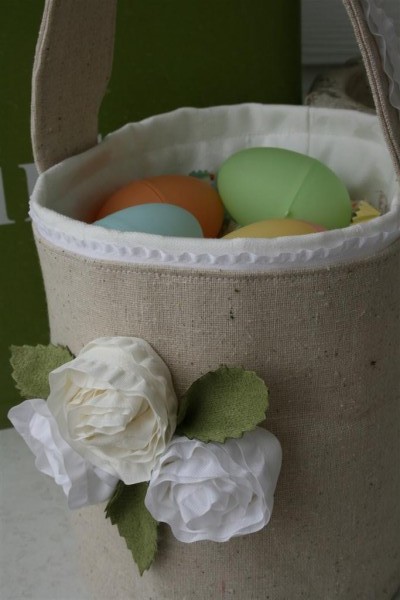

The project wasn’t difficult or time consuming.  Without a doubt, I’ll be making my own Easter baskets from now on.  I’m very pleased with the understated elegance of it.
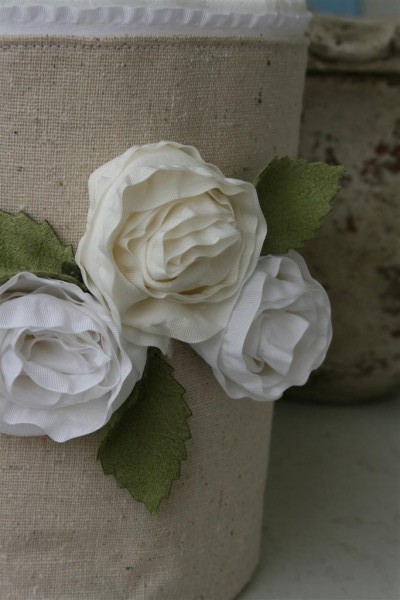
ribbon rosettes

The simplicity of the color scheme and the simple flowers somehow speak “Easter” to my heart better than any Easter basket I’ve seen.  I’m excited to use it!
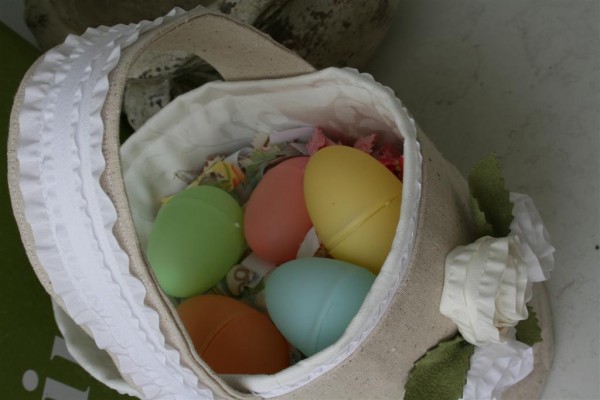

I hope you like it, and I hope you’ll try one of your own!

Hopeful Homemaker This project was created as a submission to the May Arts Spring Challenge .   Thanks May Arts!
1 5 6 7 8 9 13