Blackberry Pie Recipe

I did not expect to love this blackberry pie recipe so much.  Maybe it’s the time of year, or perhaps it’s because I really needed to bake something beautiful.  Regardless, we all enjoyed it.  I learned recently that Abraham Lincoln served blackberry pie at his first inaugural luncheon, and I’m sure that’s what planted it in my head.  So when I saw delicious looking blackberries at the store on a snowy February day, I did what any sensible person would, and bought some.

Now we have a new favorite pie recipe that I’ll probably make every February.   Yum!  More than that, I feel like if I’m doing things at home to celebrate and discuss holidays like President’s Day and Martin Luther King Day, then my kids will be more likely to appreciate the “why” of these important days.  Baking this blackberry pie created an opportunity for good discussions about what these men have contributed to our country, and how we can honor them as citizens today.   I want these holidays to be more than just a day off school for them.  And of course, it helps that everyone loved the pie so much.  (My oldest son came to wake me up and thank me for it when he got home from work and tried it.)  So, now I’m sharing it with you!

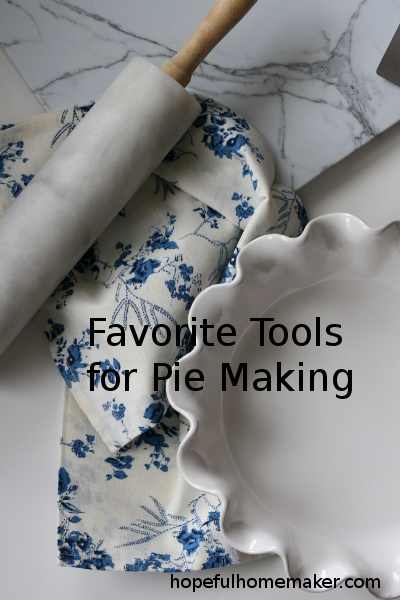
I’m going to share my recipe, with a couple of thoughts.  I used instant tapioca in mine to thicken the filling but you could substitute corn starch.  Also, I increased the berries because my favorite pie dish is my Emile Henry ruffled 10″ ceramic dish and I wanted more filling.  For a regular pie dish, only 4 cups of berries should suffice.


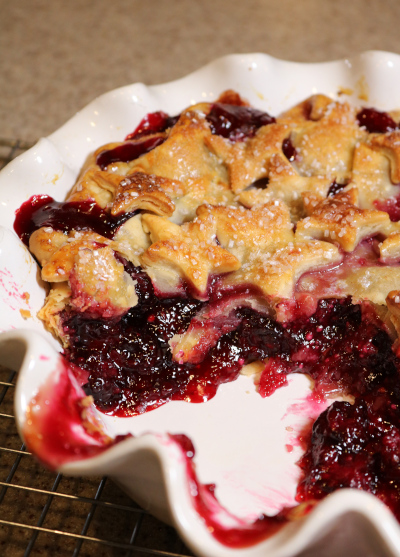
Blackberry Pie Recipe
5 cups fresh blackberries, rinsed 1 cup sugar 1/3 cup instant tapioca 1/4 tsp salt 1/4 cup water 1 tsp lemon juice 2 Tb butter Dough for double pie crust 1 egg Cinnamon sugar or sugar crystals In medium saucepan, combine the sugar, tapioca, and salt.  Add 1 cup blackberries, 1/4 cup water, and lemon juice, then mix gently.  Cook and stir over medium heat until the berries burst and the mixture is gently boiling.  Remove the pan from the heat and gently stir in remaining berries.

Roll out one pie crust to 1/8″ thickness and gently place in pie pan.  Spoon berry mixture into pie crust and dot with the butter.

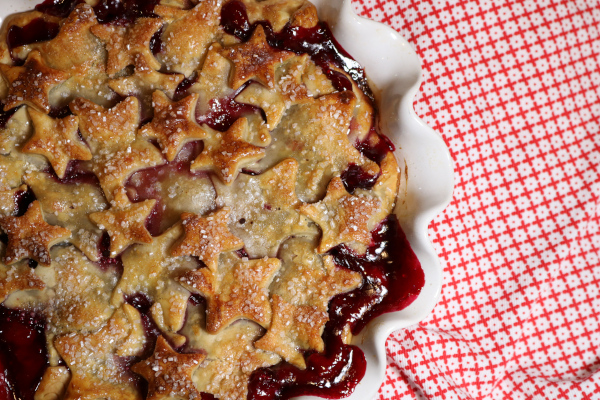
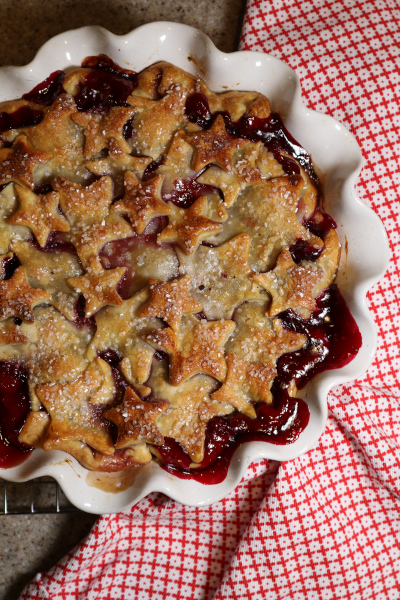
Roll the second pie crust to 1/8″ thickness.  Using cookie cutters or a knife, cut stars of various sizes and place them over the berry mixture until it is covered.  I started with larger stars, then medium, and used the smallest stars to cover tiny holes at the end.

Beat the egg in a small bowl, and brush over the pie crust gently.  Sprinkle with cinnamon sugar or sugar crystals.

Bake at 400 degrees for 35-40 minutes or until crust is golden brown and the filling is bubbly.  Cool on a wire rack, and serve with ice cream or whipping cream.  It is delicious warm or cold!

(recipe adapted from Taste of Home) 
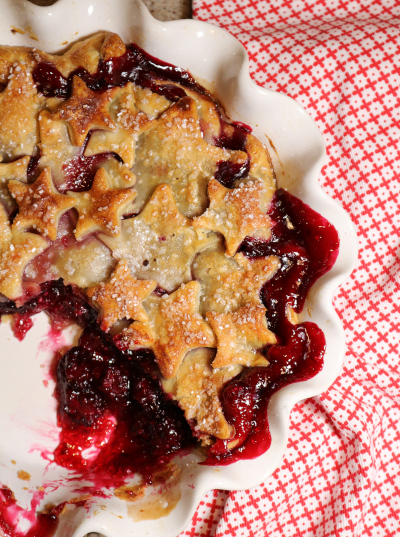
I hope you enjoy this blackberry pie!  Happy baking!

(No-fry) Fried Ice Cream Dessert

My mom started making this dessert when I was a girl, and we still love it.  It has the delicious crunch and taste of fried ice cream, except there’s no frying involved and you can make it in 20 minutes.  This no-fry fried ice cream dessert is one of my favorite go-to recipes when hosting a party or taking dessert to a gathering.  The ingredient list is short and simple, it can be made in advance, and everyone always asks for the recipe.  Today it is my gift to you.


No-fry Fried Ice Cream Dessert
Ingredients:

3 1/2 cups crushed Rice Chex cereal 3/4 cup butter 1 1/2 cup brown sugar 1 cup shredded coconut 1 (8 ounce) package slivered or sliced almonds 1/2 gallon vanilla ice cream, softened (the kind in the box works best) fresh or frozen fruit, or chocolate sauce for topping Directions:

Remove ice cream from freezer to soften.  Crush cereal and set aside.   In a large saucepan, melt butter over medium-low heat.  Add brown sugar and mix well.  Remove from heat and stir in coconut and almonds, then add cereal and mix well to be certain everything is coated with sugar mixture.  Spread half of the cereal mixture into the bottom of a 9×13 pan and press gently.  Open box of ice cream by unwrapping box from around the ice cream.  With a large knife, slice ice cream into slices about 1″ thick and lay across the cereal mixture in pan.  (I usually have to cut the last slice or two into smaller segments to fit.)  Sprinkle remaining cereal mixture over ice cream.  Cover and freeze for at least 3 hours before serving.  Serve with fresh or thawed fruit, hot fudge, or any other topping.  Serves 15-20, depending on serving size.


A few notes:  When preparing this dessert, I usually check in advance with guests to be sure there are no allergies to almonds.  If you need to omit the nuts, simply add a little more coconut to the pan.  In the summer, we eat this with fresh fruit.  In the winter I serve it with hot fudge sauce and berries so my guests can choose their topping.  It looks especially pretty in an Emile Henry pan (my favorite baking dishes, which also make lovely gifts).


This no-fry Fried Ice Cream Dessert is always a crowd pleaser.  It’s also a win for the hostess:  it looks beautiful when served, feeds a crowd, can be prepared in advance and in just a few minutes, and has a short and inexpensive ingredient list.  It’s a winner!


I hope you’ll try this dessert for yourself, and I hope it saves you time and stress!  If your family is like mine, you’ll be making it for years to come.

Happy hosting!
Jennifer

Favorite Pie Making Tools


Over the years I’ve made a lot of pies.  I now have a small collection of tools I love to use when I make a pie, and today I’m sharing them with you!  So without further ado, here is the Hopeful Homemaker list of favorite pie making tools!

  1. I’ve had my marble rolling pin for more than 20 years and I wouldn’t use anything else.  I love that it’s heavy, which makes rolling dough easier, and the marble also stays cold, which is just what a pie crust needs.
  2. This marble pastry board is convenient, useful and beautiful.  It keeps pie crust cold, and is portable and easily cleaned on those days when the kitchen counters are covered with preparations for a feast.

  3. Parchment paper
    already cut into large sheets has been my favorite kitchen luxury for many years.  I use it for everything, from lining a baking sheet on the rack beneath my fruit pies (like my Dutch Apple Pie ) to catch spills, to rolling up my pumpkin rolls or baking breads and rolls.  This size is the most convenient and I have a drawer in my kitchen just for parchment paper!

  4. Emile Henry pie dishes
    are my favorite to bake in.  They are made in France and the quality is amazing.  The heat retention is superior, yet they can also go directly from the freezer to the oven without any damage.  The glaze on these dishes is extremely hard, and although I’ve had mine for years and served dozens of pies from it, there is not a scratch to be seen and they still look new!  I gave one to my Mother-in-law several years ago and she has loved hers as well.  To top it off, they’re gorgeous.  I cannot recommend these dishes highly enough.
  5. A good tart pan with removable bottom is helpful for non-traditional pie recipes like my Chocolate Pecan tart .  I use these pans for many recipes and love them.
  6. A sturdy pastry cutter is a must-have!
  7. I love my dough scraper .  It’s really handy for unsticking any section of dough that sticks to my pastry board when I’m ready to transfer it to the pie dish.

Of course, the most important part of any pie is quality ingredients (including good baking flour) and good flavor, but these tools make pie-making easier and more fun.  They are durable (I’ve had all of mine for years) and beautiful.  What tools can you not do without when you’re baking?  Please share in the comments!

Happy baking!
Love, Jennifer

1 2 3 23