Lone Star Tree Skirt Sew Along Finish

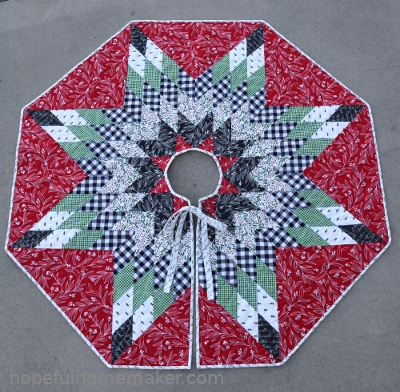
Here we are, at the end of the Lone Star Tree Skirt Sew Along!  I’m checking in today to share my finished Lone Star Christmas Tree Skirt.  If you’re not finished yet, don’t stress!  There is plenty of time to finish, or start one before the Christmas rush.  Please join us!  The tree skirt pattern is available here .


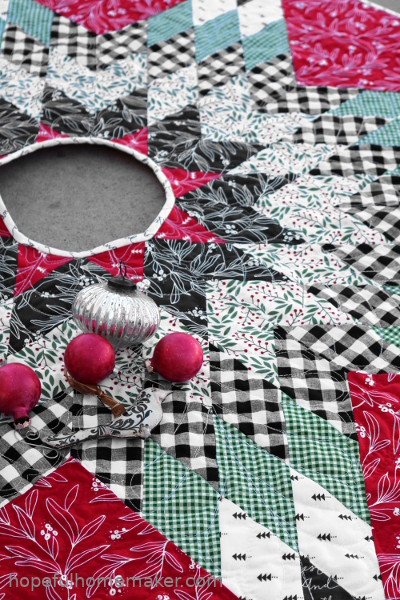
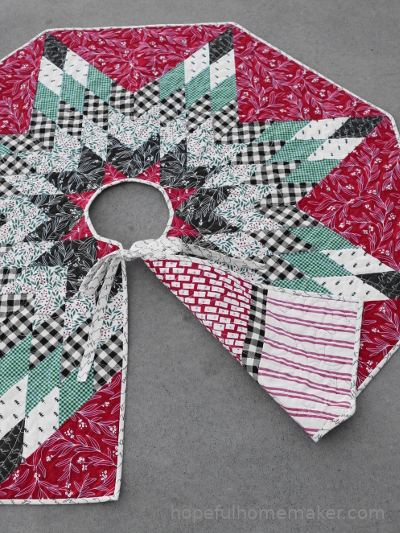
I finished the binding and tied a pretty bow, and promptly wished for a tree to wrap it around.


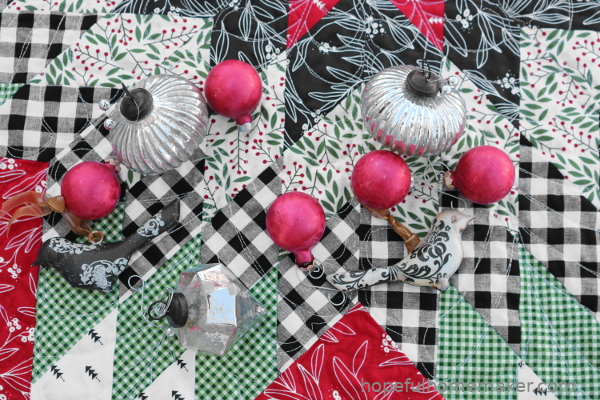
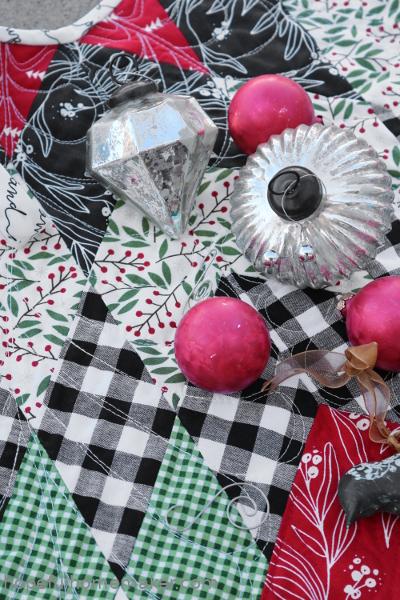
Instead, I contented myself with pulling out a few vintage ornaments.


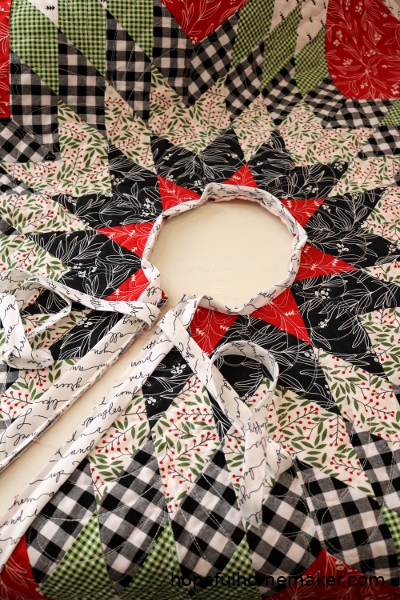
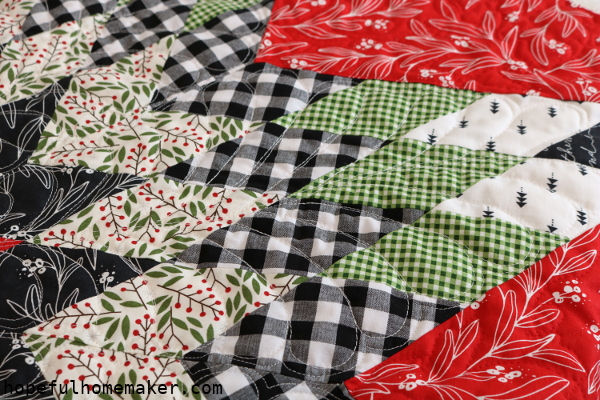
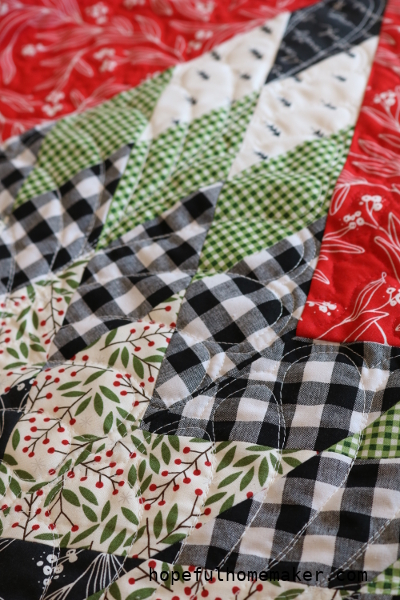
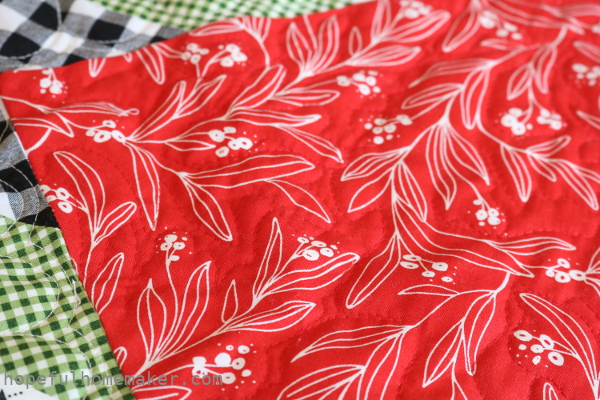
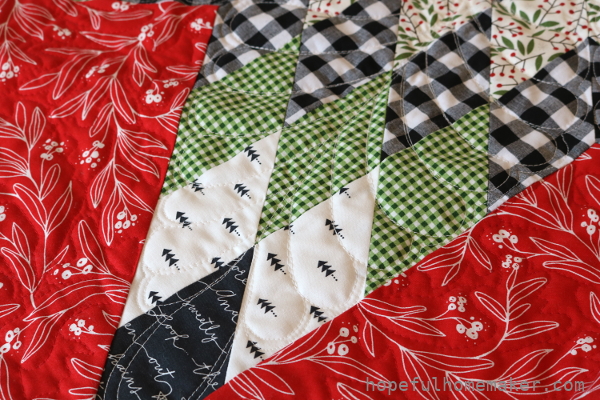
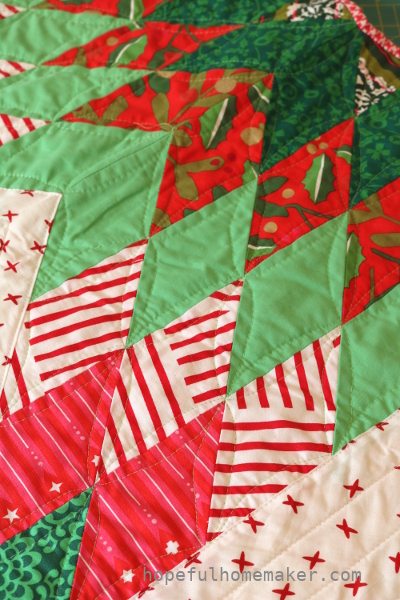
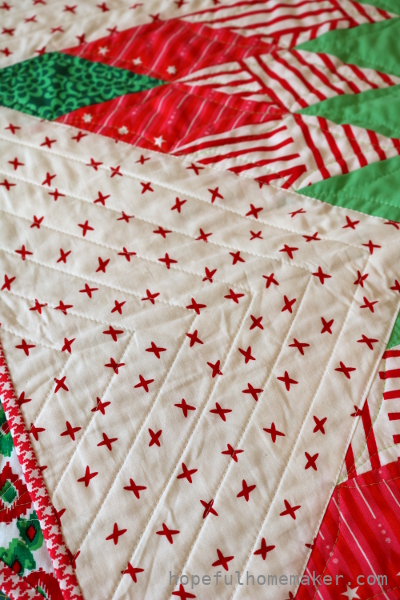
This project has been a fun one for me.  I added black to the mix, tried new things with my quilting, and got comfortable with this view:


It turns out it’s fun to try new things, including staring at a video camera.  (Especially if something pretty, like a finished quilt project, comes of it) 
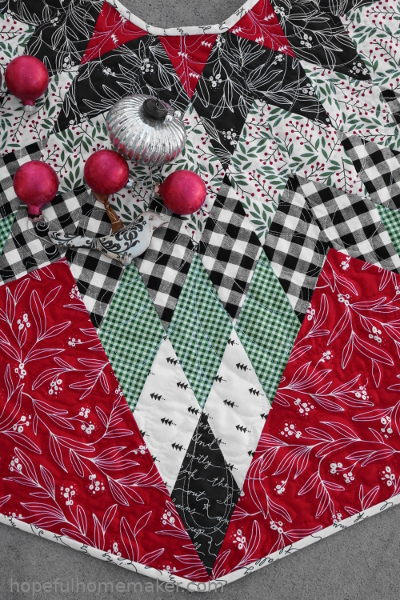
For some reason the ties on this project kind of melt my heart.

No idea why, but they do.


I want to say THANK YOU to all of you who have sewed along with me!  Thanks for your encouragement, your feedback, your questions, your photos, and for purchasing the pattern.


I hope this sew along has made the lone star quilt block less intimidating, and that you’ve enjoyed making one.

As a thank you, I’m offering a 20% discount on all patterns in my Etsy Shop through January 1, 2020.  Just use coupon code THANKYOU2019.

Please share your finished Lone Star Tree Skirts with the hashtags #lonestartreeskirt and #hopefulhomemaker because I love seeing them!

Remember that all posts for this project can be found on the Lone Star Tree Skirt Sew Along page.  The videos will remain on my blog for your reference.

Happy Sewing!
Love, Jennifer

Lone Star Tree Skirt Sew Along: Cut Center and Bind

Welcome back for week five of the Lone Star Tree Skirt Sew Along!  Here we are in the last week of the sew along and we’re finishing our tree skirts!  Don’t worry if you’re behind or just beginning.  It’s a fairly fast project and there is plenty of time to make one before the Christmas rush.  Please join us!  The tree skirt pattern is available here .

Last week
we quilted our lone stars.  This week we will cut them to make a tree skirt as well as make a continuous bias binding and ties to finish the project.  There are three videos this week.  The first demonstrates how to cut your quilt to make a tree skirt.

https://youtu.be/WSBcpi_2-0s This second video covers making a continuous bias binding.

https://youtu.be/VS-WldPHeG0 Here is the formula I use to figure out fabric requirements for continuous bias binding. Total inches of binding needed x width of binding = square inches of fabric needed.  Then divide square inches of fabric by the length of your rectangle, to get the width of fabric you need to make your binding.
First, measure the number of inches around the perimeter of your quilt.  For this project, including extra fabric to make your ties, you want 275 inches of binding.

Multiply the total inches of binding needed x the width of your binding.  I prefer a 2.25″ binding, so for me that’s 275 x 2.25 = 618.75.  The answer is the total number of square inches of fabric you need for the binding.  If you like a 2.5″ binding, then 275 x 2.5 = 687.5.  Next, take that total and divide it by the length of your fabric (in my case, the width of fabric, which I’m estimating at 38″).  618.75 divided by 38 = 16.28, which I round up to the next whole inch, or 17″.  To make a 2.25″ wide continuous bias binding that is at least 275″ long, I need a rectangle of fabric that is 38″ x 17″.  For a 2.5″ binding, 687.5 / 2.5 = 18.09, and round up to 19″, or a rectangle 38″ x 19″.

Finally, the third video covers attaching your binding and making the ties for your tree skirt.

https://youtu.be/A48CqAU6dmQ My tree skirt has the binding and ties attached and I’m looking forward to a little quiet time to hand stitch it down to the back of the quilt.


That’s it for this week!  Have fun finishing your lone star tree skirt.  Next week I’ll share my finished tree skirt with the binding finished.  Please share your progress with the hashtags #lonestartreeskirt and #hopefulhomemaker because I love seeing them!

Remember that all posts for this project can be found on the Lone Star Tree Skirt Sew Along page.

Have a great week, and happy sewing!
Jennifer

Lone Star Tree Skirt Sew Along: Quilting

,Welcome back for week four of the Lone Star Tree Skirt Sew Along!  Here we are in the last week of October and we’re already so close to finishing our tree skirts!  It’s a fairly fast project and there is plenty of time to make one before the Christmas rush.  Please join us!  The tree skirt pattern is available here .

Last week
we finished piecing together our lone stars and we have a finished quilt top.  This week we will quilt them.

Today’s video is a little different.  Instead of a demonstration, I’m just talking about how I quilted both of my tree skirts.  You can do something similar, or use your own idea.  I encourage you to have fun with this and stretch a little.  You can also have yours professionally quilted, but it will probably delay your finish – and remember we will be cutting right into the center of the finished quilt!  That was good incentive for me to be brave and quilt my own.

https://youtu.be/5CJjr80Age4 In case you want another look at the quilting on mine, below are a few photos of my tree skirts for you to reference.  Remember, there is no right or wrong – have fun!

First up, I quilted one large feather in each of the eight diamonds of my star.


In the background I switched to a red thread and simply quilted around the pretty mistletoe print on my fabric.


I was nervous about both patterns but they look nice together and I’m satisfied with how it turned out.


For my original tree skirt, I quilted the diamonds in the star with a traditional orange peel design.


The backtround I quilted in straight lines with my walking foot.  To see more photos of my original tree skirt and the quilting on it, click here .


That’s it for this week!  Have fun quilting your lone star, and get ready to be brave next week when we turn them into tree skirts.

We will meet back here next Monday for week five of the sew along.  Please share your progress with the hashtags #lonestartreeskirt and #hopefulhomemaker because I love seeing them!

Remember that all posts for this project can be found on the Lone Star Tree Skirt Sew Along page.

Have a great week, and happy sewing!
Jennifer

1 2 3 8