Sweet Dreams Lone Star: Adding Applique

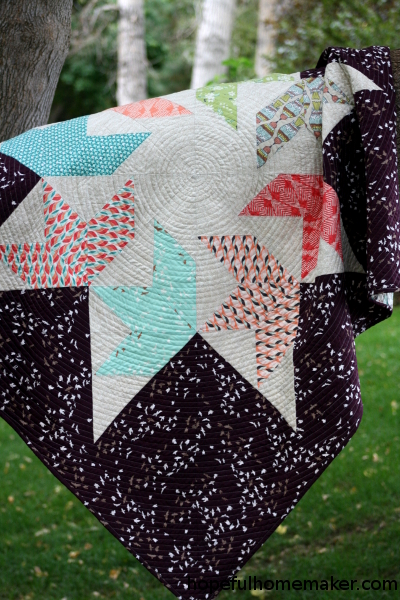
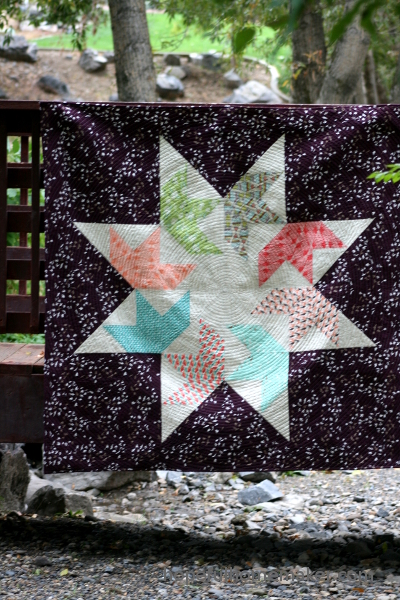
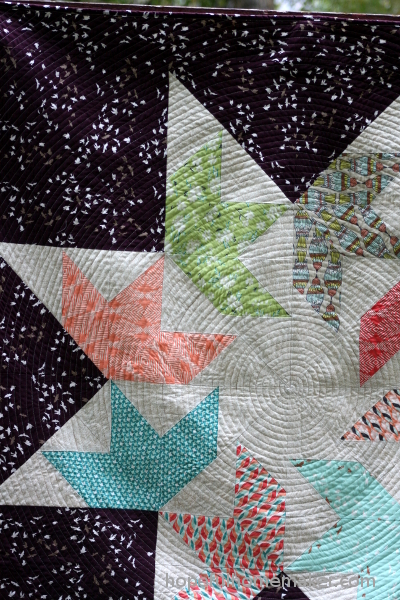
You may remember my unfinished lone star from a few weeks ago.  I sewed the diamonds together with the yellow in the center because I like the light pink round.  But my Sweet Dreams lone star will be getting another layer.


Adding applique to the quilt will obscure the star somewhat, which isn’t typically what we do with lone stars.  They’re so bold, and it’s fun to show off the perfect points, but I’ve made a lot of them and I’m ready to try something new with this one.


I bought the In Bloom acrylic templates by Anna Maria Horner and made a long length of bias binding to use as the stem.  I struggled with color until I decided to go with something light instead of green.  This applique layer needs to add more light and dark values to my quilt.


At this point I’m still playing with the floral design.  Nothing is stitched down and I’m having fun cutting shapes from my fabric stash.  I like the floral design at the tips of the star, and the vine, but I need to work out what to do in the center of the star.  I also want to add more in the background.  This not knowing used to scare me, but now I love it.


It takes time to let a project unfold like this, but it is also an invigorating creative experience.  I am waiting for more of that purple floral to arrive so I can continue with my plans.  This project should provide me with pleasant hand stitching time during the winter.


Again, I feel pulled to make things in ways I’ve not done before.  I hope that this sweet dreams lone star project will be a rewarding and beautiful one.  (Fingers crossed!)  Either way, I’m growing, and that’s what matters!

Lone Star Tree Skirt Sew Along: Cut Center and Bind

Welcome back for week five of the Lone Star Tree Skirt Sew Along!  Here we are in the last week of the sew along and we’re finishing our tree skirts!  Don’t worry if you’re behind or just beginning.  It’s a fairly fast project and there is plenty of time to make one before the Christmas rush.  Please join us!  The tree skirt pattern is available here .

Last week
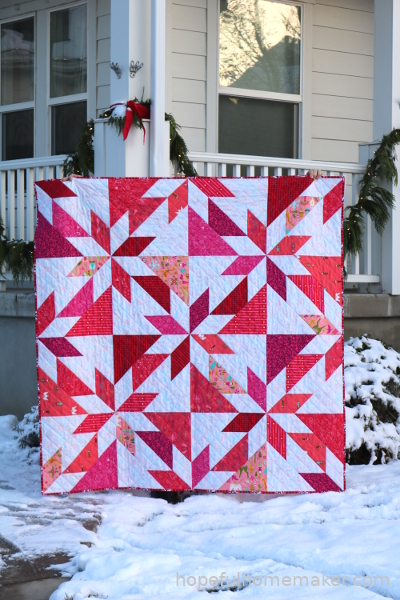
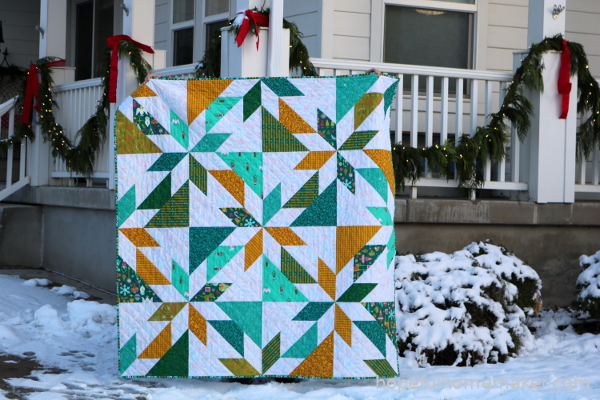
we quilted our lone stars.  This week we will cut them to make a tree skirt as well as make a continuous bias binding and ties to finish the project.  There are three videos this week.  The first demonstrates how to cut your quilt to make a tree skirt.

This second video covers making a continuous bias binding.

Here is the formula I use to figure out fabric requirements for continuous bias binding. Total inches of binding needed x width of binding = square inches of fabric needed.  Then divide square inches of fabric by the length of your rectangle, to get the width of fabric you need to make your binding.
First, measure the number of inches around the perimeter of your quilt.  For this project, including extra fabric to make your ties, you want 275 inches of binding.

Multiply the total inches of binding needed x the width of your binding.  I prefer a 2.25″ binding, so for me that’s 275 x 2.25 = 618.75.  The answer is the total number of square inches of fabric you need for the binding.  If you like a 2.5″ binding, then 275 x 2.5 = 687.5.  Next, take that total and divide it by the length of your fabric (in my case, the width of fabric, which I’m estimating at 38″).  618.75 divided by 38 = 16.28, which I round up to the next whole inch, or 17″.  To make a 2.25″ wide continuous bias binding that is at least 275″ long, I need a rectangle of fabric that is 38″ x 17″.  For a 2.5″ binding, 687.5 / 2.5 = 18.09, and round up to 19″, or a rectangle 38″ x 19″.

Finally, the third video covers attaching your binding and making the ties for your tree skirt.

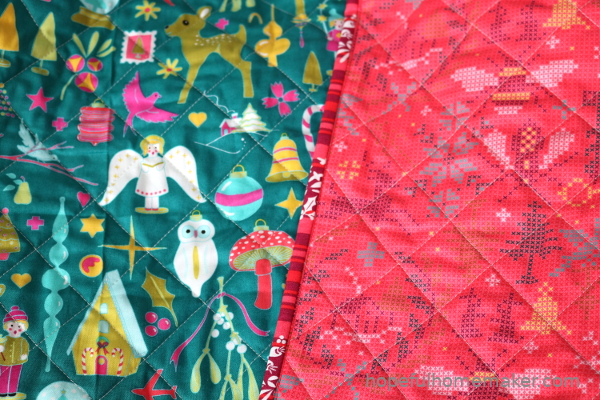
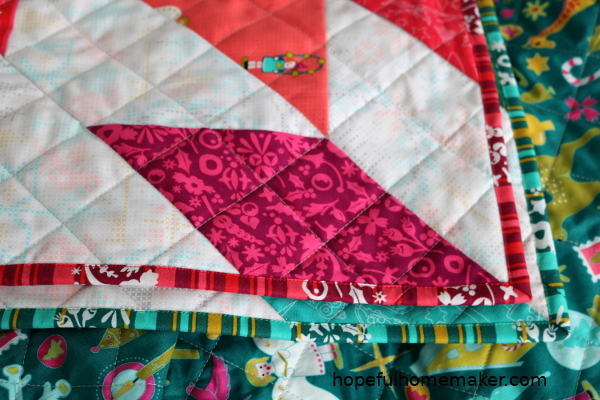
My tree skirt has the binding and ties attached and I’m looking forward to a little quiet time to hand stitch it down to the back of the quilt.


That’s it for this week!  Have fun finishing your lone star tree skirt.  Next week I’ll share my finished tree skirt with the binding finished.  Please share your progress with the hashtags #lonestartreeskirt and #hopefulhomemaker because I love seeing them!

Remember that all posts for this project can be found on the Lone Star Tree Skirt Sew Along page.

Have a great week, and happy sewing!
Jennifer

Courage to Start: a log cabin block

For a year or two I have had an idea in my heart.  I want to make a quilt about some circumstances and experiences that have impacted my life.  The idea has a name and story; I’m just not sure how to make it turn out in fabric the way I feel about it in my heart.  So I delayed, but it hasn’t gone away.  Along came a moment that is burned into my memory, and it gave me courage to start.


This log cabin block represents that moment.  I realized that what I need, more than a pretty quilt, is the experience of making.  I need to try.  Does it matter if the outcome is something I’ll ever share?  Of course not.  That’s part of creativity.  Sometimes we make to learn, to experiment, to find our voice, and we know we will probably throw it away.


Last weekend I attended the studio show of a local artist whose work speaks to me.  Someone asked her about her creative process and how she found her creative voice.  One part of her response was that she bought a big pack of canvases to paint on and told herself that every one of them was intended for the trash.  She gave herself permission to paint something ugly.  Then she said, “I never made it through all the canvases because I started painting things that felt like me.”  I love that.


This log cabin block isn’t actually a part of the picture I have for my project but I realized I can make as many versions of my idea as I need to.  What matters is that I answer the call to try.  I’m sure the experience will be therapeutic, and I’ve got plenty of fabric, so it’s OK to make something ugly.  It’s part of the process, but it’s only a process if we find courage to start.

1 61 62 63 64 65 523