Light Quilt

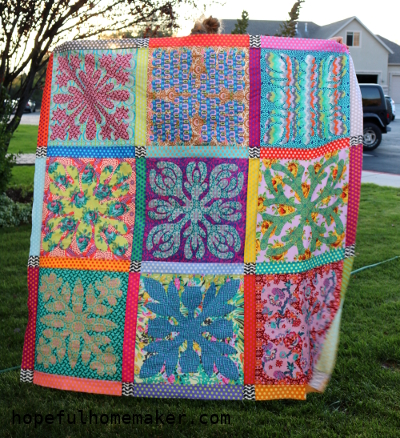
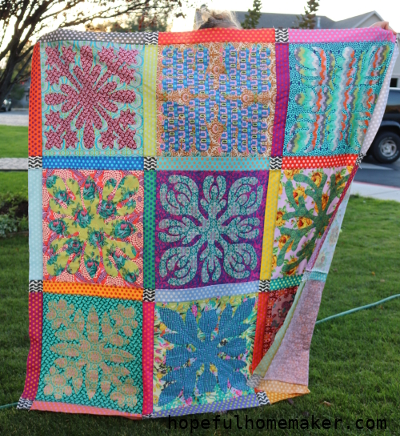
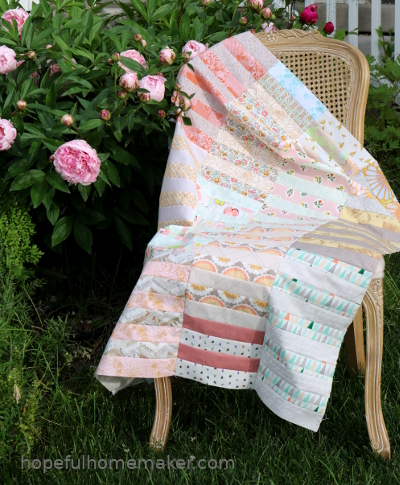
Last year I shared the story and process behind the making of my Light quilt top and today I’m here to share the finished quilt.  It took me a year and a deadline to summon the courage to quilt this myself.  I was afraid I’d ruin it.  Afraid I’d diminish it’s beauty.


I was wrong.  I simply finished it’s story.


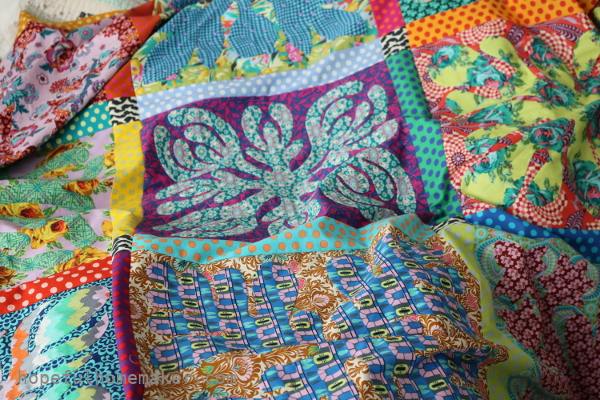
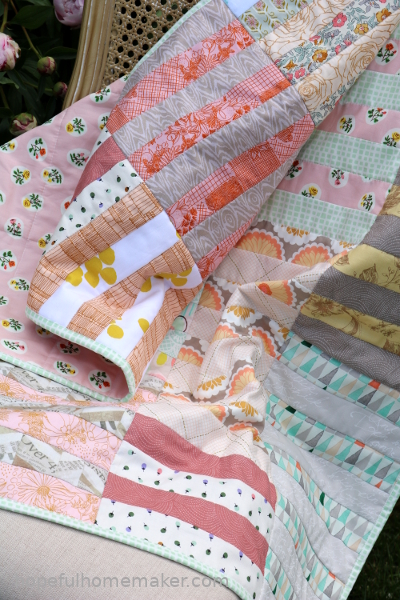
The part of the quilt that intimidated me most was the large area in the middle of the quilt.  Mostly white and largely negative space, I had no idea what to do with it.  Then I quilted my Botanics Quilt and realized I could use the same approach here, so I went to work.


I worked my way from section to section, pushing myself to be brave even if my lines looked wobbly.


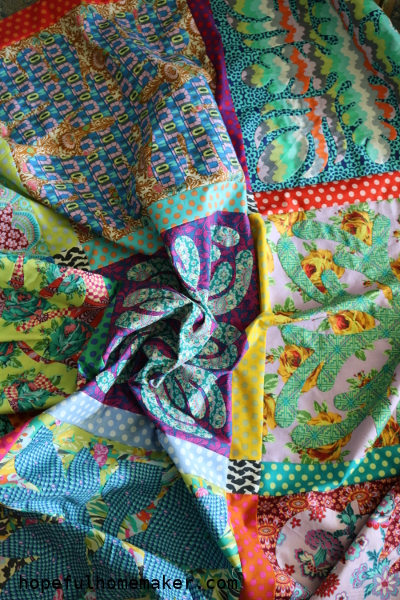
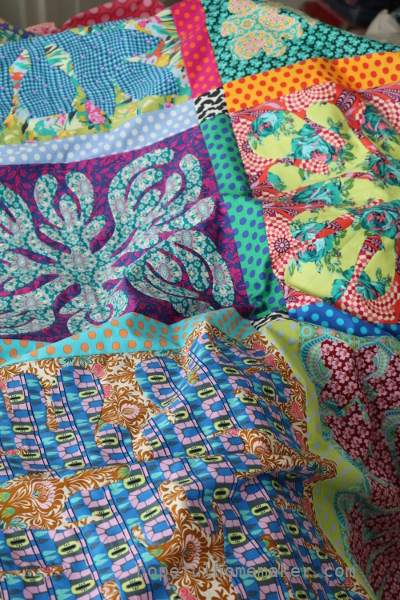
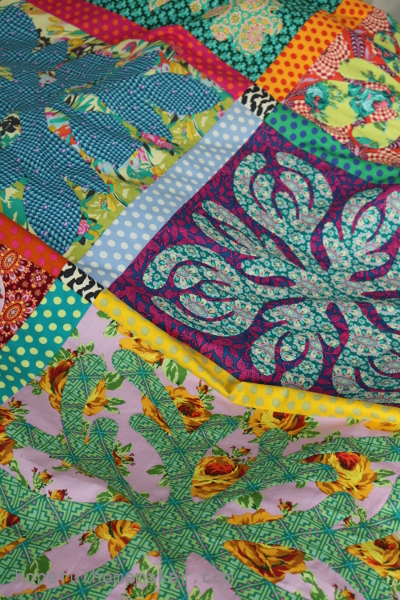
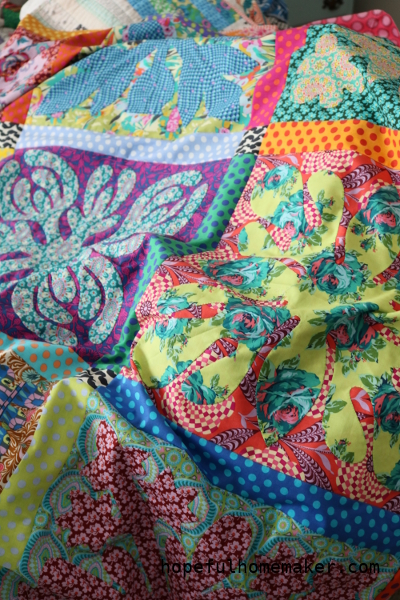
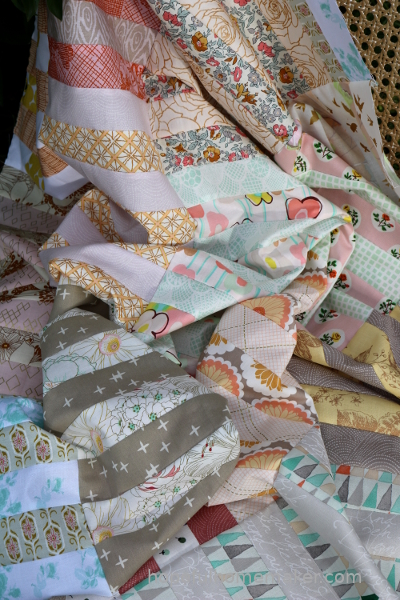
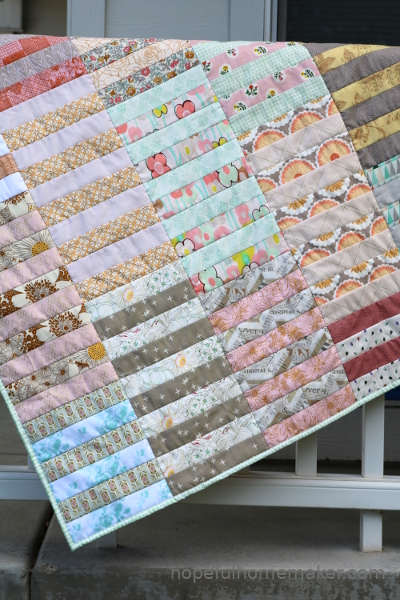
In some cases I followed the pattern on the fabric or the seams.  Everywhere else I tried to “freehand” some “straight” lines.  I’ve seen this called organic straight line quilting and I love the way the word organic covers for all the flaws.  The quilting on my Light Quilt is very organic.


Now the quilt is out of the closet, finished and useful.  It hung in the Garden of Quilts a few weeks ago.  What pushed me to finish in time was the chance to showcase my friends and their combined work.


I look at it and marvel that they made something so beautiful for me.  While my quilting is not as good as their design and piecing, it is part of my journey and growth as a quilter.  I decided there is nothing wrong with having quilts that tell the story of the journey.


Even with the mistakes it’s awfully pretty to look at.  Like the Botanics quilt, I’m finding this style of quilting to be very forgiving while motivating me to improve.


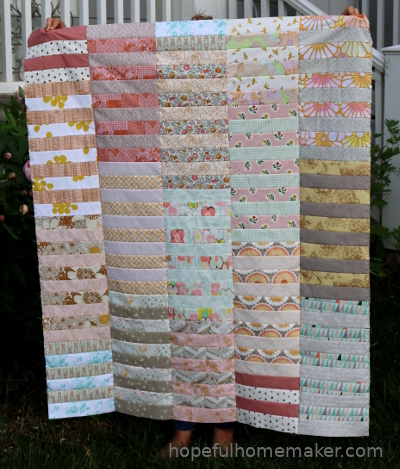
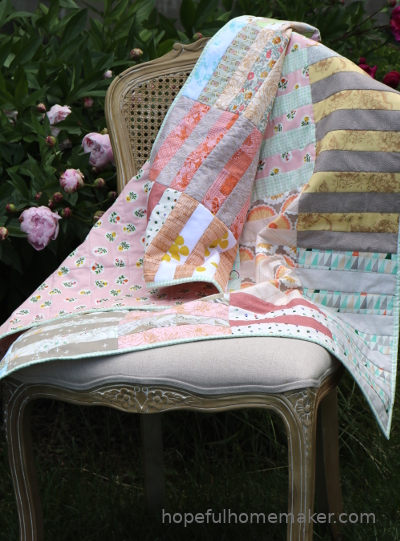
The quilt is huge.  It measures approximately 73″ x 96″ and is the largest quilt I’ve done such dense quilting on myself.


I started with that sunburst block above and Jill finished with a perfect fade from light to dark at the bottom.


I had big plans for my label but ran out of time to embroider all of it so part of the information is just written in Sharpie.  Their names are on the quilt and that’s what matters most.


The making, the message, and the friendships captured in this quilt make it a treasure to me.  I am more blessed than I deserve!

Lone Star Tree Skirt Sew Along: Cut & Sew Strips

Welcome to the Lone Star Tree Skirt Sew Along!  Today is the official start of our five week project.  You have your copy of the pattern and your fabrics chosen.  (If you missed the first video about choosing fabrics, you will find it here .)  Whether it’s your first lone star project or your 100th, we’re going to have a great time.  It’s time to start!

Week one covers the first six steps in your pattern, cutting and sewing strips and then cutting them again to make strips of diamonds.  These steps are simple but require accurate cutting and sewing, as well as care in keeping your fabrics organized.  I shared all my tips in the videos below and I hope you find them to be helpful.

(Note: I neglected to include ironing instructions in the pattern, which has been fixed.  Please watch for those in the videos!  If you download the pattern from your Etsy account again, you should have the updated version.)

There are two videos this week.  The first covers cutting, pressing, and arranging your long strips together into sets:

This second video demonstrates how to sew your strip sets together, press seams open, then cut them into diamond strips:

That’s all there is to it!


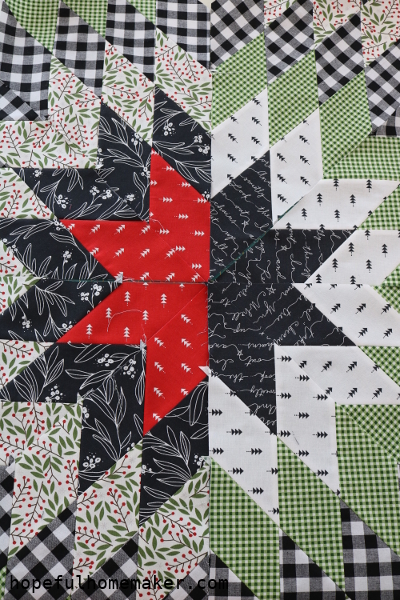
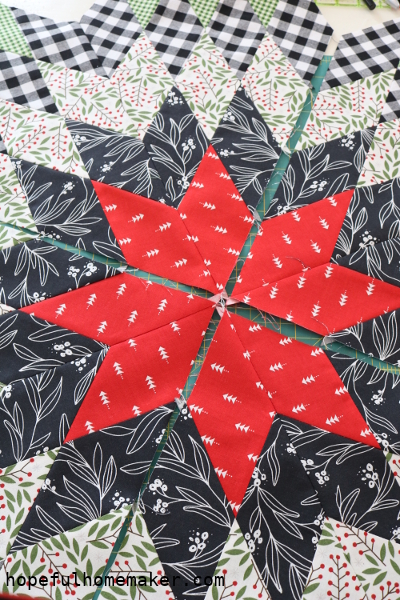
I love seeing the pattern begin to emerge when all my diamond strips are cut.  Our goal this week is to have 8 sets of diamond strips ready to sew into larger diamonds.  I’m excited about the black in my fabric pull and can’t wait to see these strips come together.

You can purchase a pattern here.

We will meet back here next Monday for week two of the sew along.  Please share your progress with the hashtags #lonestartreeskirt and #hopefulhomemaker.  I’ll be watching for them!

Remember that all posts for this project can be found on the Lone Star Tree Skirt Sew Along page.

Have a great week, and happy sewing!
Jennifer

Sisterhood Block Swap

To celebrate International Women’s Day last March, Berene (the genius behind Happy Sew Lucky Shop on Etsy) released a Sisterhood Block and organized an international swap.  I wanted to swap with friends, so eight of us organized our own Sisterhood block swap.


We started with several ideas for guidelines and I made the block above as a test block.  It was easier and faster than I expected.  We made the 16″ block, and each person made one of the triangular wedge sections for the block.  I discovered when printing the pattern that pieces for both left and right wedges print on one paper, so we printed 8 copies of the pattern to save paper and waste less.  I cut and clipped the sections together and distributed them to everyone.  When we swapped as a group, our only requirement was that the dress be Liberty tana lawn.


Each of us made eight of the same section with low volume backgrounds and when we swapped them I couldn’t wait to see how they looked together.  I sewed my block together immediately.  The Liberty dresses are beautiful!


My test block also came together with bright colors and a fun pinwheel pattern in the center.


I like both blocks, but my favorite is the one on the left.  It represents our group of eight women who sew together every month, but our friendships encompass much more than sewing.  This block represents strength, unity, support and kindness. I have been so blessed by this group.


I plan to make our Sisterhood swap block into a mini quilt for hanging in my studio but I have no idea what to do with the test block.  Any suggestions?


This pattern is a great way to celebrate friendship.  It’s well written and easy to follow.  I highly recommend it!

1 65 66 67 68 69 523