Children’s picture books have been a passion of mine for many years. Having spent many hours reading aloud to all eight of my children, I have amassed a collection of books that are a treasure to me. Children’s Christmas picture books are in a category all their own, and I love them dearly! In fact, I’m a firm believer that we never grow out of the need for nourishment through stories, and I also believe that Christmas stories are one of the fastest, most powerful ways to center our hearts on the true meaning of Christmas. After years of collecting, reading, and sharing lists with friends, I’m finally sharing my favorite children’s Christmas picture books here.
This list is in no particular order; we love them all. You will find some that have been classics for many years (for good reason!) and hopefully some you’re less familiar with. In a few cases I’ve included books that are out of print and therefore hard to find because they’re just too good to leave out. Many teach a lesson and a few of them are simply fun to read. All of them are books my children fondly read each year when I pull them out. Although our age range is now 8-20, we still gather as a family in the evenings to read these stories aloud, just like we did when the children were so little that they could all pile on one chair to read. These are stories I hope my children want to share with their children someday, and I look forward to many “Season’s Readings” with grandchildren in the years to come.
Let’s get started!
Hopeful Homemaker Favorite Children’s Christmas Books 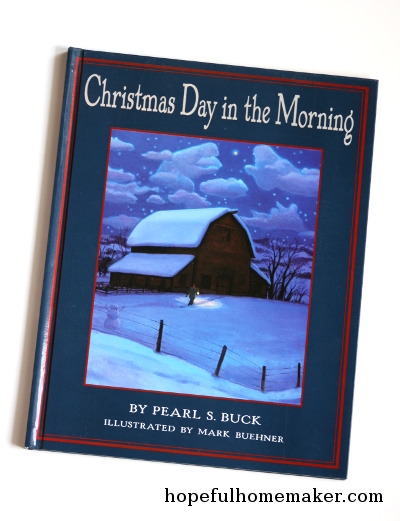 Christmas Day in the Morning , by Pearl S. Buck, is the beautiful story of a farm boy who wanted to give his father a gift for Christmas. It’s Christmas Eve and Rob has no money, so he gives a gift of service that neither he nor his father will ever forget. This tender and beautifully illustrated story is the #1 favorite of one of my daughters.
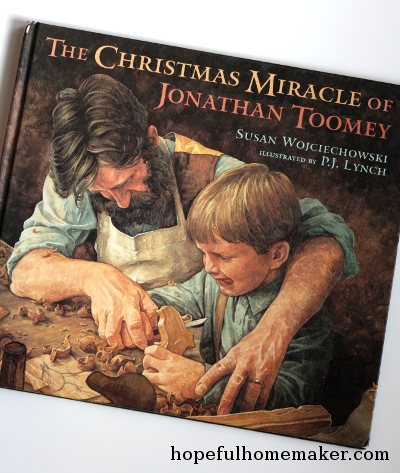
The Christmas Gift of Jonathan Toomey shares the story of a lonely woodcarver whose heart is changed by a special order. As Mr. Toomey carves pieces of a special nativity for the Widow McDowell, her son William also wins the reader’s heart with his observations and corrections of the woodcarvers work. A classic for good reason, this book should be a part of every Christmas library!
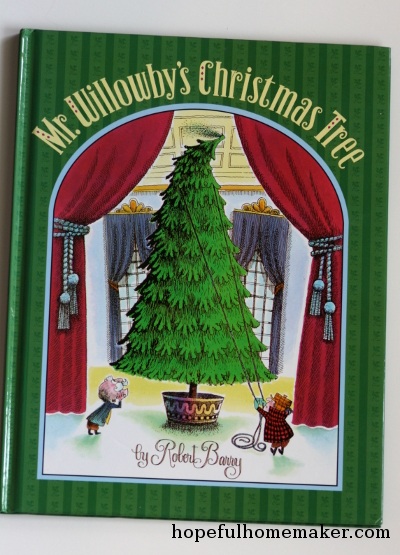
Mr. Willoughby’s Christmas Tree was given to me by a dear friend years ago, and we have loved it ever since. It’s one of the first books my children reach for, especially when we’re putting up our Christmas tree. This charming story illustrates how one tree provides a Christmas tree for many! We really love this one.
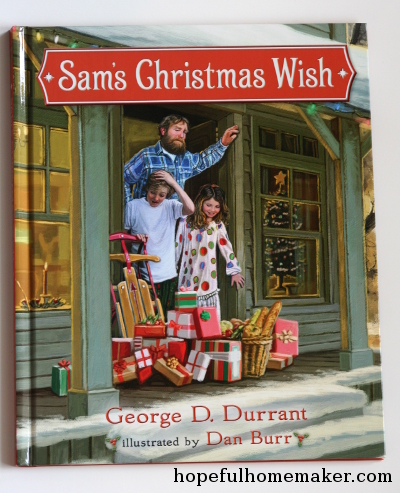
Sam’s Christmas Wish is the story of Sam Edwards. When he loses his job just before Christmas he insists he wants no help for his family. But a mysterious delivery happens anyway and Sam can’t figure out who did it. His heart softens and it becomes Sam’s wish to perform some act of service that cannot be discovered.
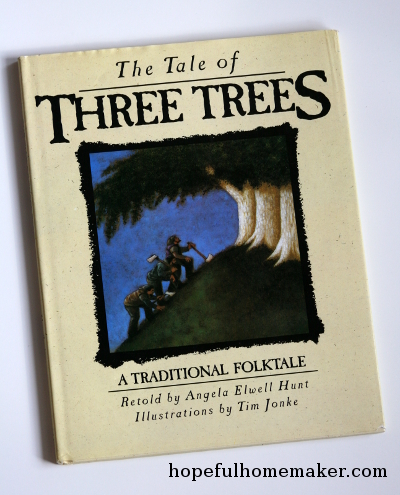
The Tale of Three Trees is a traditional folktale that shares the stories of three trees. Each has a desire to be something special, and their wishes come true in unexpected ways as the fate of the trees become a part of the events of Jesus Christ’s life. I remember my mother reading this book to us when I was a child and I love this book.
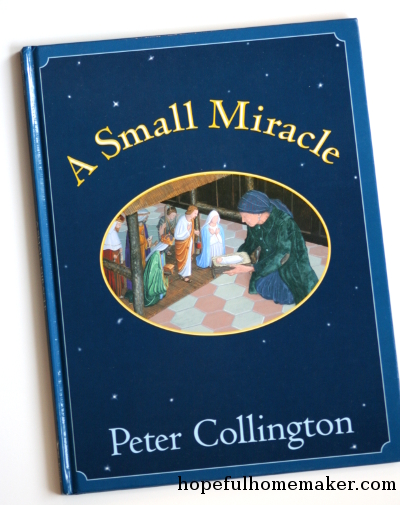
There are no words in A Small Miracle , but the author tells through pictures the story of an elderly woman who uses the last of her strength to stop the vandalism of a church. When she collapses in the snow, the nativity figurines miraculously come to her aid. This book was a gift from a dear friend twenty years ago, and when I ask my family which Christmas book is their favorite, two or three of them mention this one first. Children love to look at the pictures, and little ones enjoy telling the story themselves as they “read” the book. Peter Collington created a real treasure with this unusual book.
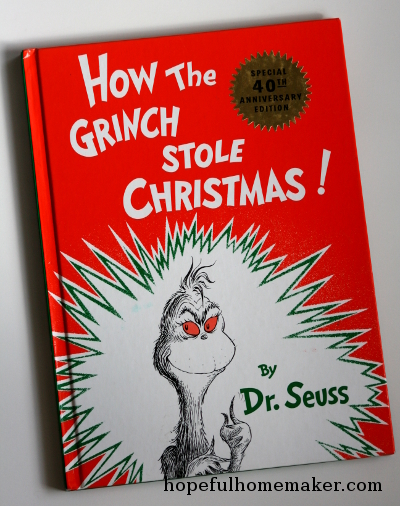
How the Grinch Stole Christmas is a story we all know. Although it’s easy to skip the book and just watch your favorite version of the movie, I love to read the original story to my family.
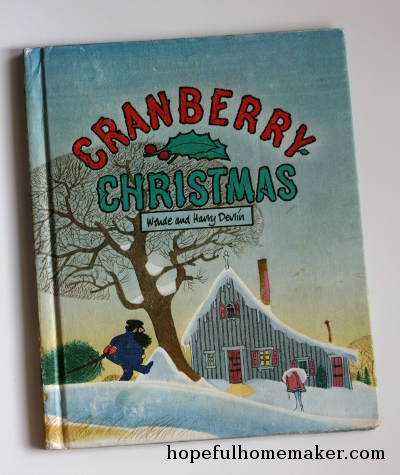
Cranberry Christmas continues the adventures of Mr. Whiskers and Maggie, and shares the happy story of how Mr. Whiskers solved a problem that brought happiness to all the children in town. A companion story, Cranberry Thanksgiving , is included in my short list of favorite Thanksgiving stories . My copy is a vintage one that I tracked down long ago, but I’m happy to report that these books are now back in print!
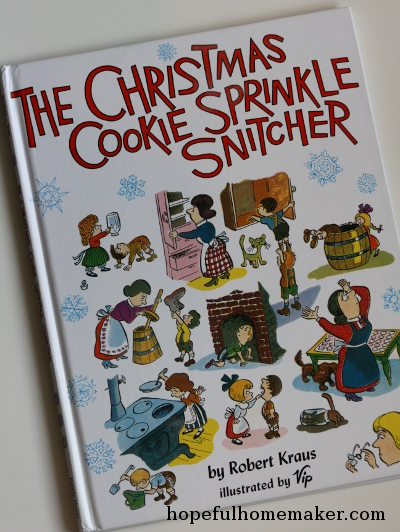
While there’s no lofty message in The Christmas Cookie Sprinkle Snitcher , it is a story my kids love to read aloud. When all the Christmas cookie sprinkles go missing, one brave boy goes on a journey to find the culprit and bring the sprinkles back. With fun illustrations, this is a classic that went out of print and has been back in print for a few years.
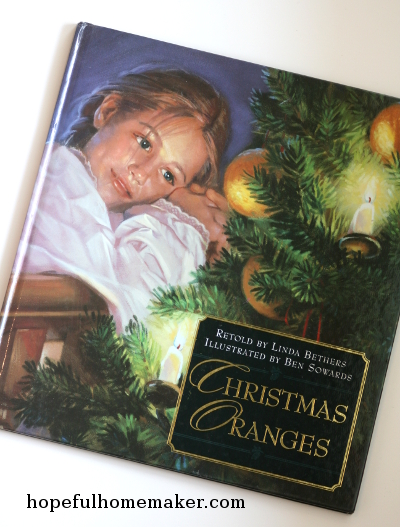
Christmas Oranges is a classic story of an orphan girl who innocently breaks the rule in the orphanage and creeps out of bed to see a Christmas tree for the first time. She is broken hearted when the master of the orphanage punishes her and won’t allow her to have her Christmas orange. How the other children quietly come to her rescue is a story you won’t forget. Every year when I eat my first orange at Christmastime I think of this story and try to imagine what it would be like to experience an orange for the first time. Note: I was sad to discover that this book by Linda Bethers is out of print, and shocked at the price offered for the few used copies I saw at the time of this writing. It appears the story is available in a gift pamphlet format here . It is the #1 favorite of some of my daughters.
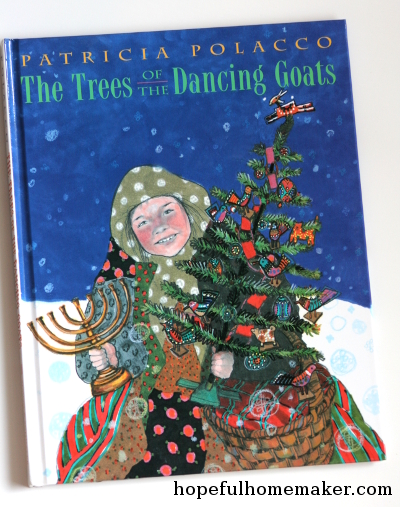
Patricia Polacco is a favorite author and illustrator who pulls into her books many experiences and elements of her Jewish upbringing.
The Trees of the Dancing Goats is no exception. This beautifully illustrated book tells the story of a Jewish family who, during their Hanukkah celebration, came to the aid of their Christian neighbors who were too sick to celebrate Christmas due to an outbreak of scarlet fever. I LOVE this book, and enjoy the portrayal of true friendship and love.
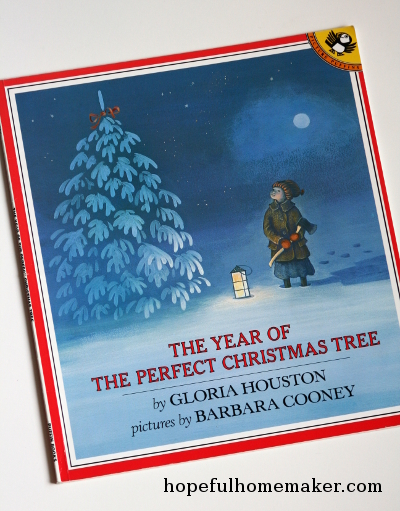
The Year of the Perfect Christmas Tree is a tender story of a girl whose father is away at war, and it is her family’s year to provide the Christmas tree for the town celebration. Without her father home, Ruthie and her mother have no money and don’t know they will get the tree, but they are determined that their family will keep their word. Their efforts are rewarded with a wonderful surprise.
The Polar Express is a Christmas classic, and I much prefer the book over the movie. I love the beautiful reminder to believe, and to treasure our Christmas memories. The 30th Anniversary Edition of the book is lovely.
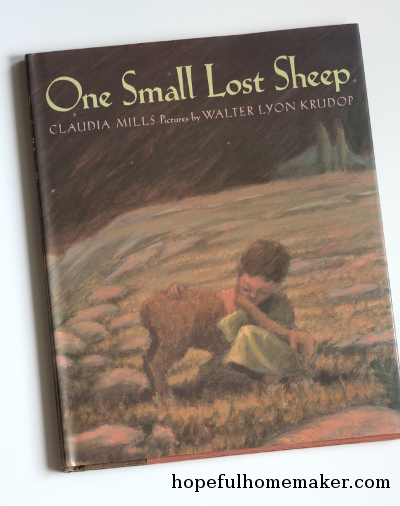
One Small Lost Sheep by Claudia Mills is dear to my heart. It tells the story of a shepherd boy who misses seeing the angels announce the Savior’s birth because he is out searching for his lost sheep. So many beautiful messages are included in this little gem. It is, unfortunately, out of print.
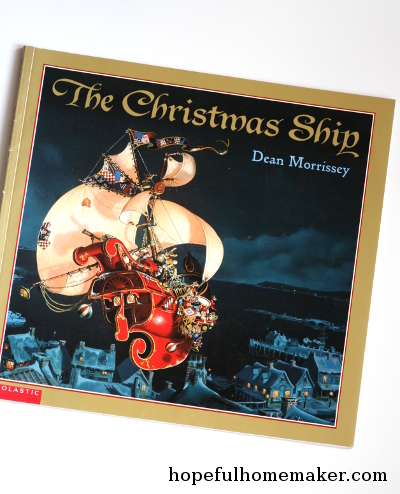
The Christmas Ship is a beautifully illustrated story of a toymaker whose toy shop is condemned by the town Mayor shortly before Santa stops to ask Sam to help deliver gifts. Pushing his own problems aside, Sam delivers gifts all night aboard his Christmas ship, and along the way demonstrates kindness towards the Mayor. I love the illustrations and the message of this story.
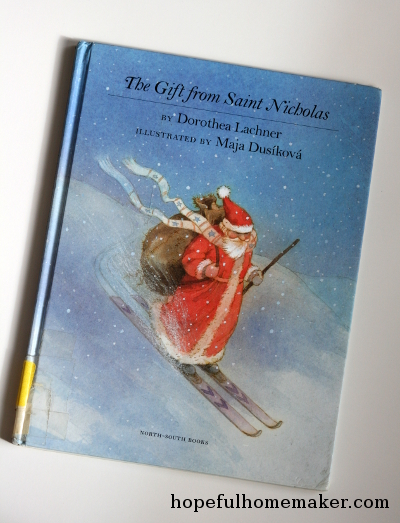
The Gift from Saint Nicholas tells the story of a village that is completely snowed in. Saint Nicholas hears the wish of the children that he will still be able to come, so he hunts for just the right gift, puts on his skis, and leaves a mysterious package in the middle of the village. While the gift is far from what they expected or wished for, it is just the right thing to help them all enjoy a wonderful day. I love the portrayal of simple gifts being just the thing to meet our needs. Sadly, this is also out of print.
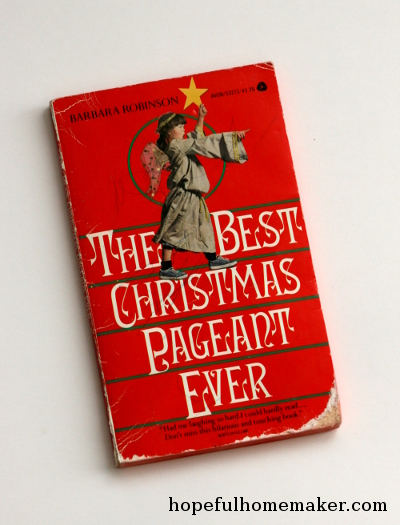
The Best Christmas Pageant Ever is a must-read every year. I love to read it to my children on December 23rd, a night when we let them all spread out blankets in the family room and sleep around the tree. It’s a chapter book, so takes far longer than any of the others listed here, but is a precious story of the unexpected things that can happen, even when the worst kids ever end up with all the lead roles in the city Nativity program. This heartwarming story has been a favorite since it was first published in 1972.
The Night Before Christmas Clement C. Moore’s poem is another classic that countless illustrators have added to in many versions over the years. A few of our favorites of this poem are these:
This gorgeous papercut edition , Jan Brett’s illustrations , and this version with Bruce Whatley’s illustrations is also lovely. I also love Mary Englebreit’s version with her signature illustrations. Whatever version you choose, it’s a lovely book to add to your library and we’ve found that having several different copies only makes us love the poem more.
Non-Christmas Favorites that I read to my kids at Christmas There are three more stories I love to read to my children at this time of year. All tell a historical story in which people met a challenge in courageous ways. Two of them are stories from the Holocaust, and I mean no disrespect by sharing them here in connection with a Christian holiday. On the contrary, they speak volumes to my heart about the kind of person I want to be, and the sort of people I pray my children will choose to be and so I love to honor these stories. I also am grateful to authors who have written so sensitively, for they help introduce difficult truths about history in a non-threatening way which opens opportunities for important discussion.
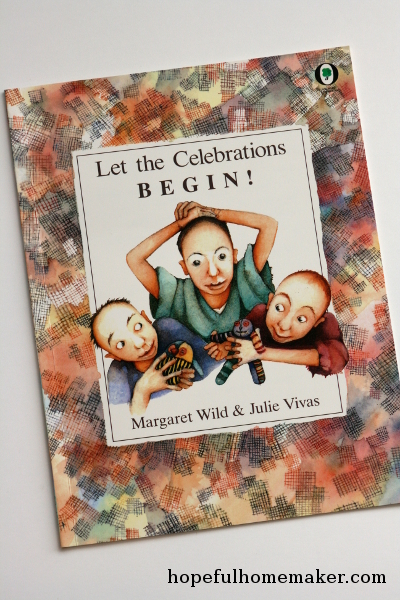
Let the Celebrations Begin!
tells the incredible story of women in the Belsen concentration camp who made toys for the children from scraps and rags, toys they were secretly making and saving to celebrate when the war finally ended and they were free. This story of the power of the human spirit to survive and to triumph brings me to tears. It is also a reminder to me of all I have to be grateful for (including the beautiful friend who gifted it to me), and I believe that gratitude is a most worthy message during the holiday season. I am full of awe for the noble souls who endured such atrocities and remained good.
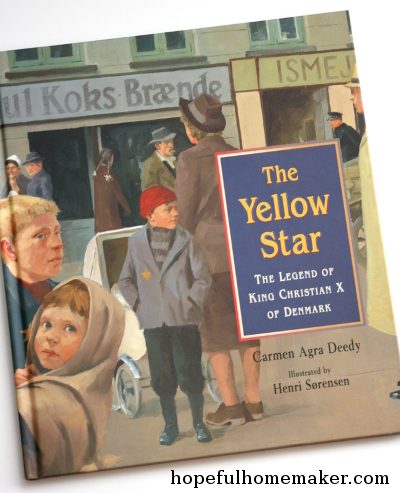
The Yellow Star, the legend of King Christian X of Denmark, tells the legend of a King and how he protected the Jewish people in his country during World War II. At the end of the book there are some facts about Denmark and King Christian X. While it may be just legend, it’s a powerful and thought-provoking story.
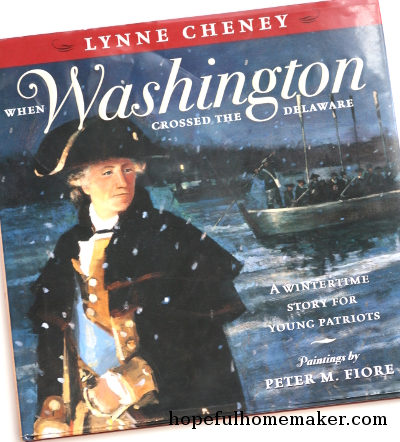
Finally, there is one American Christmas that I want my children to remember. There are no Christmas trees, no gifts, no carols. Just freezing men fighting for a cause on the brink of failure. It’s a story from the American Revolution.
When Washington Crossed the Delaware tells the story of Christmas night, 1776, when 2,400 men crossed the Delaware river in darkness and cold to surprise the Hessians at Trenton and Princeton, winning significant battles and restoring hope to the cause. I love their courage, their sacrifice, the way they did the impossible. I love it so much that our youngest son is named Trenton, in honor of the Battle of Trenton. It’s a different kind of Christmas story, but it adds beautiful depth and meaning to our other discussions of giving at this time of year.
Phew! That’s a lot of books! While this list is far from complete, and there are many other books on our Christmas shelf that I love, I hope it helps introduce you and your loved ones to new stories that will nourish your heart during this beautiful season. I must say that after spending many hours compiling this list of books that are such treasures to me, I am reminded of another quote from a favorite book, Crow and Weasel by Barry Lopez . I share it here, for it captures the feeling of my heart as I share this list with you:
“I would ask you to remember only this one thing,” said Badger. “The stories people tell have a way of taking care of them. If stories come to you, care for them. And learn to give them away where they are needed. Sometimes a person needs a story more than food to stay alive. That is why we put these stories in each other’s memory. This is how people care for themselves. One day you will be good storytellers. Never forget these obligations.”
Merry, merry Christmas to you, my friends, and may we find stories that keep our hearts alive to all that really matters in this life. And please, PLEASE share your favorite Christmas books in the comments. I would really love to hear what they are!
Season’s readings!
Jennifer
