Valentine Brownies, part II

Presenting my second take on brownies-turned-Valentines.


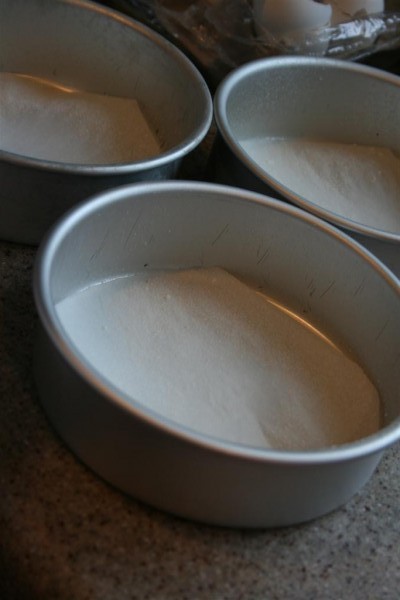
We made a second batch of our favorite brownies , but this time we divided the batter into six inch cake pans.


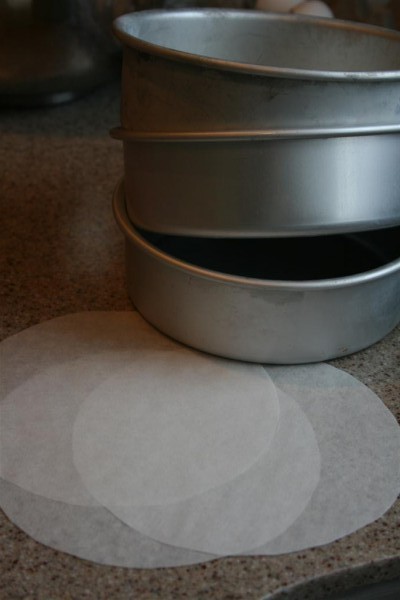
I traced six inch circles onto parchment paper, cut them out, and lined the bottoms of the pans for easy release.  I also lightly sprayed the sides with non-stick baking spray.


Divide the batter between the three pans, then mix up these ingredients:

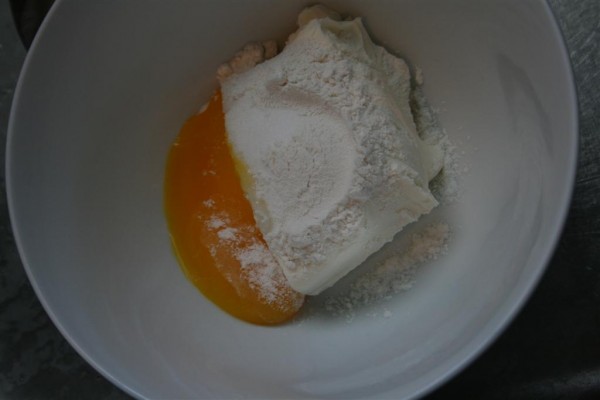
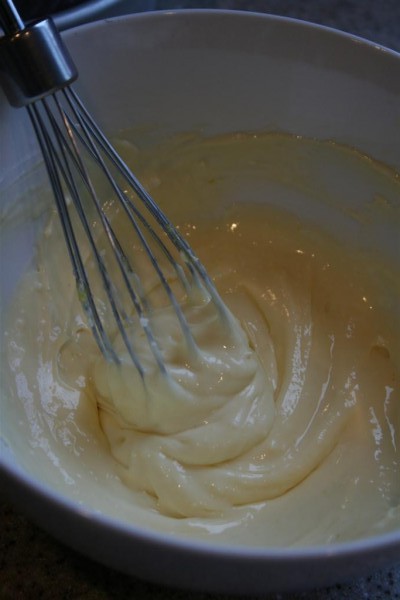
4 oz. cream cheese, softened 1 large egg yolk 2 Tb. sugar 2 Tb. flour Mix until smooth.


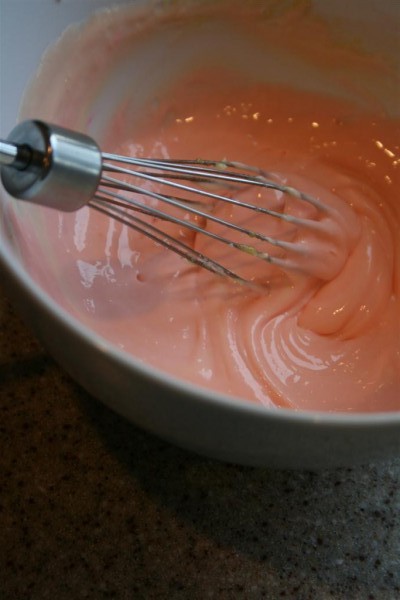
We used this recipe to make this version in the fall.  I love how such a simple thing can be adapted to many occasions.  My girls decided they wanted to add pink food coloring this time.


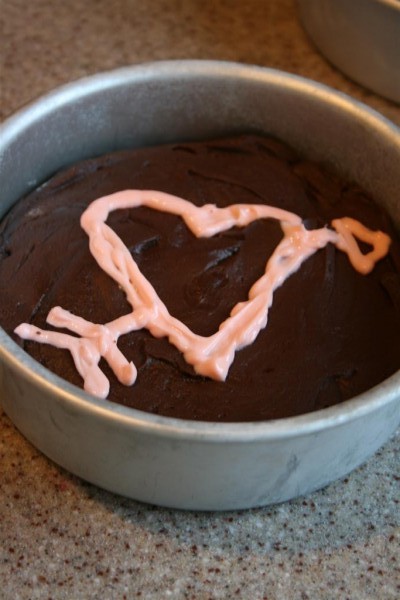
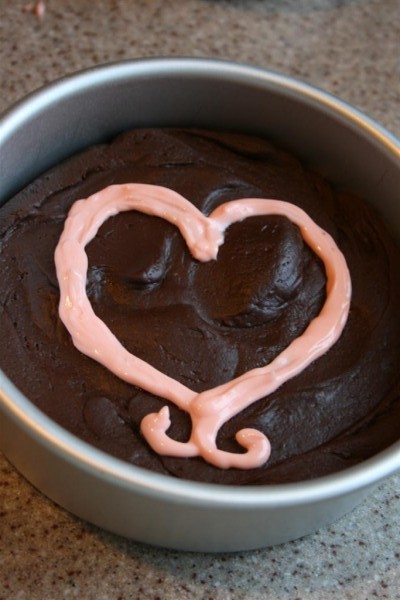
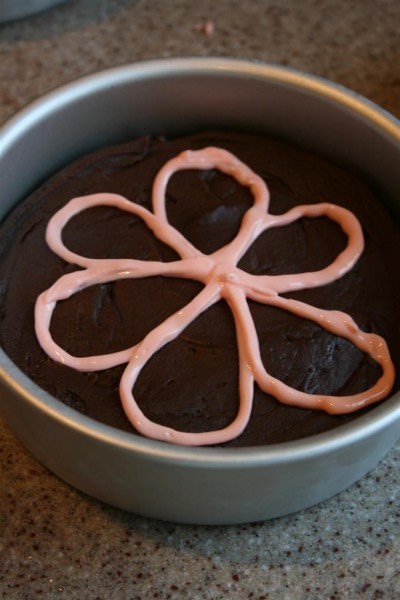
Scoop the filling into a disposable decorating bag, cut off the tip, twist the ends, and set your daughters loose (or have some creative fun yourself).


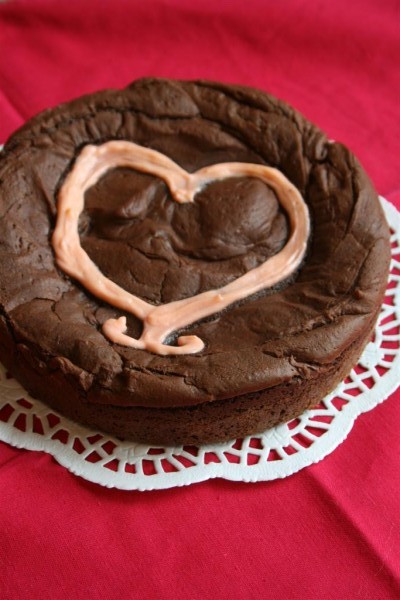
They came up with these designs:


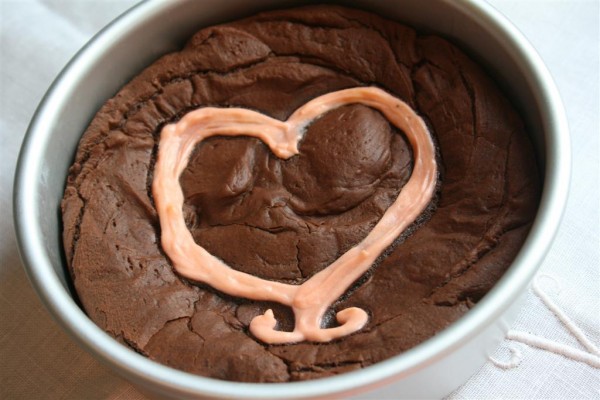
Bake them at 350 for about 20-25 minutes.  I’ve found that they sometimes need a little extra time because they’re so thick and the cream cheese on top makes the centers take longer to cook.  Watch the center carefully so you don’t end up with gooey, under-cooked brownies.

They’re so cute when they’re done, and we liked how the pink worked.


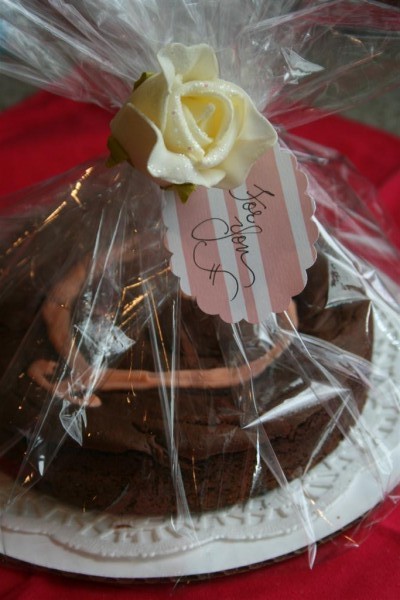
Once they’ve cooled, remove from the pan and peel the parchment paper off the bottom.  Place on a paper doily, then add a cardboard cake round to support the bottom.

We wrapped them in cellophane to share with friends.  This would also be a fun dessert to have at a romantic dinner for two.


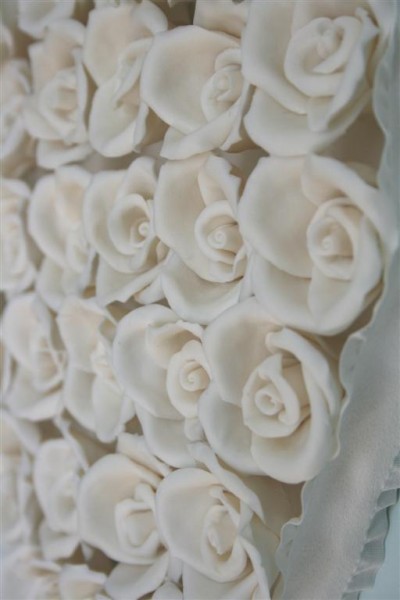
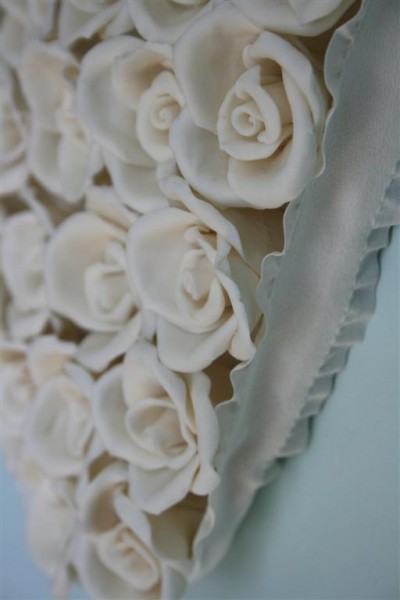
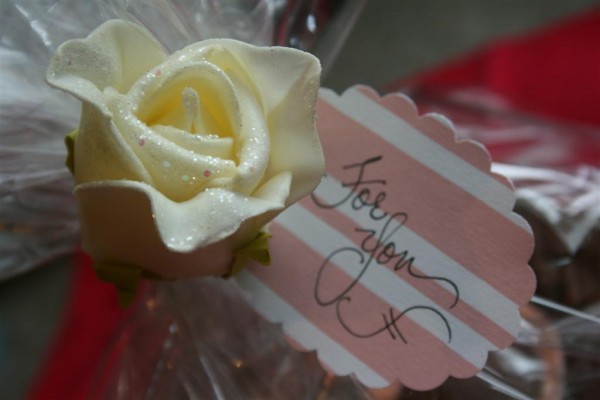
I bought a little bunch of these roses at the dollar store recently.  I thought their slightly vintage feel would look fun on packages.  I wrapped the stem around the cellophane and added a simple tag.  Ready to go!


Next time I think I would order a set of these pans to bake brownies in.  So cute!

Hopeful Homemaker

Valentine Brownies, part I

Looking for a simple but sweet valentine gesture?


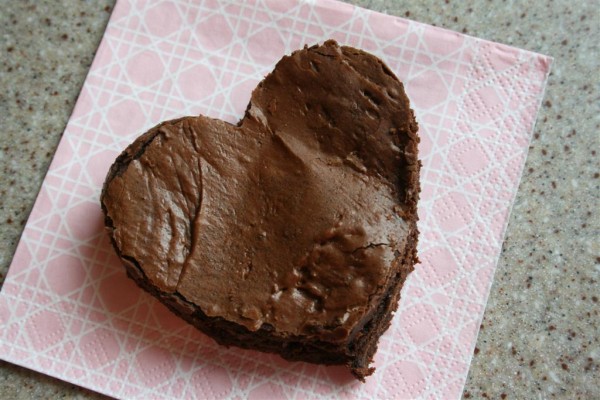
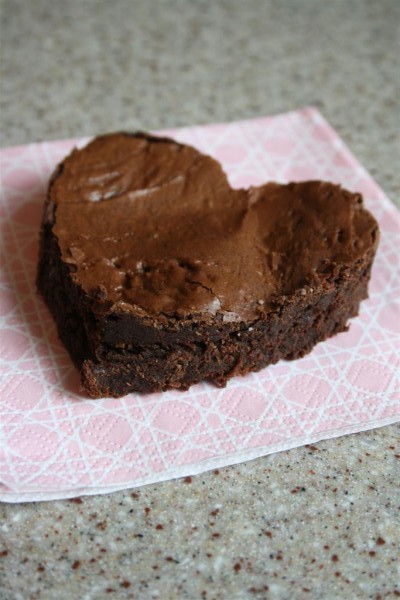
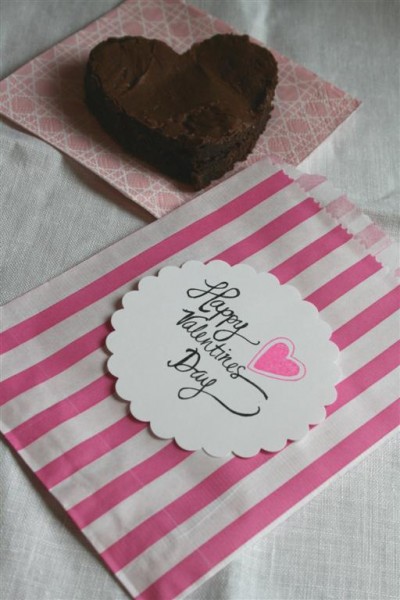
Whip up a batch of brownies (try this best ever brownie recipe for great results) and simply cut them using a heart shaped cookie cutter.


Simply place them on a pretty paper napkin and serve.  Your family or guests will love them.

Want to make them even more fun?  Package them.


I bought some super cute pink and white striped cookie bags and simply punched my favorite scalloped circle to make a tag.  A bit of hand lettering and a simple heart stamp finish it off.

I bought the bags here , and was impressed with how quickly they shipped them.  If I had a small fortune to spend on packaging, I think I’d buy some in every color.  They are just too cute.

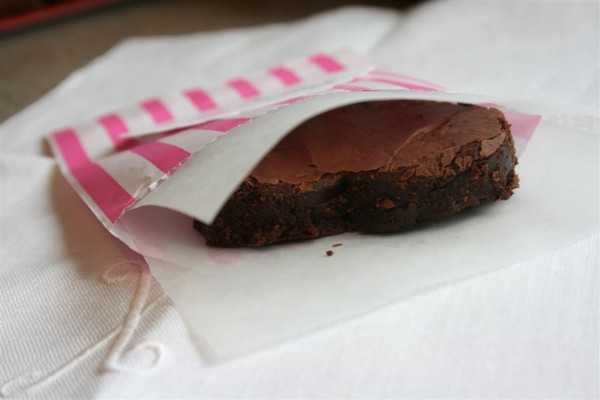
Next I cut a piece of parchment paper to wrap around the brownie to prevent oil marks from forming on the striped bag.  Simply insert the brownie into the bag…


fold the top and punch holes in both the tag and bag.  Add a ribbon and you’re done!


It’s so much fun to wrap up a little treat as an unexpected gift.

If I had planned ahead and ordered different bags, I would be all over these two downloadable designs for Valentine treats.

This one
is especially for brownies, and this you could use for any kind of treat.  It never occurred to me that I could run these little bags through an ink jet printer.   She has a shop where she sells the bags in sets of 25 for $5.  I hope she updates the brownie bag next year, because I’d love to use it.   Check them out!

Up next, Valentine Brownies Part II.

Hope you’re having a great day!
Jennifer

Rice Krispy Balls


I wanted a quick Valentine treat the other day, so we whipped up some basic Rice Krispy Treats.  Instead of pressing them into a pan to cool, we scooped them out with an ice cream scoop for fun.

Once they cooled we dipped the tops in pink tinted chocolate and added my favorite new sprinkles.


They were a big hit with the girls, who of course wanted to help.


They turned out so cute that I kept taking pictures.  All these little balls with pink tops…


And then, when the chocolate had set, we put them on sticks.


As Bakerella has repeatedly demonstrated, the cute factor of any treat jumps way up if you put it on a stick.  These were no exception.


But since cake pops are WAY too sweet for my stomach, Rice Krispy Treats made a great substitution.  The children loved them as well.  We will definitely be making these again.


They didn’t last long enough at my house to try it, but I think they would also be super cute in little treat bags tied with a ribbon for sharing.

If you try it, I’d love to hear.

Jennifer

1 39 40 41 42 43 63