This Christmas season felt to me like a reflection of my life this year: lots of little things causing what I call “speed bumps” which are frustrating and time wasting, but ultimately everything works out.
We got our Christmas tree mid-month. It’s huge.
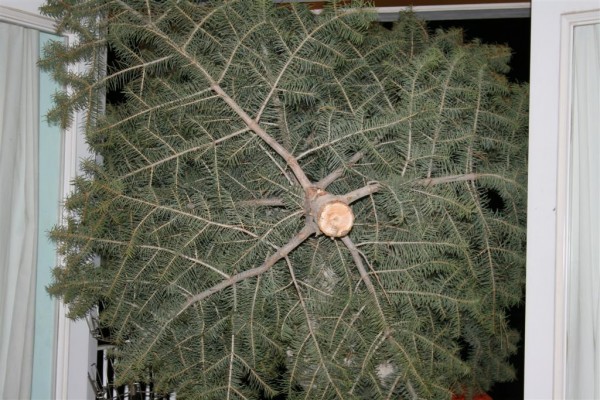
It was the 15th of the month, and we’d had scheduled activities every day in December. We decided to go cut a tree, which of course meant finding winter gear for everyone. Some of them fell asleep while we were driving, so we ended up with two asleep and others who were crying as they hiked through snow that was, for them, knee deep. All of the trees were short, it was getting dark quickly, people were crying, and son #2 had Scouts in 40 minutes (and I was supposed to provide a plate of treats for him to take caroling). We hiked to the first tree that was nice and tall and decided to cut it down. At this point, I was just grateful we were getting a tree and decided to let go of all expectations. My oldest daughter, however, was angry and upset and started ranting about how she wouldn’t even go in the family room to be with such an ugly tree.
We cut it, hiked back to the cars, and my Cub Scout and I jumped in the other car and left for Scouts. We frosted cookies, got him out the door, and then the family arrived home and we went to work on the tree. We cut it to the right size and brought it in…..
and the stand broke. So now we have a Christmas tree (9 feet tall by 6 or 7 feet in diameter) laying on the floor in our family room. We have crying hungry children, homework to do, you get the picture. So I left to go buy a new stand.
1.5 hours later and after stopping at every store in town (Walmart, Target, Home Depot, etc.) I learn that everybody sold out of Christmas tree stands long before. Seriously? Finally, feeling discouraged, I was leaving Lowe’s to go home when I noticed three Christmas trees for sale standing in an obscure spot by their garden area. I pulled over and discovered that they were in stands! I parked again, went back in, and BEGGED them to sell me one.
3 employees went out to remove the 8 foot tree from the stand, find a SKU number, and I cheerfully dropped $50 to leave with a dirty, used Christmas tree stand. Hooray! Did it all work out? Yes. Did it take about 5 hours longer than we planned? Yes. Did it mean that all the other things I was planning to get done were put off (again)? Yes. Is that the story of my life? YES! But, I keep reminding myself that in spite of the detours it always seems to work out.
So we got the tree up, ran out of lights, couldn’t find any white lights in stock anywhere… do you see a pattern here? Did it eventually work out? Yes. Did we finally get the tree decorated on, like the 19th of the month? Yes. And you know what? I think it’s my favorite tree ever. I don’t know if that’s because it truly is beautiful, or because I was just so relieved to have it done, or if it’s because I had no expectations.




I enjoyed hanging the ornaments I bought last year on clearance, and I also borrowed all my big stars from my laundry room to stick in the tree. I took my white starfish collection and added it as well.




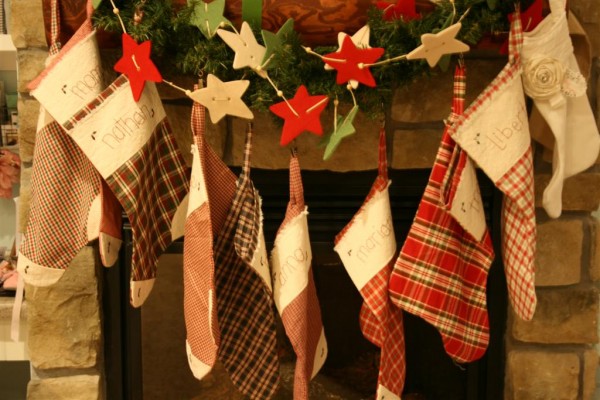
I unpacked Christmas boxes until I found the stockings, and then I quit. It meant that the dining room got decorated. I love the fresh, bright colors.


I played with the curtain tiebacks and added color to all the vintage silver.


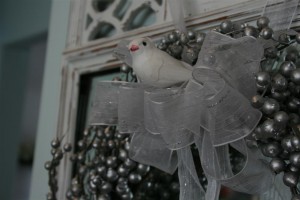
And since I am obsessed with birds, I gave in to the urge to put them everywhere.

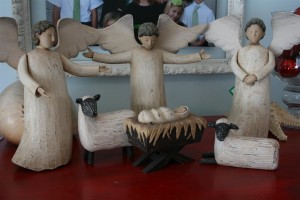
A bit of color and my favorite nativity scene.

Not nearly as much decorating as I usually do for Christmas, but this is the year of simplification. A fussy baby and an overscheduled family have governed the month, and that’s ok. And as I said, my Christmas lesson this year is that ready or not, it all works out.
