Valentine Brownies, part II
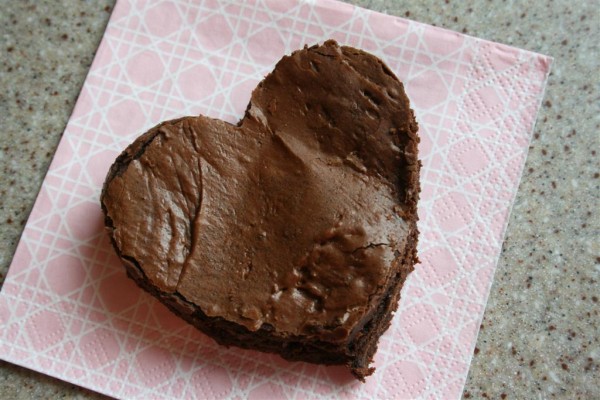
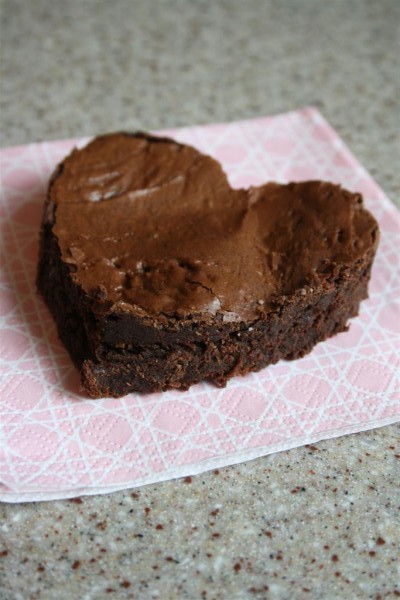
Presenting my second take on brownies-turned-Valentines.
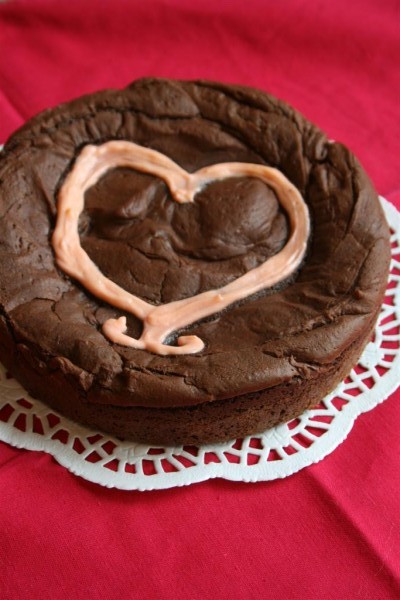
We made a second batch of our favorite brownies , but this time we divided the batter into six inch cake pans.
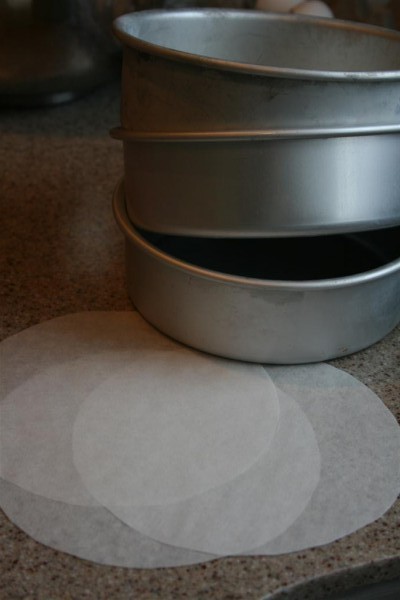
I traced six inch circles onto parchment paper, cut them out, and lined the bottoms of the pans for easy release. I also lightly sprayed the sides with non-stick baking spray.
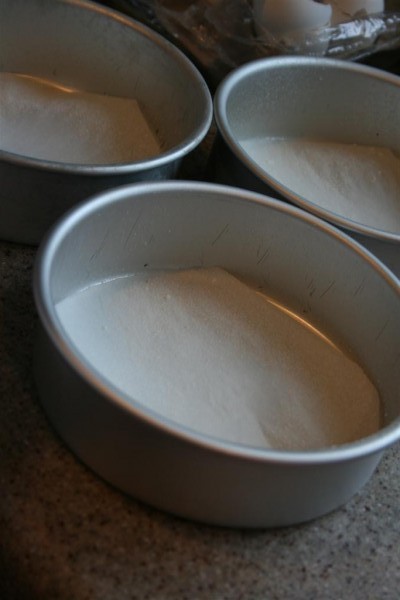
Divide the batter between the three pans, then mix up these ingredients:
4 oz. cream cheese, softened 1 large egg yolk 2 Tb. sugar 2 Tb. flour 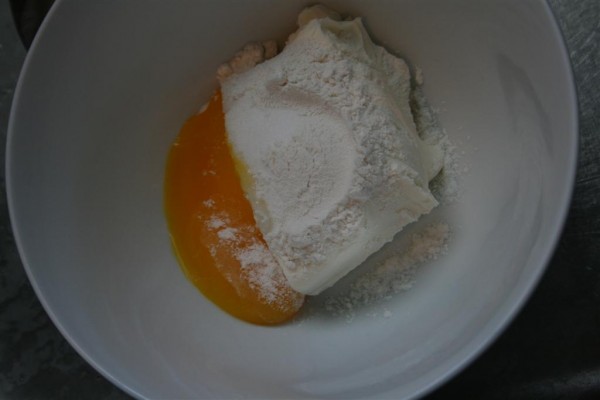 Mix until smooth.
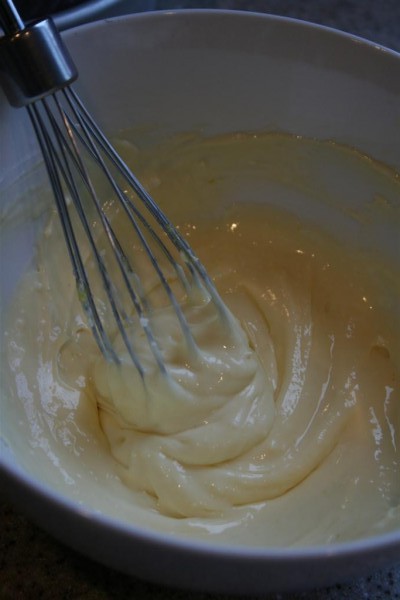
We used this recipe to make this version in the fall. I love how such a simple thing can be adapted to many occasions. My girls decided they wanted to add pink food coloring this time.
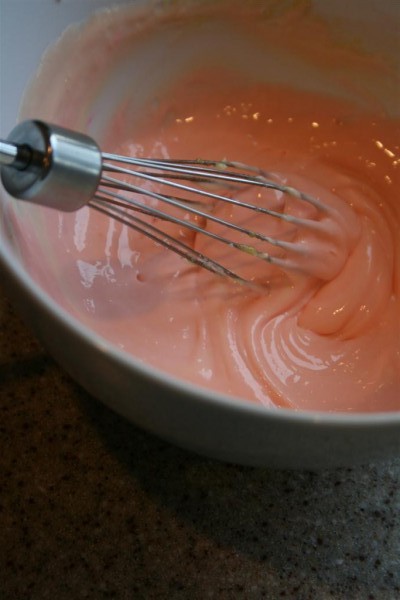
Scoop the filling into a disposable decorating bag, cut off the tip, twist the ends, and set your daughters loose (or have some creative fun yourself).
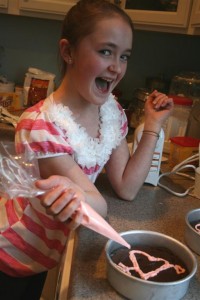
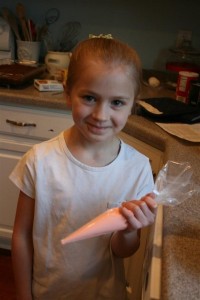
They came up with these designs:
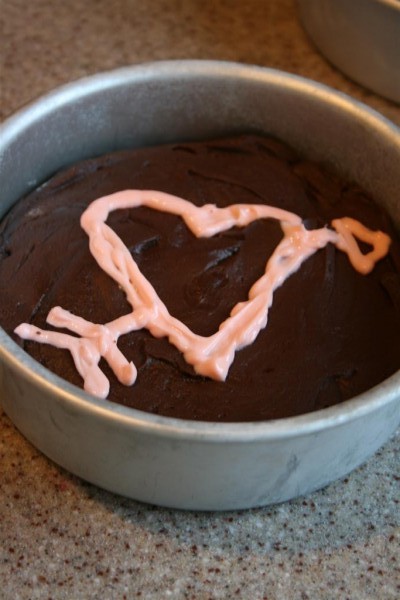
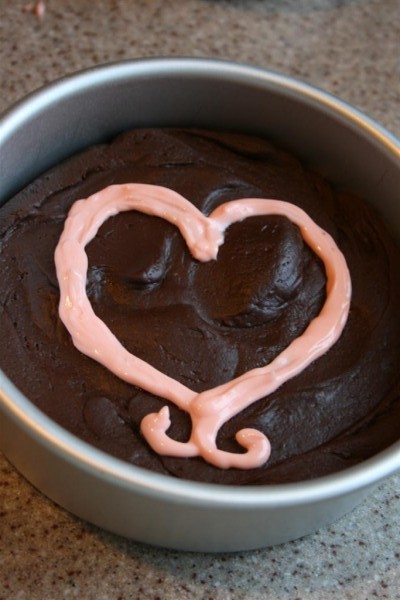
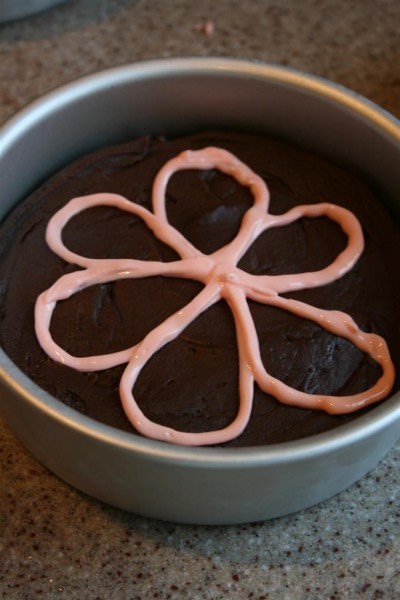
Bake them at 350 for about 20-25 minutes. I’ve found that they sometimes need a little extra time because they’re so thick and the cream cheese on top makes the centers take longer to cook. Watch the center carefully so you don’t end up with gooey, under-cooked brownies.
They’re so cute when they’re done, and we liked how the pink worked.
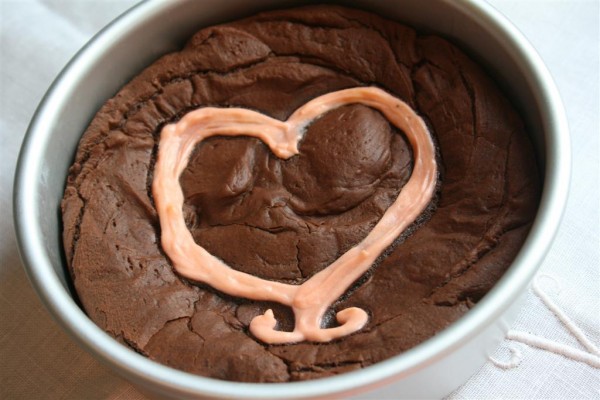
Once they’ve cooled, remove from the pan and peel the parchment paper off the bottom. Place on a paper doily, then add a cardboard cake round to support the bottom.
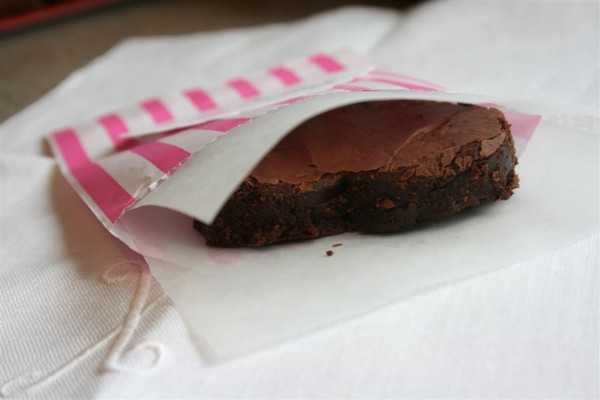
We wrapped them in cellophane to share with friends. This would also be a fun dessert to have at a romantic dinner for two.
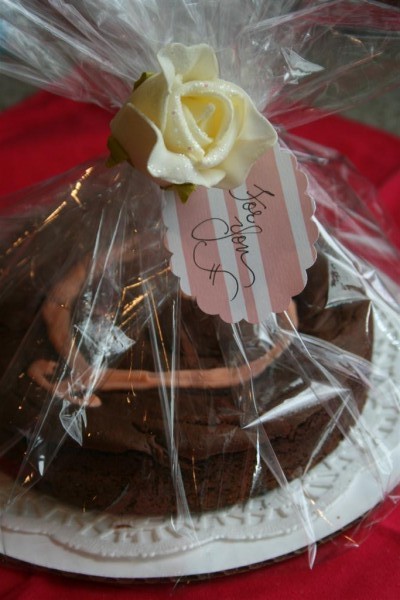
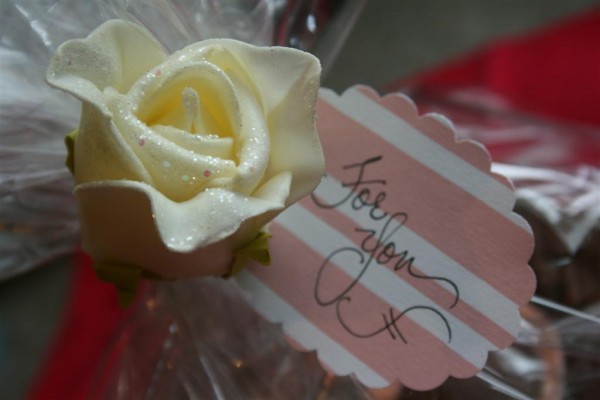
I bought a little bunch of these roses at the dollar store recently. I thought their slightly vintage feel would look fun on packages. I wrapped the stem around the cellophane and added a simple tag. Ready to go!
Next time I think I would order a set of these pans to bake brownies in. So cute!
Hopeful Homemaker

