Ribbon Party!
Here’s what I’ve been working on:
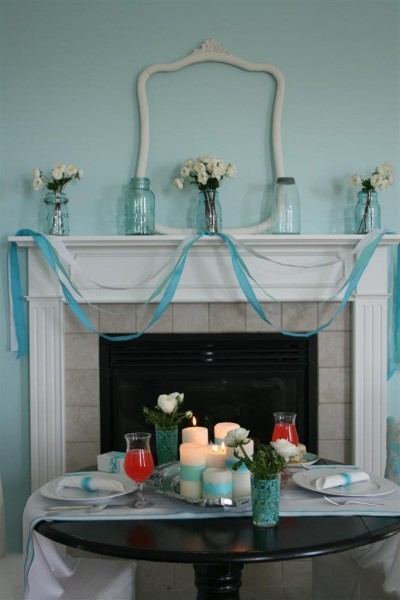
Today I’m guest blogging for May Arts, and it’s all about how to use ribbon to throw a beautiful, festive party.
Click here to read it!
Jennifer
nurturing hope, creativity, family

Here’s what I’ve been working on:

Today I’m guest blogging for May Arts, and it’s all about how to use ribbon to throw a beautiful, festive party.
Click here to read it!
Jennifer
My vintage blue jars have found a new home on the mantel in my bedroom.
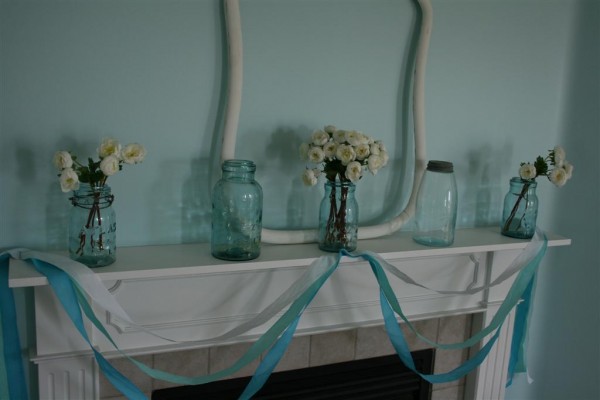
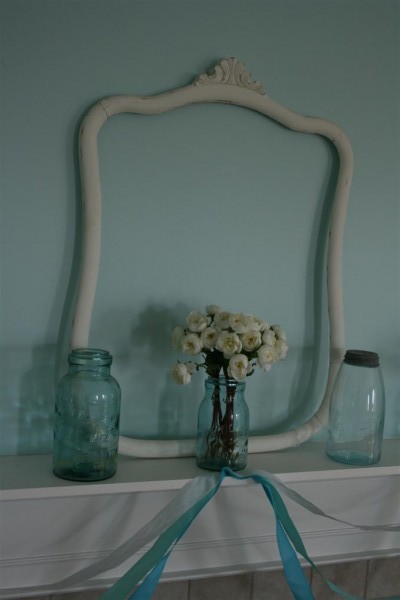
So far I really like them there. Every time I walk into the room, the beauty of that spot makes me feel happier, lighter. I love the way the colors all work together, the aquas, white, and cream. The vintage frame used to hang above our bed. I like it’s new home.
The child sized blue chair is one of my most favorite vintage pieces. It’s getting a little rickety, so I rescued it from my children to keep in my own room. I think it’s happier there.
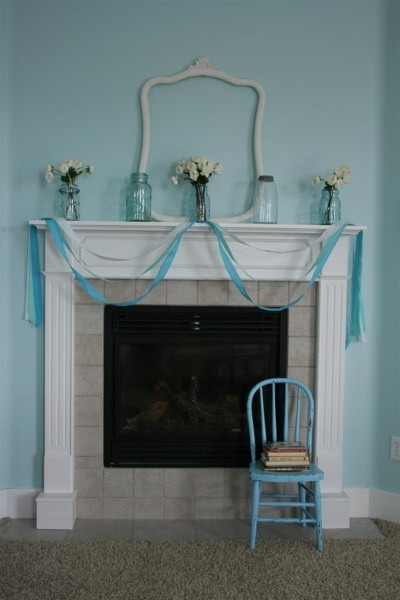
Doesn’t it just make you feel like spring might actually arrive? It does for me!
I’m excited to pull this room together and share the whole thing (that is, if I can find the time to finish it and if the sun will come back so I can photograph it).
Either way, I’m loving my jars!
A month or two ago I spied these cuties in the Pottery Barn catalog:

I really liked them, but at $24 (plus shipping) for a set of 4, that was awfully steep.
Then I spotted some little 4 inch birds nests at a craft store for 99 cents each, and decided to make my own.
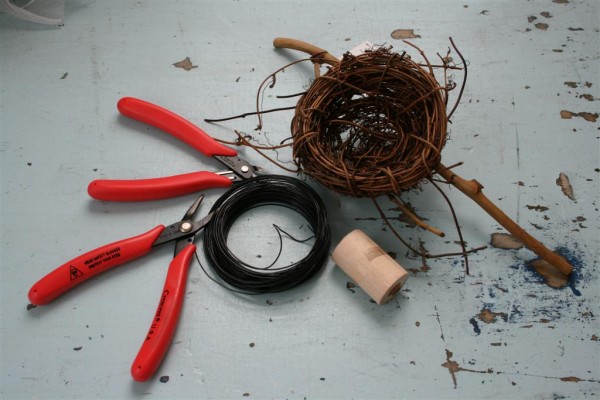
Here’s what you need: nest, wire, wire cutters, pliers, spool or dowel about 1 inch in diameter.
I began by making 4 loops in my wire, each about 4 inches long.
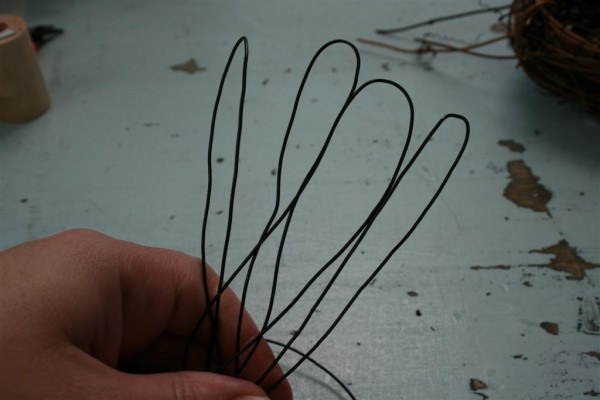
I then pinched the other ends of the loops and wrapped the wire tightly around them.
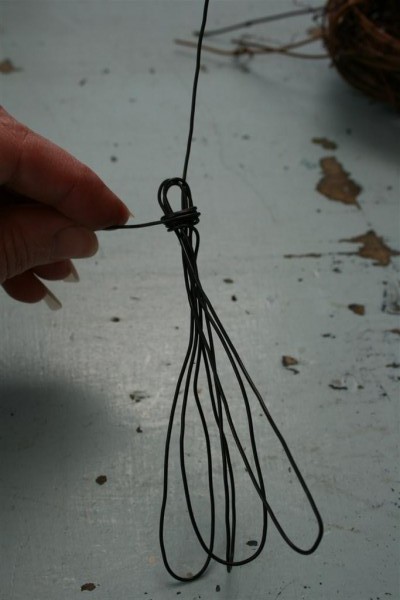
Next I measured about 20 inches from where I’d just wrapped and cut my wire. This left me a nice long piece to work with in securing the nest to the base and for making the paper holder.
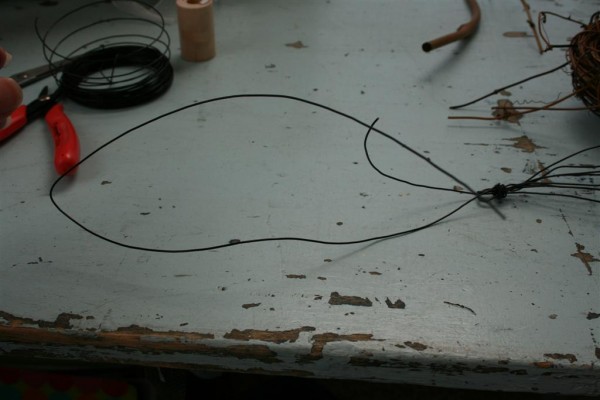
Now push the end of the wire up through the bottom of the nest.
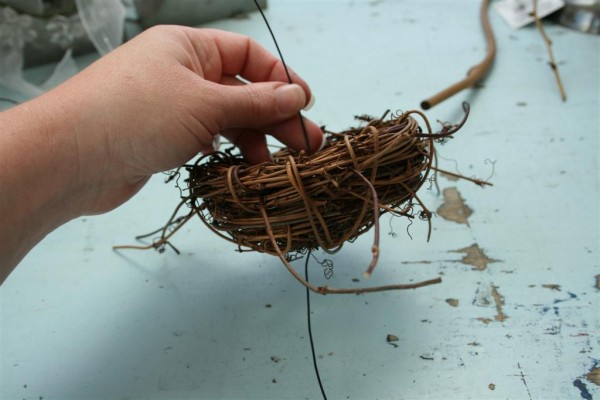
Push the nest down to where the loops are, and then decide how far above the bottom of the nest you want your loops for securing a place card to sit. Then, using your spool or dowel, wrap the wire tightly around the dowel to form a good circle. I wrapped mine 3 times.
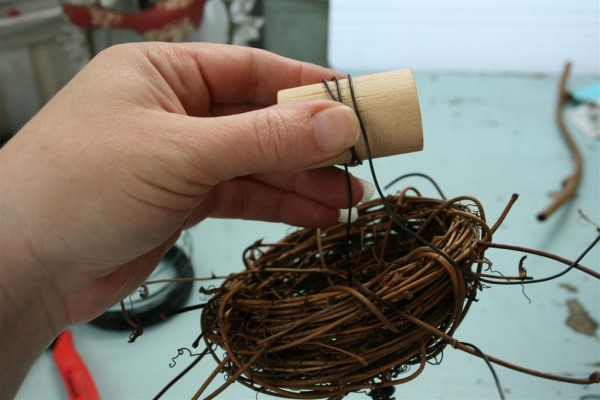
Remove the dowel and twist the wire at the base of the loops to secure them together.
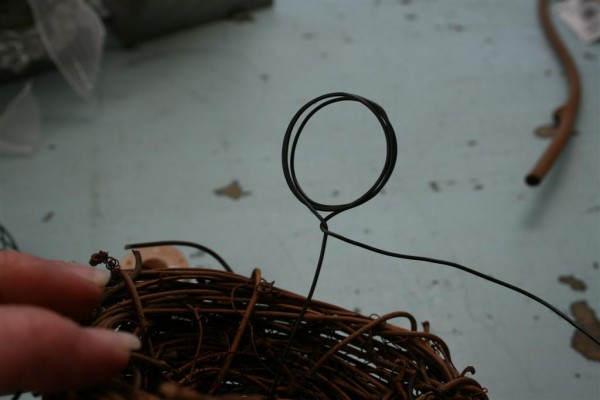
Now push the end of the wire back down through the bottom of the nest (in a different spot for better stability) toward the loops. If the nest seems a bit floppy when you hold it upright, then loop the wire back up through the bottom of the nest and down again to secure it. Then tightly wrap the end of your wire around the base near where you wrapped previously. Use your pliers to tuck the ends of the wire in.
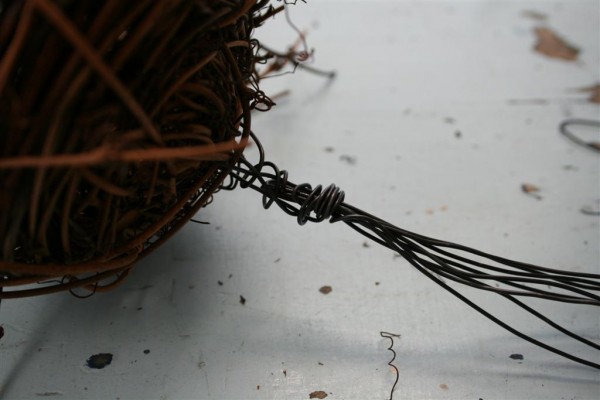
Now decide on the height of your place card holder and carefully bend the ends of your loops to form the base.
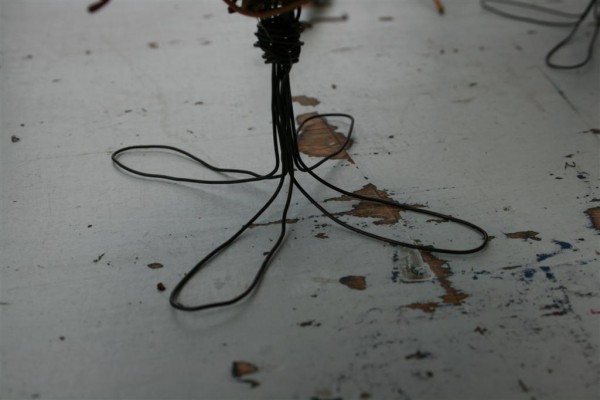
My nest had some long pieces sticking out in random places. I chose to clip them so I could have a more compact piece that won’t catch on things when I use them.
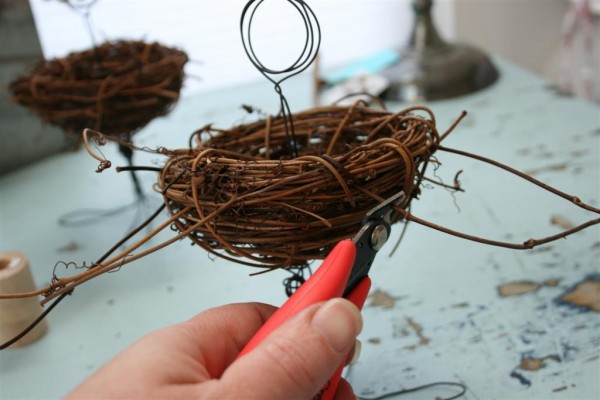
Fiddle with the base until your nest stands without tipping.
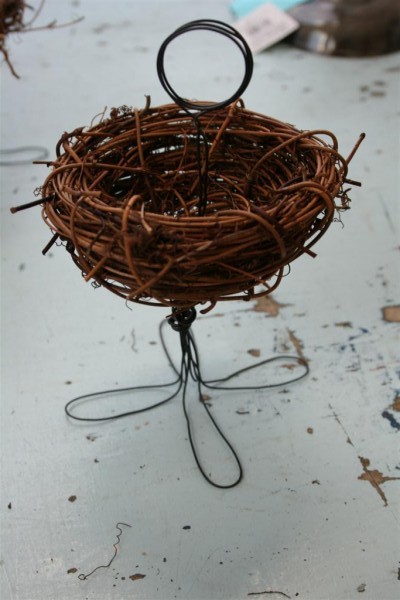
Now squeeze your loops on top together and make sure they will hold a piece of paper.
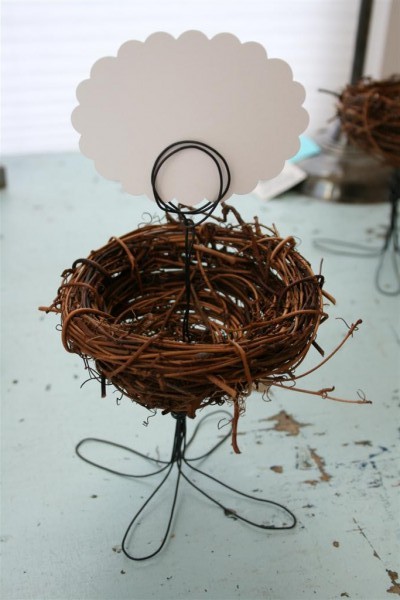
I like it! Each of these holders took me 5-7 minutes to make, and because I had the black wire on hand, the entire project cost me $4.00. SO much better than $24 plus shipping. I have a feeling I’ll enjoy them even more because I made them.
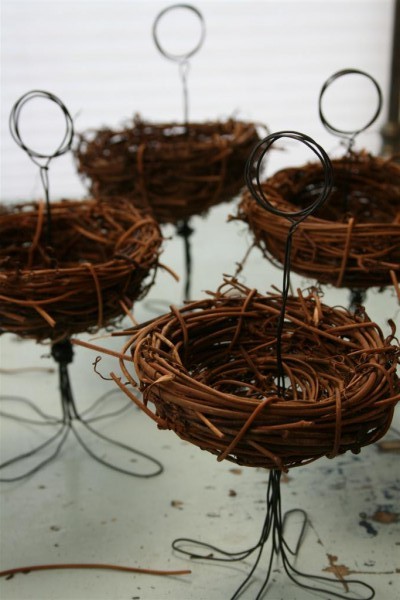
Now to use them! These would be fun at an Easter dinner, but you could also use them to hold little trinkets.
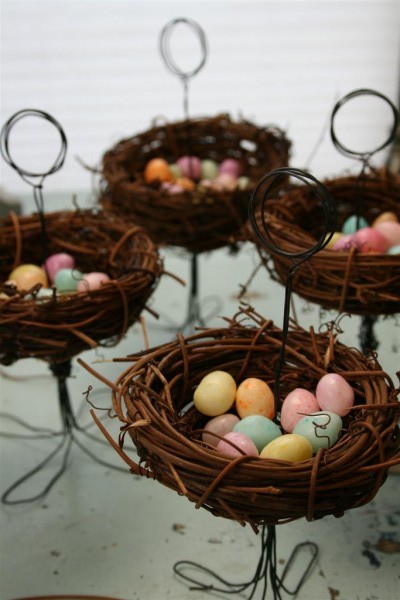
Hope you’ll try it!
Posted at DIY Day , Transformation Thursday and Blue Cricket Design .