15 Days of Happiness :: Paint Something
With the change of every season, I often feel tempted to go shopping for pretty new home accessories. Stores and catalogs are transformed by seasonal color and designs that make the coming season feel even more exciting and beautiful. They plan it that way, and while I believe it’s fine to update things now and then, I also know that if we update our fashion at the rate the retailers hope we will, the result will bring pleasure at first, but will end up robbing us of happiness in the end. There is nothing wrong with liking pretty things; the fault comes in buying too many of them. Falling prey to retail therapy brings more stuff into our already cluttered homes, gives us more to store/maintain/care for, and usually ends up being a roadblock to our long term dreams by pinching us financially.
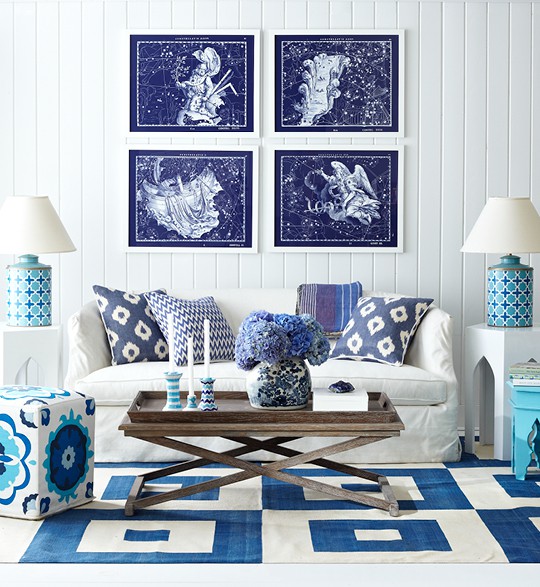
One of my strategies to benefit from the gorgeous advertising without sacrificing my goals is to paint something. It’s usually the color that sucks me in, and I’m particularly vulnerable to the colors of spring when they hit the stores. My favorite pictures this year came from the Wisteria catalog that arrived in my mailbox covered with every shade of blue – my favorite.
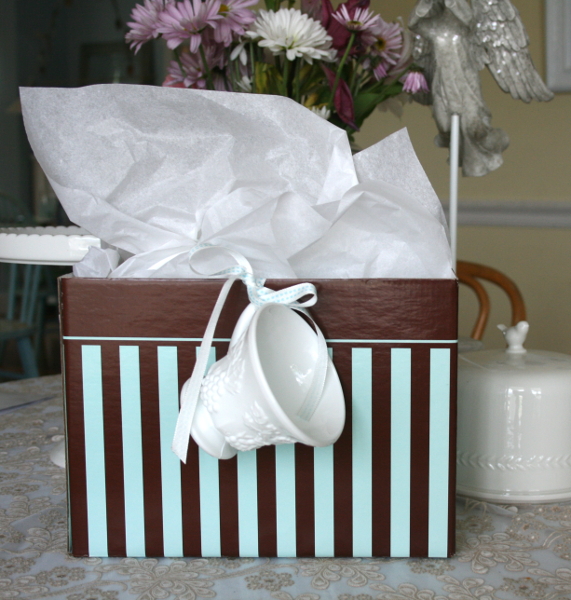
Wanting something new, and wanting it to be blue, I decided to “shop my house.” In the basement I remembered a votive candle holder that my sister gave me 3 (yes, three!) years ago. The plan was to paint it all along, but I never got around to it. I used paint I had on hand from another project and got started. My candle holder looked like this:
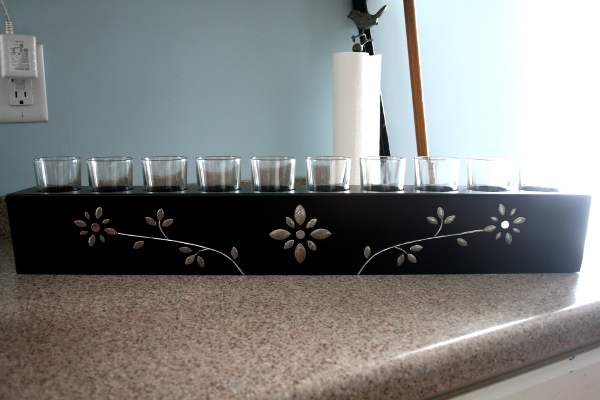
Pretty, but not me, especially with the metal inserts. I decided to simply paint over all of it, and a few coats later I had this:
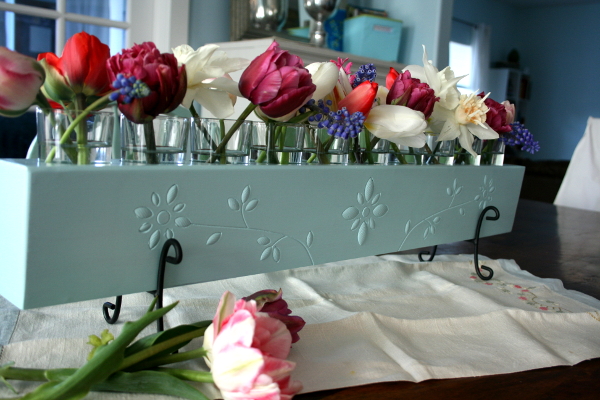
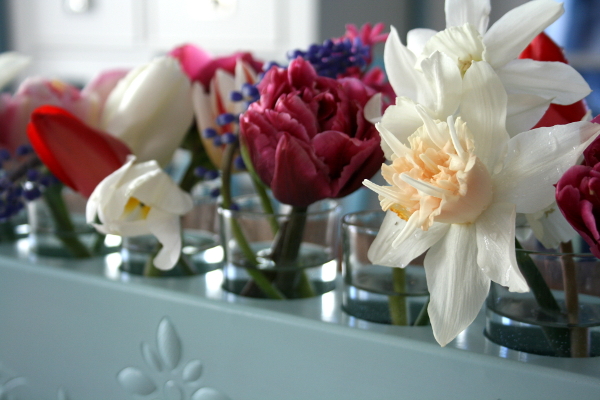
I also decided to put it to use with flowers instead of candles.
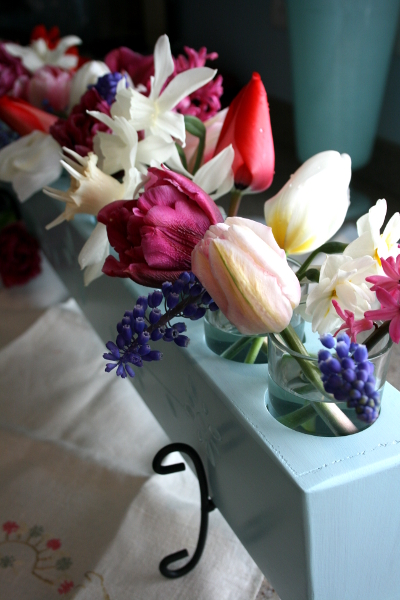
This project allowed me to be creative, to use something I already had, to display the flowers from my yard indoors, to save my money, and still feel like I had something new and exciting to enjoy.
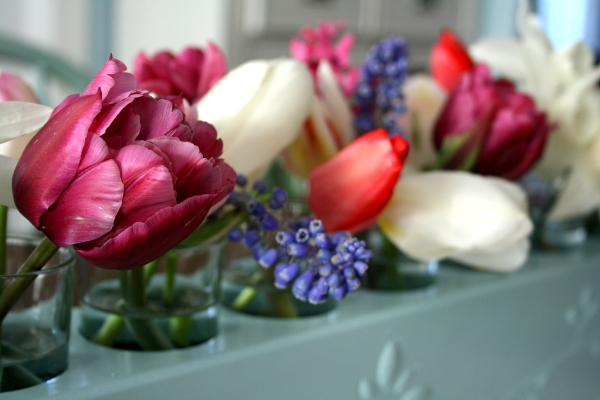
Isn’t it wonderful what a little paint can do! Perhaps you’ve got something you can update, too. Making home more beautiful – and doing it with self-discipline – is a happy thing!
Have a great day!
Jennifer *This post is part of a short series on happiness. You can find the complete list of posts in the series here . To read the previous post, click here . For the next post, click here.