In the sewing room, no. 6
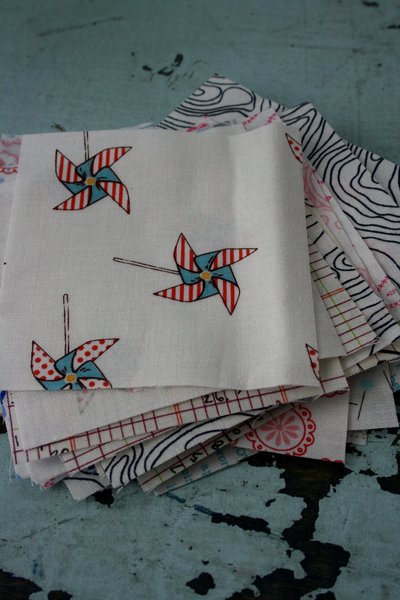
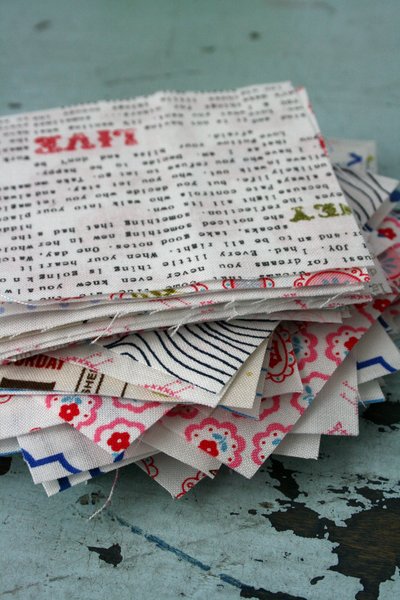
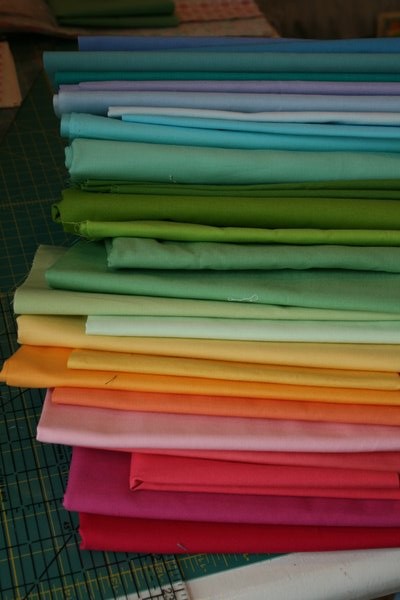
I didn’t get a lot of sewing done this week, but I did go through ALL of my fabric. I already had most of it separated by color, and now within each color I have a “high volume” and a “low volume” stack. It was an unplanned organization, but was good for me. I remembered a few prints I had forgotten about and moved some things so I’ll see, and therefore use, it. I’ve been trying not to buy any fabric so far this year, so a little trip through what I have reminded me that I have so many lovely prints. It will be easy to sew happily for quite some time without buying anything! Among the things I did was pull all my solids together into one big stack. I was pleasantly surprised to see that I have a pretty rainbow of solids. I’m keeping them separate and have decided it’s time to make a quilt using all of them. Not sure yet what it will be, but I’m loving the rainbow of color in my sewing room right now.
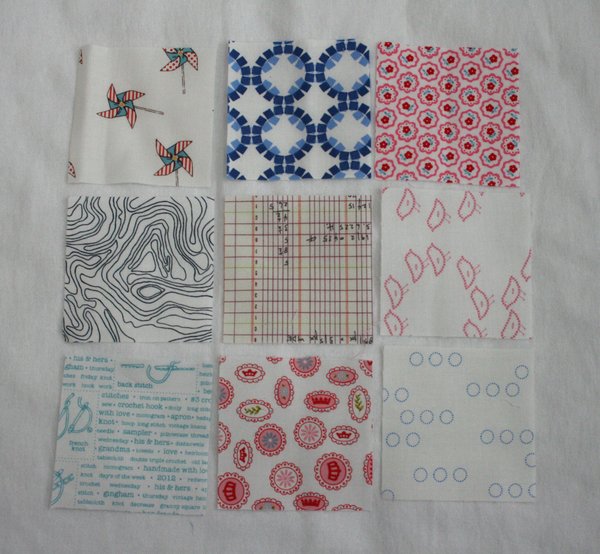
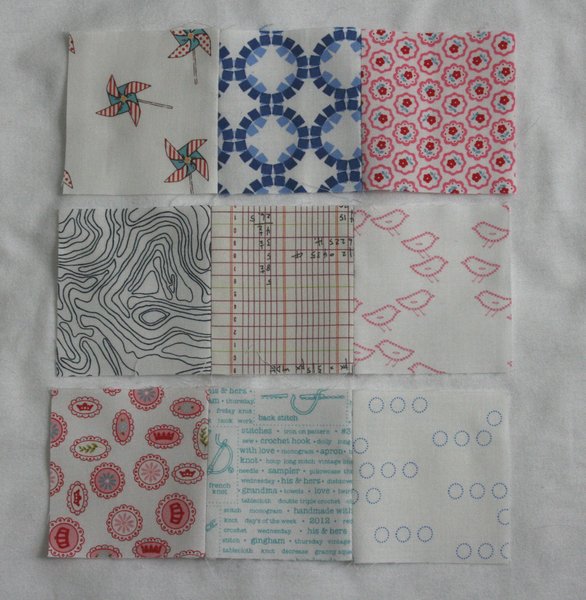
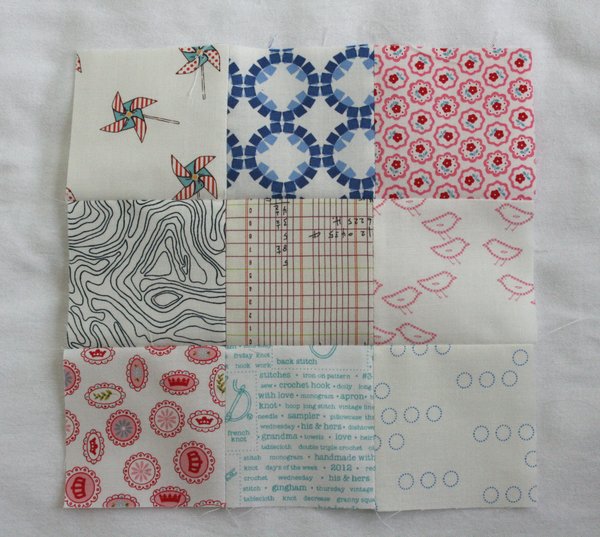
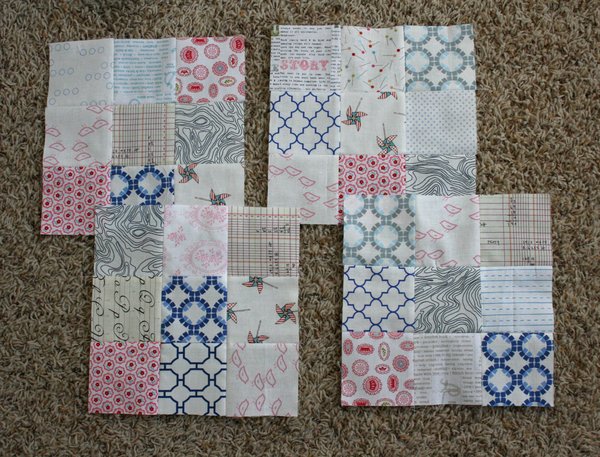
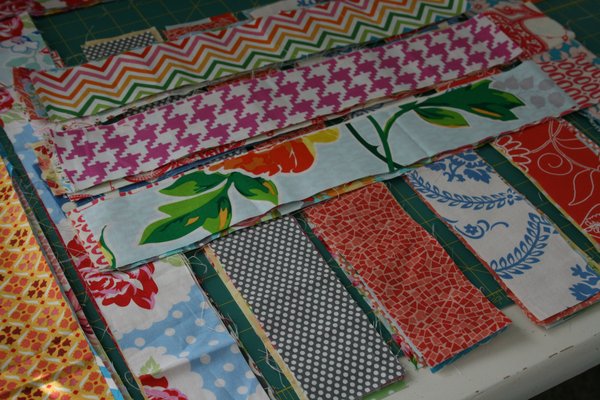
I’ve been neglecting my Scrappy Trip Along blocks lately, so I took some time to sort them. I cut more strips and started laying out blocks and now they’re all arranged, just awaiting some time at the sewing machine.
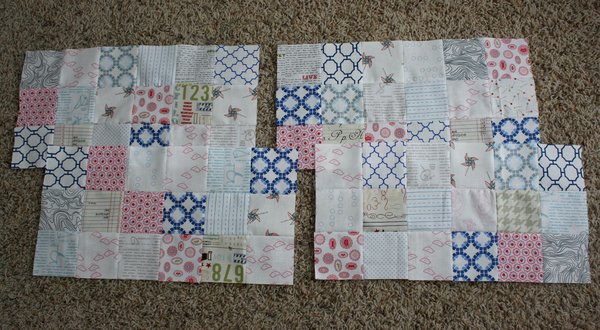
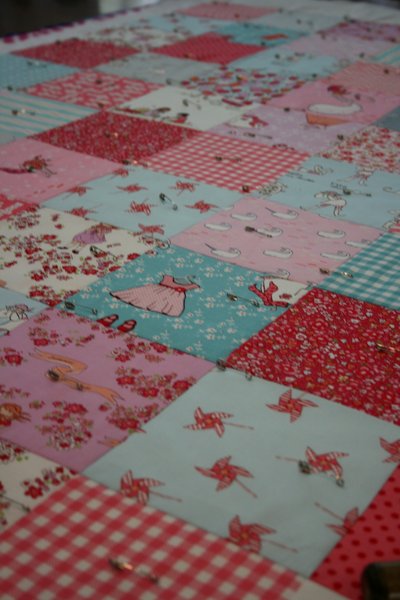
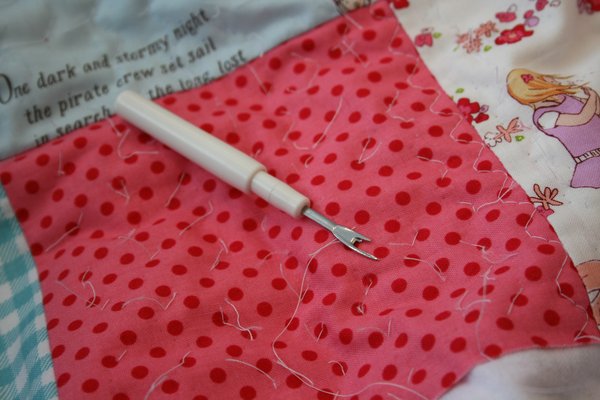
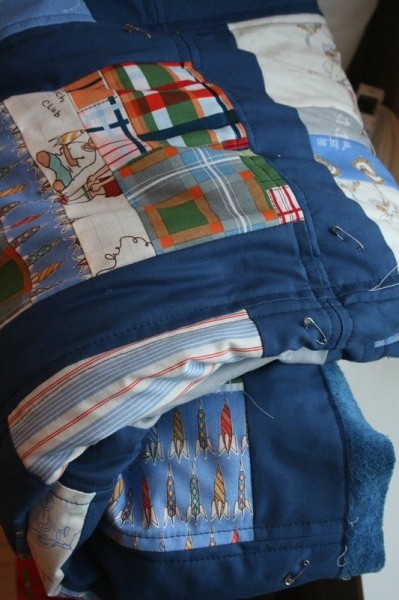
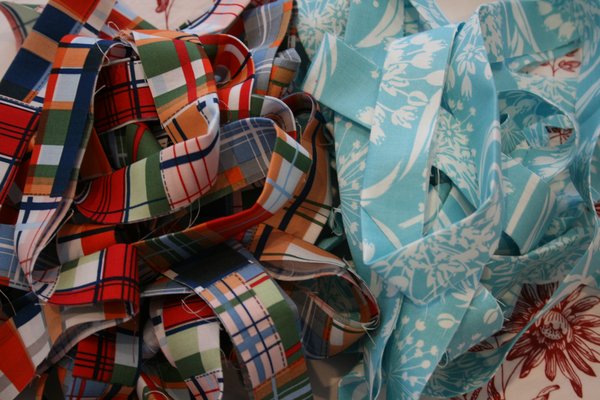
I have two very simple quilts that are almost done. I finally made the binding and now just need to get it on the quilts!
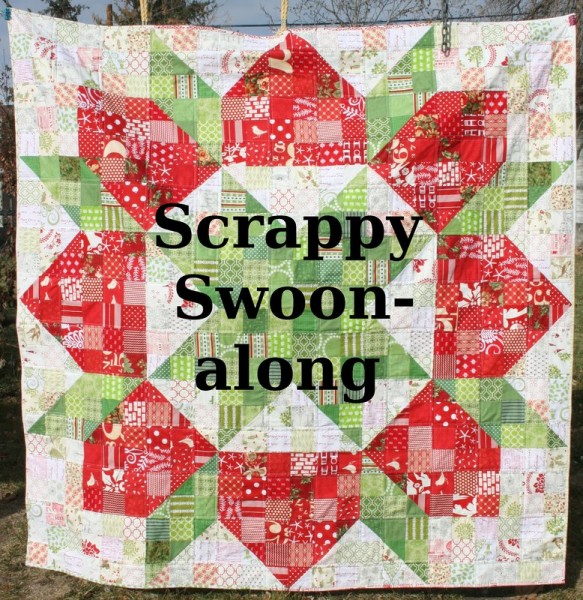
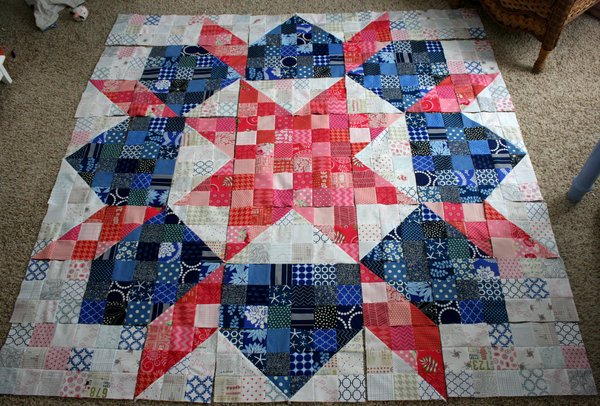
The blocks for my Scrappy Swoon are all done and I’m piecing them together this week. I’m excited to finish this one up!
I’m tempted to feel annoyed with all that isn’t finished, but am reminding myself that there’s a lot of life being lived in our house and it’s a blessing I can touch my sewing machine at all! I’m grateful for late nights or early mornings when I can steal a few minutes of happy sewing. They’ll all get done eventually, and if I actually bind those quilts, they’ll get done this week. That’s the goal, anyway…
Have a great week!
Jennifer Linking to Freshly Pieced

