A Wildabon Beginning

It’s summertime!  Time to be outdoors, making memories, and enjoying the blue skies.  And flowers.  It’s always time to enjoy flowers!  I realized that during the summer I largely hand sew, which usually means applique.  As you know, applique and flowers are always a lovely combination.  So don’t be shocked that I’m popping in with another applique project!  As a longtime fan of both Leah Duncan and Carolyn Friedlander, I rushed to purchase the Wildabon pattern years ago when it was released.  I also bought a kit, a rare thing for me.  Then I procrastinated and never made it.  Now, at last, I have a Wildabon beginning!

I struggled with fabric selection at first.  I weighed using the fabrics in the kit, or using Liberty lawn for this project.  For a while I thought I would just make two of them.  Then I realized how many things I want to make, and I don’t think I’ll end up making two of these.  So I added Liberty fabrics to the Carolyn Friedlander lawns.  My version has more small flowers than the original, because I kept adding more Liberty prints!

I started in the corner with the blues, and have been making my way around the small flowers first.  You can see that I’ve stitched some of them down already.

This pattern calls for thread basting.  When I thread baste, I stitch 1/4″ away from the edge of the fabric I’m appliqueing to the background.  You can see my running stitch 1/4″ in from the edge of the orangey red fabrics below.  Then, when I applique, I simply turn the raw edge under 1/8 inch.  This raw edge meets the running stitch and helps me get a good fold to stitch down.  After I stitch the entire piece down, I simply remove the basting stitch.

I thread baste most of the time when I applique.  Something I particularly love about it is that my fabrics won’t shift after I baste them in place.  I can fold, wad, wrinkle, and generally wrangle my base fabric as much as needed.  That applique piece won’t move if it’s thread basted.  Thread basting makes travel easy and worry-free for my project.

This is a wholecloth quilt, approximately 45″ square.  I confess that stitching lawn to this heavy background isn’t easy.  But look at all the pretty prints I added!  It will be fun to continue stitching on my Wildabon beginning throughout the summer.

Oxymoron Quilt Top

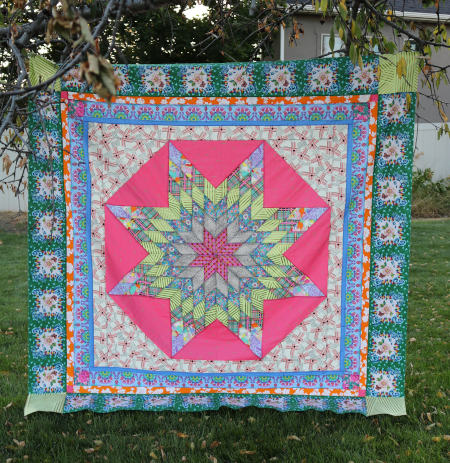
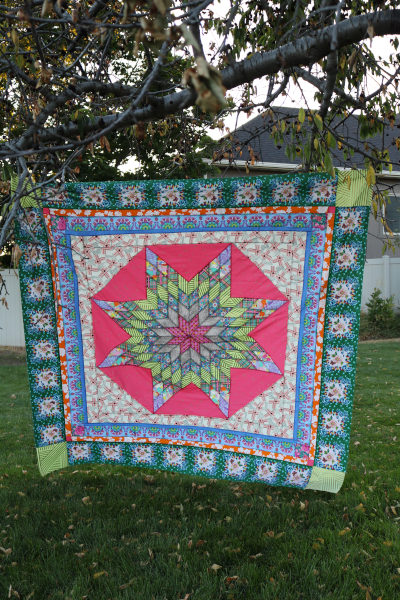
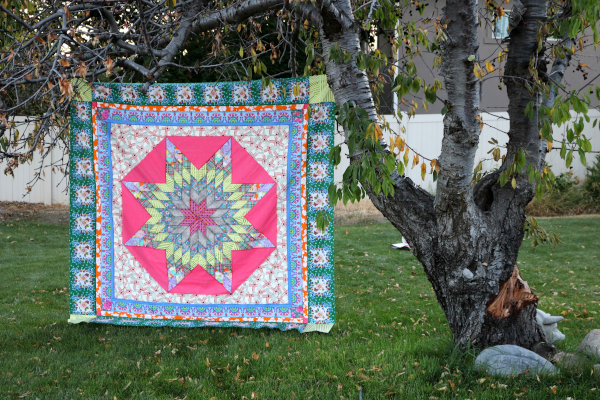
What to name a quilt?  Sometimes it’s easy, sometimes hard, sometimes perfect, and sometimes I settle on something rather boring.  While looking through photos of this quilt top, I kept thinking of names like “Wholly Separate” or “Divided and United”.  It occurred to me that in seeking a name for a quilt about duality, I was thinking in oxymorons.  And so, this is my Oxymoron quilt top.

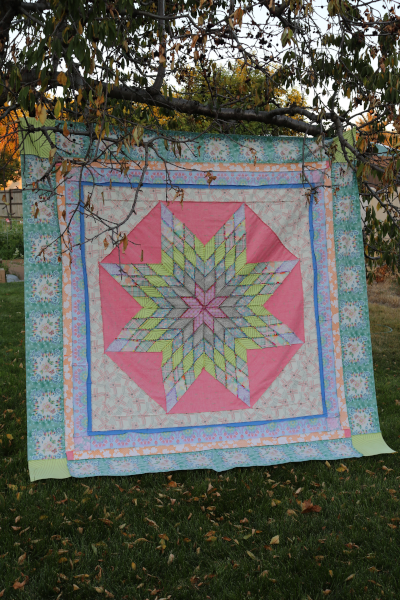
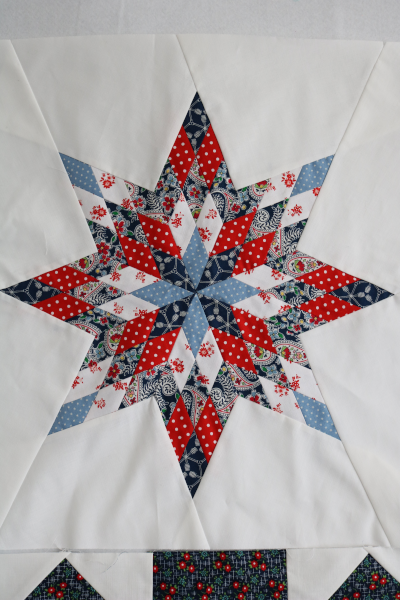
I make a lot of lone star quilts.  If log cabin blocks are like comfort food to my heart, then lone star blocks are how my heart sings.  I have made many of them, and I’m sure there will be more.  Every time I make one, I play a little game.  When my large diamonds are all pieced, I play with layout, turning them back and forth to decide which end should be the center of the star.  Every time I do it, I tell myself that someday I’ll sew a lone star together in halves, with each half opposite of the other.  Well, I’ve now done it. (Actually, I’ve done it twice now – this was the first.) And guess what?  I LOVE IT!  Like my heart, IT SINGS.

I’m exploring the duality in our lives with this Oxymoron quilt top.  The way things are good and bad, hard and exhilarating, heartbreaking and lifegiving.  So often it’s the same thing which, at various times, brings extreme highs and lows.  And while we’d like to do without the lows, we can’t really get rid of them without also eliminating really good things.  So it all comes together, this mortal life of opposites at work in us and on us.

I set the star on the diagonal instead of top/bottom, to convey the way both anchor important space in our development.  I actually did this a long time ago, and then set it aside to think about what should be next.  Currently, one area I’m trying to expand my creativity is through using fabric in ways that allow it to take center stage in simple ways.  I had thought I would need a deep dive creatively to finish this quilt. I realized, however, that I could convey meaning just as effectively through well-chosen prints.  So that’s what I set out to do.

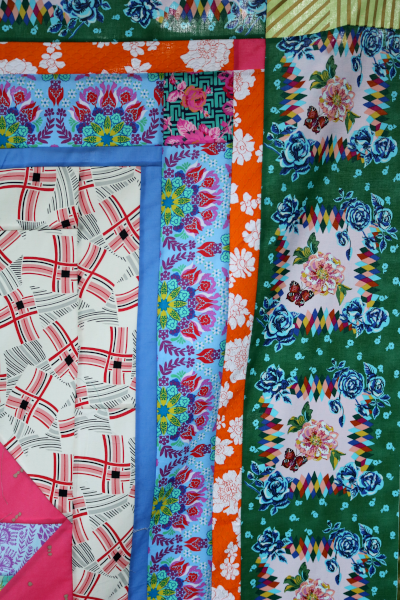
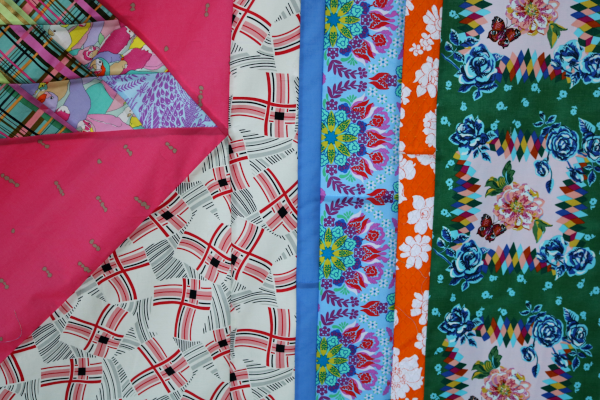
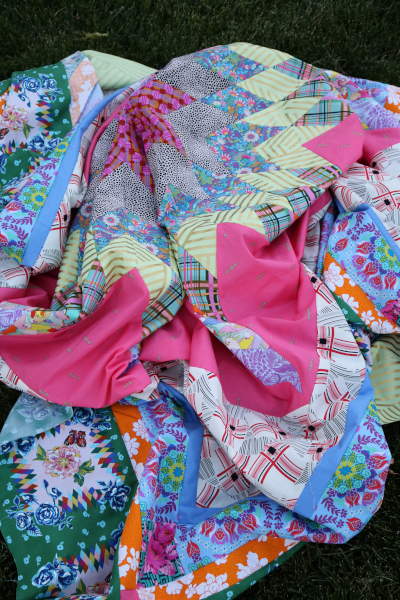
Every print I selected for borders in the Oxymoron quilt top was used in at least two colorways.  The fabrics here are both old and new, and feature designers such as Victoria Findlay Wolfe (first border and one of my all-time favorite prints), Anna Maria Horner (large scallop border and small cathedral windows prints), Carolyn Gavin (narrow colorful borders) and Kaffe Fassett (that regimental ties fabric is genius and I love it SO MUCH).

This quilt won’t be made into a pattern.  If you want to try something similar, check out my Lone Star Tree Skirt Pattern.  I used the star in that pattern to make this one, but sewed it into a square instead of an octagon.  And obviously, it’s not a tree skirt.

This is a “me” quilt, and I feel almost unreasonably happy about it.  These are the projects that completely light me up inside.  Today is actually my birthday, and I’m very grateful to have finished this.  I’m grateful to be where I am in my journey.  So grateful to be making art!  Have a blessed day!

Indigo Sewing Pouch

Two years ago I finished a cute little Indigo Siddhi mini quilt.  It was really fun to make something entirely by hand, but it wasn’t getting used much.  One quilter who inspires me tremendously is Megan Manwaring.  She has made a lot of pouches or bags using these mini quilt panels, and she inspired me.  I decided to try making a sewing pouch with it, but kept my original goal of an entirely hand sewn project.  So here is my Indigo sewing pouch!

I added two things to this piece.  First came pockets.  For these I chose a William Morris Strawberry thief print because the colors blend well with the indigo fabrics.  Plus, I love the strawberry thief pattern, and knew it would make me smile to see it here.  The fold is the opening to the pocket, and the edges are turned and hand stitched in place.  Not perfect, but still by hand!

My panel wasn’t perfectly square when I originally finished it.  That made adding the zipper more challenging at the end.  Above, you can see how I simply hand stitched the zipper on using the same big stitch.

I did great, except for the bottom joint, where it won’t lay perfectly flat.  Clearly I need more practice! Honestly, though, I’m not at all concerned.  This pouch is very functional, and I’ve been using it for a little while now.  I love the beauty of it, how unique it is, and also how lightweight it is!  Right now my indigo sewing pouch is the perfect size for my folk art flower applique blocks, which are slowly multiplying.

Someday it would be really cool to make a large Kawandi style quilt using this technique.  When I first took a class on it, that was my intention.  As you can see, I have far too many hand sewing projects going, so this idea will wait.

1 11 12 13 14 15 215