Mini HOME Christmas Blocks – with Christmas lights!
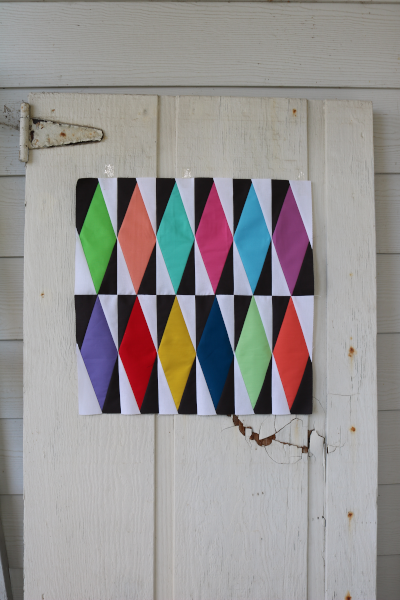
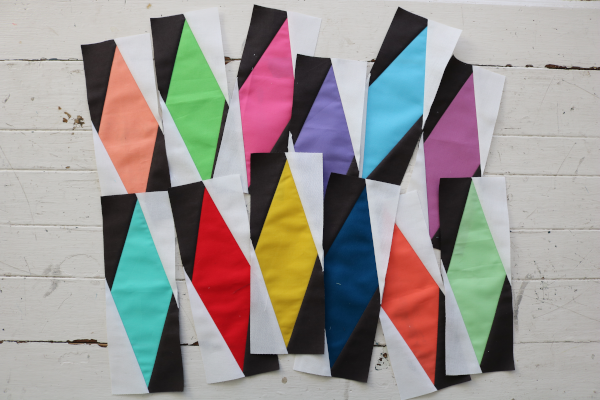
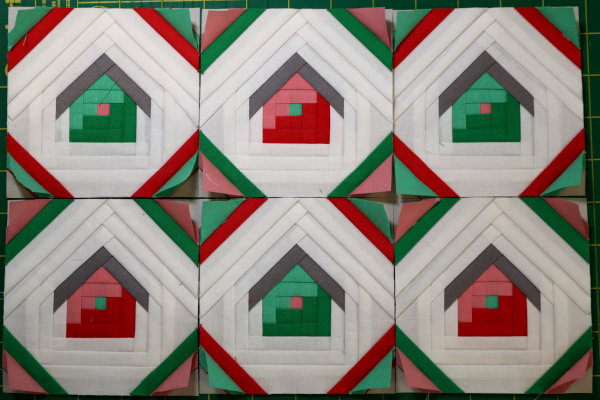
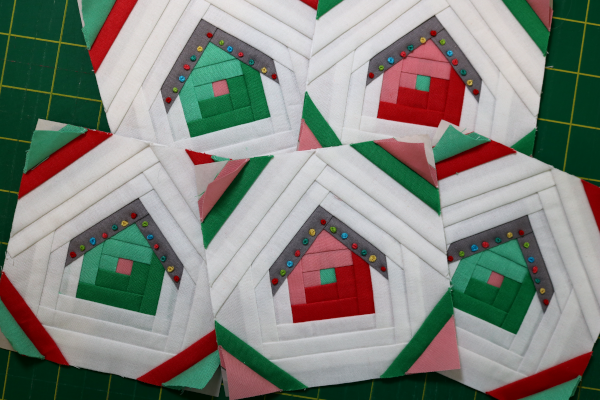
After playing so much last month with my moody little HOME blocks (which became this and this), and then making my HOME beach hut pillow cover, I wanted to sew more blocks. I chose a Christmas theme, using the 4″ HOME quilt block size and alternating red and green colors. Now I’ve got a small collection of mini HOME Christmas blocks. And let me tell you, they are CUTE!
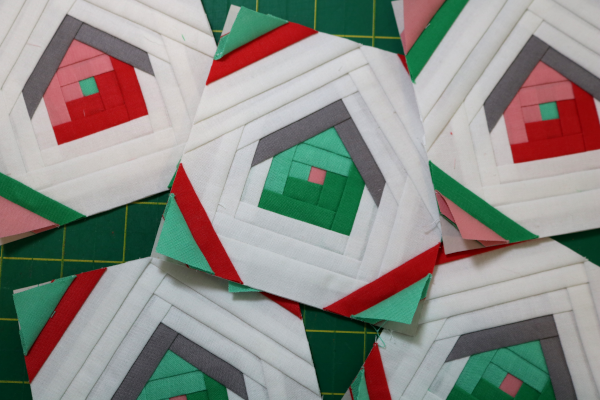
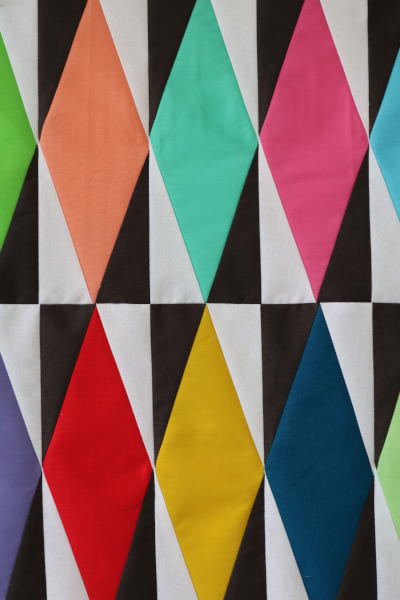
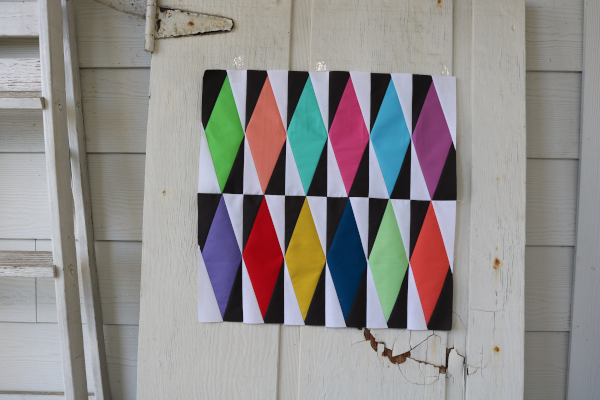
Happy sigh. Placed next to each other, I really like the secondary patterns in the corners. This would also be a fun theme to explore in a larger project.
Since these are Christmas houses, I thought they might like to have some little Christmas lights. Why not? The question was, white or colored, and how to do it. I decided to try colors, hoping to play up the candy shop color scheme in these blocks. First I selected six bright colors, and next I got out a ruler to measure the length of the roofline.
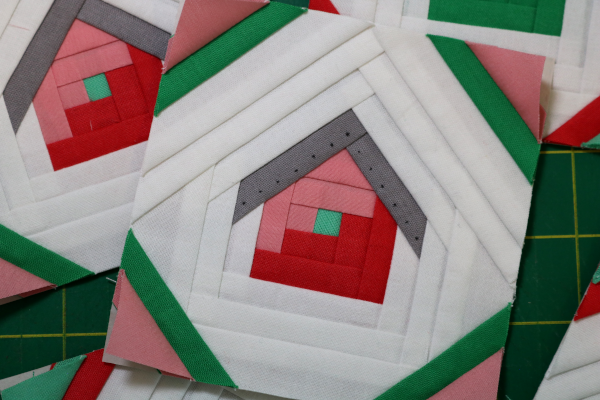
I decided that a 1/4″ spacing looked nice, and it allows me to rotate twice through all the colors with the first color on both edges and center top. I marked my lights with Sharpie, making tiny dots that aren’t difficult to cover with a French knot. Let the embroidery stitching begin!
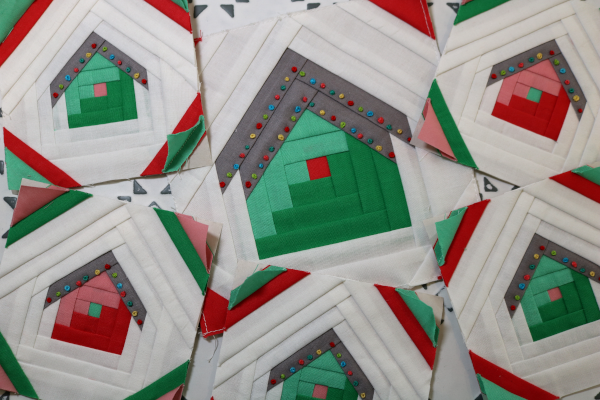
And they are so much fun! I love these blocks with their little lights. Of course I had to keep going until all of them were fully decorated for the holiday.
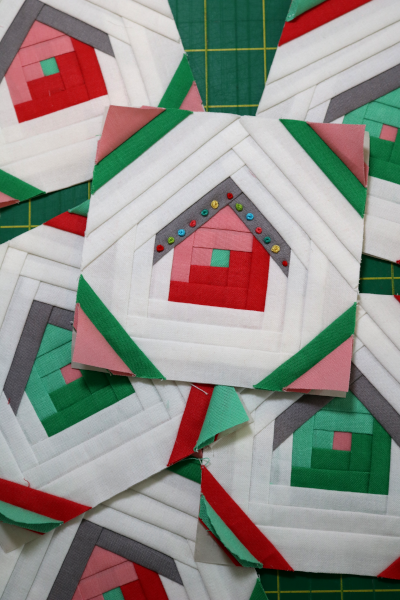
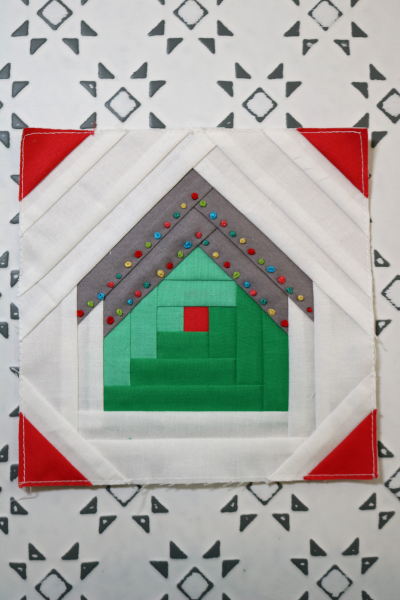
Once I finished these mini HOME Christmas blocks, I looked at a 6″ Christmas themed block I’d sewn, and figured, why not? Using the same six colors, and the same 1/4″ spacing, I marked more lights and started adding French knots. Naturally we needed another line of them on the second roofline as well. I mean, who doesn’t love Christmas lights?
I’ve discovered my new favorite embellishment for these little blocks. Obviously I need to do something cute with them, like a bunting. I’m thinking more than one something cute, such as ornaments, or even a stocking. Stay tuned for more!
I’m headed back to my sewing machine. Have a great day!
-Jennifer