Lone Star Tree Skirt Sew Along: Assemble Star & Add Background

Welcome to Week Three of the Lone Star Tree Skirt Sew Along!  If you’re just joining us, it’s not too late.  The pattern is available here and you can jump in anytime.  We’re going to finish our tree skirts well before Christmas!

Last week
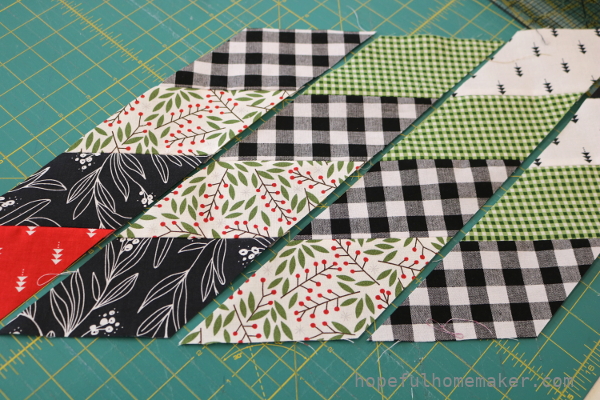
we sewed our strips into eight large diamonds.  This week we will sew the diamonds into a star and add our background.  Once again, BE CAREFUL  in handling your fabric.

You have a lot of bias edges and don’t want to stretch them!

The video is in two parts again this week.  In them you will find my tips for marking, pinning, and sewing – including how to sew a y-seam.  You will finish your quilt top this week!

Let’s do this!

The first video is about assembling your star, and the second video is about sewing a y-seam to add your background pieces.

https://youtu.be/Uo2joPdoHXg https://youtu.be/x0zAkoAEZJc That’s it!
Here is one more look at my layout options with my eight diamonds completed:
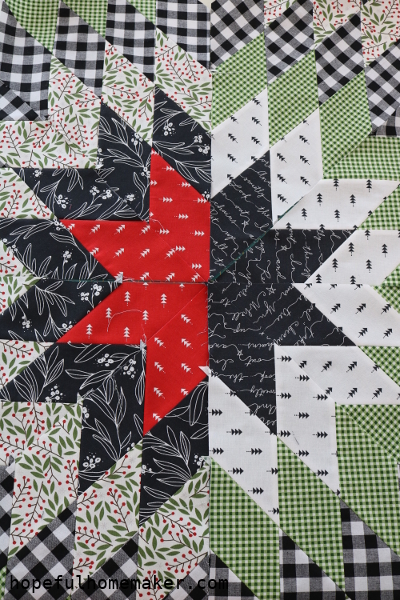

I chose the left option with red in the center, and my diamonds look great when sewn into sets of two.
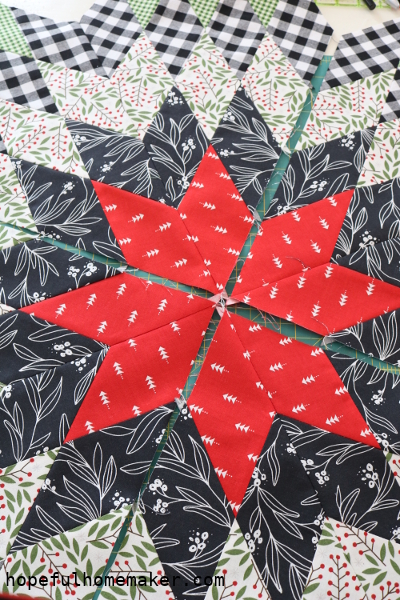

And my finished quilt top after all the background pieces were added and the star sewn together:
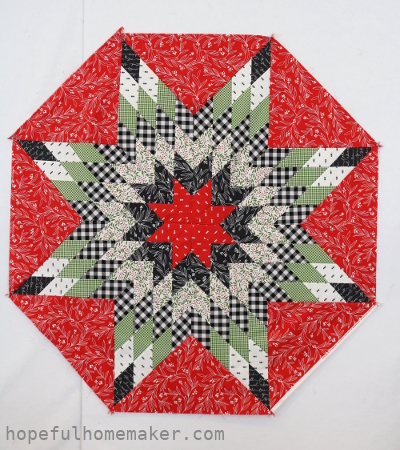

I’m excited about my star and can’t wait to quilt it!

We will meet back here next Monday for week four of the sew along.  Please share your progress with the hashtags #lonestartreeskirt and #hopefulhomemaker.  I have seen some beautiful stars!

Remember that all posts for this project can be found on the Lone Star Tree Skirt Sew Along page.

Have a great week, and happy sewing!
Jennifer

Lone Star Tree Skirt Sew Along: Cut & Sew Strips

Welcome to the Lone Star Tree Skirt Sew Along!  Today is the official start of our five week project.  You have your copy of the pattern and your fabrics chosen.  (If you missed the first video about choosing fabrics, you will find it here .)  Whether it’s your first lone star project or your 100th, we’re going to have a great time.  It’s time to start!

Week one covers the first six steps in your pattern, cutting and sewing strips and then cutting them again to make strips of diamonds.  These steps are simple but require accurate cutting and sewing, as well as care in keeping your fabrics organized.  I shared all my tips in the videos below and I hope you find them to be helpful.

(Note: I neglected to include ironing instructions in the pattern, which has been fixed.  Please watch for those in the videos!  If you download the pattern from your Etsy account again, you should have the updated version.)

There are two videos this week.  The first covers cutting, pressing, and arranging your long strips together into sets:

https://youtu.be/kTYJRuxlabU This second video demonstrates how to sew your strip sets together, press seams open, then cut them into diamond strips:

https://youtu.be/OvgOZjAuhn8 That’s all there is to it!


I love seeing the pattern begin to emerge when all my diamond strips are cut.  Our goal this week is to have 8 sets of diamond strips ready to sew into larger diamonds.  I’m excited about the black in my fabric pull and can’t wait to see these strips come together.

You can purchase a pattern here.

We will meet back here next Monday for week two of the sew along.  Please share your progress with the hashtags #lonestartreeskirt and #hopefulhomemaker.  I’ll be watching for them!

Remember that all posts for this project can be found on the Lone Star Tree Skirt Sew Along page.

Have a great week, and happy sewing!
Jennifer
Lone Star Tree Skirt Sew Along: Selecting Fabrics

With the Lone Star Tree Skirt Sew Along kicking off officially next Monday, today is a great day to talk about selecting your fabrics for the tree skirt.  In the video I shared my fabric pull for my tree skirt as well as thoughts about lone star fabric choices based on other lone stars I’ve made.

https://youtu.be/cp7AYI4dyLM NOTE: If you can’t see the video, try turning off your ad blocker.

If you haven’t done it yet, purchase your pattern here .


I neglected to mention in the video that the pattern includes a coloring page.  Use it to help you plan your lone star.


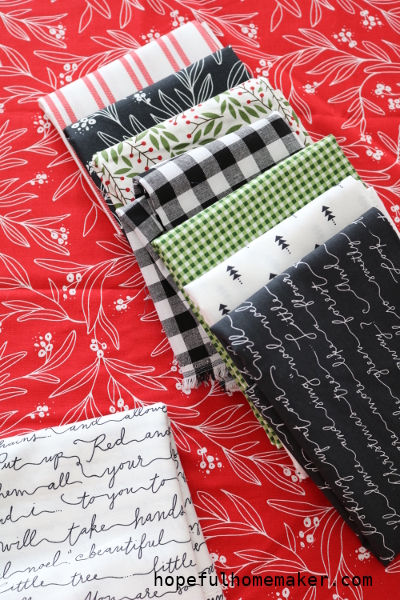
I chose a traditional color scheme with some black and white thrown in for my tree skirt.  All the fabrics I have are half yard cuts so I can move them around and see what order I like best.  At this point my tree skirt will feature the prints you see above, with the red mistletoe print as background and the others for the star.

I hope you’re having a great time choosing your fabrics.  We’ve got one more week before we cut and sew.  Tag your posts with #hopefulhomemaker and #lonestartreeskirt on social media so we can all follow along.

I created a Lone Star Tree Skirt Sew Along page for your convenience, where you will find links to every post.  I’ll see you back here next week to start things off!

Happy Sewing!
-Jennifer   Credits for Music: For as long as I remember by Malena Stark on Epidemic Sound

1 2 3 4 8