This morning I woke up intending to work like crazy on cleaning the house so I can afford time for yard work later in the week. Usually I enjoy cleaning, or at least the results of cleaning. Today, however, I was all out-of-sorts emotionally and found myself feeling irritated with my children while I was cleaning. Instead of enjoying the process I felt frustrated with them for being sloppy.
That’s never a good thing to feel, especially when you know that four of them have major projects to work on after school today, and when you also know that it’s going to take patience and persistence to get them all going. {And even then there may be a battle.} It will never work if I’m frustrated with them before I even pick them up.
Please tell me you have days like that, days when everything that’s wrong feels really wrong and everything that’s right feels wrong anyway. Days when reminding yourself that everything is, in reality, great does nothing to squelch the tears pricking behind your eyes. No particular reason, just cloudy on the inside, I guess.
So I took a break.
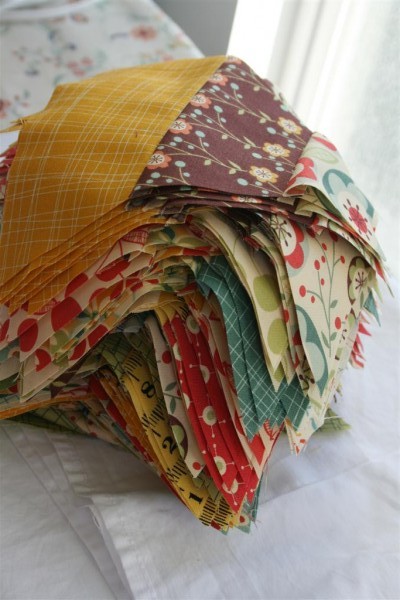
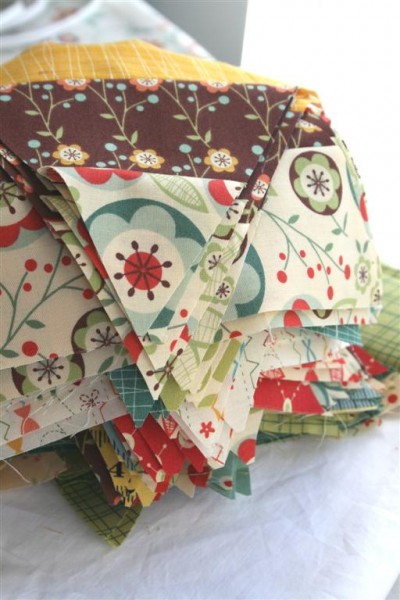
I’ve had a large stack of 44 inch strips of fabric sewn together for weeks. It’s for a quilt I wanted to make in September. Today I ironed them and cut them into triangles. While I did it, I opened all the windows in my studio (the sunniest room in the house) and enjoyed a gentle breeze and bright light.
Somehow it worked. I don’t know if it’s the sunshine, or a stack of triangles that will never again be 44 inch strips (unlike the laundry, which will shortly be dirty again). Perhaps it was just the steady cutting of fabric at the same angle for an hour or so. Whatever it was, it cleared my mind and calmed my heart.
I picked the children up with a happy heart. Two are now working cheerfully, one is working resentfully, and the other has yet to start. At least their mother isn’t grouchy, although the family room still needs to be vacuumed. I think it was time well spent.
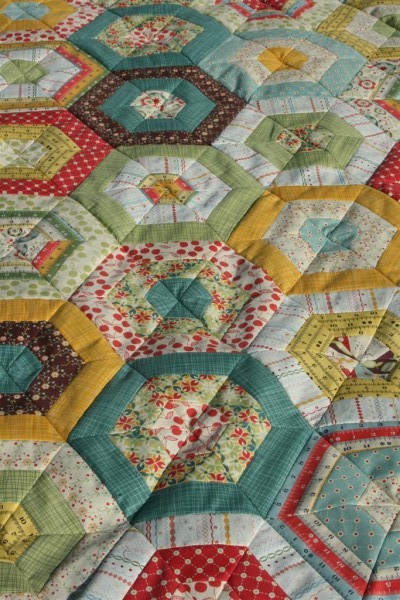
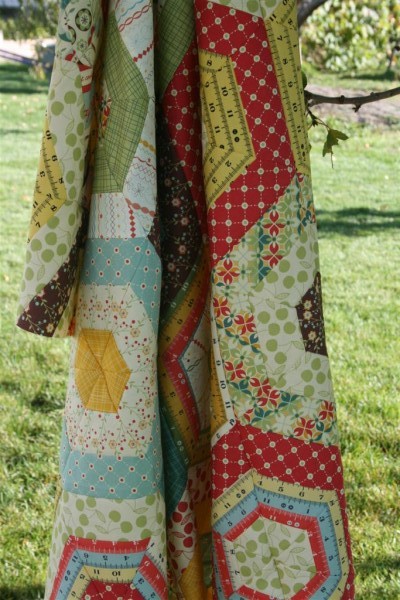
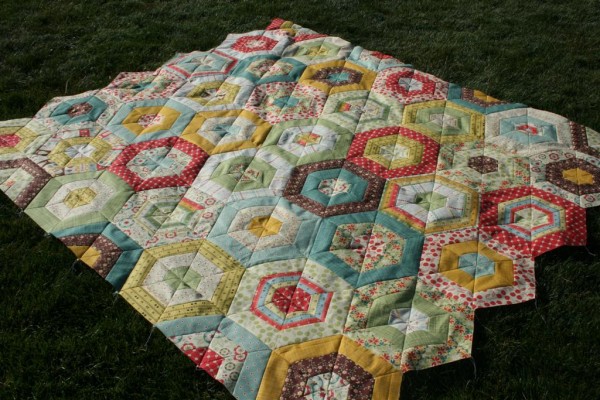
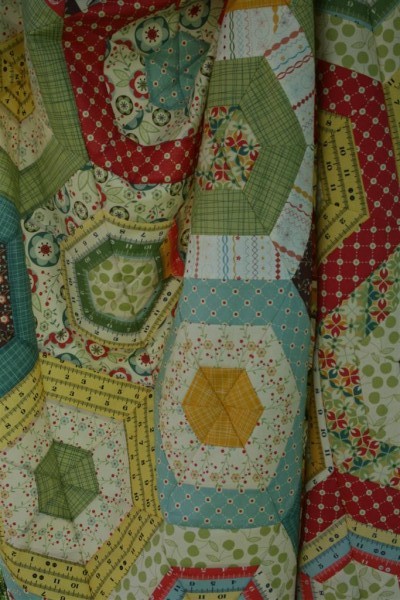
Just look at all those warm, yummy colors. I’m excited to sew them together.
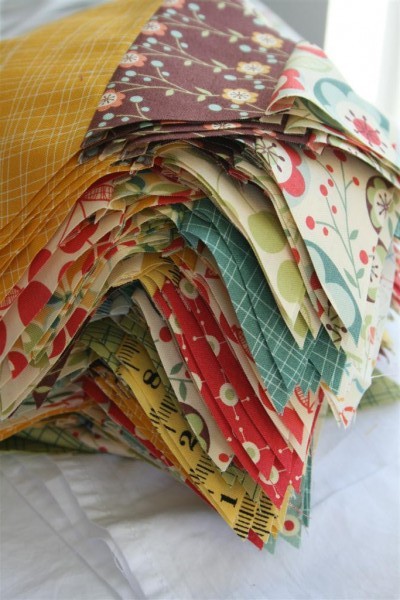
Fabric is Early Bird, by Cosmo Cricket, with a little bit of their Tailor Made collection thrown in. It’s been out for a while, and I’m finally using it!
Hope your Monday has gone well.
Jennifer
