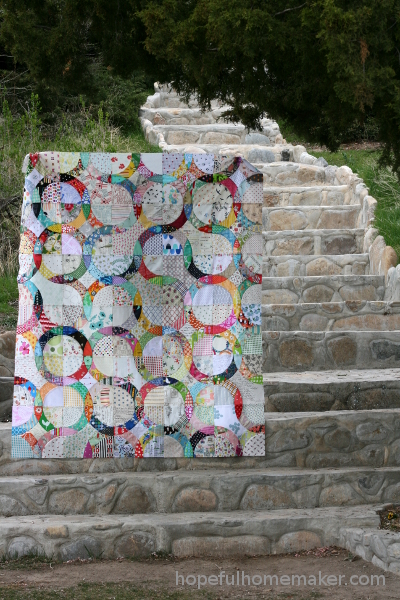
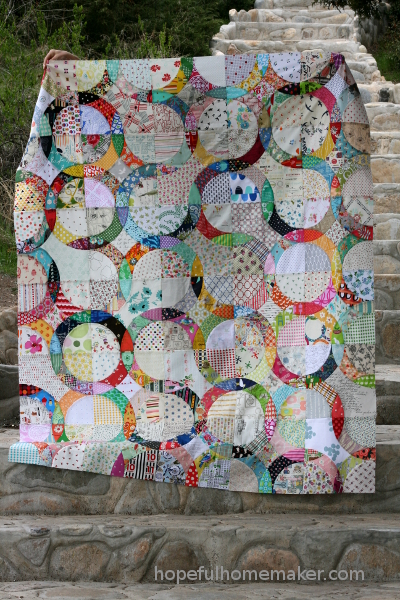
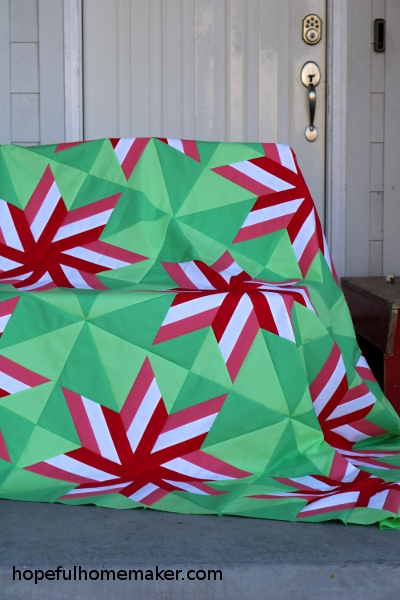
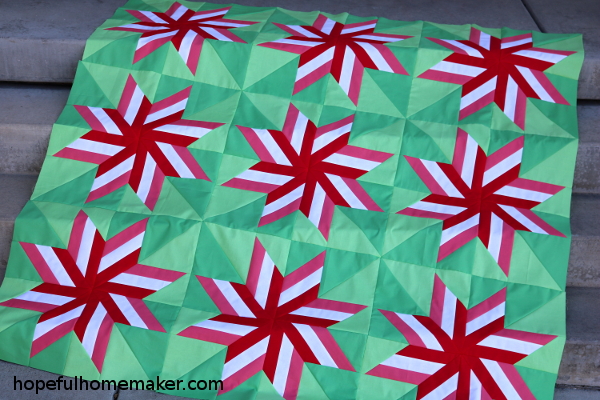
Lucky Lone Star Quilt – A Finished Quilt and a New Pattern

It was a good morning.  My hard work the evening before had set me ahead of schedule on the day’s tasks, and I felt satisfied with life.  A text message came and the day got even better:  my Lucky Lone Star Quilt was done!  I raced to pick it up, bring it home, spread it out in my living room… and then I danced a happy dance.

First of all, that blue!  It is one of the best decisions I’ve ever made with color in a quilt.  But the purpose of these photos is to show off Melissa’s gorgeous quilting .

The question I asked
when planning and making the quilt top decided the quilting as well; I looked at it and saw traditional orange peel quilting in the star and modern straight lines in the blue background. (Edited to add: blue solid is a Moda Bella solid, number 9900 167, Amelia Blue)

I was lucky enough to have the perfect amount of plaid fabric left to make a binding. Soon I’d finished the quilt (followed, I must admit, by another little happy dance).  Really, quilting is such a personal and creative experience; so much of us goes into them!  It’s wonderful when a quilt makes my soul bubble over with joy, and this one does that every time I look at it.


I make a lot of quilts.  I hope this is one that my children keep when I’m gone.


This lucky lone star quilt is a sister quilt to my Mod Lone Star quilt .  Lucky has smaller, and more diamonds in it and the quilt itself is just a little bit smaller.  Both quilts use the same technique with beautiful results.  (pattern information below!!)


I told Melissa what I wanted in the star and in the background, but the borders were hers to decide. She added a beautiful feather design in the top and bottom borders of the quilt.  I love her choice and her quilting adds to my feeling that this is, indeed, my lucky lone star quilt.


More good news:  the pattern is also finished and available now in my Etsy shop !  This is a fun project, and videos to aid in making one are currently in production.  You can download the pattern here , which also includes a coloring page for planning, then choose fabrics and get started!


I hope you will sew along, but even more than that, I wish for you some lucky moment that makes you dance a happy dance.

Love, Jennifer

Felt Flower Winter Wreath

Winter never really showed up in Utah this year, except for a few days of cold and snow.  In some ways I haven’t minded much; I much prefer driving on clear roads and I don’t relish cleaning up coats, boots, hats, gloves, and scarves all the time.  But I also find myself watching the top of Mt. Timpanogos with some worry; there’s not enough snow on those mountains and it will probably be a dry summer.  Yet Mother Nature does her thing, and there are bulbs pushing their way up in my yard.  I’m excited for my drab, brown landscape to become beautiful again.  Inside, however, I hung this lovely felt flower winter wreath and it’s brought flowers and beauty to my sewing room all winter long.

felt floral wreath

I first saw the tutorial for this felt project on the Purl Soho blog years ago, but it took me a while to start it and even longer to finish.  I really love it.  There is something so lovely about the creamy white flowers against the pale taupe background, and neon thread gives it an unexpected element of surprise and sophistication.

closeup of neon thread detail on wool felt flowers

The tutorial was easy to follow.  The flowers were simple and easy to make, and I enjoyed sewing them into place.  One change I made was to find a piece of wool felt in a local shop for the background instead of piecing squares together.  Again, that neon thread!  I never liked neon when it was in style, but this thread really makes me happy.  (It inspired the neon matchstick quilting on this quilt !)  I added some tabs to the top for hanging with a wood dowel.

felt flower winter wreath from Purl Soho tutorial

This project also triggered an interest in adding felt to quilts, which is something I hope to try.  I have found a couple of patterns I would like to make, and am slowly building a small stash of colored felt.  This project, however, is perfect in delicate neutrals.  I have moved it from place to place in my house when I’m in the mood for change and it looks beautiful everywhere.

white wool felt flowers sewn into wreath

If this felt flower winter wreath is a project you’re interested in, you can find the free tutorial here , along with supplies for making your own.  It measures approximately 24″ square.  It is a great size for a handwork project, and not difficult to make.

white wool felt wreath sewn with neon thread

Welcome spring!
Love, Jennifer

Scrappy Friendship Quilt Top

I’ve named this my Scrappy Friendship quilt.  It’s a description of how it was made, but it also describes friendships.  We all want to offer our best – all the time – and often we do.  Yet sometimes all we have to contribute are scraps, and true friendship accepts scraps and turns them into something beautiful.  We shouldn’t withhold our offering because we don’t think it’s good enough; friendship is offering and accepting what we have, knowing it will be helpful and appreciated.  Scrap quilts are the same, and so it is with this one.


I have one friend who likes collaborative quilting projects.  She got a half dozen of us together to pool our scraps and sew some quilts.


For our collaborative scrap project, we each brought 24 squares of fabric, 5″ square, to use as the beginning of the block.  Some of us brought solid fabric scraps; some of us prints.  We set up our sewing machines in one room and each of us took someone’s stack of 5″ squares.  We pulled a scrap from our own bag without worrying about matching or coordinating, and sewed it to one side of the square.  Trim and press, and pass the blocks to the next person.  In this way, we added to each other’s squares to make an improv block that was unique.


We devoted two different evenings to our blocks, and then each of us took our blocks home, decided on the final size of the blocks, and finished the quilt.  This meant trimming a little or adding a few more strips, and in my case, making one more block so I could have a 5×5 layout.  I had my blocks finish at 15″ square for a 75″ quilt.  If you’re looking for a fun sewing project to do with friends, I recommend this idea.  It’s also a great way to force yourself to try some improv and not worry about contolling the outcome, which is a good practice in creativity.


When I see these blocks I see my friends.  I see their styles and tastes, and I think about how much they push me to be better.  They do it for me in my quilting, and they do it for me in life.  I am grateful to have a quilt with all of our fabric scraps thrown together.

1 64 65 66 67 68 158