2017 Word of the Year: Light
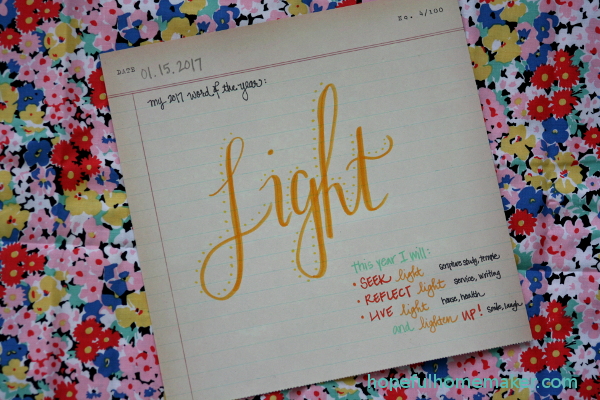
My word of the year for 2017 is LIGHT.
January has come and gone, and Feburary is underway. I’ve spent a lot of time in the last few weeks listening to podcasts, studying productivity, pondering the direction I want to move in, and generally doing some soul searching (while trying to keep the circus that is our family of ten moving, of course).
For one thing, I’m not focusing on as many year-long goals. I’m trying to think of 2017 more as a 52 week project, with each week building on the one before. I’m also breaking the year down into smaller chunks to accomplish my main goals. But I do want “light” to be something I focus on all year.
In what ways?
Well, one golden thread that I’ve seen in my life for decades is the truth that if I’m really spending time studying the word of God on a daily basis, the light in my life increases. Psalms 36:9 reads, “For with thee is the fountain of life: in thy light shall we see light.” This is so true! He is the fountain of life, goodness, beauty, mercy, you name it. And when I make an effort to move further into His light, I have new eyes to see light.
With those new eyes I see light in my surroundings, meaning in everyday challenges, beauty where before I saw only an obstacle. I’m more intelligent, more patient, more sensitive to others. So, seeking light is huge.
But it doesn’t stop there.
I want to be a light, to reflect His light. I want to fill my life with more service and do a better job of encouraging, lifting, and strengthening those around me.
I have a large, busy, imperfect, but really great family. Keeping things running smoothly requires constant effort. I want to do whatever I can to minimize clutter, distractions, and unnecessary time wasters so our lives flow better, and especially so that the bulk of my time is spent with them, focused on them. A simple way for me to word this is “live light.” I want to get rid of whatever isn’t a blessing for my family.
The last couple of years have been very heavy ones emotionally. I’m done letting these burdens define me. While I know some challenges aren’t going away anytime soon, it’s time to quit letting them have the power to drain me so much. So I’m also going to “lighten up” and be happy even when things may seem bleak or ugly.
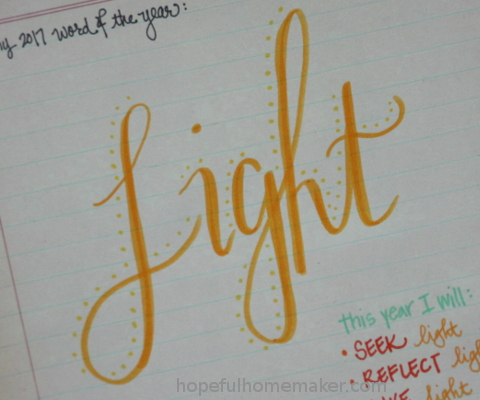
The lettering you see above is something I sketched out a few weeks ago. I was sitting at my kitchen table with my daughters and we were all coloring. It felt so peaceful and happy, but I felt hungry to practice some lettering. My handwriting is something I worked hard on as a child and teenager (I’m left handed and people are always shocked at how nice it is) but I haven’t used it as much in recent years and I miss writing nicely. I took a class a while ago from the very talented Lisa of Hand Lettered Design but haven’t practiced as much as I intended, so I got it out and was re-tracing some of her lettering when my 18 year old said to me, “Mom, I don’t get it. If you already have such nice handwriting, why would you try to make your writing look like someone else’s?”
So I put the tracing away and tried lettering one simple word: light. With handwriting that is mine.
I appreciated her reminder that in all of it, I need to remember that I have my own set of gifts and talents to share and develop. So I guess another goal for 2017 is to “honor light.” I want to honor the light that is uniquely mine and work hard to honor that light in each of my children.
Here’s a quick list of some things I did in January:
I started a topical study on light.
I took a mini class on using light better in my photos.
We went through all the clothing that half of my children own and got rid of everything we don’t truly love and use often.
I focused on getting more/better sleep, including an overhaul of my morning routine to encourage better sleep at night.
We spent more time serving and interacting with some neighbors and friends that we love.
I really did smile and laugh a whole lot more. I laughed at my mistakes and tried to meet daily mishaps with a chuckle instead of stress.
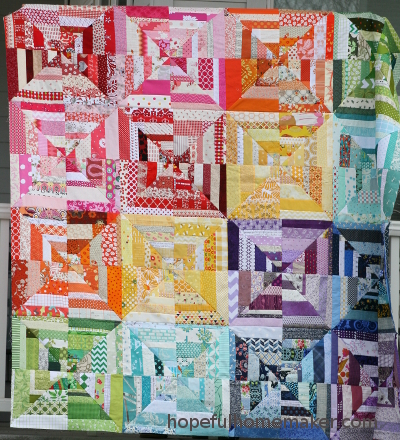
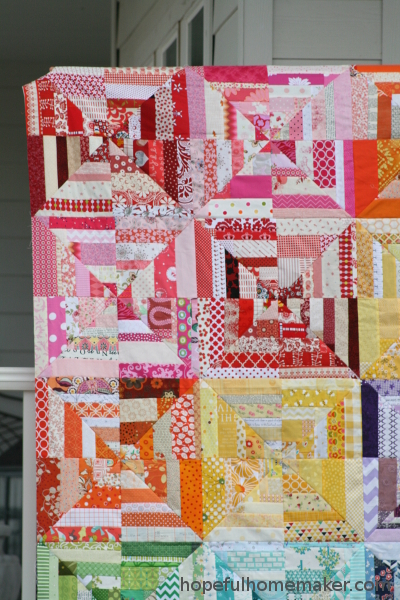
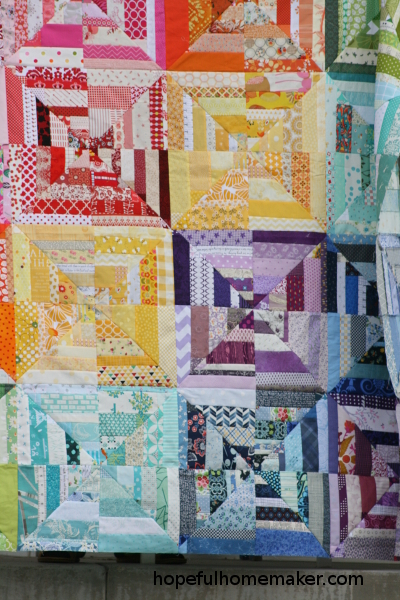
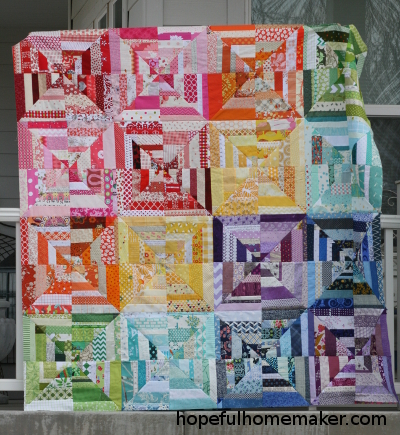
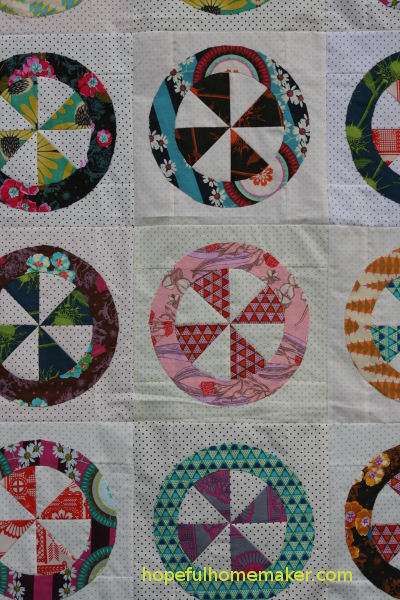
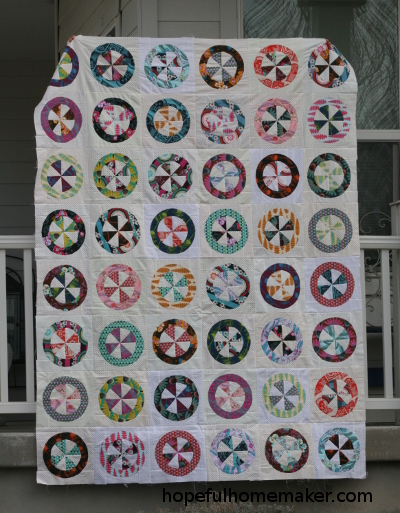
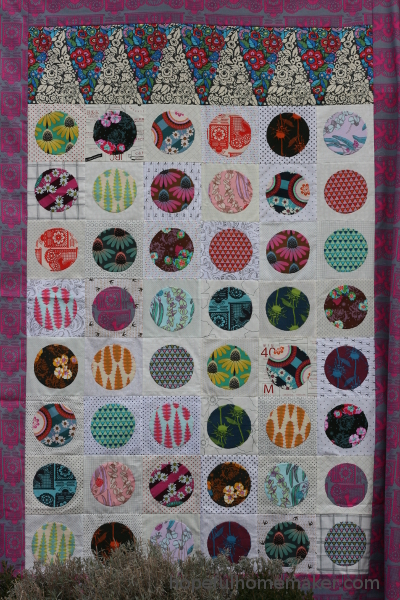
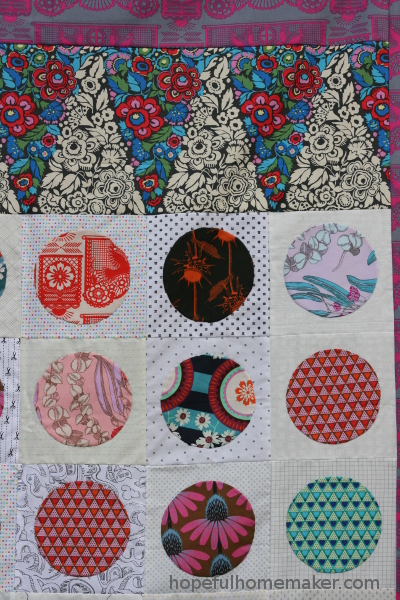
I started a creative project to explore light .
We spent many hours as a family reading books aloud and simply being together.
Fear and worry plague all of us. I’m so excited to step away from those emotions this year and live in the light. I’m full of hope for an awesome experience!
Jennifer