Here it is, the last Monday of January and I feel both urgency and relief at the thought. Urgency because in spite of everything the month has gone much faster than I expected. Relief because it has also been a dreary, heavy feeling month and I’m happy it’s almost gone. Either way, it’s the last Monday which means I’m here with my 20 in 20 January Report.
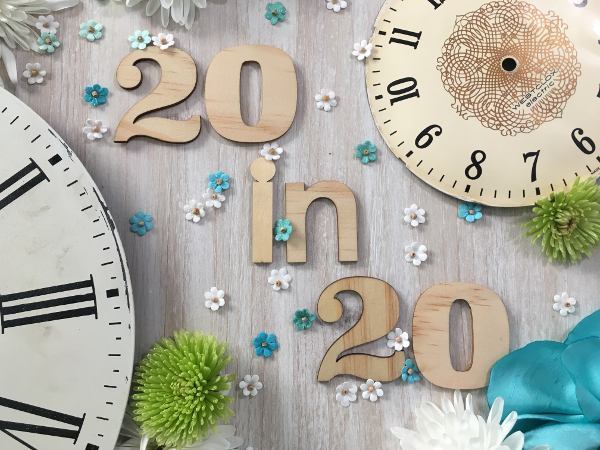
Twenty minutes of sewing, six days a week, in 2020! You can read more about my goal here , but what I’m really seeking is a journey. I’m not after crossing 20 minutes off my list as much as I seek a creative process that is both exhilarating and effective. THAT’S my real goal. And my way there is to invest some time, every day, in figuring it out.
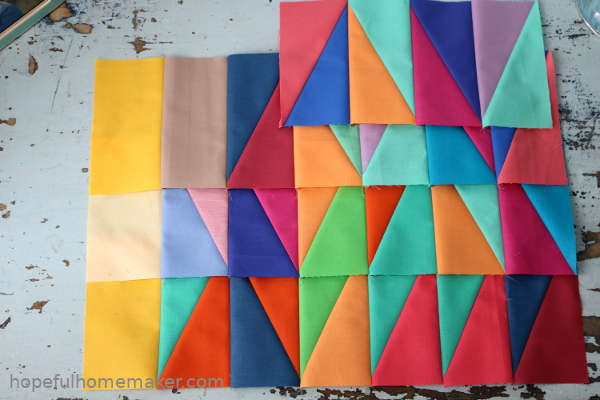
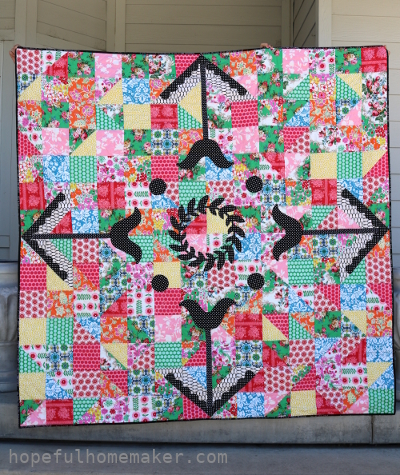
So let’s talk about January! Part of the 20 in 20 monthly report is visual. I started a half rectangle triangle (HRT) quilt to document my sewing time. Every HRT represents both time spent sewing and what type of project I worked on. The yellows are the Sabbath when I don’t sew, and any other neutral rectangle is a day when I didn’t sew a stitch. My January blocks are above, placed calendar style beginning with January 1st. You can see that I’ve missed only one day – the day that was my official kickoff! (I’m still laughing about that one.)
I’m succeeding at spending a few minutes sewing every day. That’s a victory, and I’m glad I’ve made it happen. But truthfully, many of those days don’t represent a routine or a creative process at all. They were more like, “oh no, I haven’t sewn yet today. What can I work on for 20 minutes before I go to bed?” It felt like the late nights when I’ve joined a sew along that requires posting a block daily, and I’m frantically making mine at 10:30 p.m. Some of it is inevitable, especially on crazy days (like Wednesday, for me), but part of it was just lack of routine. Seeing my HRT blocks like this gives me perspective.
So the biggest lesson I’ve learned in January is that I want a consistent routine more than I want to check it off the list. I want to redesign my days and create a consistent time for creativity.
The second lesson I learned is that not all sewing time is equal. I knew I’d run into this, and part of my 20 in 20 goal is to figure it out. Two things happened: 1. I wasn’t always clear on what I would work on, so I wasted energy waffling between projects. 2. Cutting fabric for blocks feels very different than sewing and seeing blocks come together.
Regarding clarity, as new opportunities came my way, I needed to shuffle projects so I can complete the most important ones. Sometimes putting first things first is tricky. First according to what? According to whom? For about a week I just wanted to sew ALL the things! The full swing of family life quickly knocked sense into me, but not before I bounced around with little to show for my efforts. And what about my heart? What about the ideas bubbling up inside that matter to no one but me, ideas that might be a flop but thinking about them gives me hope? What about those? Where do they fit on the project list? They will never come to life if I don’t make space and time for them.
I’m learning that making my process effective and fulfilling will require making important decisions about what I do and don’t work on, and why.
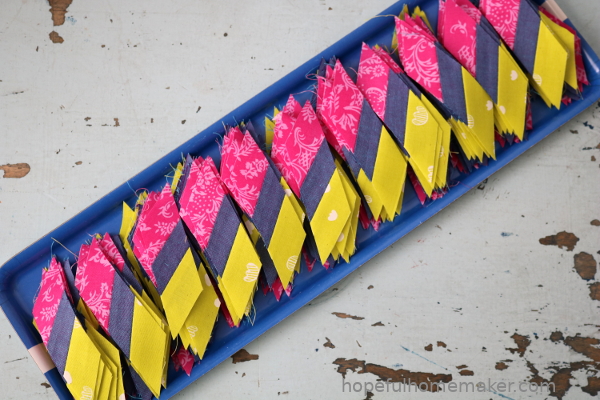
As for the reward of sewing compared to the tedium of prep work, I didn’t make a category for prep time. In a perfect world, that would happen in an extra block outside of my 20 minute challenge. But it’s not a perfect world and sometimes you need to just stand there and cut fabric. Like when I cut tiny diamond strips for 11 little lone stars. It wasn’t technically sewing, but it needed to be done, and I counted it. I’ve decided to let that time count as sewing time for the purpose of my challenge/experiment.
In summary, these are my three big takeaways in January: I want routine, not a checklist. I want clarity and purpose in my sewing. And I am happiest when I’m actually sewing. I’ll be pondering these things as I work on routines and effectiveness in February.
Overall, I’ve sewn on 22 of the first 27 days of the year! That makes me happy. I may not have tons to show for it yet, but it’s a solid start. And that solid start wraps up my 20 in 20 January Report.
Have a great week!
– Jennifer