Why I Quilt: My Quilt Walk Story
This is the story of my quilt walk.
When I was a teenager, I was a great observer of the way people walk. I don’t know why I watched with such interest, but it was fascinating to observe the gait of different people. I could identify people at great distances by their walk, and occasionally I would entertain my family with demostrations. We each have our own walk, literally and figuratively.
Why do you quilt? What is your quilt walk, and how much have you thought about it? Last year, the modern quilt group I was a member of for several years disbanded in a season of change. In the closing months we were challenged to make or bring a quilt that answered the question, why do I quilt? I knew I could grab any number of quilts I love to share. For some reason, however, I felt compelled to answer the question by making something new.
And then something happened.
I was helping my fourth grader with research for her county report on Garfield County, Utah. We found a story that I couldn’t get out of my head. It became the inspiration for the improv piecing.
The quilt now has what might be the largest quilt label ever made stitched to the back. I don’t ever want my quilt walk to be separated from the quilt.
This is what it says:
Why do I quilt?
A hundred reasons, perhaps: color, composition, texture, beauty, art… something that stays done in the midst of motherhood’s chaos…the satisfaction of wrapping someone I love in something I made, the symbolism of quilts as a covering.
I found my way to quilting through a love of antique linens, intending to cross “make a real quilt” off my life bucket list, never dreaming it would eclipse all other interests.
And yet there is more, best expressed through a story I first read while pondering the question.
In the winter of 1864-65 a small group of families in Panguitch, Utah were facing starvation during an extremely cold and snowy winter. Seven men left their families and with two yoke of oxen and a light wagon began a forty mile journey over the mountain to Parowan in an effort to secure flour and food for the colony. The men found themselves in waist deep snow, and at the head of the valley they had to abandon the wagon and oxen in order to proceed.
They had quilts in the wagons. These seven men spread a quilt on the snow and knelt to pray. They discovered that the quilt prevented them from sinking, and so they began to lay their quilts on the snow, walk across them, then collect the quilt behind and lay it in front, allowing them to walk without sinking into the deep drifts. They did this all the way to Parowan and back again with sacks of flour on their backs.
Alexander Matheson, one of the seven men, recorded in his journal:
“We decided that if we had faith as big as a mustard seed, we could make it and bring flour to our starving families. So we began the quilt-laying in prayerful earnestness. The return trip was harder with the weight of the flour, but we finally made it to our wagon and oxen and on home with thankfulness to the Lord for his goodness. The whole settlement welcomed us, because we had been gone longer than expected. There had been prayers, tears and fears which turned to rejoicing and cheers.”
More than 150 years later, the journey is still remembered and celebrated as the Panguitch Quilt Walk.

While I have no roots in Panguitch, this story perfectly captures what quilting means to me.
Put simply, quilting keeps me from sinking.
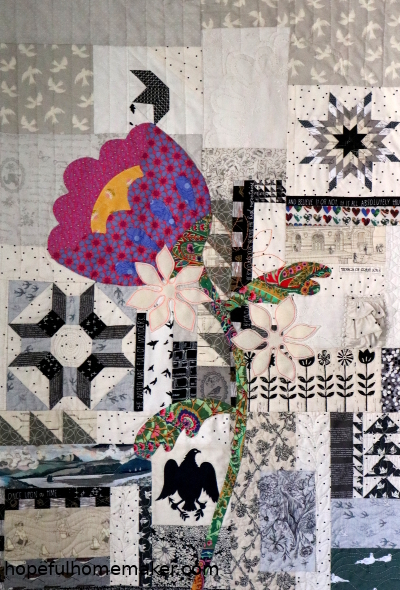
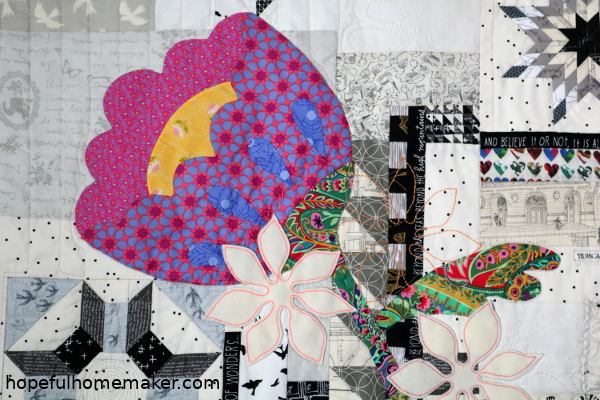
I designed this quilt to represent my personal quilt walk: the mountains and deep snow of my challenges, including quilt blocks and fabrics that have carried me in times of distress. I chose to tell it in black and white, a reminder that my past, as well as the collective history of American quilters (whose blocks we are still making generations later), are a foundation on which to build. The colorful top layer of applique represents my faith in what lies ahead: life, growth, friendship, creative expression – a promise of good things to come.
Jennifer Sheffield Harrison American Fork, Utah 2018
A few additional thoughts about this project:
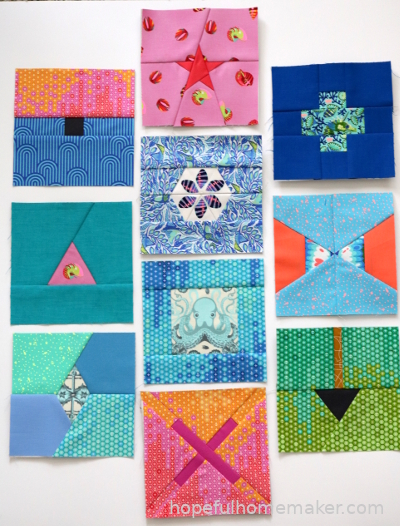
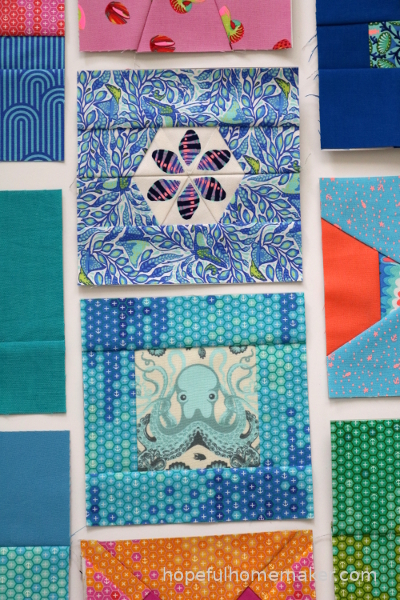
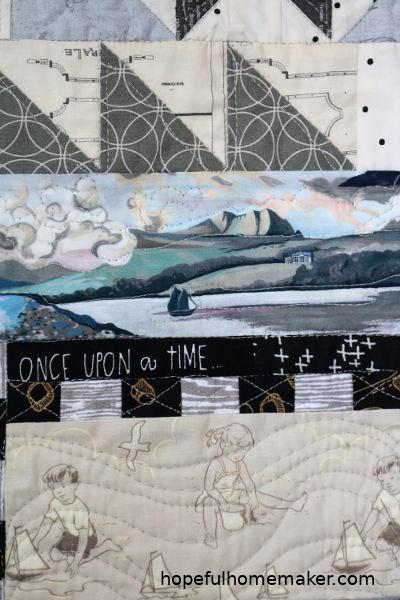
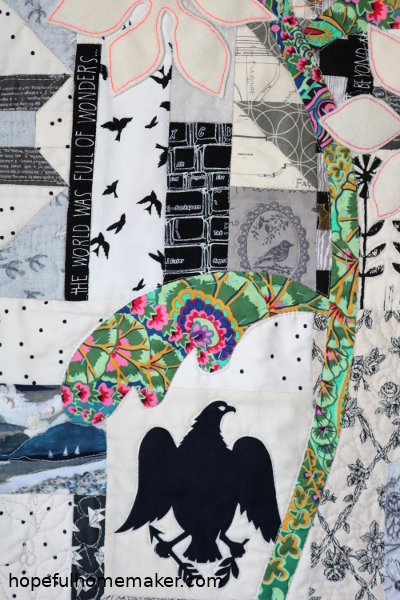
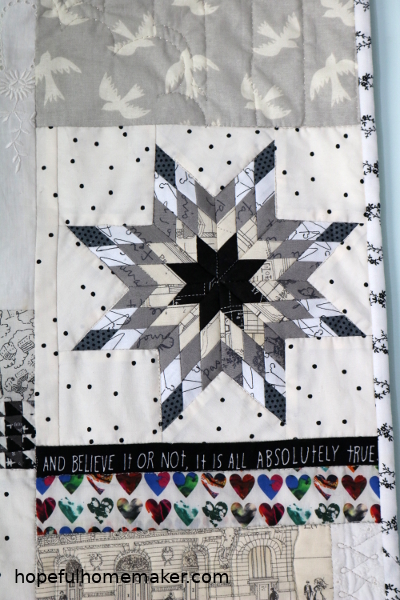
When I was piecing the neutral background, I went through my stash to find fabrics that felt autobiographical to me: children playing in the sand at the seashore, a Liberty print depicting a seaside scene, an eagle representing the great seal of the United States. There are pieces of embroidered vintage linen, text prints (like “once upon a time” and “believe it or not it is all absolutely true), a fabric that represents my husband’s career. I included the sleeve of my youngest daughter’s blouse, a print that reminds me of my ancestors, tiny churches, lots of birds (especially a seagull), and scraps from significant quilting projects.
There are eight of a few things to represent my eight children, and there are also seven flowers – a special personal reminder. I added a tiny, wonky section of half square triangles which represent my greatest challenge. A second piece of Liberty that I got from a dear friend represents all the friendships that have come to me through quilting. And a lone star block, of course! I could talk for hours about these fabrics and why they are there. They trace the story of my life’s walk in addition to my quilt walk.
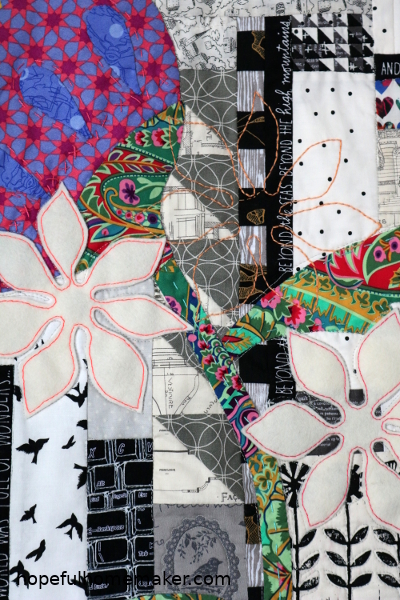
I pieced the background as if climbing a mountain, from the bottom left corner and up to the peak, represented by the lone star on the right. The applique flower is my own design, a first attempt that worked! Instead of facing the mountain, it faces away from the snow drifts of life, looking out over the valley below with perspective and satisfaction. It reminds me of new ideas I want to explore in my work. Looking at it is an invitation to make them happen.
The Quilt Title:
As I made this quilt I thought of the women I met over six years of UCMQG meetings. A few of them have become dear and trusted friends. I love sewing with them. Together we lift and push each other creatively, but we’re also sharing life experiences, lessons and trials with one another. Their friendship is precious to me. As I quilted, I found myself singing the Rodgers and Hammerstein song “You’ll Never Walk Alone” drifting through my mind:
When you walk through a storm, Hold your head up high, And don’t be afraid of the dar,.
At the end of the storm, Is the golden sky, And the sweet silver song of the lark.
Walk on through the wind, Walk on through the rain, Though your dreams be tossed and blown, Walk on, walk on, with hope in your heart, And you’ll never walk alone.
You’ll never walk alone.

Those men in Panguitch didn’t walk alone. I’m not alone on my quilt walk, either. The first time I heard that song was in 1995, in Gig Harbor Washington. I remember standing silently as I listened, frozen in the moment as the beauty of the melody and the power of the words washed over me. It’s true, for even when we literally walk alone, we are never really alone. God is always with us.
Thus the title of my quilt. “I’ll Never Walk Alone.” I am not alone in quilting. I am not alone in my life challenges. And God has given me the gift of quilting friends who walk alongside me in both quilting and life.
This quilt measures 29″x42″ and hangs in my kitchen – a room where much of my life work as a mother happens. I’ll never walk alone at home either, and I’m forever grateful for the wonderful people I get to call mine. They influence my quilt walk in beautiful ways.
Share your quilt walk:
Have you ever asked these questions? What is your quilt walk? Have you taken time to record it? What influences you? What keeps you from sinking? Sitting with these questions over many months opened my heart to the power and beauty of my story. I heard women talk about how their mothers and grandmothers and great grandmothers taught them to quilt. It had been part of their lives as long as they could remember. If that’s your story, share it, because it’s amazing.
My story seemed boring or unimportant in comparison because I never had a relative or friend who led me to quilting. I literally walked into a quilt shop, saw a quilt on the wall and thought “maybe that would be a good pattern for that bucket list ‘real quilt’ I’ll make before I die”. At home I started cutting scraps to figure the pattern out before cutting the “real” fabric. I assumed it was the only quilt I’d make. But I was so wrong, and I’m glad I was.
My quilt walk matters, and so does yours. I invite you to share it somehow. Write it down, or better yet, make a quilt that tells your story. Celebrate your quilt walk, and most importantly, KEEP WALKING, no matter how deep the snow drifts of life.
With love, Jennifer P.S. If you want to read more about the Panguitch quilt walk, here is a good place to start.