Taste The Rainbow Game


tasterainbow

My five year old daughter and I are planning a birthday party and the first game she requested is Taste the Rainbow.  It’s a really simple game which can be easily used at any kind of party.  We first tried it at one of the parties I hosted in May for a 10 year old soccer team.

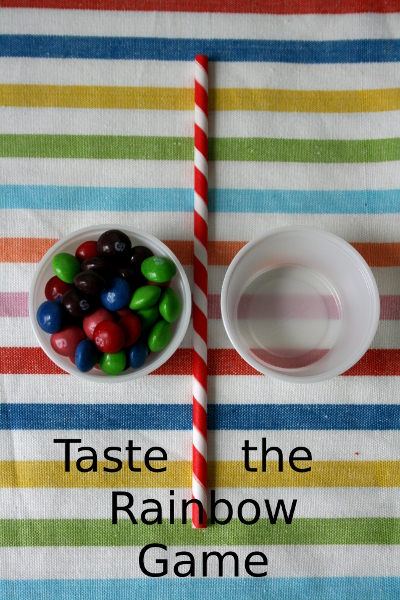
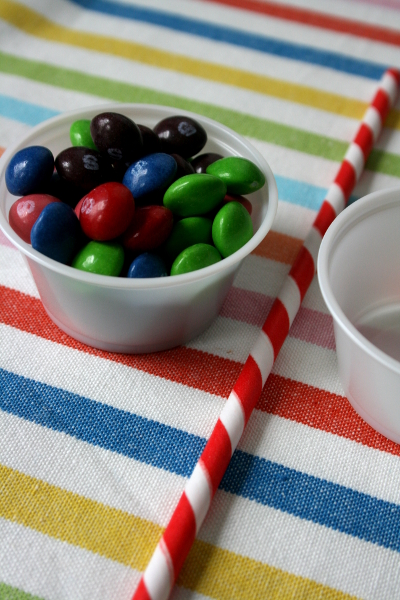
Here’s how you play:  Each person will need two small cups, a straw, and enough Skittles candies to fill one of the cups.  Leave the second cup empty.  The cups I used are little condiment size cups like you find at restaurants.  I bought a huge box of them years ago at Costco and we still haven’t run out!  They measure about 2 inches across and are only about an inch deep, so they’re quite small.  If you can’t find something like it you could use little ice cream cups, nut cups, or even sturdy cupcake liners might work.  You should have at least 20-25 candies in the cup so the players are less likely to run out mid-game.  I bought two 14 ounce bags of candy for a group of 12 girls and had about 2/3 of one bag left after the game.  I think you could safely plan on one 14 ounce bag per every 10 players.

The goal of the game is to see how many skittles you can move to the empty cup using your straw in 30 seconds.  Someone needs to be the timer who calls out go and stop.  I’ll never forget the first time we played it hearing one sweet girl exclaim, “Oh!  You’re supposed to suck in!  I was blowing.”  So funny.  We ended up playing it over and over again as the girls wanted to beat each other’s best number.   When you’re done everyone gets to eat their candy (another good reason to keep the cups small).

tasterainbow2

At our soccer party I used this for the last activity of the night.  It kept the girls gathered around my kitchen table while parents arrived to pick up their daughters and made ending the party a little less chaotic.  Those whose parents hadn’t arrived yet simply played another round.

One more thing I like about this game is that it works for groups of people who aren’t the same age.  It would be fun to use for family night, a reunion, a classroom party… anything you want!

Have fun!
Jennifer

Happy Birthday Mr. Lincoln!

Today marks 201 years [ update 208 years now !] since Abraham Lincoln’s birth.  While we have a national holiday to celebrate the births of our two great presidents, both with February birthdays, we celebrate each one separately in our family.  Valentines Day is sandwiched between two birthday parties in this house!

Lincoln hat

February 12th is Mr. Lincoln’s day.  We get out the flags, read this book , and eat this food .  We talk about his life, his example, and what we can learn from him.

I like to do a little reading on my own, both of Lincoln’s own writing and also the writing of those who are scholars on his life.

I feel like pausing to celebrate him is my way of reaching back through the pages of history to thank him for his life and for his life’s work.  I wonder if any of us can know the terribly high price he paid personally for the unity of our nation.  Some scholars have written that he was depressed.   I think that few people in the history of the world have stood, alone, with such weight on their shoulders.  He and his wife buried a son while he was President.  That’s enough grief to make anyone depressed, even if losing children was a more common experience in his lifetime.  Imagine the terrible weight of the loss of life, destruction to property, and all the ugliness of war.  War on your own soil.  War between citizens of your own country.  A war which had to be won at all costs.  Trying to keep peace with other nations so that none would enter the war on either side.  Having trusted members of your cabinet, even your vice president, prove to be unworthy of your trust.  Oh, how lonely he must have been!  Lincoln himself said, “This war is eating my life out.”

I believe that Abraham Lincoln was born for the time he lived in, raised up by God to guide the United States of America through one of the most difficult chapters of its history,  guided by God in preserving the union which is represented by the Constitution.

I feel like forgetting him, choosing not to study and learn and try to teach my children, would be a betrayal on my part.  Remembering is the debt I owe, the offering I must make in gratitude for what he sacrificed.  He, who lived almost two centuries before me, and yet whose life influenced mine.  How I wish I could somehow reach back in time and ease his burdens, comfort his sadness, be a support.  I feel so grateful for his life.

This year I decided to make a new centerpiece for my table showcasing one of my all-time favorite quotes about Lincoln.  Joseph Auslander said, “Abraham wore a stovepipe hat that brushed the stars where he walked.”

Oh, do I love that quote!  Since one of the distinguishing characteristics of Lincoln’s attire was his hat, I thought it would be fun to make one and incorporate the quote in my creation.

stovepipe hat with stars

So, I created a hat using black paper and modge podge (rather scrappy, but I like it) and used a tea dyed strip of muslin to stamp the quote on.

hat band

I attached the strip of muslin like a hat band and added some glittered stars to the top of  the hat.


I’ve always had lots of patriotic decor and a few pictures of Lincoln, but nothing that represents him like this.

It’s a project I’ve intended to get to for years, to be honest.  Completing it this year has put a spring in my step.

Happy Birthday, Mr. President!


What do you do to celebrate President’s Day?

Book Page Wreath DIY (Part I)

Last week I saw a post on The Inspired Room about a wreath made from the pages of a book.

I popped over to Living With Lindsay and read her tutorial, then watched her video on how to make one.  She shows you how to roll the paper and how to avoid burning your fingers to death, which is a good tip.  Now, I had a lot to do, but all of a sudden the only urgent thing in my life was to get to the nearest dollar store and make one of my own.  As in, tonight, before I go to bed.

Lindsay was right.  It really costs only $2.00.  Now that’s my kind of project!

Lindsay’s video and tutorial are far better than what follows, but for what it’s worth here’s how I did it.

At my dollar store they only had 2 kinds of books:  dictionaries and Bibles.   The idea of tearing up a Bible didn’t sit well with me, so a dictionary was what I came home with, along with a foam wreath.


I didn’t have any craft paint that wasn’t all dried up, so I used a dark brown ink pad to rub the edges of the pages.  After I’d finished, though, I wished I’d had paint.  I think it would have been a little more noticeable.


I also found that tearing pages out of the book didn’t work too well.  My binding was too good, I guess.  I ended up using an exacto knife to cut my pages out of the book.    It was 11:30 pm when I finally started this project.  I plugged in my glue gun, took a deep breath and started.


Soon I’d gone all the way around.


I turned the wreath over (again, check out Lindsay’s blog) and kept going.  After a while, I had a wreath!  Hooray!


I pinned a piece of ribbon to the back and rushed to the wall to hang it up.  It is so light that I just used a thumb tack to pin the ribbon to the wall.


What do you think?  I like it!


I hung it in my family room, between two pieces of furniture.  I’ve been planning to hang something circular there for a long time.  Well, here it is, I guess.  (And yes, I know there’s one piece on the top that is sticking out too far.  Beginner’s lesson learned:  stick that paper down in deep more quickly or it dries where it paused.)  That’s okay.  I’m not into perfect.  (I might be lying here, just a little, because I’m really a perfectionist, but I’m overcoming it.  Having 8 kids sort of forces me to do that.)


I realized a few things after doing this.  Mine is more gray.  That’s because the dictionary I used had newsprint pages.


It got me wondering:  what about a book with gilded pages?  Or a vintage book with red edges to the pages?  or what about an old book with yellowed pages?  Or a book with crisp white pages?   Changing the kind of book you use could change the whole look!  Kind of fun.  I think I’m going to make another one after I go scan the thrift store for old books.

Editorial note:  To see part II, which shows how the wreath looks using 4 different books, click here .

Meanwhile, I decided to try an experiment with my wreath:


I got a long piece of orange ribbon and very loosely tied it in a knot around it.


And that’s how it stayed.   You want one of these, I promise.  They’re fast, cheap, simple and fun.  Try it!