Organize a Desk

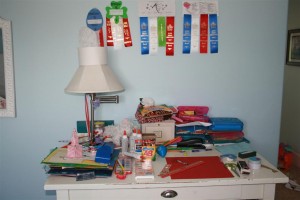
For months, my daughter’s desk has been driving me crazy.  It’s always so covered with stuff that there is no point in having a desk.
IMG_5099 (Large)
I think that secretly I’m probably inclined to be a neat freak, but having 7 children really curbs my opportunities to enforce that kind of lifestyle.  I’ve concluded it’s a good thing; probably God’s way of rescuing me from developing OCD.  Still, neat and tidy goes a long way toward making a happy mother in this house.   We all have piles sometimes, myself included, but I really strive for some sense of order.  With this desk, I’ve tried multiple ways of encouraging her to keep things a little bit neater, but all to no avail.

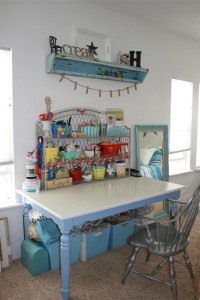
Here is my little office space.  We have a room in our home that doubles as a guest room and my own space.

I love it.
IMG_5191 (Large)2
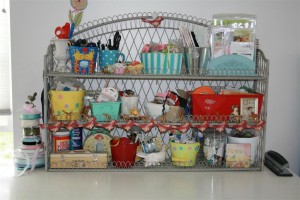
I really love the fact that my rack is filled with containers that are whimsical and fun to look at, which are filled with supplies I use all the time for sewing, wrapping gifts, paper projects, etc.  I can get things out and put them away in a matter of seconds.  I love the easy access, the fact that I can store an awful lot in such a small space and in plain view.  Organizing my spot like this was one of the best ideas  I had when we moved into this house.
IMG_5190 (Large)
The thought occurred to me the other day that perhaps my daughter would like to have a space like mine.
(I was pretty sure she’d go for it, given the amount of time she spends going through my stuff.)

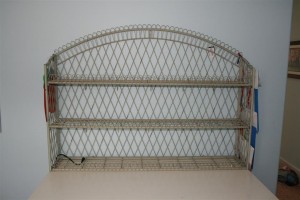
After searching high and low, I finally got my hands on another baker’s rack like the one I already have.
We cleared the space and got busy.  All you need are two basic things:  the rack or shelves or whatever you’re going to put things on and a variety of cute containers for holding stuff in.  Pretty simple.
IMG_5171 (Large)
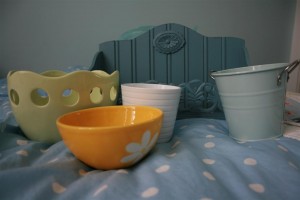
Here’s a sampling of the containers we used.
IMG_5170 (Large)
My theory with the containers is the cheaper the better.  The yellow bowl I’ve had for years but now it has a crack in it so I never use it in the kitchen.  Then there is the ceramic bowl with holes that I picked up on clearance after Easter.  The blue bucket was the same.  The blue wood paper organizer was just kicking around the house.  That’s pretty much what we did:  we walked around the house and looked for things we could re-purpose to make for an interesting display.  We found a glass candle holder in the pantry to use, a small white flower pot for pencils and pens, and so forth. You get the picture.  This was not an expensive undertaking.  But my theory is that the whole point is to be creative and find ways to encourage her to take care of her space in a cute, fun, but tidy way.

We started by sorting like objects into their own containers and began placing just a couple of things here and there.
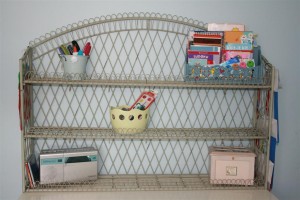
IMG_5172 (Large)
We made room for her jewelry box and cd player, and kept filling it in.
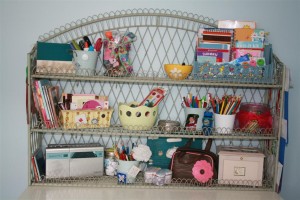
IMG_5173 (Large)
The finished product:
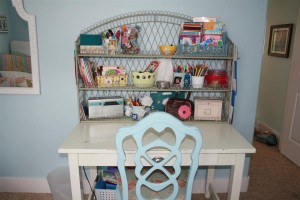
IMG_5174 (Large)
She’s got everything she needs within arm’s reach:  paper, markers, pencils, pens, stapler, glue, books, music, and so forth.  She likes it because it is cute and  makes her feel grown up.  I like it because she can see everything she has, use it and put it away easily, and there is actually a white desk underneath it all for her to work at!  I also like that there’s room for us to add more containers as needed.  And, at the date of this writing, her desk has been clean for almost two weeks.  Now THAT is impressive.  A ten year old girl with a clean desk… this could be a world record in the making!

Using a baker’s rack like this can be a fun way to organize a space.  As I said, I’ve loved it in my office and am hopeful about the long-term potential for my daughter.  I also have a smaller one that I hung above my bathtub to help organize that space, too.
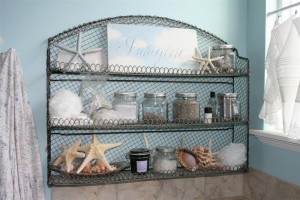
IMG_5303 (Large)
Honestly, they’re cool racks for a kitchen and someday I’d love to have one displaying pretty plates, but I love their potential in other ways, too.  Kitchen, office, bedroom, bathroom, and think how cute it would be on a potting table storing gardening supplies!  These racks are awesome because they’re so versatile.

As for the desk, mission accomplished.   Hooray!

Project: Dining Room, Part I

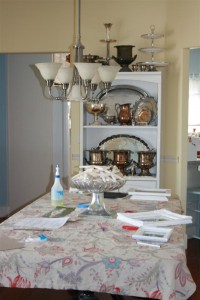
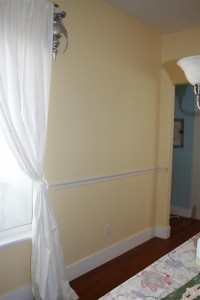
Here is my dining room:

img_4713-large2

It currently contains an old table, which I painted black, and a bookshelf which houses my vintage silver.
That’s it.

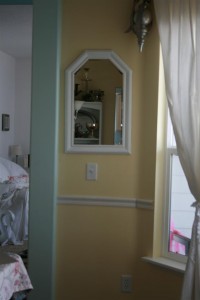
No chairs, and nothing on the walls except this mirror which I bought at the thrift store for $3.00 and painted white a few weeks ago.

img_4717-large2

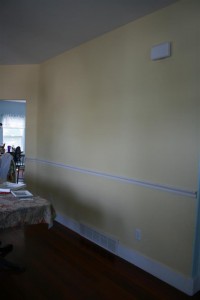
There is a chair rail that my Dad helped install just a couple of months after we moved in, but which I still haven’t painted because there is more I want to do to the walls first.
But for more than a year and a half, these walls have been blank.

img_4714-large2

img_4716-large2

Pretty boring for a dining room, don’t you think?

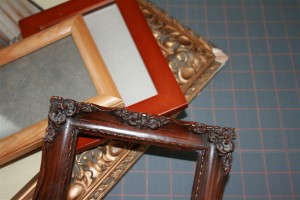
Several months ago I started picking up old frames that had some interesting detail to them.
Frames like this, that look brown and beat up, but I saw some potential in them.

img_5118-large

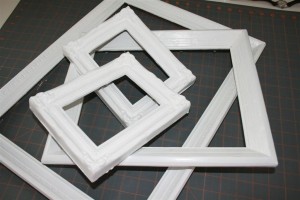
For a long time I thought that I would paint all the frames black because the table is black, but I’m sort of glad that I waited, because a few weeks ago I decided to paint them white instead.
I just used a high gloss white paint and I wasn’t too picky about how it turned out.  I just kept painting until they were well covered.

img_5119-large

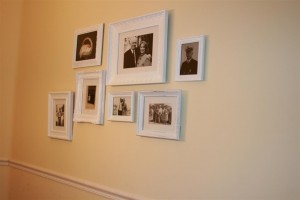
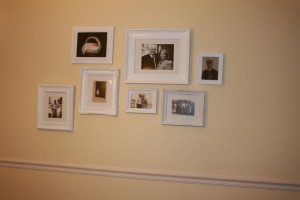
I’ve been collecting old black and white family photographs, and I want one wall to turn into a sort of family history gallery.

At last, today I decided that rather than wait until I get all the frames and photos I want, I would just start by hanging what I have in a collage.

img_5116-large

And here it is!
I want to add several more, but I’m really pleased with Part I.
Suddenly the room has a lot more character, and they are really cool photos too.

img_5117-large

Pictures to Mirrors

Have you ever noticed how expensive large mirrors are?  Last summer when my sister-in-law was here visiting, she asked if I had a full-length mirror in the house.  I didn’t.  A few months ago, a thought struck me when I was – you guessed it – at the thrift store.  I found a large old frame with an ugly old fishing picture in it.  (My apologies to those of you who love these types of pictures.)  I took it home, and of course it ended up in my basement for a while.  Well, recently I pried the painting out of it, painted it blue, and took it to my local glass shop to have them put a mirror in it for me.  And so, for less than $60, I now have a classy long mirror in my guest room/office.

Here is what the picture looks like that recently inhabited an old brown picture frame:

img_4637-large1

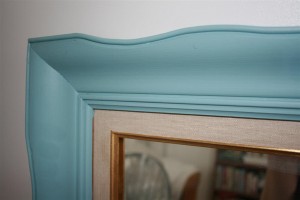
Here is what the rehabilitated frame looks like now that it’s blue:

img_4638-large

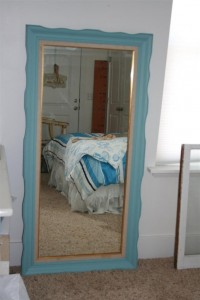
Not too shabby!  Here is the final product:

img_4636-large2

I’ll probably end up hanging it on the wall a few inches above the ground, but for now this works!

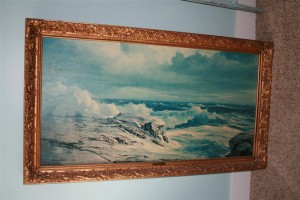
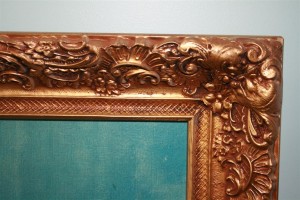
I then decided to do the same thing with a rather ornate frame I had.  I picked this painting up at an antiques shop for a song, and for a while we hung it over our bed.  Eventually I took it down, and thought about painting the frame.  But it’s a pretty cool frame as it is, even though I don’t usually like gold.

img_4580-large

img_4581-large

So here is a step by step example of how to get a big old frame ready for a mirror:

First, if there is a wire across the back of it for hanging, remove the screws and take it off.

img_4583-large

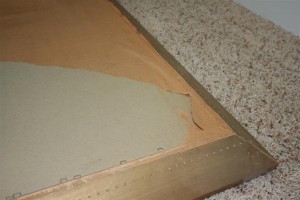
Next, remove the paper that covers the back of the painting.

img_4584-large

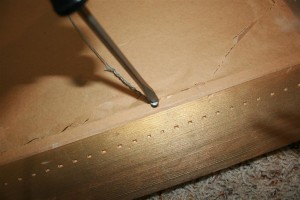
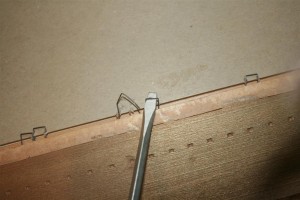
This should reveal the nails, or staples that were used originally to hold the painting in.  Using a tool, remove these staples.  I just pried them out using a flathead screwdriver.

img_4586-large

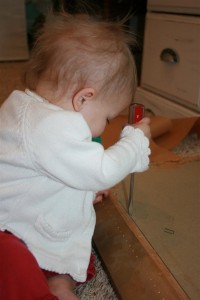
If you’re doing this on the floor like I was, and you have a toddler, you’ll probably have to let them take a turn.

img_4587-large2

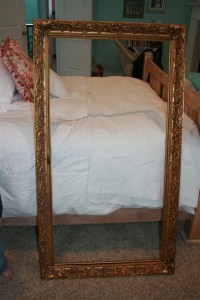
When all the staples or nails are out, you should be able to lift the picture right out of the frame (if your toddler isn’t dancing on it).  Be sure you get all those old staples safely in the trash!  And pull off any remaining pieces of paper or anything sitting in the edges so your frame is nice and clean, ready for the men at the glass shop to do their stuff!  You should be left with a lovely frame!

img_4590-large2

I used to wonder at people who thought old empty frames were art on their own.  But I’ve slowly changed my mind over the past year or two.  I’ve ended up with a few really cool old frames, and I like them for what they are.  I’ve used some to frame things, but I do have a few empty frames around my house, just being themselves.  I like to look at them.  I left this frame as it was, but if you wanted to change yours, now is when you would paint it.  Then load it up and take it to your local glass shop.  They should be able to cut, fit, and insert a mirror into your frame.

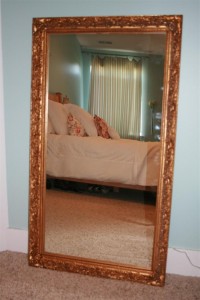
The following day, this is what was leaning against my bedroom wall:

img_4640-large2

I like it!  And I also like the price tag!  The mirror was less than $50.  I also like the experience of looking around my house and finding new ways to use and appreciate things.  It feels good to create something new from materials you have on hand.

So look around!  Have you got a mirror in your future?

1 22 23 24