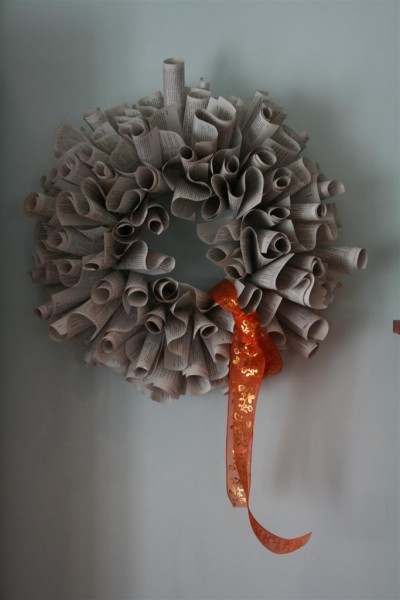
Book Page Wreath DIY (Part II)
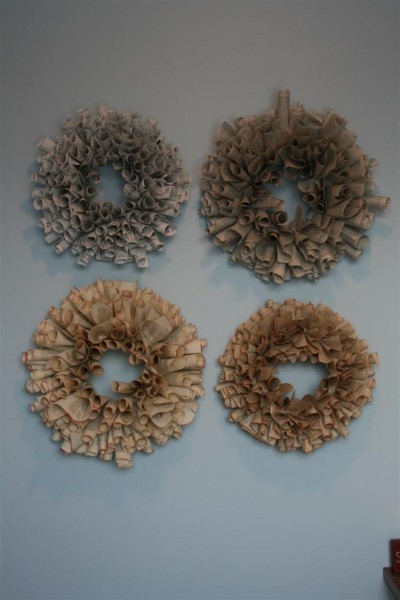

book page wreath four colors

After making my first book page wreath, I made a second one while showing some friends how to do it.  If you’d like to try it, you can find my tutorial here .

It was so interesting to see how different the colors turned out simply by using a different book.

One thing led to another, and I made four just to demonstrate how the book you choose will influence the final product.

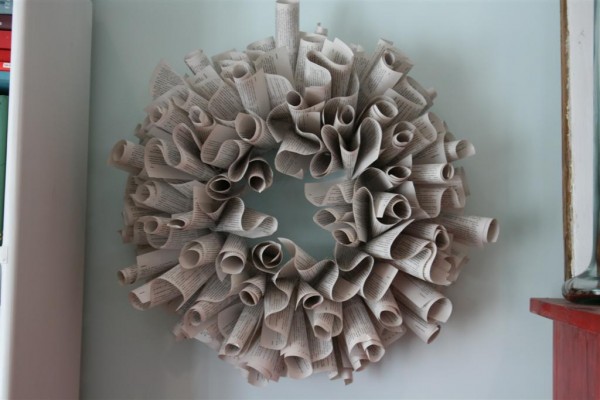
The first one I made is from a dictionary, purchased at the dollar store.  The paper is a newsprint kind of page.  You can see how it’s more grey in color than it is white.
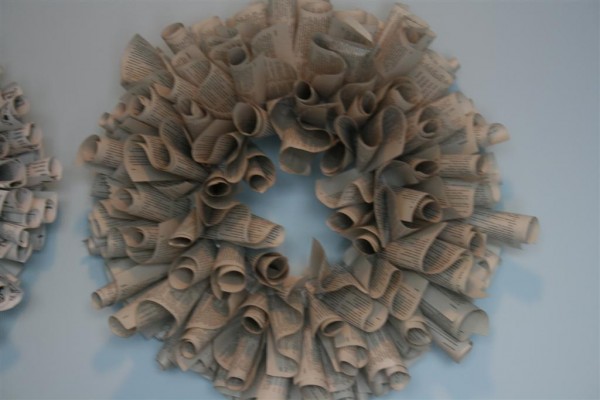
newspring book wreath

The book was approximately 5 x 8 inches in size, so the wreath turned out a lot more full.  The pages were also very thin, so the rolls in the paper are softer.
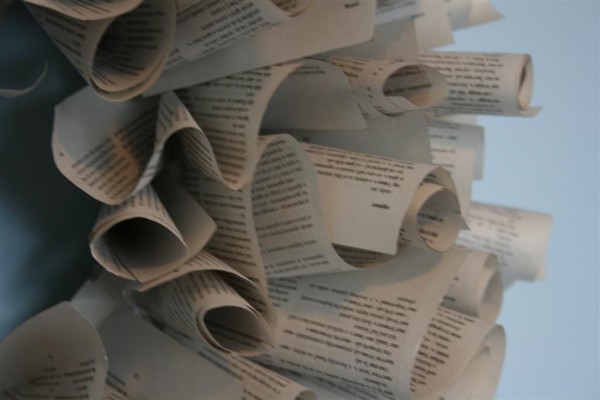

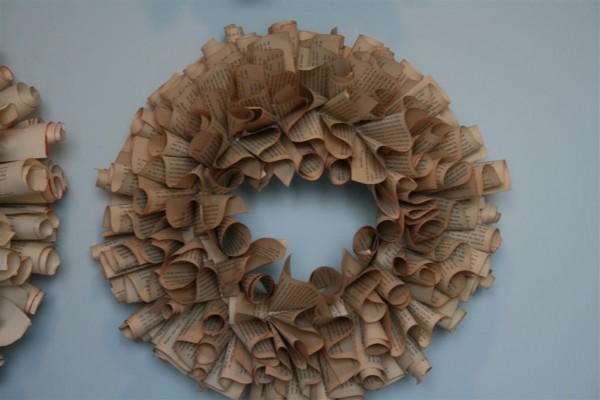
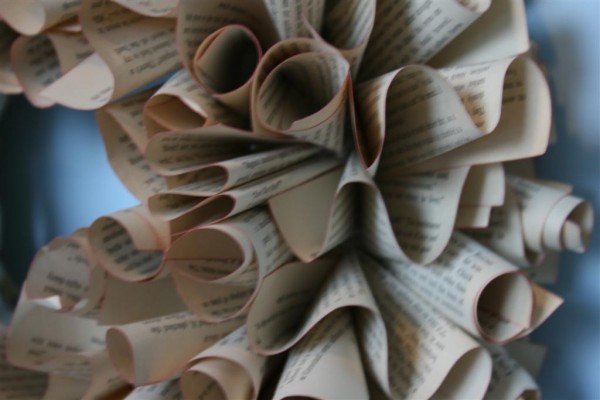
The second book wreath I made came from a falling apart murder mystery I picked up at the thrift store.  It was more like 4 x 6 inches in size, and the pages were yellowed with age.  This also meant that they were more stiff.
yellowed book page wreath

The final product was smaller in size when I finished, due to the smaller pages.  It wasn’t as full, but was still pretty.  I liked how it took on more of a brown tone instead of a gray one.

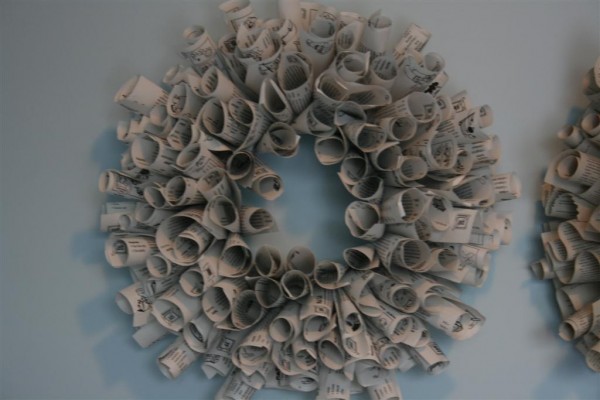
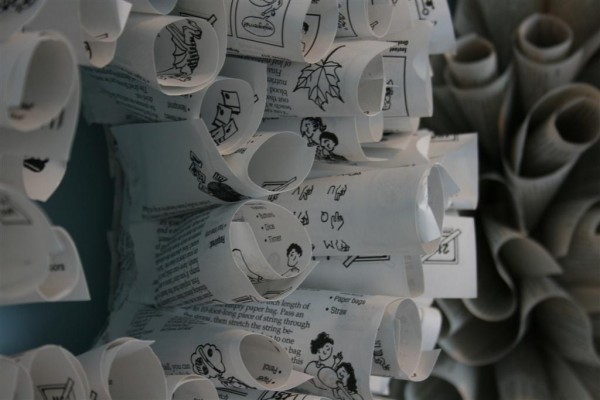
Intrigued, I went back to the thrift store and found a small book, about 3 x 5 inches in size, but with crisp white pages and bold black print along with some small black and white illustrations on each page.  I was curious how “black and white” it would look.
book page wreath

This wreath was definitely the lightest in color, as well as the smallest in size.  It’s really fun to look at, though, because the pages I used were so interesting due to changes in font size and tiny illustrations on every page.

On the last two wreaths I made, I tore some pages into strips and glued them around the foam wreath so you wouldn’t see any Styrofoam in the finished product.
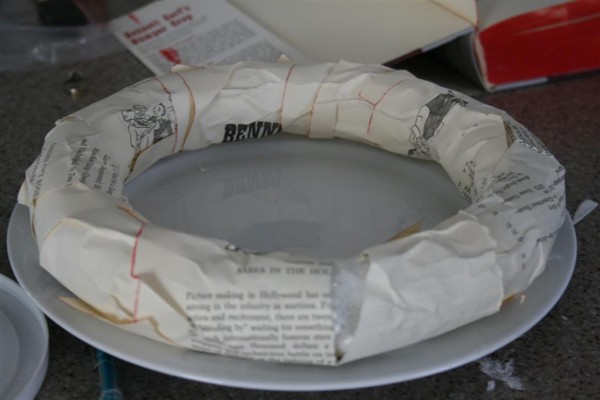

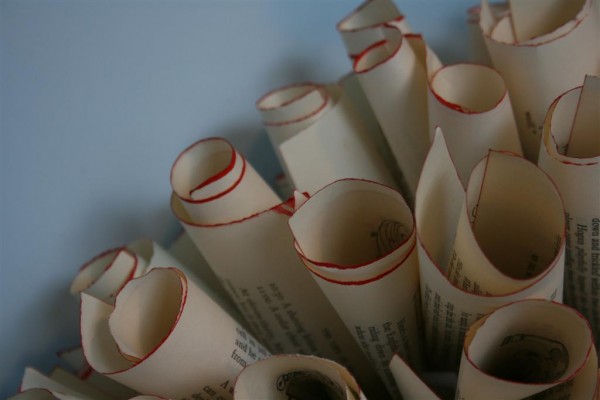
The last book I used was chosen for it’s creamy white pages and the red ink on the edge of the pages.  The red didn’t go all the way around the outer edges of the book, so I bought a good tomato red acrylic paint to match and painted the other two sides.  I was really generous with the paint because I wanted to be able to see the red.  Like my first project, this book was about 5 x 8 inches, so it turned out really full.
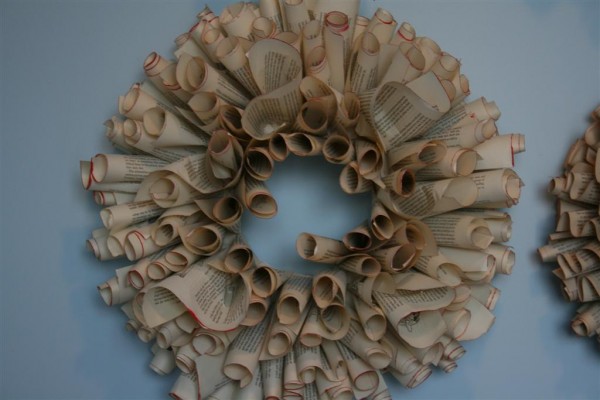
book page wreath

I love the red edges!


You could use so many other pages, as well!  What about an atlas?  I think that a blue colored steno notepad could also be really fun.   When we think about books, we tend to think of them all as being pretty much the same inside, as far as color goes.  Yet it is so interesting to see the subtleties in color changes when they’re used next to each other in a project like this.

The one in my family room enjoyed a red ribbon and a bird for the holidays.
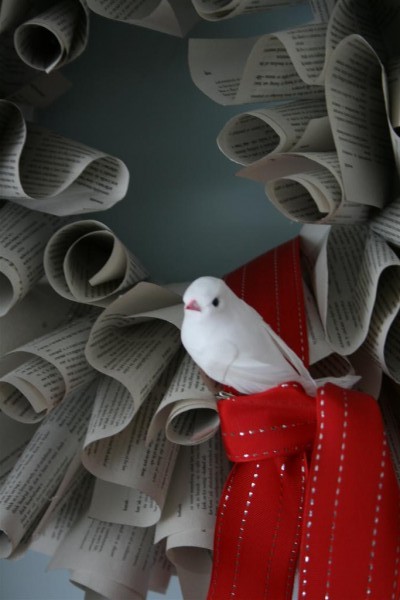
bird on book wreath

I hung one on my laundry room door for fun, since it’s at the end of a hallway and I like to make it pleasant for myself to visit my laundry room (this increases the chances for clean clothes at our house).
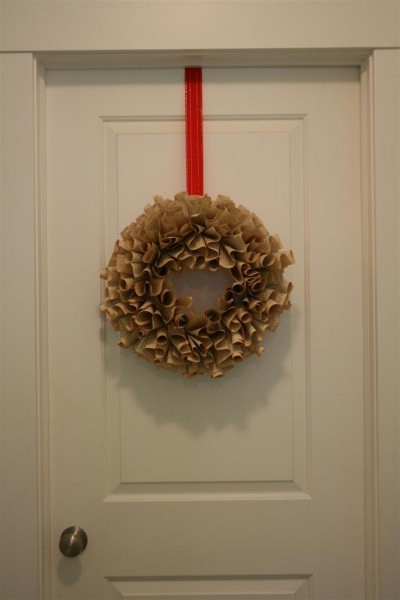
book page wreath hanging on door

I like all four of these wreaths for different reasons, and in different places.  The question I have is, which one is your favorite?
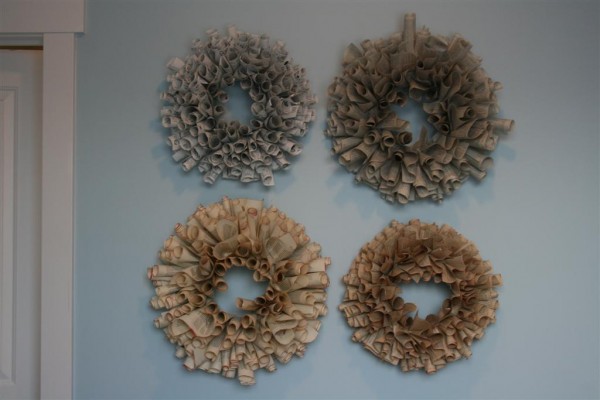
book page wreaths

If you haven’t made one yet, I really hope you’ll try it.  And I’d love to hear your what kind of book you use, too.
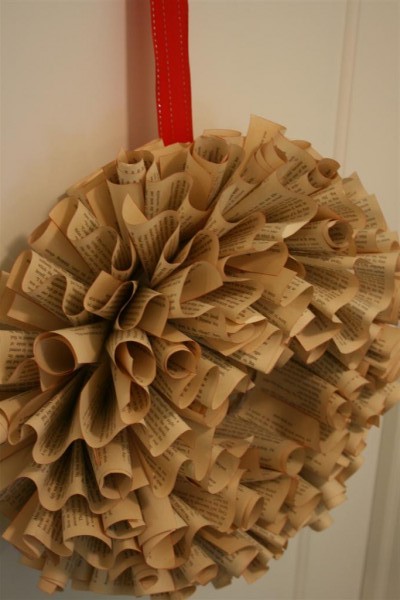

Lest you think that it would be a waste if you decided you don’t like it, just give it to your 9 year old son and see what he does:
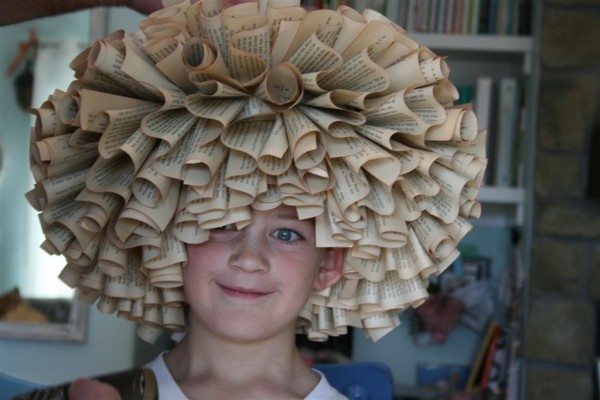
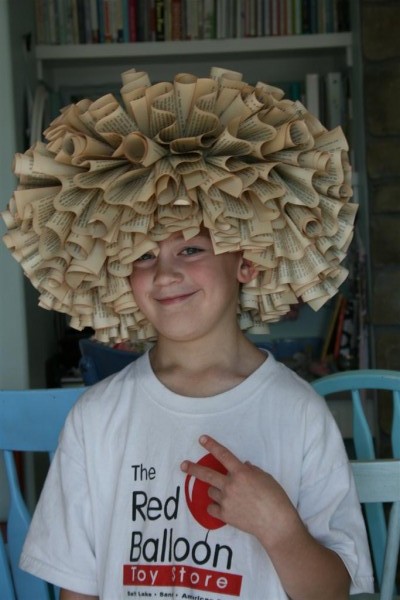
boy wearing book wreath


boy wearing book wreath

Just wanted to make you smile.  Have a great day!

10 Minute Scarf

I discovered something amazing the other day, something I’d never heard of before (but probably should have) and which just opened up a world of possibilities in my brain.


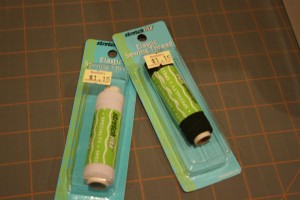
It’s called elastic thread.  I was able to purchase it at a little fabric store in town.  It came on a spool of 30 yards for $1.15.  You can find it with the elastic in your store.  I like it when I can find something I like this much for so little.

Thanks to this tutorial from Hope Studios , I learned how to use it to make a scarf in 10 minutes.

I’m not kidding you.  Ten minutes.  Two seams.

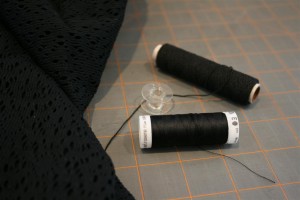
Here’s what you do.  You need elastic thread (I only found it in black and white), matching regular thread, and material.  Your fabric needs to be something that won’t fray or unravel since you won’t be finishing the edges.


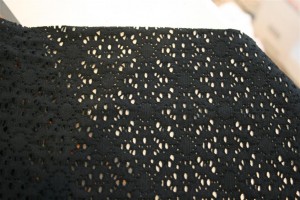
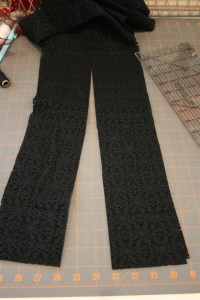
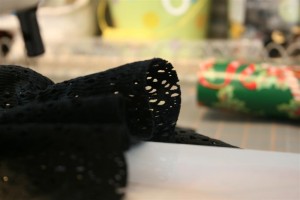
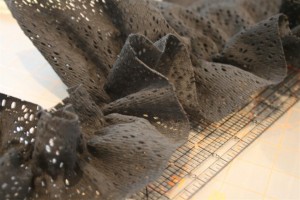
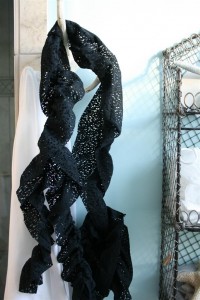
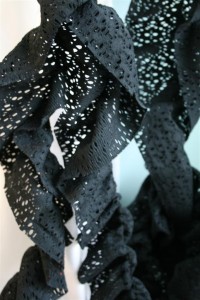
I bought this black stretchy fabric that has a lace-like pattern cut all over it.  In the tutorial they used knit fabric.  I liked this better.


The big key is length, because the elastic thread makes it half as long when you’re finished.  I bought everything that was left on the bolt, which was 1 2/3 yards (60 inches).  The first scarf I made with that length was too short.  It now belongs to my 11 year old daughter.  I’ve since made one that was twice as long (I cut 2 lengths and sewed them together end to end for 120 inches in length) and one that was 1 1/2 times that long (90 inches).  I liked both of them.  So, basically you need at least two yards of fabric, but I would probably go for 2 1/2 or 3.

Cut a strip of fabric that is 2 1/2 yards long by 8 or 10 inches wide.  I’ve tried both 10 inches and 8 inches wide and they were both really cute.  (You’ll be able to make several of these scarves, but that’s a good thing because you’ll be so excited that you’ll want to make one for all your friends!)  From my fabric I was able to make 5 scarves.  Not bad for a $10.00 investment.

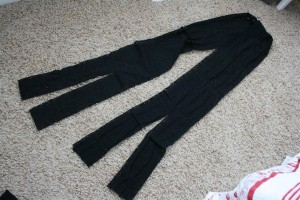
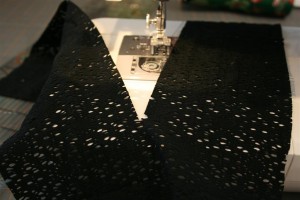
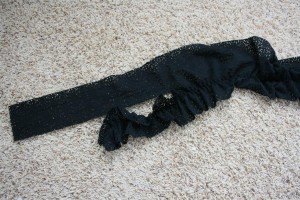
After you cut your fabric (or piece a couple of strips together if you need to), take one end of your strip, and make a straight cut into the fabric up the middle for about 16 inches.  Do this on each end of the fabric.  This will make kind of a tail on the scarf.


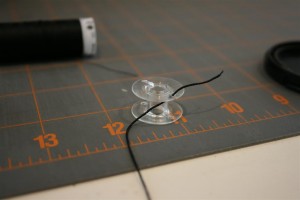
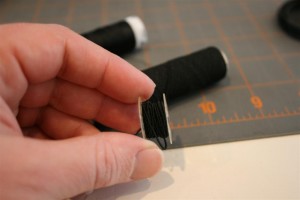
Now for the elastic thread.  You’ll need to wind it onto the bobbin by hand, and then put it in your machine.  Use regular thread on the top.


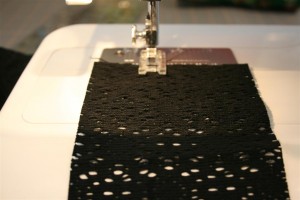
Now, working from one end of the fabric, pick one of your little tails and start sewing about 1.5 inches in from the cut you made.  BE SURE TO BACK STITCH AT THE BEGINNING AND END OF YOUR SEAM!!!!


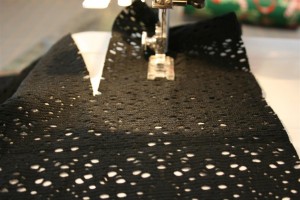
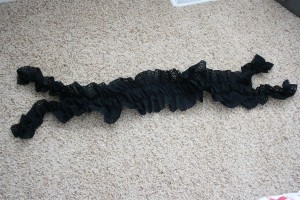
Sew down the entire length of your scarf.  See how the elastic thread makes it gather as you sew?


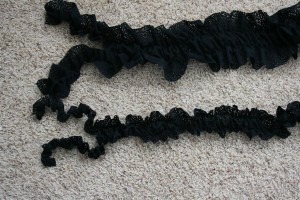
Then you just do the same thing down the other half of the scarf!  Trim your thread and you’re finished.  That’s it.  I also made a long skinny one (4 inches wide) with my last piece of cloth.   It’s really cute as well.


Now you can do what Jennifer at Hope Studios said to do:  “Prance around all giddy-like with your new scarf.”


Super cute, super fun, super cheap, and super fast!  I love it!

Seriously, go make one.  As in, right now.

Hopeful Homemaker

Book Page Wreath DIY (Part I)

Last week I saw a post on The Inspired Room about a wreath made from the pages of a book.

I popped over to Living With Lindsay and read her tutorial, then watched her video on how to make one.  She shows you how to roll the paper and how to avoid burning your fingers to death, which is a good tip.  Now, I had a lot to do, but all of a sudden the only urgent thing in my life was to get to the nearest dollar store and make one of my own.  As in, tonight, before I go to bed.

Lindsay was right.  It really costs only $2.00.  Now that’s my kind of project!

Lindsay’s video and tutorial are far better than what follows, but for what it’s worth here’s how I did it.

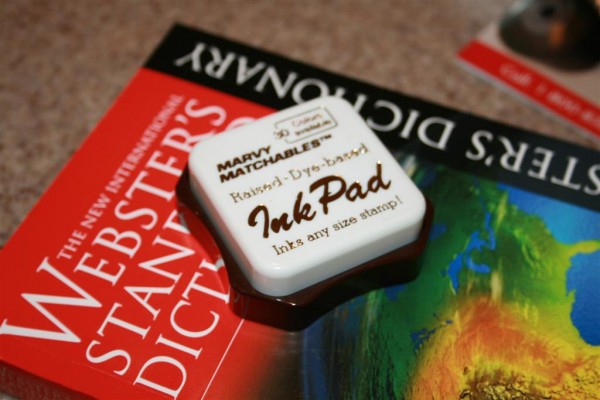
At my dollar store they only had 2 kinds of books:  dictionaries and Bibles.   The idea of tearing up a Bible didn’t sit well with me, so a dictionary was what I came home with, along with a foam wreath.


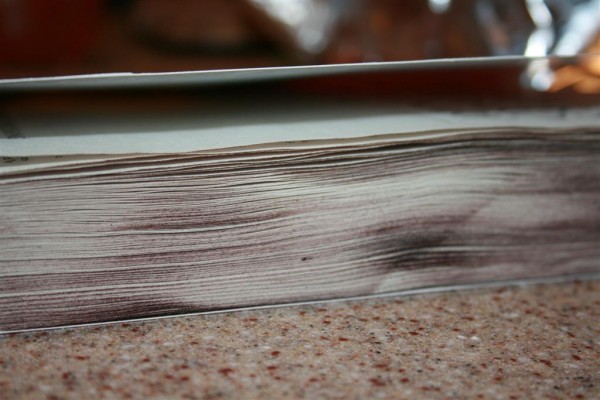
I didn’t have any craft paint that wasn’t all dried up, so I used a dark brown ink pad to rub the edges of the pages.  After I’d finished, though, I wished I’d had paint.  I think it would have been a little more noticeable.


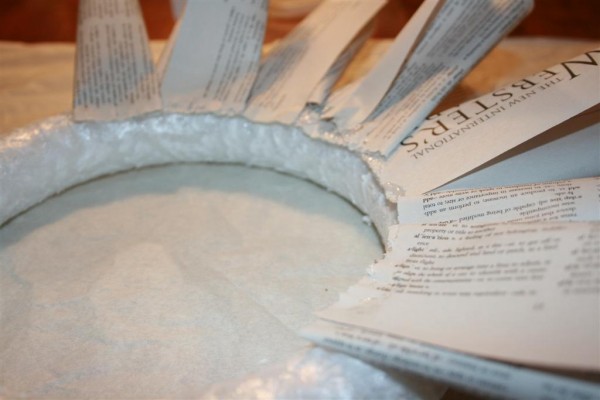
I also found that tearing pages out of the book didn’t work too well.  My binding was too good, I guess.  I ended up using an exacto knife to cut my pages out of the book.    It was 11:30 pm when I finally started this project.  I plugged in my glue gun, took a deep breath and started.


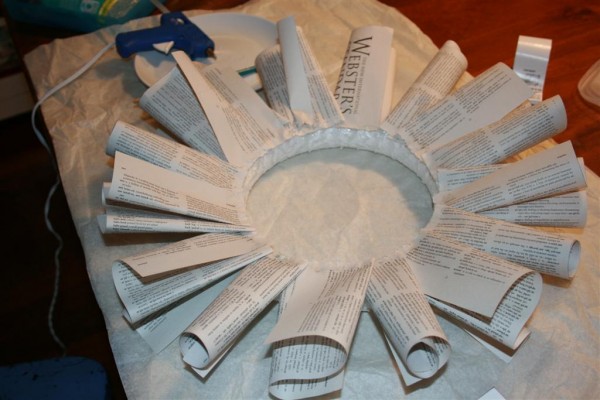
Soon I’d gone all the way around.


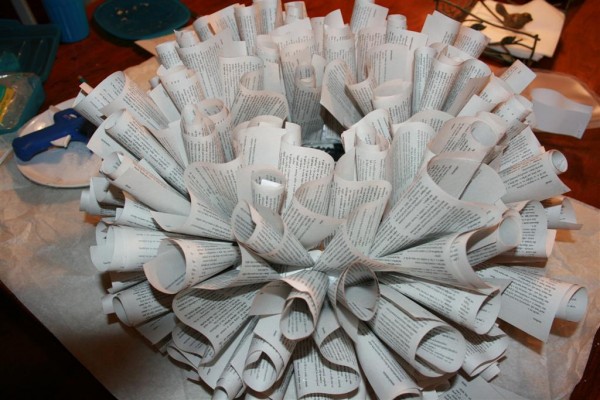
I turned the wreath over (again, check out Lindsay’s blog) and kept going.  After a while, I had a wreath!  Hooray!


I pinned a piece of ribbon to the back and rushed to the wall to hang it up.  It is so light that I just used a thumb tack to pin the ribbon to the wall.


What do you think?  I like it!


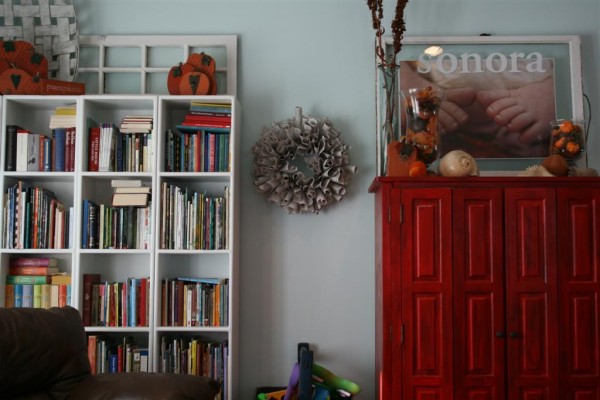
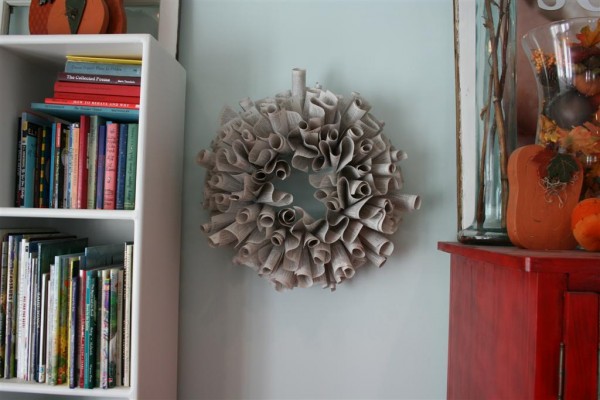
I hung it in my family room, between two pieces of furniture.  I’ve been planning to hang something circular there for a long time.  Well, here it is, I guess.  (And yes, I know there’s one piece on the top that is sticking out too far.  Beginner’s lesson learned:  stick that paper down in deep more quickly or it dries where it paused.)  That’s okay.  I’m not into perfect.  (I might be lying here, just a little, because I’m really a perfectionist, but I’m overcoming it.  Having 8 kids sort of forces me to do that.)


I realized a few things after doing this.  Mine is more gray.  That’s because the dictionary I used had newsprint pages.


It got me wondering:  what about a book with gilded pages?  Or a vintage book with red edges to the pages?  or what about an old book with yellowed pages?  Or a book with crisp white pages?   Changing the kind of book you use could change the whole look!  Kind of fun.  I think I’m going to make another one after I go scan the thrift store for old books.

Editorial note:  To see part II, which shows how the wreath looks using 4 different books, click here .

Meanwhile, I decided to try an experiment with my wreath:


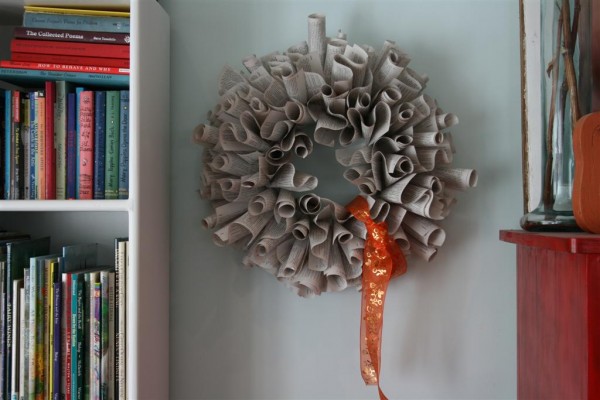
I got a long piece of orange ribbon and very loosely tied it in a knot around it.


And that’s how it stayed.   You want one of these, I promise.  They’re fast, cheap, simple and fun.  Try it!

1 5 6 7 8 9