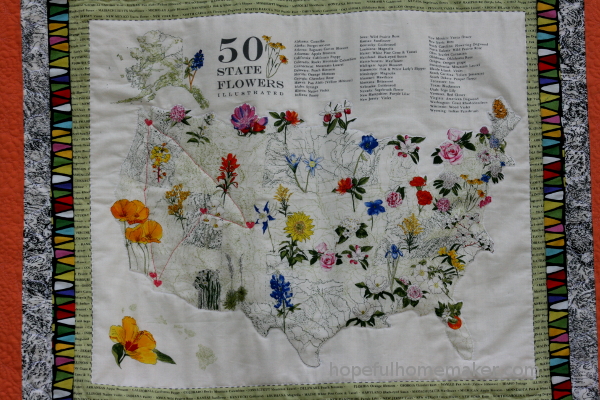
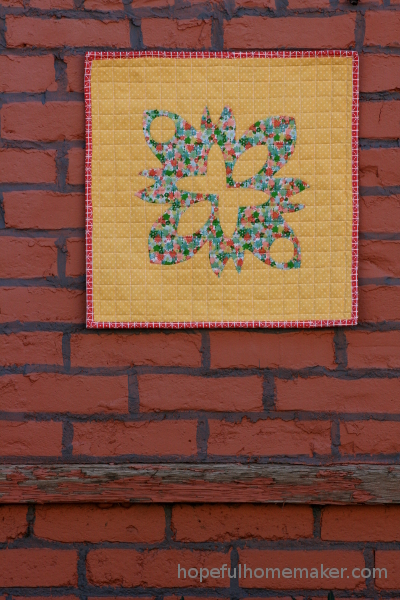
Applique Mini Quilt
Practice makes prepared.
Before I started working my way through my small collection of Carolyn Friedlander quilt patterns, I needed to know that I could actually handle them. Would my catenary arches actually look good? And would the botanics quilt leave me in tears?
I discovered some of Carolyn’s classes on Creativebug , and started watching.
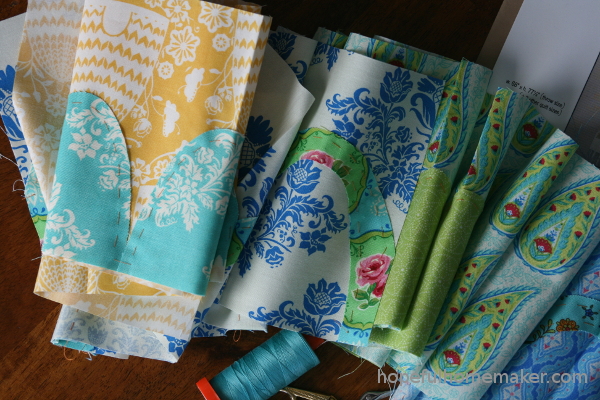
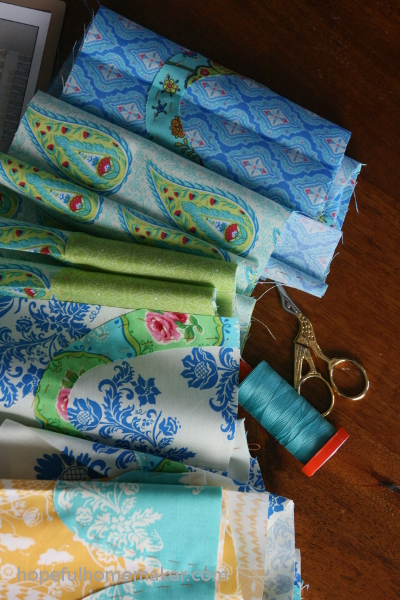
This applique block is one of hers and it was a great way to test my skills and patience without committing fabric, time, or emotion for a huge project.
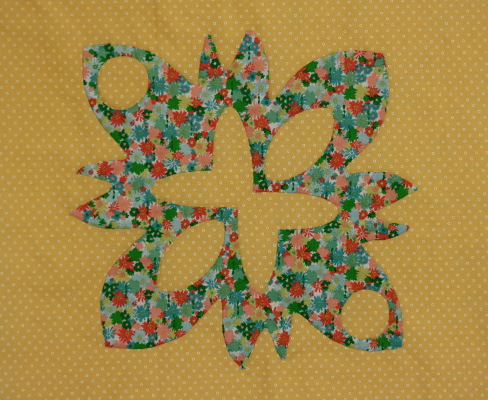
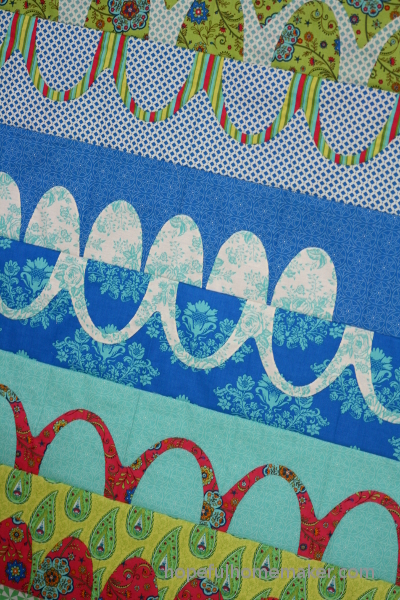
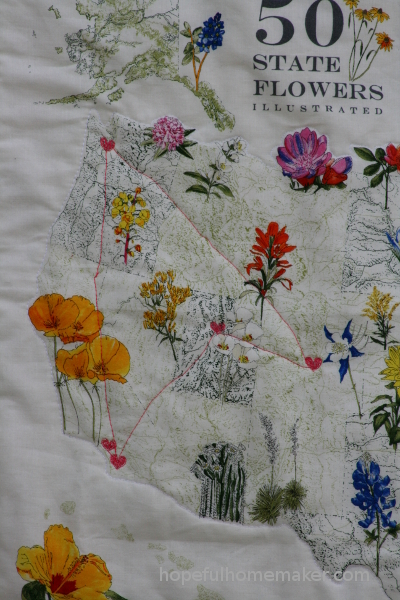
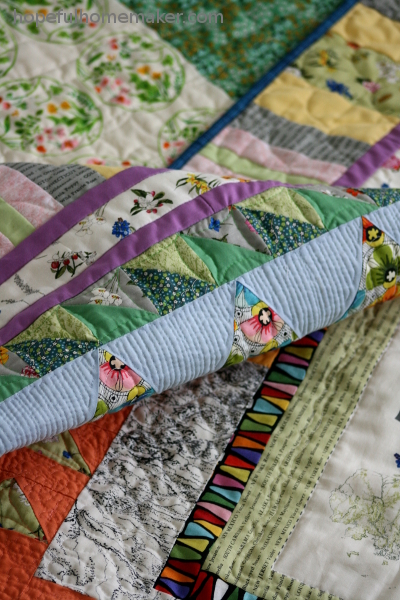
This block has everything: concave and convex curves, gentle and tight lines, sharp points, continuous circles. I knew that if I could execute it decently and enjoy both the process and outcome, I could dive in on the other patterns.
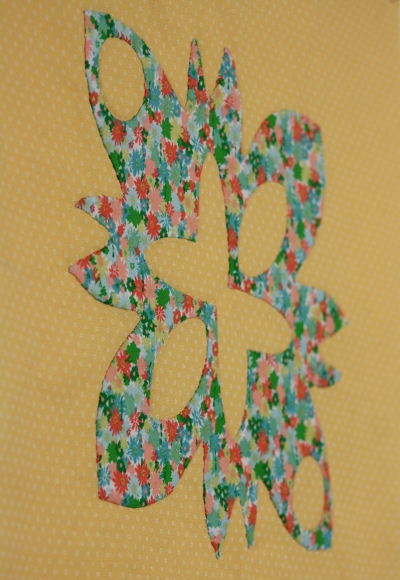
It worked! I enjoyed it, I learned, I love how it looks. It sold me on all the others.
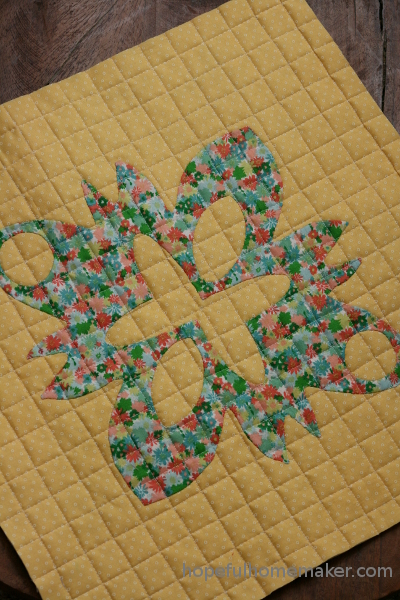
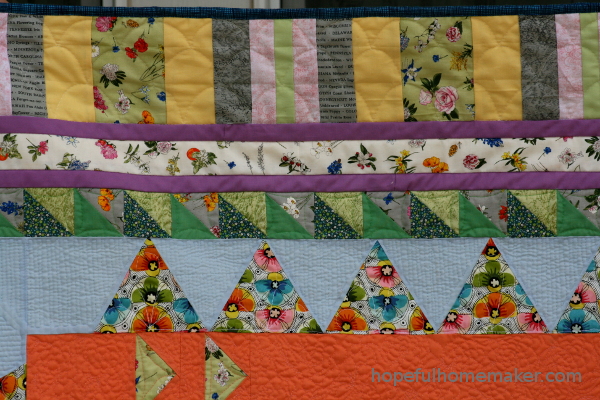
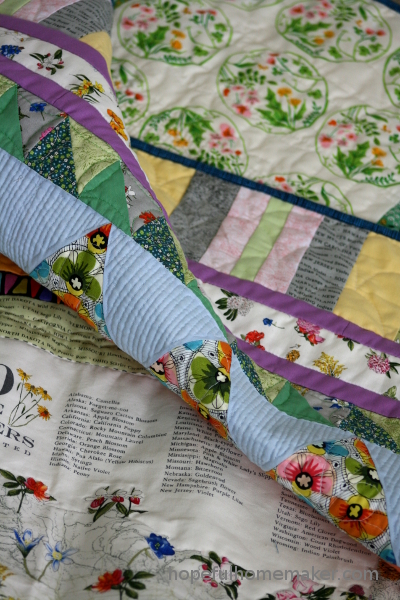
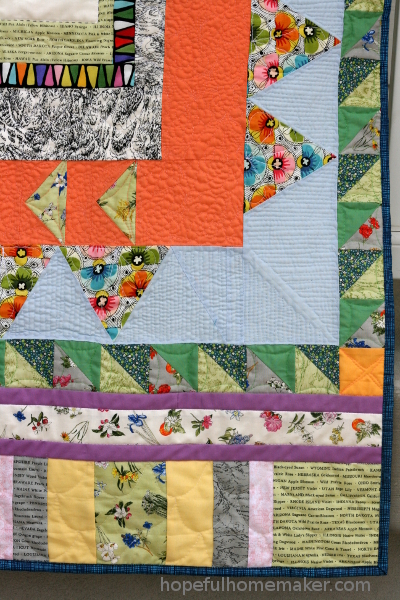
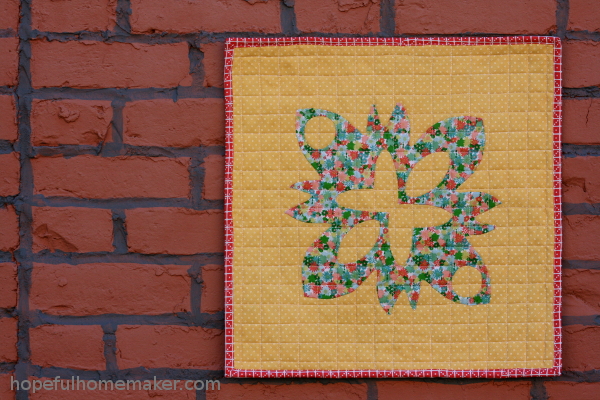
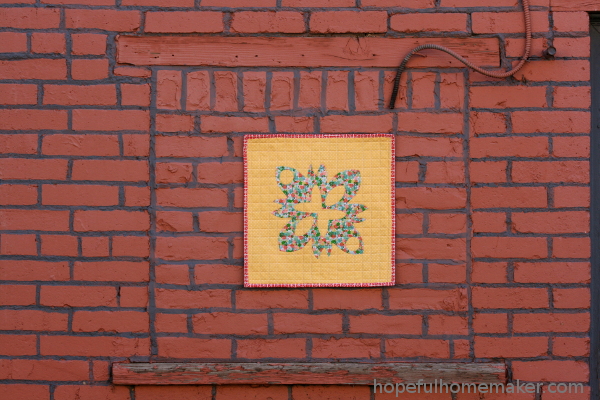
Recently I quilted the block with a 1″ grid and bound it. It’s a funky but fun block and will be a bright addition to my mini quilt wall.
Also, I really like this brick wall. It’s so cool.
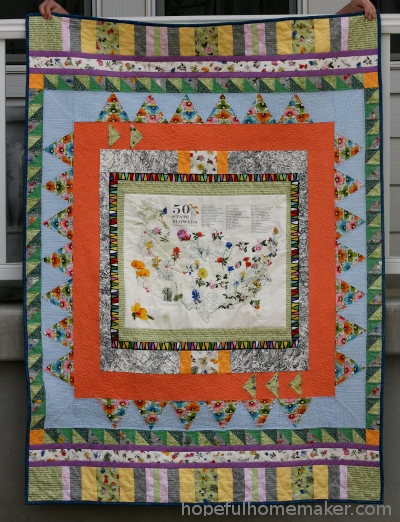
This block started me on the Aerial grove quilt , Botanics quilt , and more recently the Catenary quilt. If you’re considering one of Carolyn’s patterns and find yourself nervous about the applique, I highly recommend watching her Creativebug classes, particularly this applique block. Because I now have some quilt tops to finish, I’m excited to watch her class on machine and hand quilting techniques.
(Creativebug offers a free trial, which I signed up for, and then decided to join for $5/month. My kids love watching the craft videos as well) 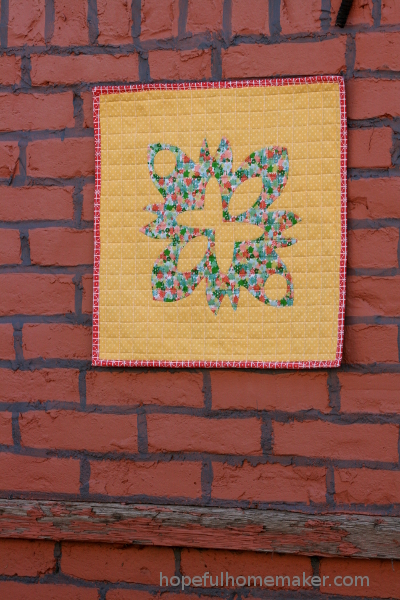 It’s nice to finish something. I had a funny conversation recently with the father of my son’s friend. We were both sitting at the district science fair where we would wait for 6 hours or so, and I was working on my Catenary applique. He asked what I was doing and I told him I quilt. His response surprised me. He said, “quilting is hard work.” I said to him, “Yes, and unlike most of the hard work I do as a mother, quilts stay done.” He stared at me for a minute, threw back his head, and laughed. True story.
Seriously, though, I cleaned my kitchen 7 or 8 times today. My children helped, but as I type this post it’s past ten p.m. and my 16 year old son is hungry again, cooking something on the stove. I’m fine with it. But it’s so great that quilts stay done.
Jennifer