Thanksgiving: Hungry, Full + FREE Gratitude Quotes to Download
Today as I left the grocery store I saw a man standing at the stop sign with a very simple cardboard sign in his hands. It read, “hungry.”
The sign, the man, his situation – it always tugs at my heart, but “hungry” really got to me today, leaving me with tears running down my cheeks when I drove away. “Hungry.” Aren’t we all? And for so much more than food?
My pie-making tools are on the counter awaiting the first pie of the season , my refrigerator stocked with everything for the big meal. Yet in the hustle of it all, I’m both “full” and “hungry.” Full, because I see the hand of God in my life and know that even in scarcity and adversity He is trustworthy, and that the darkest of days only make His light brighter when it appears. Thanksgiving has become for me a time to take a step back emotionally and mentally and look hard to “see what God hath done.” He does it masterfully, so my heart is full. And I’m hungry. Not just for the mouthwatering food that will grace the table, but more so for my family. I’m hungry for them to feel it. I want nothing more than for my children to have eyes to see, and for them to hunger for the feeling of “full” that can only come from recognizing our blessings AND their source.
Don’t you love having a holiday that reminds us to count our blessings?! We should obviously live in thanks all year, but it’s wonderful to have a time of year that helps us focus on gratitude. I have great confidence in what gratitude does for us when we practice it. Early in the month our family started a gratitude jar with the invitation to write down what you’re thankful for and add it to the jar. But the month always flies by with school and athletics — suddenly the holiday is tomorrow and I look around at my children and want so much for them to get it. Are we truly grateful?
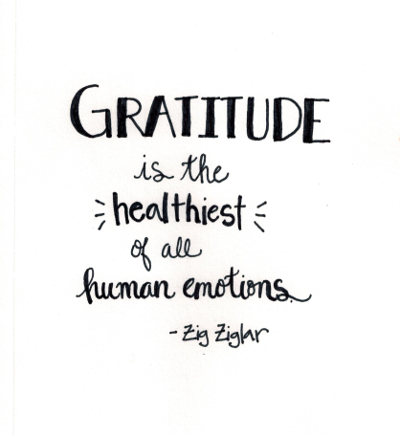
This year I went looking for some gratitude quotes that capture my feelings on this subject. Tonight each of my children will find a different quote waiting for them at their place setting and we will discuss them together over a simple meal. I’m really interested to hear what they think.
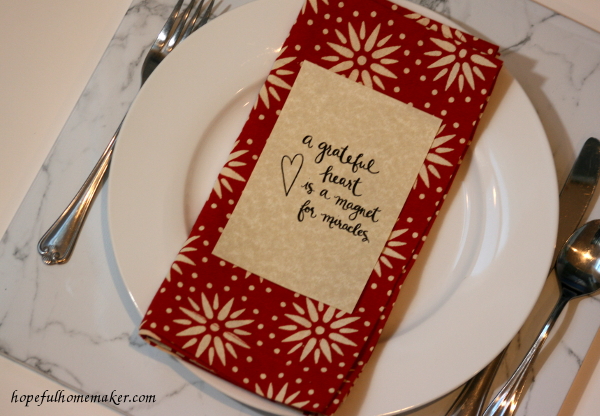
I’m hoping everyone enjoys it. I printed them on parchment paper and decided it might be fun to start a little collection of gratitude quotes and do this more often!
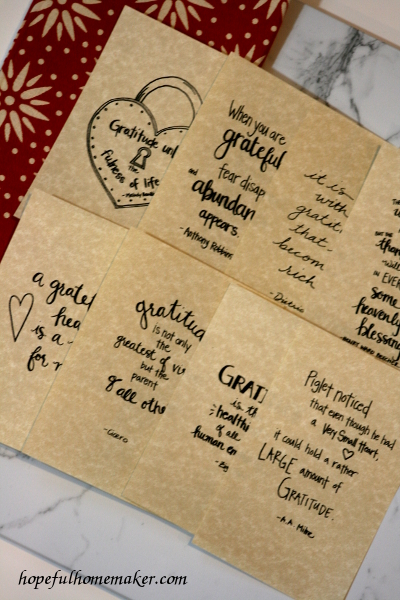
I compiled eight of them in a PDF to share with you.
CLICK HERE TO DOWNLOAD GRATITUDE QUOTES 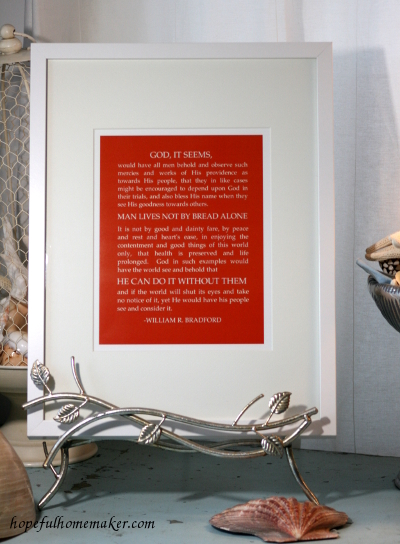 I will also be sharing my all-time favorite Thanksgiving quote with my extended family at our Thanksgiving dinner. It’s by William Bradford, taken from his history of Plymouth Plantation, and I re-read it every year. I love the way he testifies that God can work in our lives without all the luxuries we sometimes think are necessary.
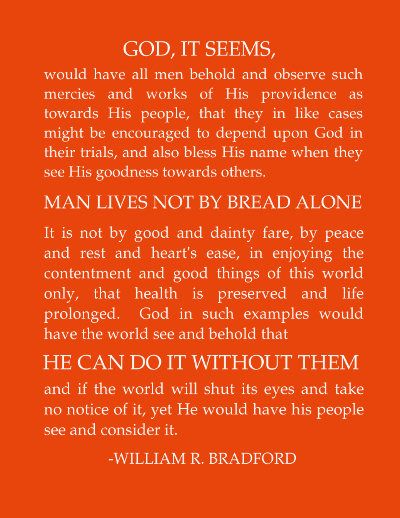
I’ve shared this quote before, but decided it was time to type it up. It is also available to download.
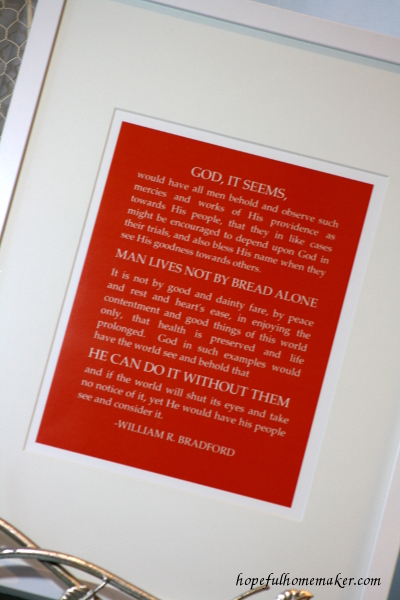
CLICK HERE TO DOWNLOAD BRADFORD QUOTE I had a local copy shop print mine in color on their nicest, smooth cardstock for a few cents and I love how it looks.
I really hope these things help prepare my children’s hearts to want to live gratefully. Quotes such as these are a blessing to my soul – they center me, offer perspective, and give me confidence in Christ and hope for the future. The best kind of “full.”
Wishing you happy – and grateful – Thanksgiving.
With all my heart, Jennifer

