Mini HOME Christmas Blocks – with Christmas lights!

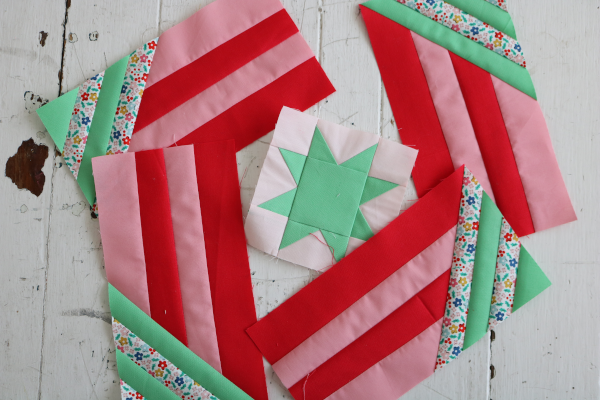
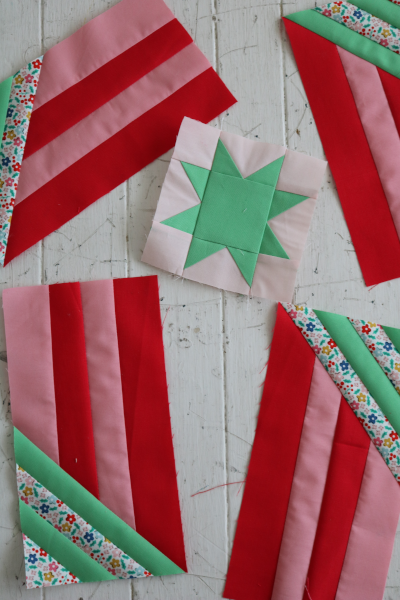
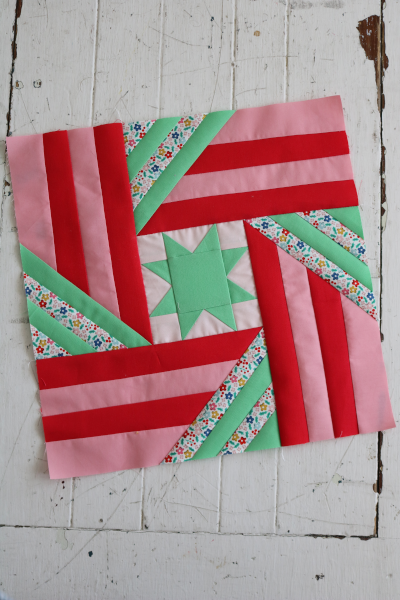
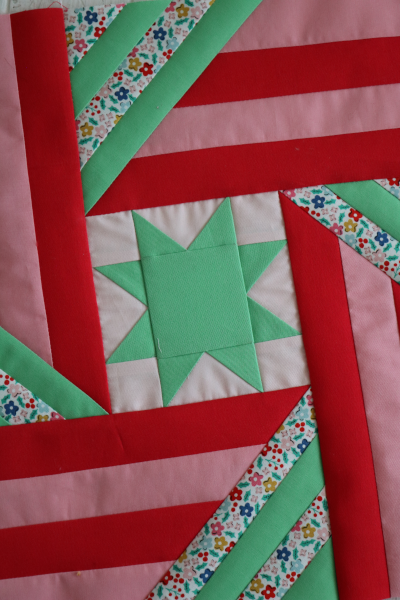
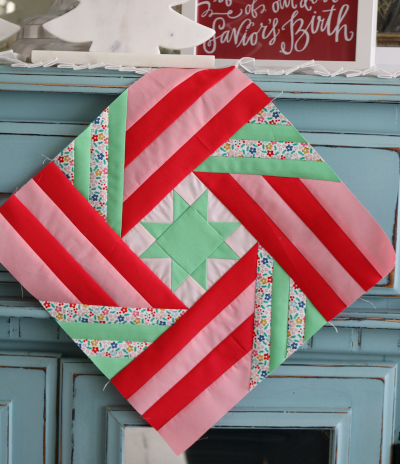
After playing so much last month with my moody little HOME blocks (which became this and this), and then making my HOME beach hut pillow cover, I wanted to sew more blocks.  I chose a Christmas theme, using the 4″ HOME quilt block size and alternating red and green colors.  Now I’ve got a small collection of mini HOME Christmas blocks.  And let me tell you, they are CUTE!

Happy sigh.  Placed next to each other, I really like the secondary patterns in the corners.  This would also be a fun theme to explore in a larger project.

Since these are Christmas houses, I thought they might like to have some little Christmas lights.  Why not?  The question was, white or colored, and how to do it.  I decided to try colors, hoping to play up the candy shop color scheme in these blocks.  First I selected six bright colors, and next I got out a ruler to measure the length of the roofline.

I decided that a 1/4″ spacing looked nice, and it allows me to rotate twice through all the colors with the first color on both edges and center top.  I marked my lights with Sharpie, making tiny dots that aren’t difficult to cover with a French knot.  Let the embroidery stitching begin!

And they are so much fun!  I love these blocks with their little lights.  Of course I had to keep going until all of them were fully decorated for the holiday.

Once I finished these mini HOME Christmas blocks, I looked at a 6″ Christmas themed block I’d sewn, and figured, why not?  Using the same six colors, and the same 1/4″ spacing, I marked more lights and started adding French knots.  Naturally we needed another line of them on the second roofline as well.  I mean, who doesn’t love Christmas lights?

I’ve discovered my new favorite embellishment for these little blocks.   Obviously I need to do something cute with them, like a bunting.  I’m thinking more than one something cute, such as ornaments, or even a stocking.  Stay tuned for more!

I’m headed back to my sewing machine.  Have a great day!

-Jennifer

Fair Isle Quilt

It’s been a long time since I wore a Christmas sweater, but my kids think they’re great.  The Ugly Christmas Sweater trend seems to be everywhere, and still going strong.  And oh, my, are there some truly ugly ones out there!  This Fair Isle quilt is like a Christmas sweater on a quilt.


The Fair Isle quilt pattern is by Lee from Freshly Pieced.  I purchased it five years ago (ouch) when she first released it, and it’s been a start/stop project ever since.  For the most part, it was a fun pattern to make, and not too difficult.


The quilt comes together in rows, and the pattern is well written with clear instructions for cutting and sewing.


At first I resisted just cutting all the pieces, but ended up doing it and keeping them in separate ziploc bags while I worked on it.


Honestly, I stalled on the reindeer.  I wanted to piece them in longer strips instead of all those one inch squares.  It seemed like more work than necessary and my reluctance to just follow the pattern and sew them together in squares is most of the reason why it took me so long to finish this quilt.  When I finally humbled myself and just did it, I found that they came together quickly and easily.


My advice if you make this pattern is this:  just follow the instructions and it will all turn out great.  I have no idea why I needed to learn this lesson again.  If I’d done this at the beginning, we would have been enjoying this quilt for the last few years.


I found a fun fair isle style fabric to use for the backing, and it inspired me to add some blue to my quilt top.  I quilted straight horizontal lines and added solid green binding to complete the quilt.


The Fair Isle quilt is a happy, cheerful quilt that was fun to make in spite of my starts and stops over the years.  I hope we enjoy it for many years to come!

Prosper Christmas Quilt

WJust keep quilting, just keep quilting!  Sometimes it takes a message like that to reach the finish line with a quilt.  My shoulders and neck are still tight from wrestling this quilt through my Juki, but it was worth it.  I’ve finished my Prosper Christmas Quilt!


I made this quilt with my Prosper Quilt Pattern and a bundle of Swell Christmas fabric by Moda.  I threw in a number of solids and prints from other collections as well.  It’s a happy combination of color and prints, and makes a lovely quilt.


I quilted my Prosper Christmas quilt with scallops, using an acrylic ruler to create the pattern.  It’s got plenty of mistakes, but is much better than last time I tried this pattern.  I’m getting better!


Overall I think the texture of the quilting is fantastic.  I love how it looks in this light.  It takes a lot of patience to quilt an allover design like this, but I’m glad I did it.


I got really lucky this year and found the green poinsettia print on clearance.  Then I was so excited about buying it that I didn’t even think about measurements and only bought four yards.  I needed more than that, so there is a skinny strip of a red and white ticking stripe at the top of the back.  It plays well with all the other fabrics and I like it.  But seriously, why didn’t I stop and think?


I dug through my stash to find a binding instead of shopping for one.  This red and white scallop is perfect and I had fun adding it to finish the quilt.  Once again, I finished this binding by machine because I have a hundred other things to be doing!  I want to use this quilt for snuggling tonight when we read our Christmas story.


This last photo is a record of my son’s funny Rudolf snowman.  It makes me laugh.  He’s got a radish for a nose, and I think the antlers and stubby legs are great.  Life is wonderful, isn’t it?  And wrapping quilts I made around people I love makes it even better.

1 2 3 4 23