Give Thanks Banner Giveaway


Thanksgiving is one of my favorite holidays.  It is so rich in meaning and history, and comes at a time of year when abundant harvests are still fresh in memory, if not all around us.  I also believe that gratitude is one of the most powerful emotions we can feel; that it transforms us as people and it also transforms our memory.  Lack of gratitude is an open door to unlimited challenges; gratitude is an open door to potential and excellence.

I realize that to some Thanksgiving is simply a meal, or a meal on a single day with people we love, and that’s totally fine.  To me it’s more of a season, like Christmas.

Last year I wrote
about wanting to carry the Thanksgiving spirit forward into my Christmas observance and my heart still pauses on those thoughts.

Because it’s a special holiday to me,  my list of things to do for Thanksgiving is rather lengthy.  I love hosting Thanksgiving dinner at my house (it’s a lot of work but in some ways easier than taking my large group elsewhere).  It occurred to me this week that if I shortened my Thanksgiving “to do” list I might get more accomplished on my Christmas list, but I’m not sure I want to.  The two holidays pair so well together.

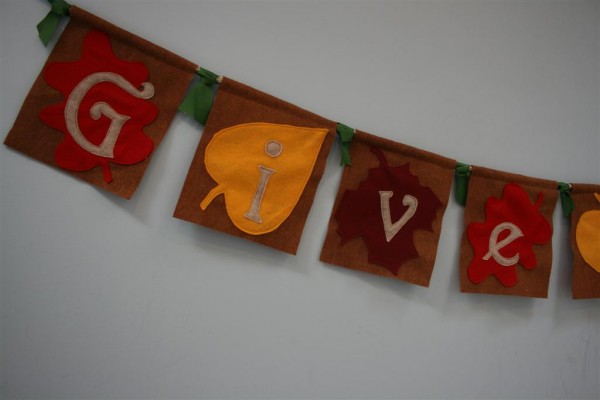
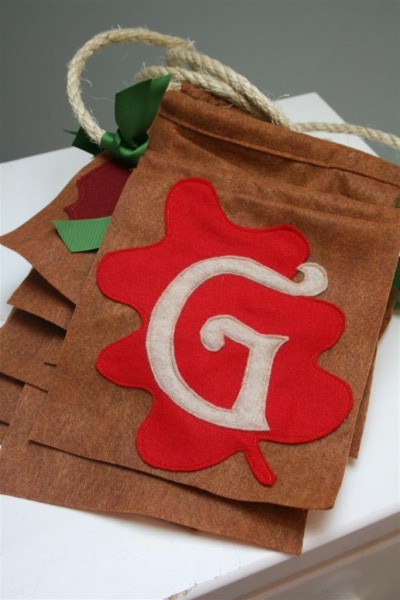
Among my Thanksgiving projects to complete this year was this banner.  A friend and I got together and started them last year.  She finished hers; I finished mine last week.
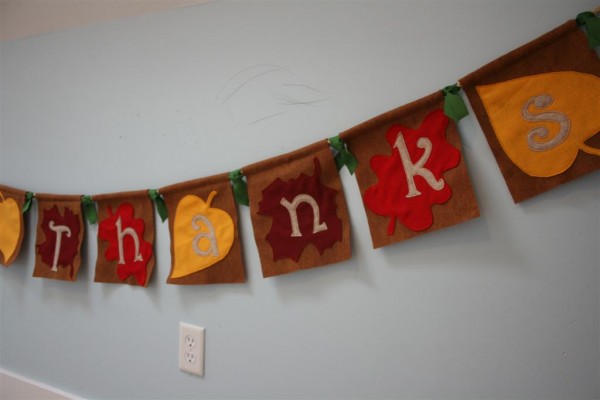

It’s made of felt, with a leaf and letter sewn onto a felt background.  I hung it on sturdy rope and added a green ribbon between each letter to keep them properly spaced.  The inspiration came from a small picture of a similar banner in a Pottery Barn kids catalog several years ago.  (Why do they never sell the one thing I fall in love with?)
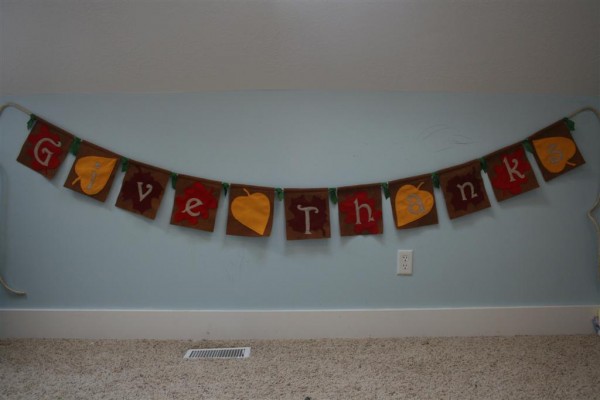

When we started them last year I cut enough fabric for two banners, so I’d like to give one away!

To enter, just leave a comment telling me where you are on the Thanksgiving spectrum:  is it a holiday you really get into, or do you let it take just a day or two?


The giveaway will end at midnight on Friday November 11, 2011.

I’ll announce the winner on Saturday.

On a similar note, I’m also offering a giveaway this week over on the blog I participate in with my sisters.  It’s called Sisterview , and we have some fun things planned for the next few weeks.  I just finished making my first velvet pumpkins, and I’m giving some away.  If you’d like to enter, head over here to leave a comment.

And check back here at Hopeful Homemaker in the next day or two for a second velvet pumpkin giveaway.

Good luck!
Jennifer

Halloween

The kindergarten Halloween party is over, and two of the children are playing upstairs while my three year old naps on the couch.  The party must have worn her out.  I listen to her quiet breathing, combined with the muffled sounds of the other two talking and marvel at these moments of quiet that occasionally drop into my life.


The sun is shining and I’m about to head outside for the last of my weeding and bulb planting before the temperatures plummet tomorrow.  This gorgeous day is supposed to hold through tonight, which will mean plenty of happy children come dark.  We’ve got kids scheming to meet up with friends to trick-or-treat and little ones still vacillating between this or that costume.

Before the day is over, I thought I’d share a few pictures of the Halloween decorating I managed to do this year.  It was minimal, but fun.


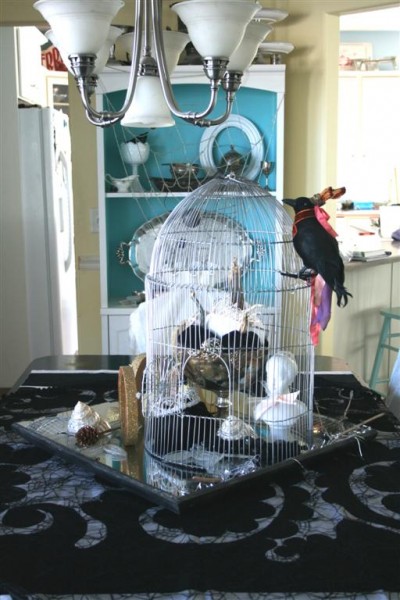
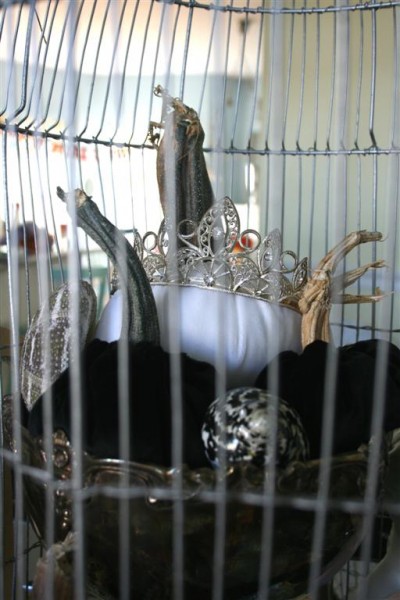
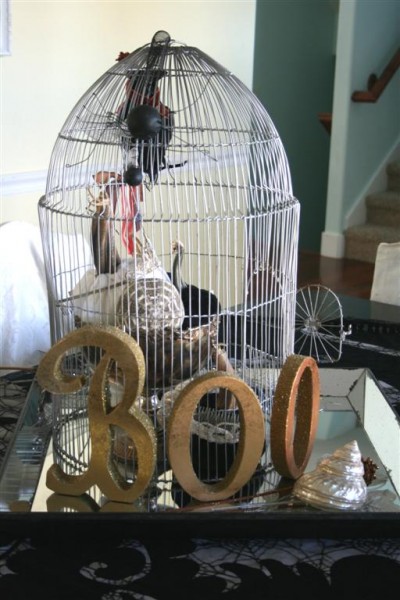
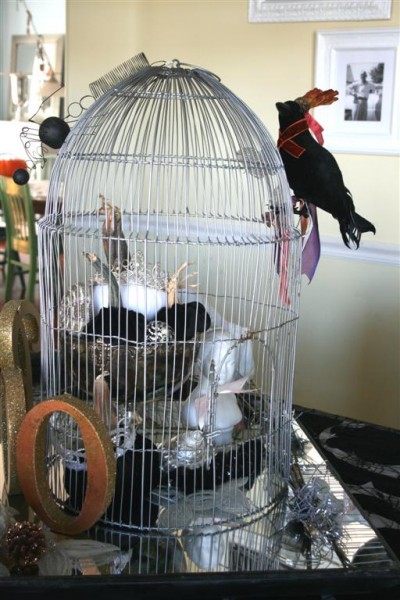
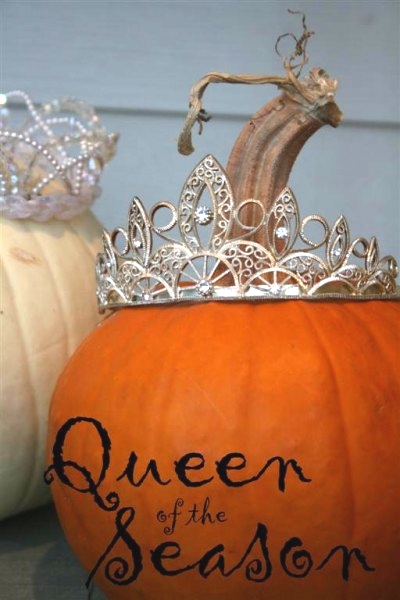
This year I put a bird cage on a mirrored tray and used that as my starting point.  I was in the mood for simple black and white, so I made a few black and white velvet pumpkins and put my favorite vintage crowns on them.  Yes, I still like crowns on pumpkins.  Most of them sit in a footed silver bowl.


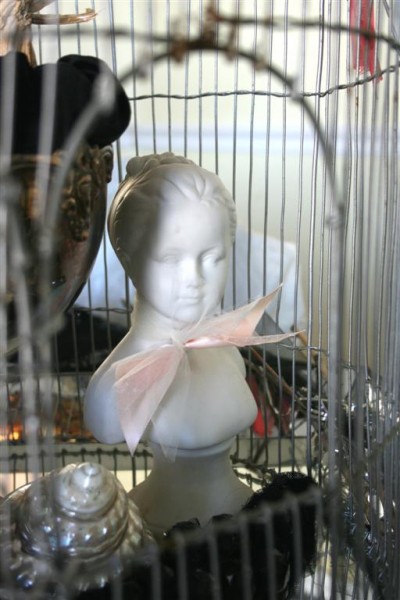
A little vintage bust fit nicely inside the cage as well, along with some beaded leaves and a small collection of black and white seashells for pattern and scale.


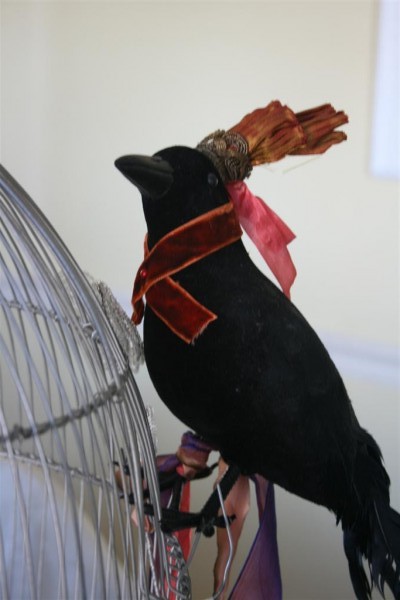
I added my favorite velvet crow to the outside of the cage for fun.  I like having him perched up there.


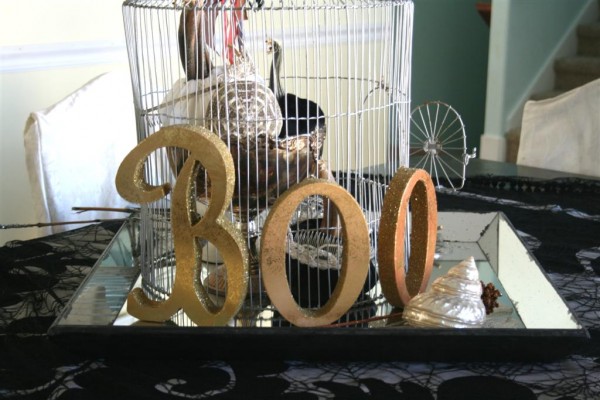
On the back side of the cage I used my gold glittered “Boo” letters and added a wire spider hanging from the top.


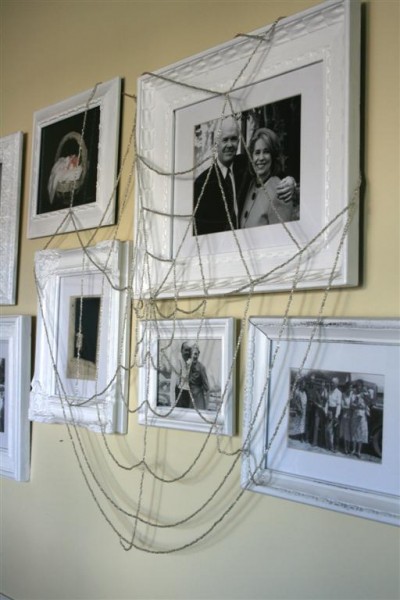
While I like to challenge myself and use things differently each year,  I do love to hang my beaded spider web across the picture frames every year.  It looks great there and the children love it.


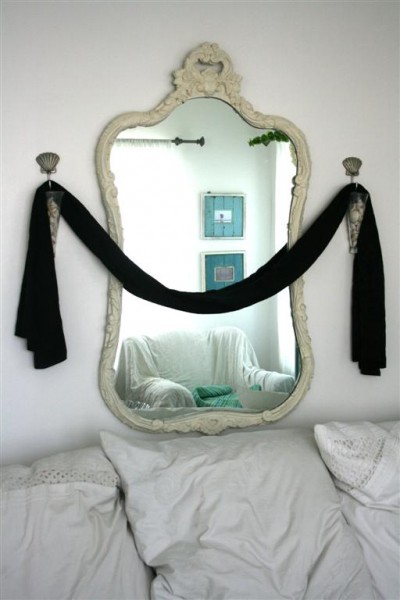
Lastly, I hung a vintage black scarf across my favorite mirror in the living room.  In a mostly white room, I like the dramatic effect of the black hanging there.  If I’d done this all sooner and had more time, I would have really gone for it with a black and white theme in this room.  Maybe next year.


And there you have it.  I used some of my traditional orange things in the kitchen as well.  Tomorrow it will be time to take it down and prepare for Thanksgiving, one of my favorite holidays.  For now, I’m going to take my little one (now the only child not asleep) out with me to pull a few more weeds in what may be the last sunshine we have this week.


I hope your Halloween is a lot of fun!

Jennifer

Pumpkin Biscuits

The temperature has dropped this week, and right now I sit curled up in one of my favorite fall quilts.  That’s a good thing, because it means I made it to the basement to unpack some Fall and Halloween decorations for my children.  The little ones have switched costumes at least fifty times in the last 24 hours and I look around at the disarray with a smile.  I’m so grateful they get to do this, and I’m grateful it will end in a few days.  Halloween is just around the corner.


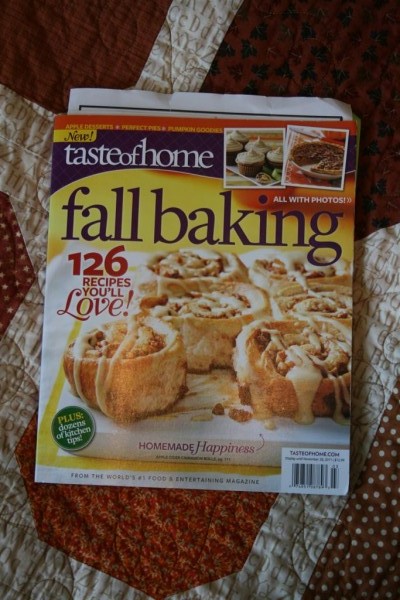
Several weeks ago I purchased this publication .   At the time I wondered a little at my decision, but now I’m thrilled to have it.  I’ve tried more than half a dozen recipes from it and they’ve all been delicious. It’s full of bookmarks, a spill, and tattered corners.  One of the things I love about it is having a picture of every recipe included.  I highly recommend it.


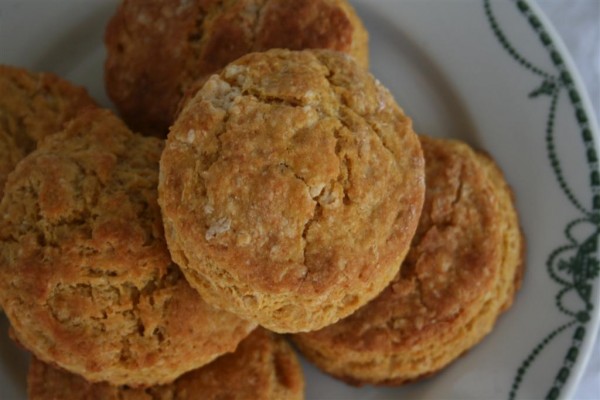
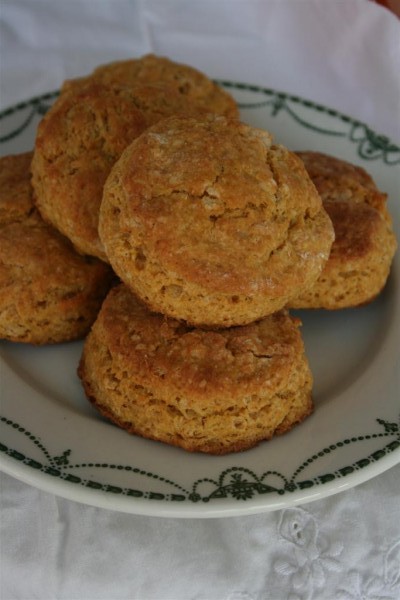
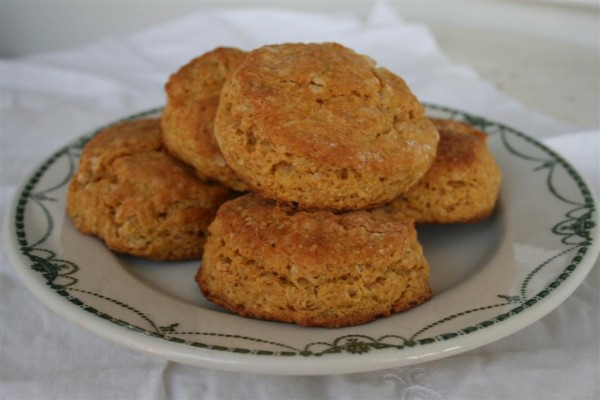
One of  the first recipes I tried was this recipe for pumpkin biscuits.  Our whole family enjoyed them and one son in particular begs everyone else for their biscuit while the rest of us enjoy dinner.


Pumpkin Biscuits (recipe from Taste of Home Fall Baking publication) Ingredients:
1- 3/4 cups flour 1/4 cup packed brown sugar 2- 1/2 teaspoons baking powder 1/2 teaspoon salt 1/4 teaspoon baking soda 1/2 cup cold butter 3/4 cup canned pumpkin puree 1/3 cup buttermilk Preparation:
In a large bowl, combine flour, brown sugar, baking powder, baking soda and salt.  Cut in 1/2 cup water until mixture resembles coarse crumbs.  Combine pumpkin and buttermilk, stir into crumb mixture just until moistened.  *Note:  I’ve made these twice now and both times I had to add a couple of tablespoons more milk.

Turn onto lightly floured surface, knead 8-10 times.  Roll out to 1 inch thickness; cut with a 2 or 2-1/2 inch biscuit cutter.  Place 1 inch apart on a greased baking sheet (or just use parchment paper).

Bake at 425 for 18 minutes or until golden brown.  **Another note:  the recipe calls for 1-1/2 tsp. melted butter to be brushed over the biscuits, but I haven’t added it.  It seems to me there’s already plenty of butter in them.

According to the recipe, one batch makes 6 biscuits if cut with a 2 1/2 inch round cutter.  The first time we made them, we cut them into 1 1/2 inch circles for taste testing and it made two dozen.  Last night I used a 2 inch cutter and squeezed 10 biscuits out of a batch.  Next time I make them, I’ll double it for my family.


I hope you enjoy this pumpkin recipe.
Jennifer

1 29 30 31 32 33 64