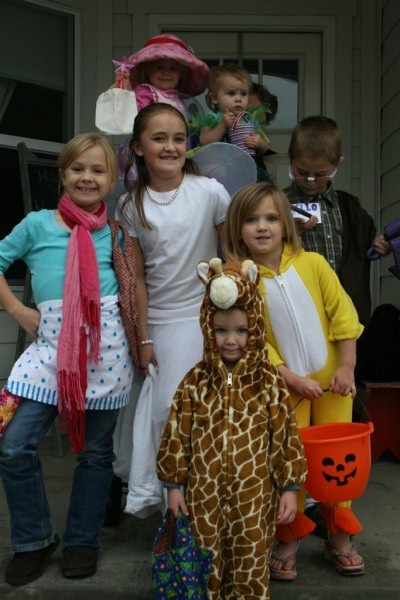
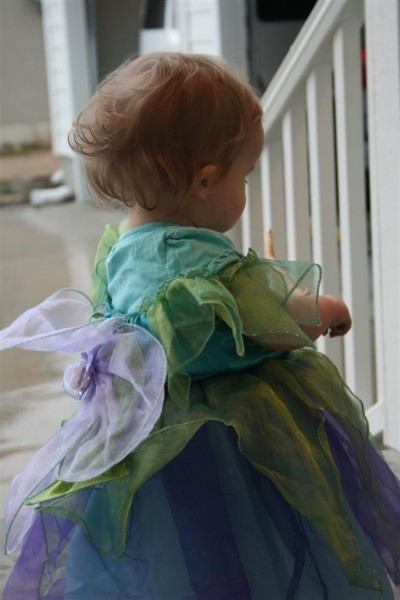
It is dark outside and the rain pours down. We’ve completed a short trip around the block as a family, letting the little ones fill tiny buckets at neighbor’s homes. Soup is on the stove and happy noises carry from remote corners of the house. Half eaten pieces of candy already grace the table and a trash brigade has hit the family room floor more than once. Every once in a while the doorbell rings, and more people run to the door from inside the house than from without. The older children pass out, the baby peers through their legs, and the middle group has chosen to perch on the landing above on the second floor, yelling “Happy Halloween!” to all our trick-or-treaters.
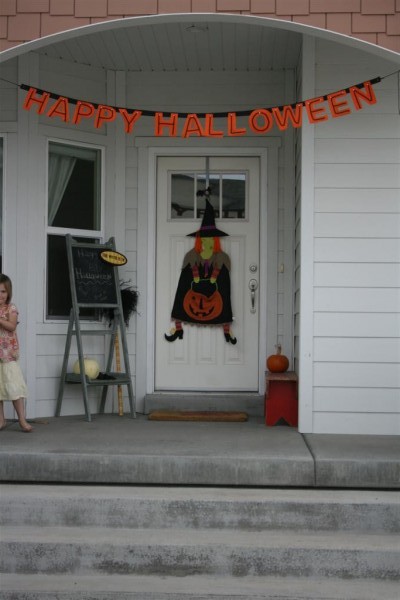
A tangible feeling of contentment settles over me unexpectedly. I love this feeling of being safely gathered in. After all the stress of Halloween week I’m almost giddy with the knowledge that all obligations have been fulfilled and now the night is ours, ours to use as we wish. That’s all I really want from this holiday, the chance to observe it simply.
A simple dinner of soup, salad and rolls is eaten by some of us and picked at by the rest before the older crowd leaves for round two of trick-or-treating. I should clean the kitchen but my heart calls me instead to savor the moment. The younger ones and I gather blankets to snuggle together and watch a movie. Ironically, the pouring rain has brought more trick-or-treaters than all the years we’ve lived here combined. The candy bowl empties and we turn off the porch light, another Halloween (almost) over.
I can’t help but review the week as I snuggle with my little ones.
Every October I know Halloween is coming and I think I have until the 31st to get things in place. The reality is, however, that both costumes and candy are requested at more activities earlier in the month every year. The costume box has been open in my studio for more than a week, contents spilled all over the house as my children have tried on various items approximately 8,732 times in the past 7 days. I can’t say I’ll be the least bit sorry to pack them all away; I really don’t mind the color of my carpet.
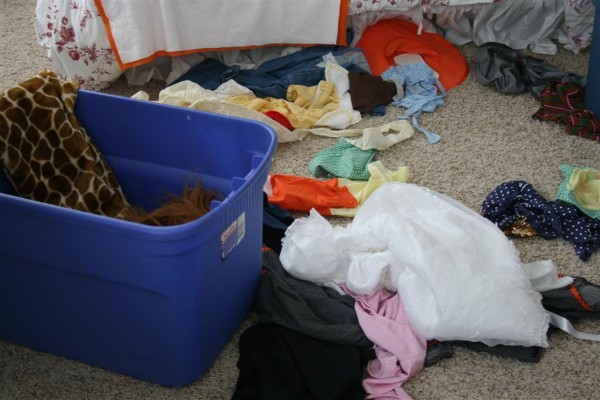
Honestly, I struggle with Halloween. There is little about it that meets my family’s needs. We don’t need a constant intake of candy. We don’t need to wear a costume to every extra-curricular activity under the moon. My budget doesn’t really need me to supply bags of candy for 7 or 8 different parties and my little ones don’t need me to be gone several times during the week to help at one party or another. My older children don’t need to be tired and grouchy from lack of sleep and too much sugar. We don’t need more arguments about which piece of candy may or may not have been eaten by so-and-so. And yet all these things we didn’t need provide the commentary on how the week played out. So many important things needed my attention and didn’t get it because of the time that was diverted to Halloween festivities. And all for a holiday whose real meaning couldn’t be further from what I want to teach my kids.
I’m learning something about myself as my family grows. I have little patience for things that interfere with what I’m trying to accomplish in my home. Price tags are higher than they used to be. For every one thing that I do, there are a half dozen things I needed to do in addition. I’m not talking about extras; I’m talking basics. A glance around my house tonight is evidence of all the basics that went undone this week in favor of lesser things. Dishes in the sink, baskets of unfolded laundry and a general feeling of clutter all testify to the extra time I spent helping children put together costumes and driving them to 6 different Halloween parties in addition to our usual commitments. I’ve felt a little Grinchy about Halloween this year.
But children simply love it. And because I have children, I go with the flow (in action, if not in heart).
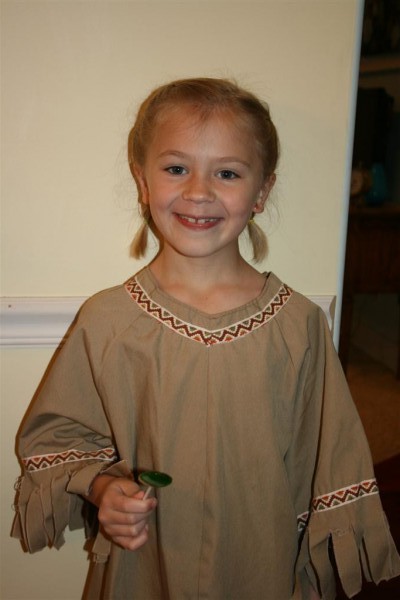
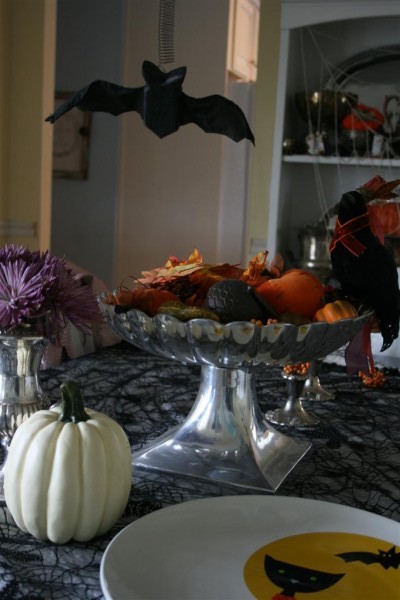
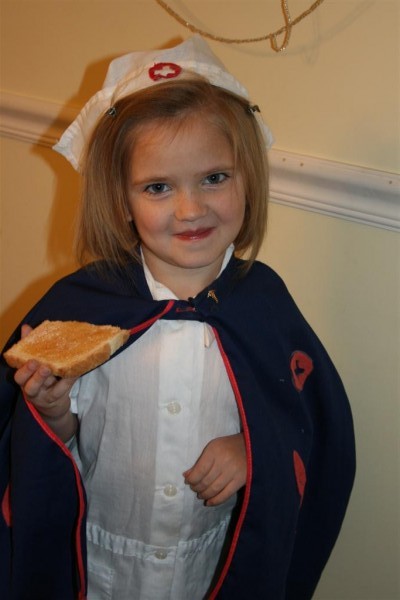
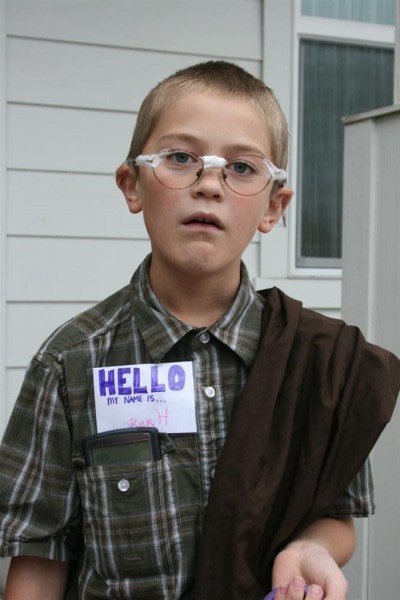
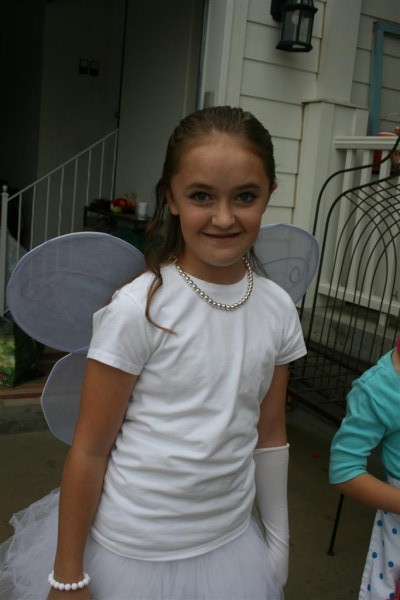
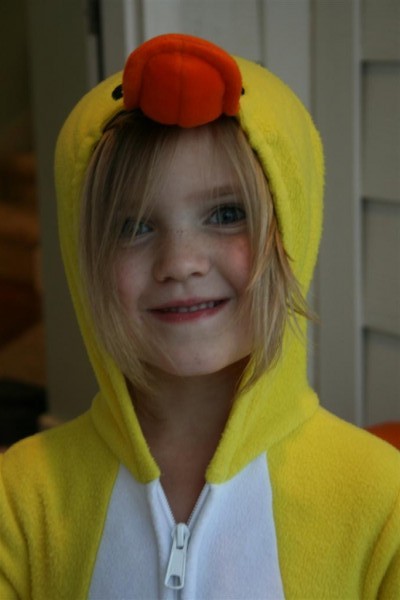
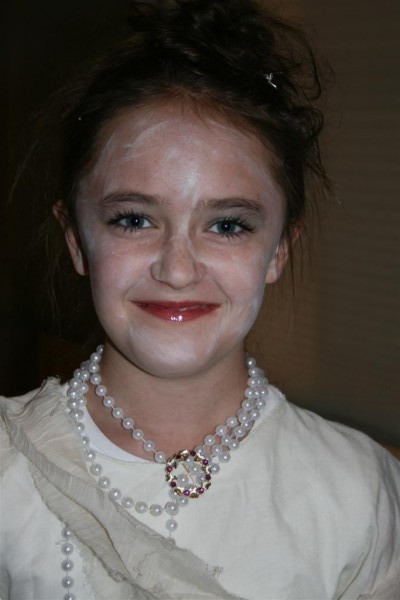
As today’s scheduled activities melted into an empty slot on the calendar I realized that there are things I quite like about Halloween. While I drag my decorations from the basement reluctantly, I don’t mind having them up. I enjoy dabbling in some Halloween-themed recipes. I enjoy watching my children concoct costumes. A few years ago I announced to them that I’m officially done spending money on costumes and that from now on we get creative. My oldest daughter is wearing her 4th costume of the week. She has been a pirate, a corpse bride, a painter and a fairy. One was borrowed, the rest assembled using supplies we have on hand.
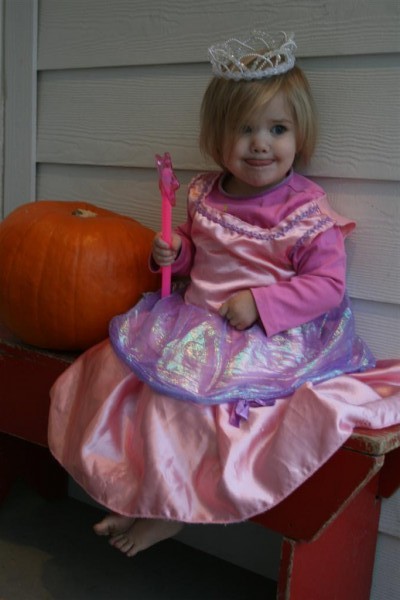
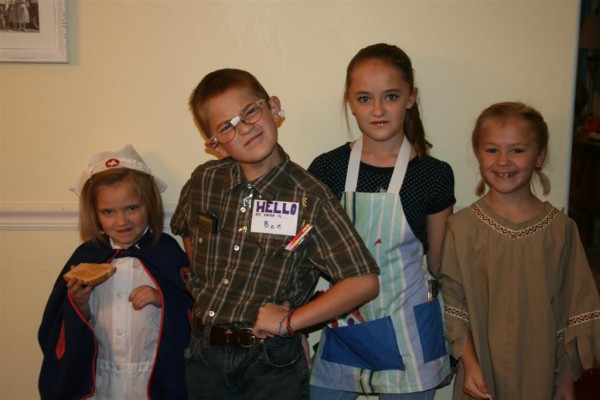
Friday morning when the school kids left in costume, my four and two year olds started trying things on. If I’d known when it started how many different costumes they would try on (over and over again) I would have taken a picture of each one and written down the time of day. It is not an exaggeration to say that they stayed in each costume for less than 10 minutes and that they changed clothes non-stop for more than 5 hours. Messy? Oh, yes. Creative? Absolutely. Tonight’s costume for my two year old was a princess dress paired with a Strawberry Shortcake hat.
The garage opens. My big kids are back, bags heavy with loot. We sit together in the family room with bowls of popcorn and watch the end of the movie. We’re all together and it feels good. It’s been a nice night and tomorrow I can pack everything up and move on. I don’t have to do this for another year. (Yippee!)
November, here we come!
Hopeful Homemaker
