Last weekend I had so many creative ideas that I was just dying to spend a few hours creating. However, it was one of those weekends when someone was tugging on my leg every 90 seconds, especially since there was no school on Monday. I hate it when my day and my heart just don’t align well. I had so much pent up creative energy that I felt like I was going to burst!
On Saturday I stumbled upon these pictures of Heather Bailey’s studio . Instantly I wanted a room like that! I especially wanted to go shopping for a bookshelf that I could neatly stack all my fabric on, in plain sight, to look at for fun and to see everything and therefore use it all more. Well, that wasn’t happening. I’ve promised myself no more shopping like that until I have a basement empty of DIYs. For a few minutes I very seriously considered stealing my cabinet in the dining room to use for my fabric, but it’s perfect where it is so I left it alone.
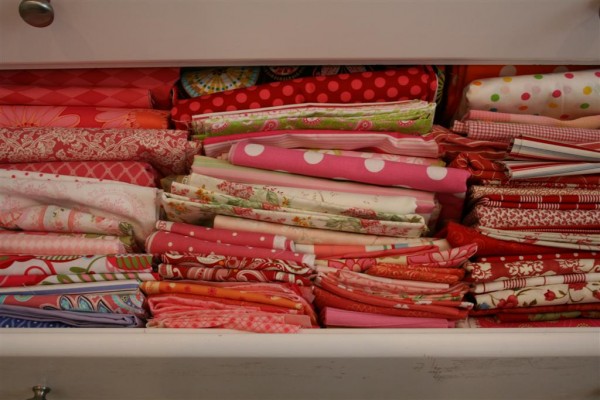
Instead, I started taking everything out of drawers and made a fabulous mess. Then, over the next couple of days I got it all put back away, but this time I did it so that I can see all my fabric at a glance instead of having it laying in stacks (which means I forget what’s underneath).
So, while I’m no Heather Bailey, I can at least be inspired by the beauty that’s available to me. Here goes:
`
Each drawer is now filled (I should probably say stuffed full) with my quilting fabrics, turned to stand up so that I can see all of them. They’re sorted by colors.
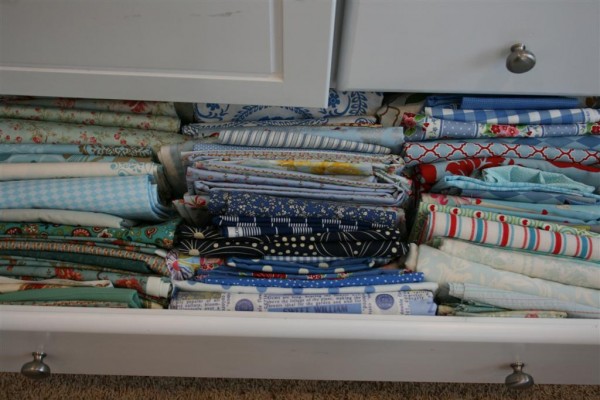
Hopefully I’ll use them all more wisely now that I can see them so easily.
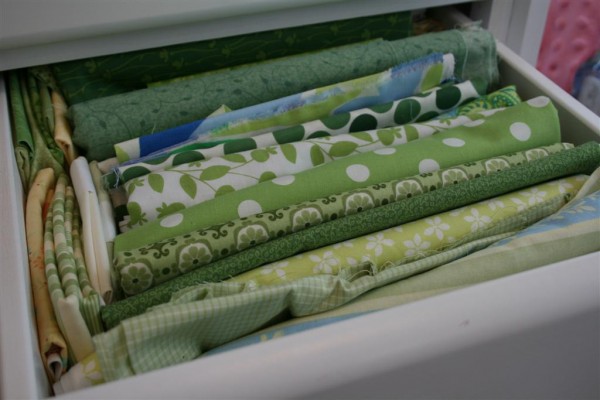
There is another drawer for black and whites, another for browns, and a cupboard for decorator weight fabrics.
I also made a separate spot for Christmas prints, and for fall/Halloween projects.
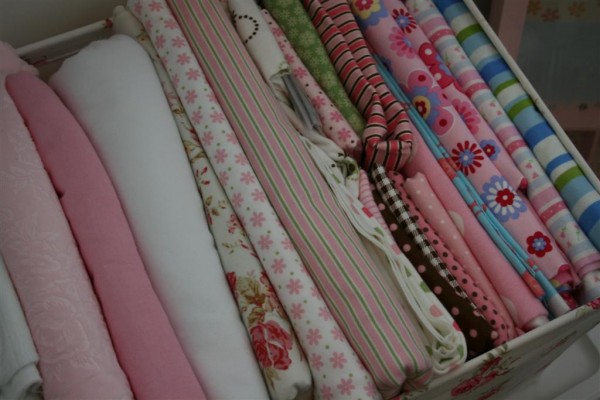
A box full of flannels for baby blankets:
I simplified the cabinet that holds my rarely used collection of rubber stamps. Above it is a bit of vintage hand stitched red and white lace that I just love. It is incredible to me to look at each little stitch. I wonder about who made it and if it was art to her.
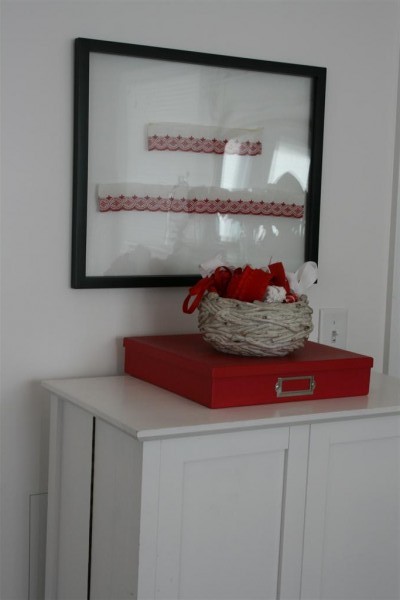
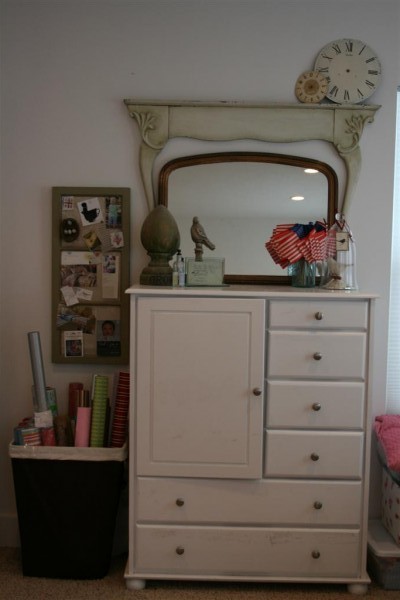
I cleared the fabric dresser top so it’s now free of clutter.
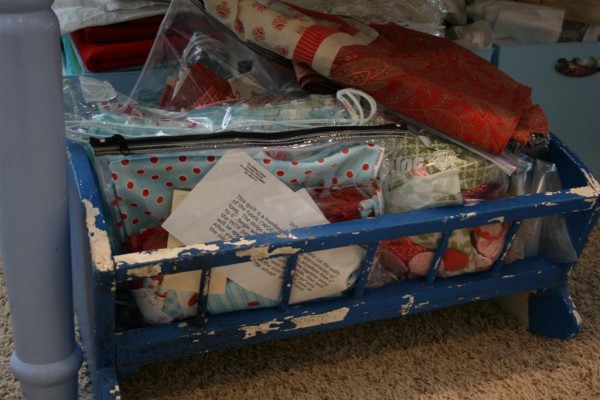
I also went through all the supplies that I keep in blue bins under my desk and was able to trim down on the clutter there as well. I use a vintage doll cradle to hold the projects that are currently in progress or next up. I reduced the number of projects in that category.
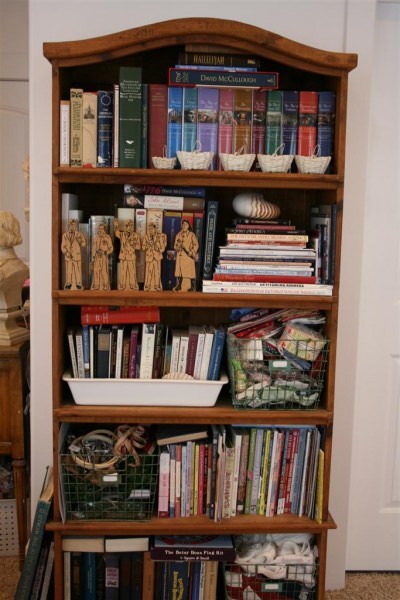
When I went to store something under the bed, I pulled out a box full of flannel fabric that I’d completely forgotten about! I remedied this problem by storing things I use a lot next to things I don’t use so much. I feel like now I won’t forget about any supplies, and will be able to use them all wisely. This step included using my wire baskets on the bookshelf better.
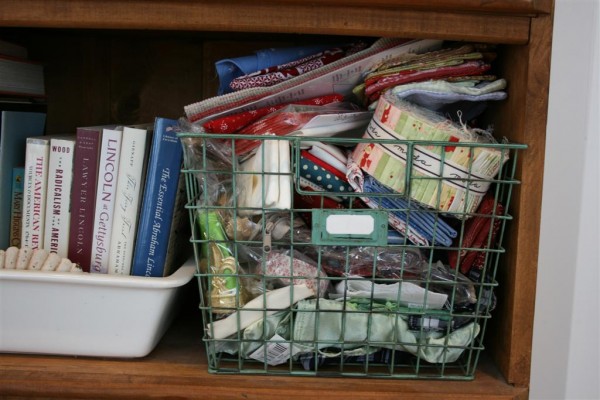
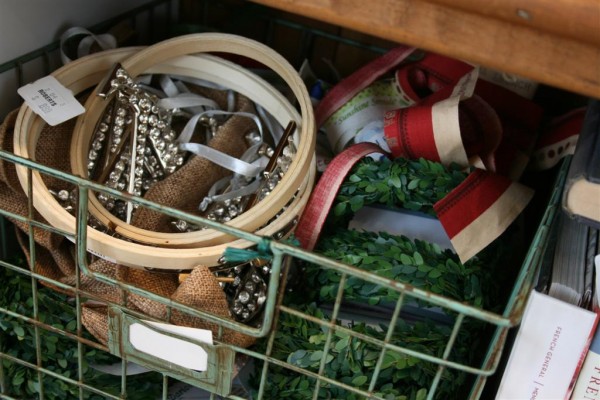
Now the basket which was formerly full of vintage supplies I intended to use but forgot about houses those vintage bits along with the jelly rolls, charm packs and fat quarters that I use a lot.
Another basket full of good stuff!
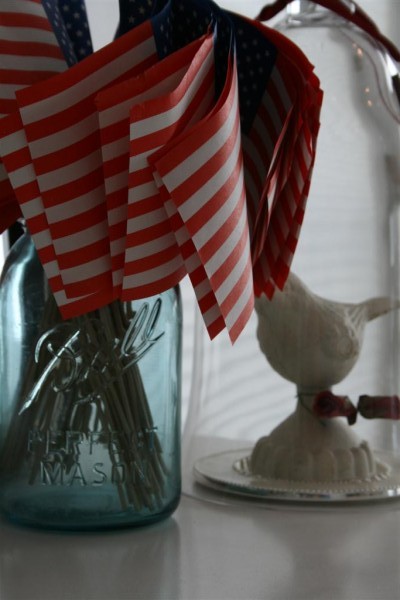
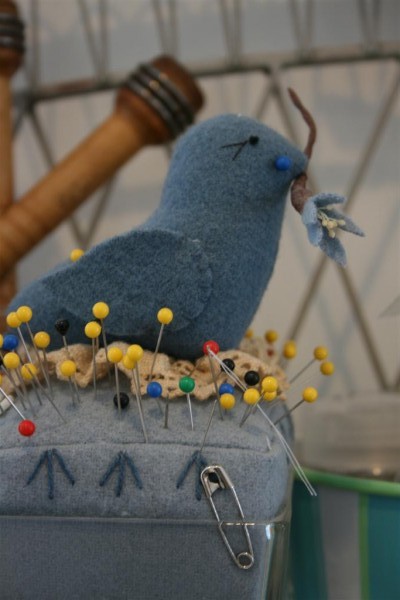
I keep being tempted to start collecting cute pincushions, because they’re everywhere and they’re really fun. I have a couple of cute ones, but for now I’m happy using my favorite, this awesome bird sitting in a nest atop a vintage candy dish.
There is a lot that I still want to do to this room, but I’m so happy with it even as it is. Because it doubles as a guest room, I want to try to keep it simple enough that it can also be a restful bedroom. I realize that I’m tremendously blessed to have it. I’m thankful for a husband who works so hard so that we can have a home that allows me a space such as this.
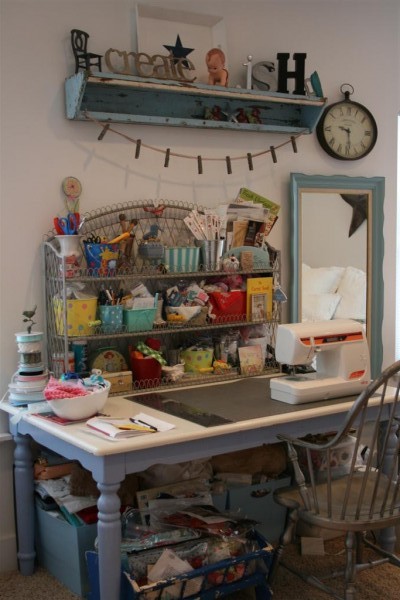
To anyone else who walked in the room, there would probably be no noticeable change.
But for me, it feels like a fresh start for a new year of creativity. I’m pleased.
It doesn’t hurt that I dealt with all that pent up energy in a positive way, either.
HH
