In the sewing room, no 5.
This was definitely a “slow craft” week in the sewing room. Lots going on at our busy house!
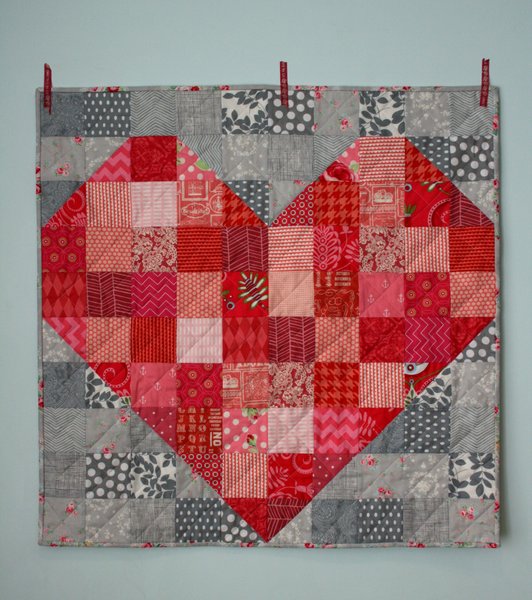
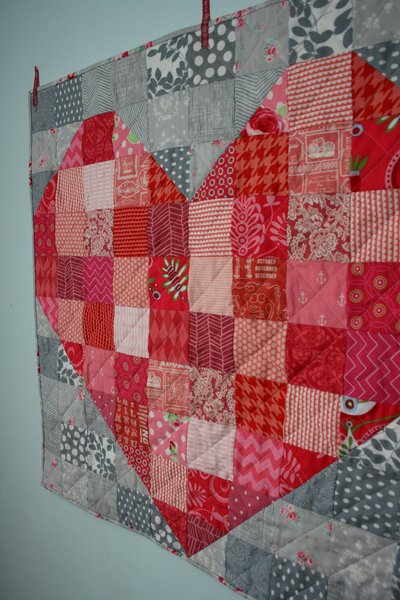
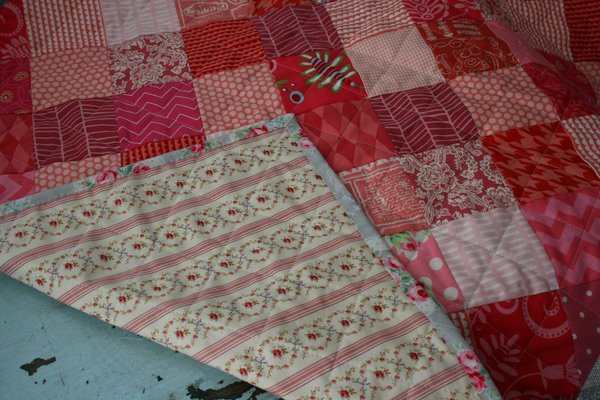
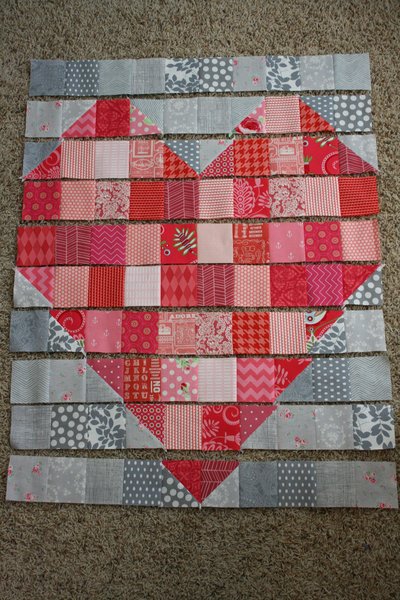
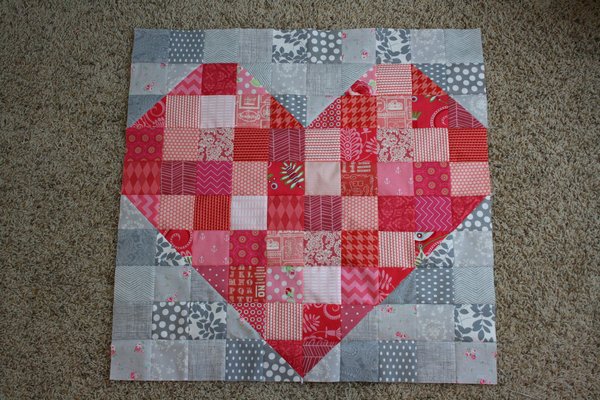
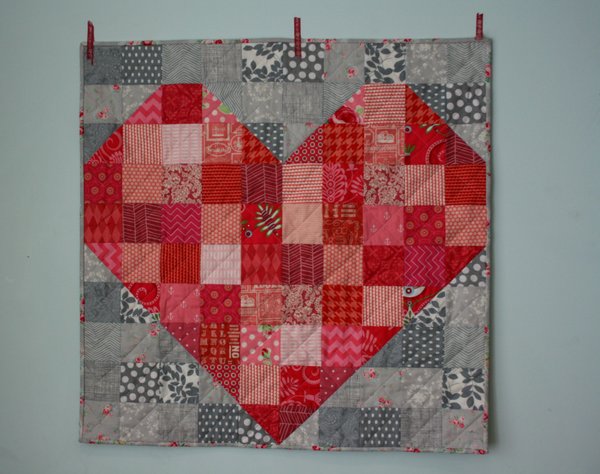
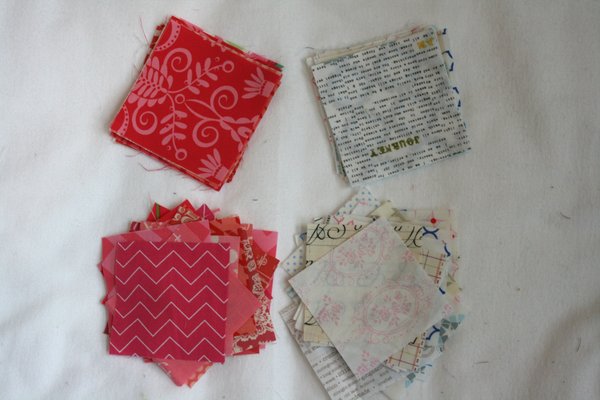
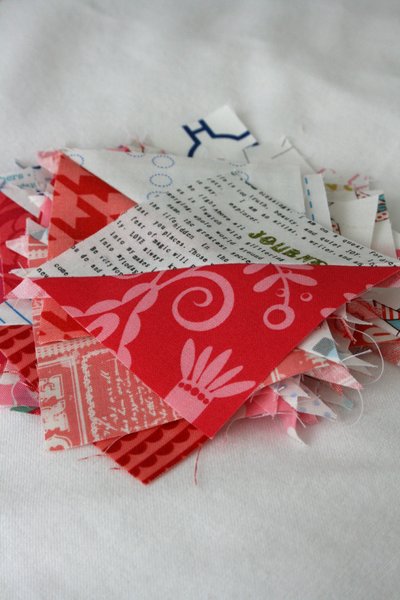
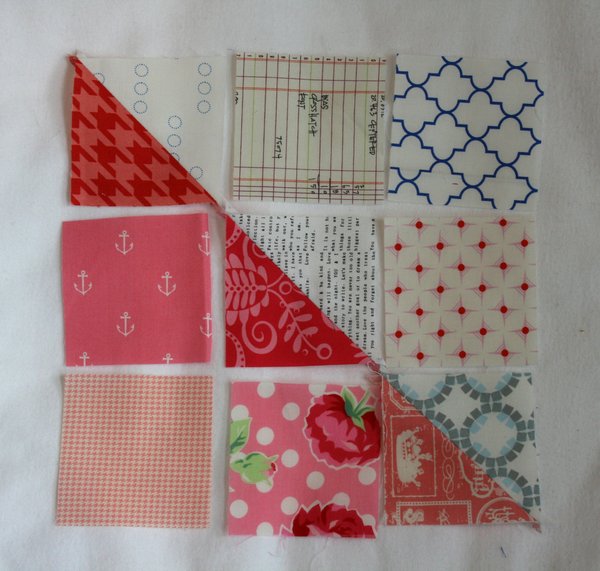
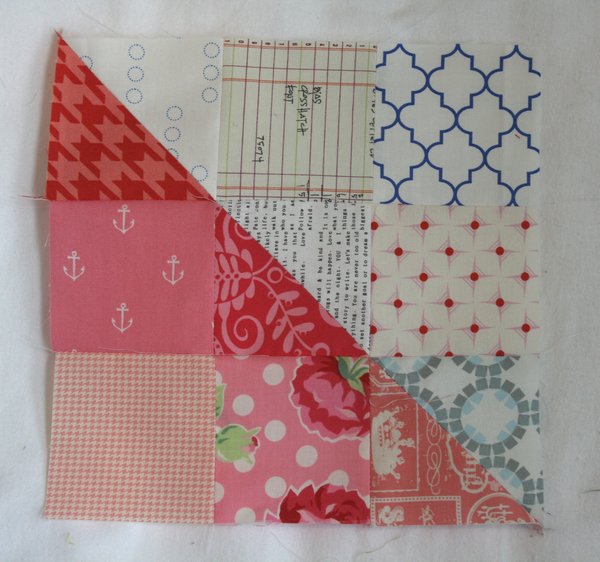
My most exciting progress was this little mini heart quilt that went from sketch to completed in a couple of days. Every once in a while I need a quick finish to keep me motivated on my slower projects, and this was it.
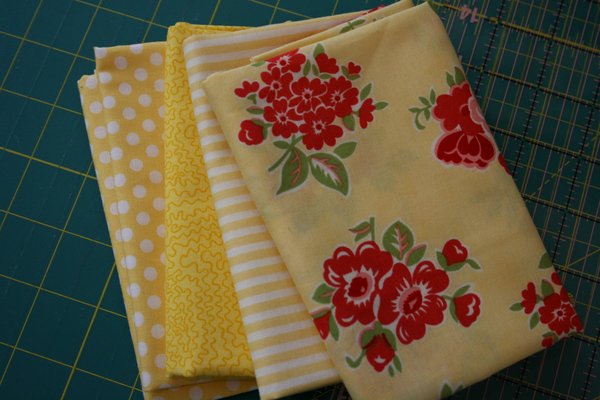
After wishing I had more yellow fabric last week, I went through my stash and found a few yellows that hadn’t been sorted by color last year. I’m excited to add them to my Scrappy Trip along quilt, which I didn’t even touch this week!
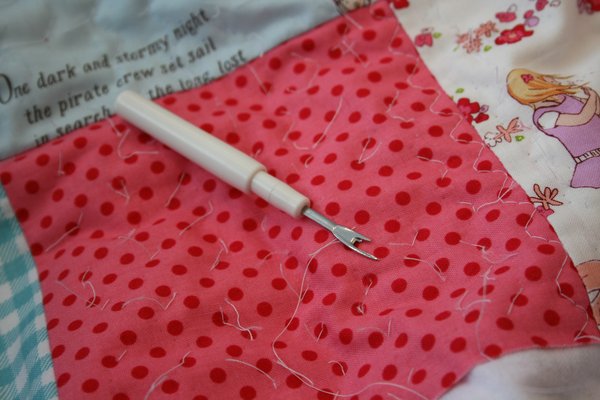
I spent a lot of time with my seam ripper this week, ripping out some quilting I wasn’t happy with. I’m ready to get back to work on this now.
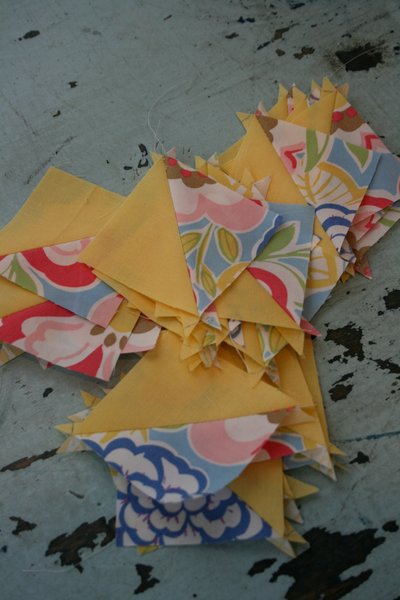
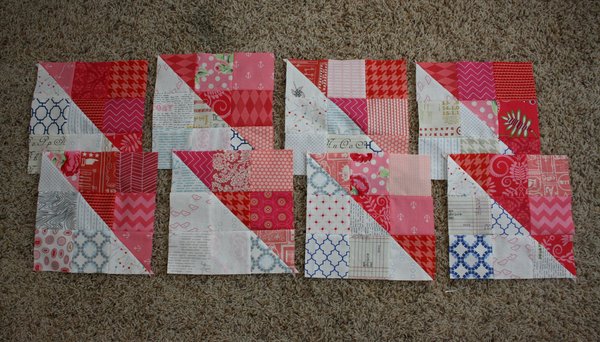
I’m making slow progress on the half square triangles for my sawtooth quilt, and each time I’m working on them I ask myself how I managed to jump into three projects at the beginning of the year that all have tons of half square triangles in them! Not good planning. I do love my choreography quilt top and backing (which awaits quilting right now) and I’m sure I’ll love this when it’s finished also. At least I’m using a different HST construction method with each quilt. It’s kind of fun to try new ways of making the same square.
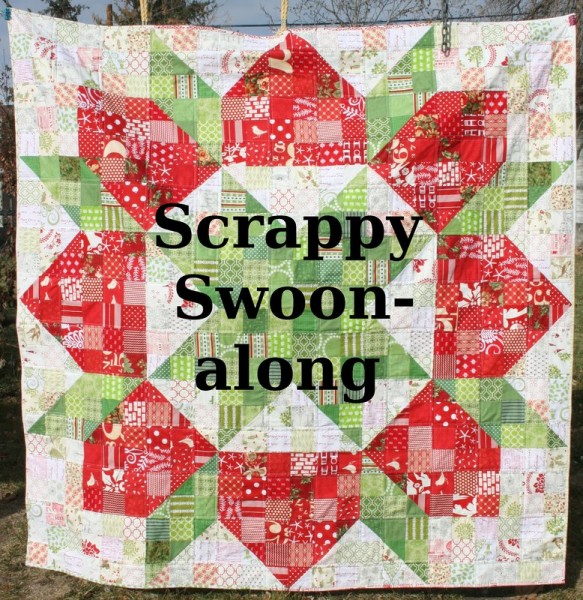
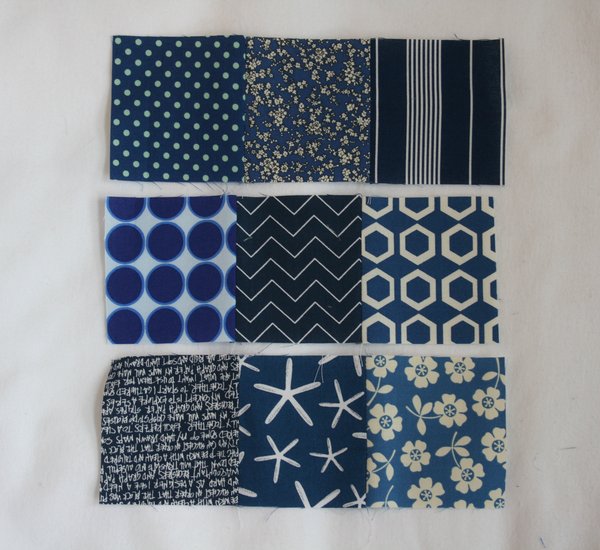
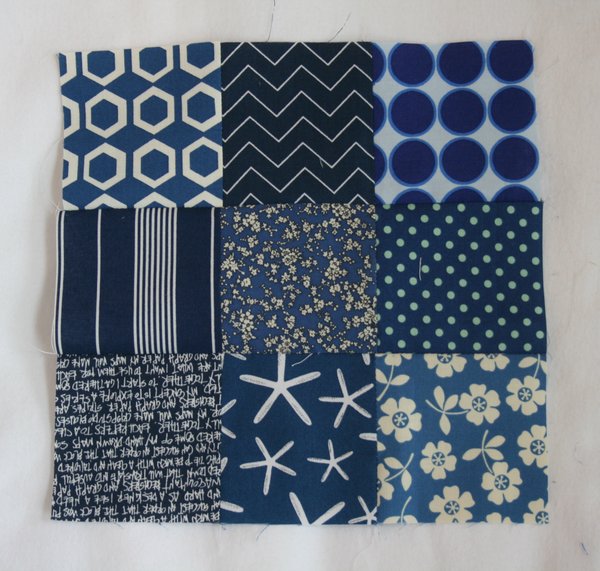
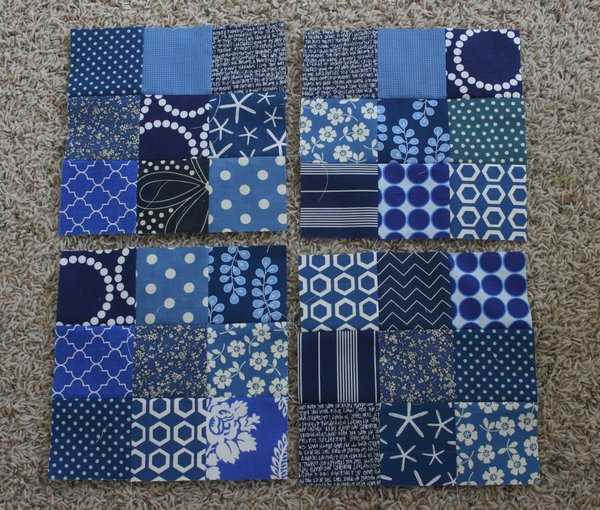
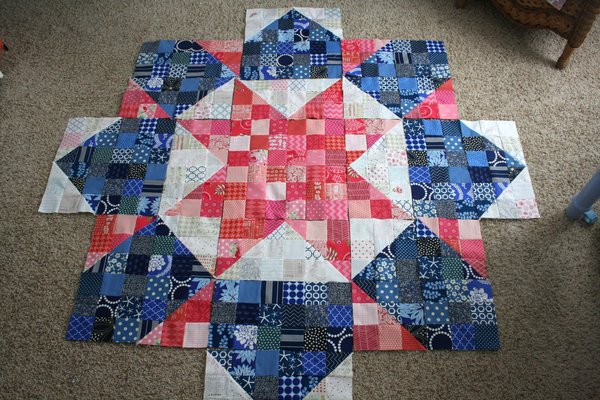
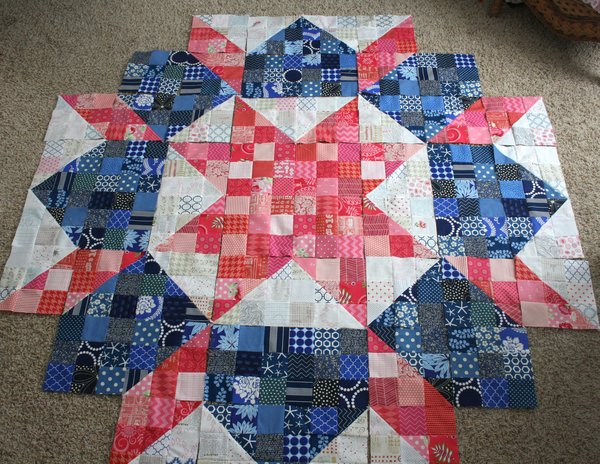
My Scrappy Swoon quilt is taking shape. Next week we’ll do the last sections of this, then put it all together. I’m having a lot of fun with this project!
In the coming week I hope to make bindings for two quilts ( and maybe even get them on the quilts?), cut more white fabric to use with a bunch of Field Study squares I cut in January, and spend a bit of time embroidering. I’d like to baste a quilt or two as well, if time allows. Although I have several new projects I’m excited to start I’m going to focus on finishing these first. Patience.
Happy Sewing, Jennifer Linking to Freshly Pieced