Whimsy Lone Star Blocks

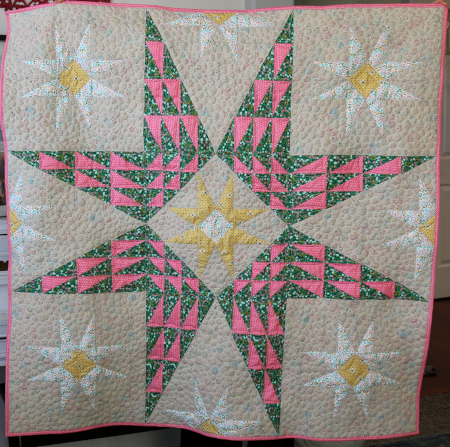
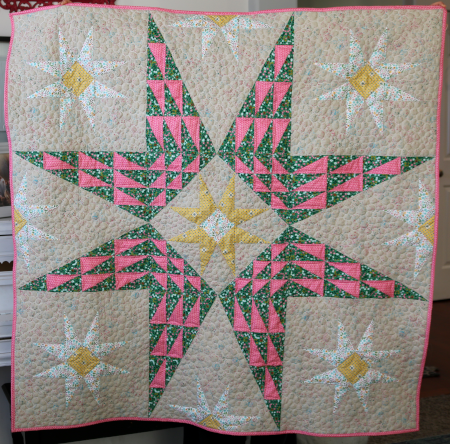
While sorting through old Christmas projects recently, I came across some extra Whimsy Lone Star blocks.  While pretty, these blocks didn’t make the cut for my Whimsy Lone Star quilt, so they’ve been waiting patiently for a very long time.  I’m in a “finish it up” mood, so I decided to do something with them.

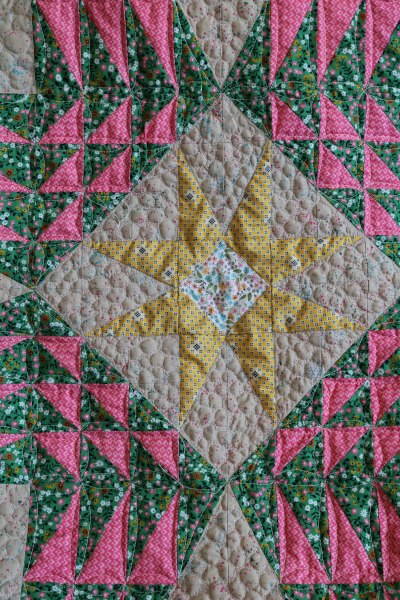
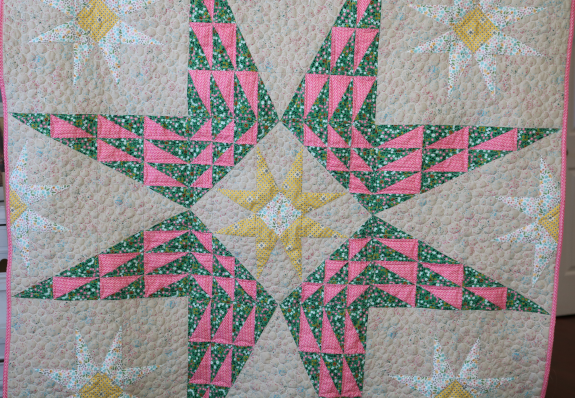
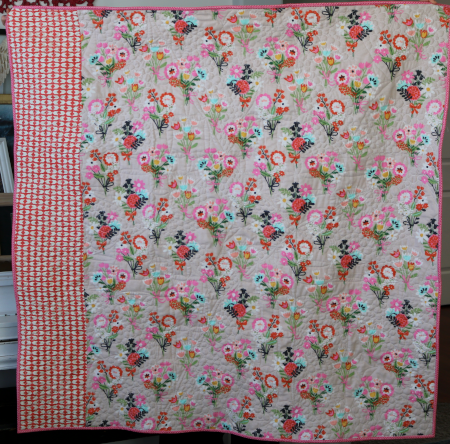
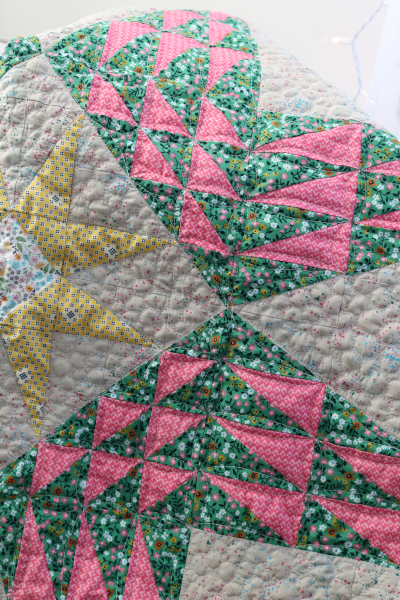
I squared up the blocks and sewed them together in a 2×2 grid, which now measures about 44″ square.  As I worked, I remembered why I didn’t include them in the original quilt.  Each of these blocks has some bias stretch going on, a by-product of my trial and error efforts to master the lone star block.  In fact, some of these lessons led to my popular Lone Star Block Tutorial, which includes a free PDF for making your own blocks in several sizes.  Seeing these blocks makes me grateful I persisted and mastered the lone star block.

These Whimsy lone star blocks are made using 2″ strips.  I’m hoping to find a few scraps from the original project to use with this one.  What should I make with this?  It could become a small quilt, a table topper, or even a wall quilt of some kind.

I might add borders, and some whimsical Christmas applique in the center where the blocks join would also be fun to play with.  But for today, while I hunt for scraps, I am admiring the lovely morning light on my blocks.  That lovely light has been scarce lately.

I confess these blocks represent my favorite Christmas color scheme.  Multiple greens and reds, crisp white, with some pink and a dash of blue or yellow thrown in just for fun.  It’s interesting to work with this collection again and discover that it still makes me smile.

Hopefully I can free up an afternoon for some experimenting.  The Christmas season always makes me want to sew more.  I’m usually pulled away by the many other commitments of the season.  Fingers crossed I can change that this year!


Hemingway Pouch

I love finding ways to give gifts that are useful, beautiful, and handmade.  Perhaps that explains my love for quilt making, although quilts are large projects and I can never make as many as I have people to gift them to.  (I have enjoyed making and gifting Lone Star Christmas Tree skirts, though.)  Still, every year I find myself looking for useful gifts I can make.  Earlier this year, I found a pattern for something that ticks all three boxes:  the Hemingway Pouch.

I am NOT typically a pouch or bag maker.  I think they’re amazing, but I also know myself well enough to know that I don’t need to start stashing bag making supplies.  My fabric stash is enough and I won’t let myself branch out.  Additionally, I sometimes dislike dealing with zippers.  But this pattern is different.  When a friend gifted me one last spring, I immediately asked where she found the pattern and began making my own.

The pattern includes 4 different sizes, and is easy to follow.  It’s actually quite simple, even for a girl like me.  The hardest part is threading the zipper pull onto the zipper once you’ve sewn it on.  At first I was excited to use some metal zipper pulls I had on hand, but that enthusiasm died quickly when I couldn’t ever get the zipper to close.  Hands cramping after only a couple of inches, I realized I needed a different zipper.  I ordered nylon zippers by the yard here.   I bought the gold, silver, and colorful options, and all three look great with my pouches.  You can see the fun colorful version below.

Pouches are fun gift ideas, and have been for a long time.  I like the Hemingway Pouch because it’s a different shape.  My daughters enjoy using them to hold books or a kindle, which make them unique.


Regarding construction, these pouches are great.  The fabric requirements are simple and it’s easy to make multiples.   I’ve started wondering a little about trying to add my HOME block to one of them.  It would be fun to match a pouch to my journal cover (another item I’m making for gifts).

So, this is what I’m sewing for gifts right now.  Along with my HOME Christmas projects and Lone Star tree skirts, of course.  Oh, and a family history project for my children, which I hope they appreciate.  Are you making any handmade gifts?  If so, what are you creating?  Please share in the comments!  I always love hearing ideas.  And whatever your to-do list may look like this month, I hope you’re able to make time for thoughtful reflection.  It can be a tricky time of year, and I always handle it better if I sit still and enjoy it a little.  Happy December!

HOME Quilted Christmas Stocking

You may remember the lone 6″ HOME quilt block I sewed in Christmas colors when I also made my 4″ batch of blocks.  I added two rows of Christmas lights to it, and then set it aside so I could make my bunting and ornaments.  All of these blocks are made with my HOME quilt block pattern, which has been my go-to holiday sewing block in 2024.  After finishing those projects, I turned my attention back to the 6″ block.  I decided to make a stocking. After auditioning several prints I ultimately settled on a plaid. Here is my HOME Quilted Christmas stocking.

It’s cheery and bright and it makes me want to decorate for Christmas.

Want a quick how-to for a quilted stocking?

First, find a stocking shape that you’re happy with.  I traced the stockings we use for our family to make a template.  Cut two of them, and if it’s a print, cut them at the same time with wrong sides of the fabric together.  This provides you with a front and a back.  Cut two pieces of batting 1″ larger than the stocking pieces around all sides.

I used adhesive spray to secure the batting to the back of my pieces, and then quilted and trimmed each of them.

You’ll also need to sew a 6″ HOME quilt block in fabrics of your choice, or choose some other fabric or block to feature.

Because I selected a plaid print for my stocking, I also chose to “applique” the 6″ HOME block to the top of the stocking instead of piecing it together.  I didn’t want to disrupt the plaid by cutting it.  With any other print, I would have pieced the top of the stocking to insert the block before quilting it.  This time, however, I opted to cut and quilt the outer stocking pieces first.  I chose simple straight line quilting that echoed the widest red stripes in the plaid.

I put a piece of batting behind the 6″ HOME block, turned the edges under, and centered it on the top section of the stocking body.  Then I proceeded to stitch it on by machine.

Stitch very slowly to be certain your edges are turned under and the stitches are close to the edge of the block for stability.

Now the front and back of the stocking are ready to go!

Because this is a quilted stocking, you need a lining.   Select a lining fabric, and cut two more stocking pieces, making sure to cut one of each if you’re using a print.  This is easily accomplished by cutting them at the same time, with wrong sides together.

Pair up the four pieces by laying them right sides together.  Make sure that the wrong side is facing out, and that the toes of the stocking are going the right directions.  Next, sew the pieces together along the top edge of the stocking.  On one side, you might want to insert a hanging loop for your stocking.  I used a green ribbon, and put the cut ends into the seam allowance before I sewed them together.  Make sure it’s inside the 1/4″ seam allowance line.  Now open the seams and press.  You should have two very long pieces.

Flip one side so the right sides are together.  Carefully line up the pieces and pin at intervals.  You need to sew these together, but leave an opening for turning the stocking right side out.

Leave an opening about 3″ long on a straight side of the lining.  Stitch all the way around the stocking and stop a few inches early to preserve the opening.

Carefully clip the seam allowance in the toe and on the curves of the stocking.  Cut out tiny “v” shapes and throw them away.  Take care not to clip the seam!  This will allow you to turn the stocking right side out and have a nice smooth curve.

Turn the stocking right side out.  Tuck the raw ends of the opening in, and sew shut.  Tuck the lining inside the quilted stocking.  Ta-da!  You have a lovely, lined, HOME quilted Christmas stocking.  You may want to topstitch around the top edge of the stocking for a nice finish.

To my surprise, I like the slightly puffy dimension of the HOME block on top of the quilting.  In this situation I believe it enhances the stocking, and I’m excited to use my new Christmas themed decorations in my home this holiday season.

Perhaps I’ll manage to finish a few more holiday projects, particularly ones I started last year.  I sure hope so!

1 2 3 4 215