Holly & Berries Christmas rag quilt

So, back in October I sketched a little design for a Christmas rag quilt.

My sister and I
went shopping for fabrics, and after she cut out tons of holly leaves and berries, we got together to make a quilt.


Two sewing machines on my table!  What fun!  As we began this project, she looked at me and said, “You realize that a lot is at stake here, don’t you.  If this doesn’t work, I’ll probably never try making a quilt again.”

Yes, I realized that a lot was at stake.

So, we took a deep breath and began!  Here are the first two holly leaves.


Add the berries, and we’re liking it!


And so it began.  A day of sewing with my sister.  It was a really fun day, as the quilt slowly began to take shape, one block at a time.
IMG_8372 (Large)
IMG_8371 (Large)
I think she’s having fun.  I hope so.


After quilting every piece, we laid them all out.
IMG_8376 (Large)
IMG_8378 (Large)
Here’s Kristen holding the first finished row:


Right about now I realized I’d made a mistake in my math when I drew the pattern out, and we made an adjustment so it would still work.  Then we sewed the rows together, and here it is!


It was time for Kristen and Jake to head home, so she took the quilt minus the borders and finished it at home.
She just sent pictures of the finished product, with borders, all snipped and washed and snuggly.


I think it’s so cute.  I love the way the holly leaves and berries turned out, and I hope that she likes it.  It was a fun project to do together.

So here’s the big question:  Will she ever make another quilt?

I know I will.  I might make one of these!

Binding, a find, and a bird

I promised myself that my Christmas gift to myself this year will be to finish up some projects that have been waiting for attention.

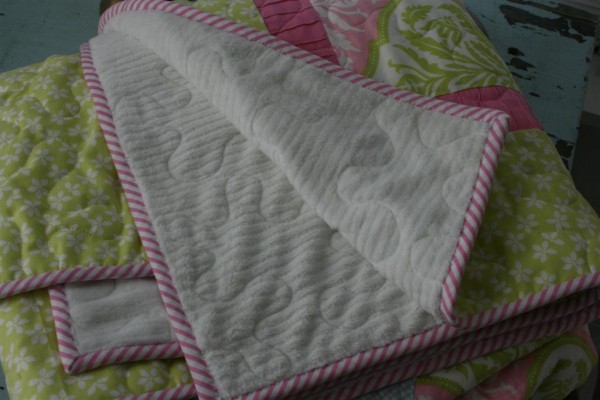
So, I stole a few minutes and made my binding for two quilts that I REALLY want to finish (one has been waiting for months!)  I’m excited to get them on the quilts and finish them up.


When I was at the thrift store recently looking for ugly sweaters (what’s with EVERYONE needing an ugly sweater this year?), I found these great little miniature compote dishes for $4.  They stand about 1.5 inches tall and about 2 inches in diameter.  SOOOOO cute!  I can’t wait to find something to do with them!


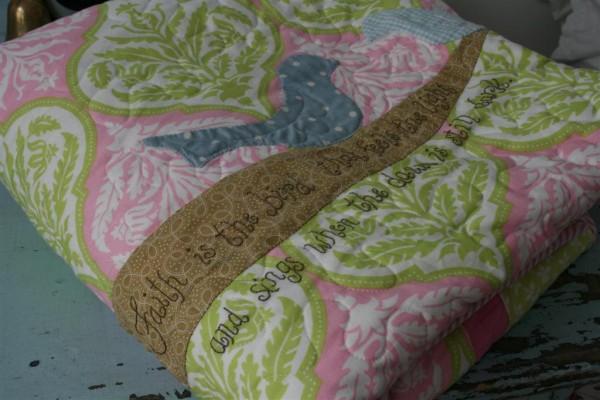
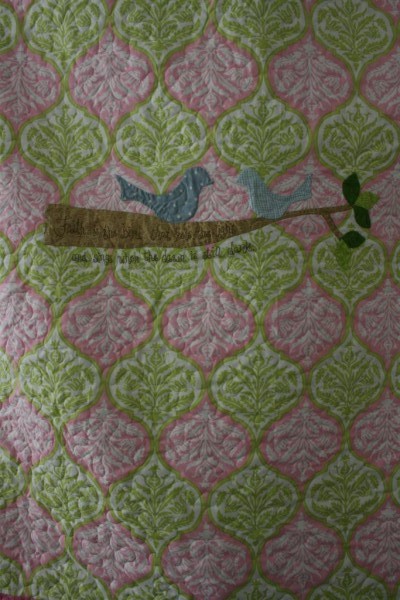
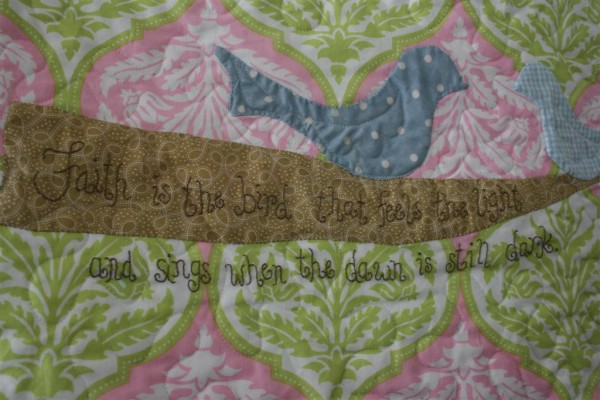
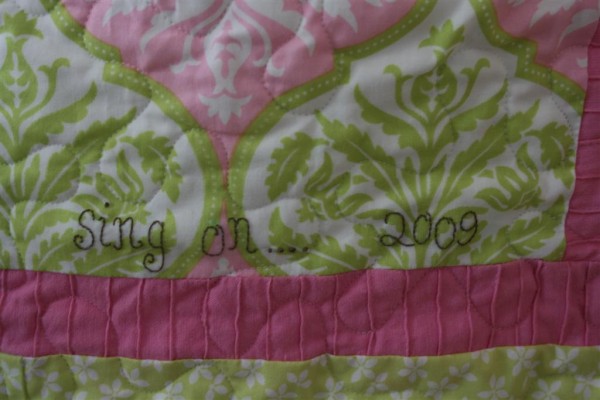
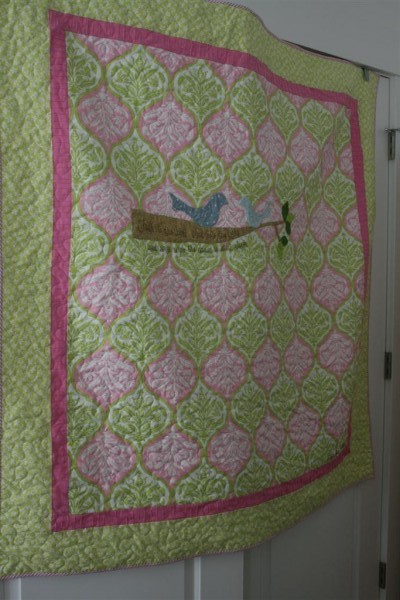
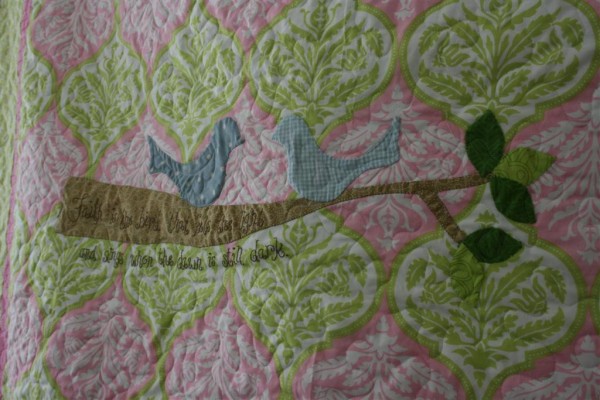
And finally, my quilt is back from the quilter’s.  This one is a fun combination of three different ideas that sort of happened as I went along.  I’ve been in love with all things birds for a while now, but this is the first quilt I’ve made that includes a bird.


I’ll show more pictures of this quilt when it’s finished.  I’m really happy with it.

I’ll get to work on this ASAP, but first I have to finish (I mean, start!?!) my Christmas shopping.
I think this is the year of lowering our standards so I can impress everybody next year.  Oh well.

Have a great day!

Jennifer

Placemats turned Tablerunner DIY

I was at the dollar store with my friend when I ran across these placemats.


I liked their crisp blue and white color and the stripes.  But I really didn’t need placemats, and remember:  at my house things like that have to come in sets of ten!  Then I remembered my laundry room.  I’ve been looking for a super simple runner to put on top of one of my dryers……..  you know how those  moments go, when inspiration strikes.  I put four of them in my cart and brought them home!

I decided to rip open the seam on the short ends so that I could stitch the entire length of the runner closed at the end, and have it look like one long, tidy seam.


I left the long sides as they were and decided not to unstitch them.  I could handle a thick seam if I ironed well, I thought.  Since this cotton weave frays easily, I also didn’t want any raw edges underneath.  I placed right sides together and stitched the four placemats together lengthwise.  Notice I’m not sewing the sides with the open seams.


Next I pressed the seams open on the back and flipped the runner over to press it once more.


Finally I folded the long sides back under and stitched them up!  This is what the back side of the runner now looks like, with the thick seams connecting the placemats together pressed open, and the hem down the side folded over the seam and stitched up.


The top side of the runner looks like this.  I like how tidy the seam looks.


Ta-da!  Only about 30 minutes in all.


Excitedly I took it to my laundry room to see how it would look…..


Perfect!  I wanted something to protect the top of my dryer from being scratched by my vintage metal basket, and I wanted it to fit the style of the room.


Just what I pictured.  I really like how it’s so simple looking.  The placemats are 100% cotton, but not a quality weave.  Still, they work great and have the look of linen toweling.  The perfect fit for my space.


Simple, inexpensive, and done in 30 minutes.  I like it!
You could do this same thing with lots of materials instead of placemats.  You could use kitchen towels, linen napkins, vintage handkerchiefs, etc.  The sky is the limit (that’s the way creativity works!).

HH

1 155 156 157 158 159 160