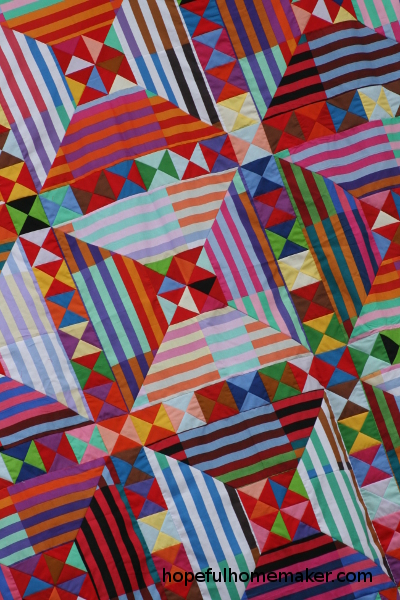
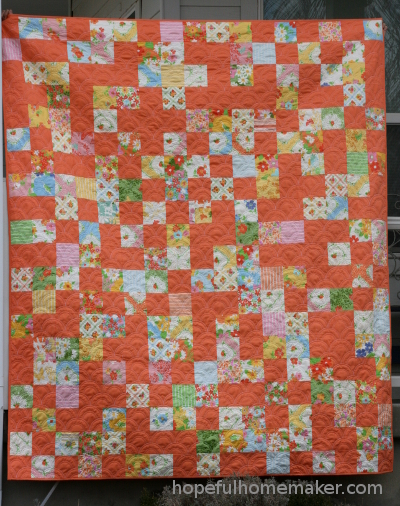
Two years ago I returned to Gig Harbor, Washington to honor my dear friend Wes at his memorial service. I came home needing to do something to honor his memory, something I could have in my home that would help me smile and think of him when I saw it. This quilt is it, and it’s finally finished.
You see, Wes LOVED the color orange. His house was orange, his truck was orange. His son described his love for the color as taking on almost a sacred allegiance – righteous orange . I’ll never forget how hard we worked to get him to attend church, and yet every Sunday came and went with him failing to appear. Then one Sunday I awoke with a start early in the morning, suddenly knowing what to do to get him to come. I woke my companion and told her to get dressed while I scavenged our apartment for an orange piece of paper. On that paper, in my best handwriting (I actually have really nice handwriting, so I could pull it off) I designed an invitation to church that resembled a very formal wedding invitation. Except, of course, that I have yet to receive a wedding invitation that’s solid orange! We jumped in the car and tiptoed up the steps to his door, the paper and tape in hand. As quickly as possible I taped the paper to his window, so he could read it from inside the home as soon as he entered the room. We turned and raced down the stairs, and were pulling out of his driveway when he appeared at the window.
He came to church! When we walked in he was sitting there as if he did it every week. I said hello to him and he said to me, “I only came because it was orange.” I laughed and replied, “I know. That’s why it was orange.” It was definitely the strangest way I ever got someone to church, but what matters is that he never stopped coming. He stayed for all the right reasons and impacted so many lives.
As I sat on the stand at his memorial, tears sprang to my eyes as I watched people file into the room. So many of them wearing orange! It was a happy way to remember one of the funny things that made him who he was.
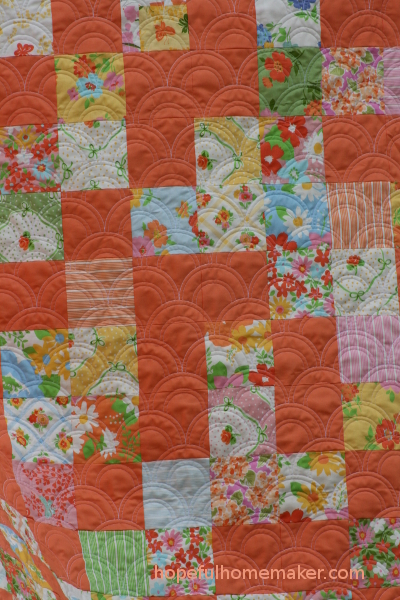
The Kona mango fabric is a perfect reminder of Wes. Combining it with my Dream On charm squares also felt fitting, as Wes had high expectations for me. You see, he thought I was awesome (typical for someone to feel that way about their missionary), and although I’m pretty firmly grounded in how regular I am, it’s nice to remember that people believe in you. Wes believed I was capable of great things.
These feelings come flooding back when I look at this quilt.
Perhaps even more than that, I felt a distinct feeling of a reciprocation of gifts taking place the weekend of his funeral. Twenty years ago he wrote a letter about me that resulted in unique experiences. Now it was my turn to go back to honor him and to tell a story that really, no one else could tell the same way. I’d known in my heart for about 10 years that I would need to do it. But in the timing of his passing, he also gave me the gift of going back, of reconnecting with people I love, and in doing so, being a little more prepared for things just around the bend in my own life. I’m just beginning to understand the eternal significance of what took place way back in 1995 and how pivotal it was in my life.
Going back re-activated my name. It re-activated some dreams I’d sort of left behind in the gritty mess of motherhood. It re-awakened things in me. Mostly it filled me with love and light.
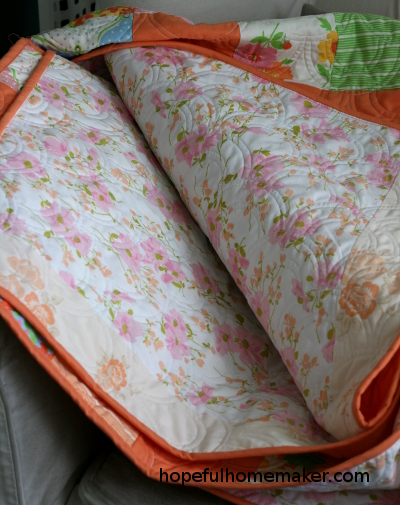
This quilt has become my dreaming quilt. The soft vintage sheet on the back makes it perfect to wrap up in, and I often choose it in the mornings when I’m reviewing goals, pondering dreams, and making plans. It’s a link to a precious time in my past and a reminder to look with optimism toward the future – both things I sometimes forget in the daily mess of family life.
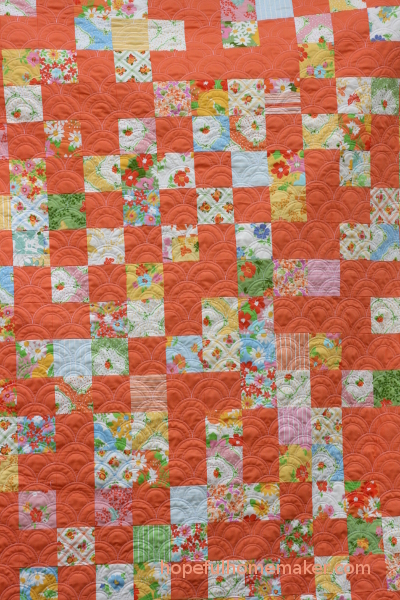
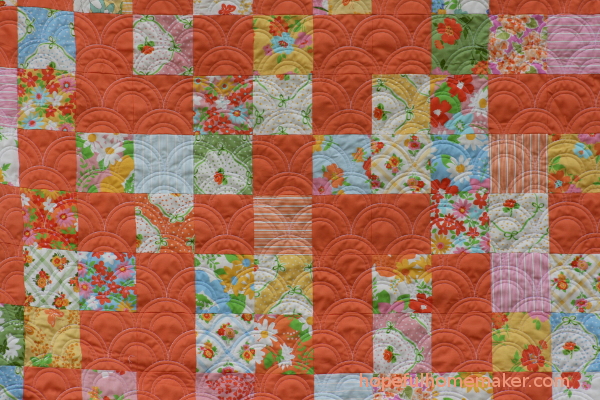
It doesn’t hurt that the quilt itself makes me smile. The mango color, the vintage florals, the beautiful quilting… I love it. That it inspires me to remember and to dream big dreams is icing on the cake.
Life is good. Really, really good.
Jennifer
