A Lovely Year of Finishes: February

It’s 9 p.m. on the 7th of the month, and I just happened upon “A Lovely Year of Finishes” in 2013, hosted by Shanna of Fiber of all Sorts and Melissa of Sew BitterSweet Designs .  What a fun idea!  I mean, I already knew I need to finish tons of projects, but I like the idea of picking one and being accountable for finishing it in addition to the other projects I have going on.     So, without a second thought (and because the deadline is in a few hours) I’m jumping in with a goal for February.
sarahjane

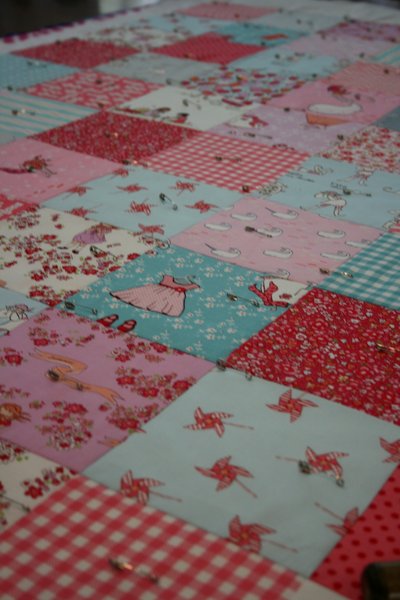
I pieced this simple quilt top last fall, then set it aside until recently.  I basted it a couple of weeks ago, thinking I’d finish it quickly, but ended up choosing to pick the quilting out.
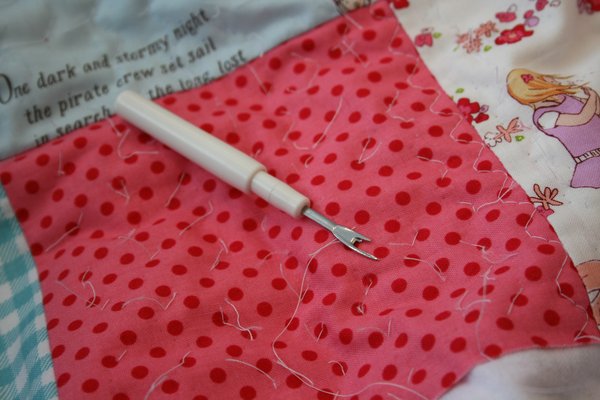
unpicking

So, my goal for February will be to re-quilt it and get it bound and finished.

You see, I have eight children, and last year I had the idea to make them each their own quilt *in addition* to all the other quilting I was doing.  Realistic?  Not at all when you consider 8 quilts would increase my total quilts in a year by 2/3!  However, I started anyway and got six of the eight quilt tops pieced, but only one of them has been quilted and two more are just sketches.  They need to be finished, and not just because they’re WIP’s.  They need to be finished because each is made from fabrics chosen specifically for that child, and I want them to have the quilt before they’ve grown/changed too much to enjoy it.  What a waste it would be to let them sit!

So I’ll finish the first one in February.  Yep.  I like that idea.

And, since I didn’t know about this fun year of finishes until now, I’ll tell you what I would have picked for my January finish.
IMG_6804

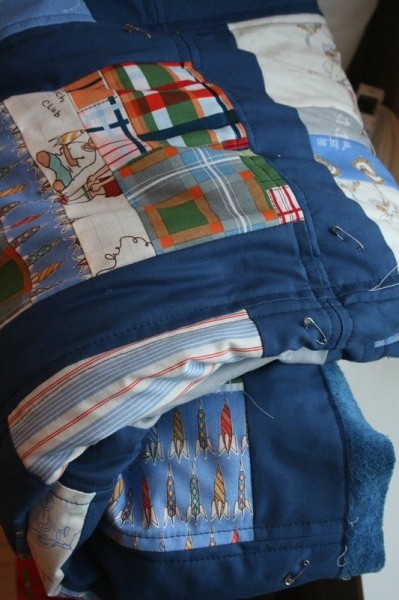
This quilt just needs a binding.  It’s also one of those 8 quilts.  I’d like to knock it out, as well, even though it’s not the official goal.

I guess I’m in!

Jennifer linking here

Heart Mini Quilt


heartquilt

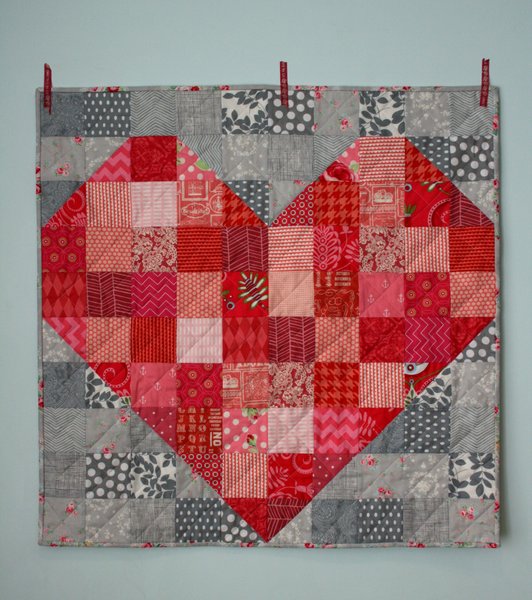
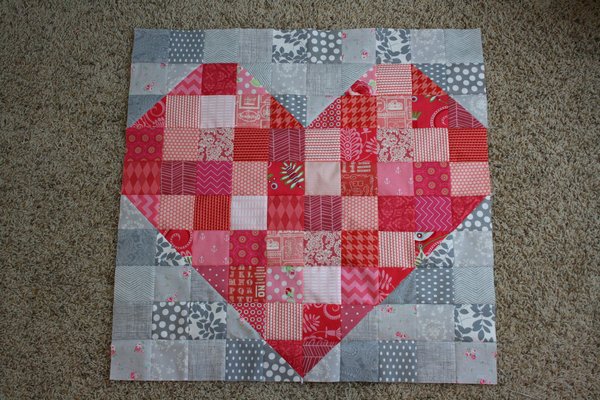
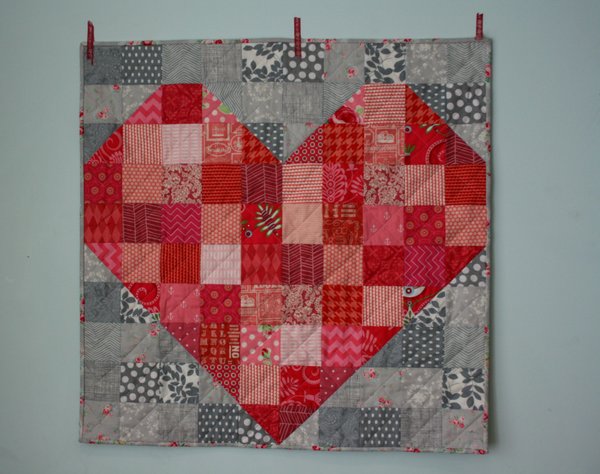
What a fun project this little quilt was!  When I realized I’d gone a little crazy cutting pink squares for my Scrappy Swoon Quilt, I decided to use them right away instead of tossing them in the scrap bin.  With Valentine’s Day approaching, a heart came to mind and I had just enough squares to put it together.  I decided to use grays for the background squares.

crosshatchquilting

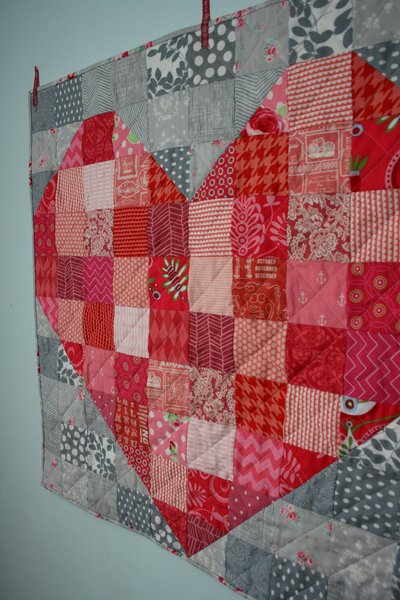
Once it was pieced and basted, I quilted it in straight lines on both diagonals.   Simple and cheery, it’s adding a bit of festivity to our wall.

heartquiltback

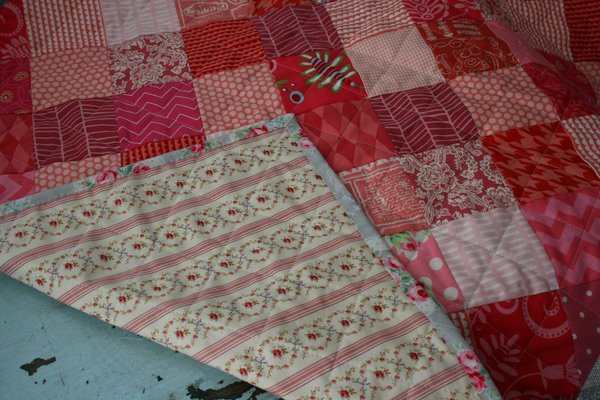
I backed the quilt in an old Anna Griffin ticking stripe print I had on hand, and the binding is a Flower Sugar print from Lecien.

A few quick stats on making one if you’re interested:

fabric needed:  48 – 3.5 inch squares various pink or red fabrics for the heart, 9 – 3 7/8 inch squares of both pink AND gray fabrics, and 34 – 3.5 inch squares of various gray prints for the background.

Pair each 3 7/8 inch pink square with a 3 7/8 inch gray square and make 18 half square triangles using a scant 1/4 inch seam allowance.

Lay your squares out as follows, from left to right :

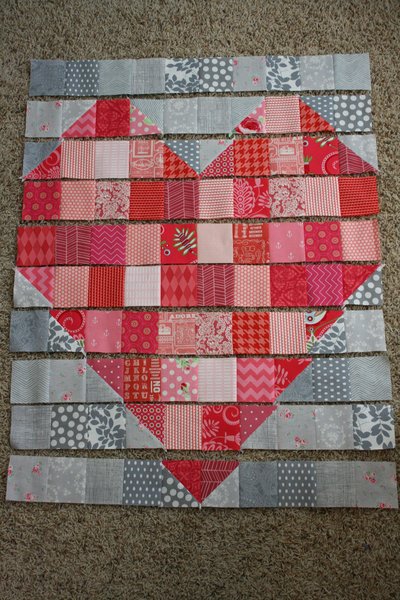
Top row:  10 gray squares 2nd row: 1 gray, 1 half square triangle block, 1 pink, 1 HST block, 2 gray squares, 1 HST square, 1 pink, 1 HST, 1 gray 3rd row:  1 HST, 3 pink, 2 HST sqaures, 3 pink, 1 HST 4th row:  10 pink squares 5th row:  10 pink squares 6th row:  1 HST, 8 pink squares, 1 HST 7th row:  1 gray, 1 HST, 6 pink, 1 HST, 1 gray 8th row:  2 gray, 1 HST, 4 pink, 1 HST, 2 gray 9th row:  3 gray, 1 HST, 2 pink, 1 HST, 3 gray 10th row:  4 gray, 2 HST, 4 gray Sew each row together (1/4 inch seam allowance, of course).

heartquiltstrips

Sew strips together to complete quilt top:

heartquilttop

The quilt top should measure 30 inches square.  Choose a backing, then quilt and bind according to your taste.  Done!

heartquilt2

With all the projects I’m in the middle of right now, it was a pleasure to put together a quick little project just for fun.  It’s also my first finished quilt of 2013.  It will keep a smile on my face this month when I walk past it, and that’s no small thing on gloomy February days!

Thanks for visiting, Jennifer

Scrappy Swoon-Along: Sections 7 & 8


scrappyswoon

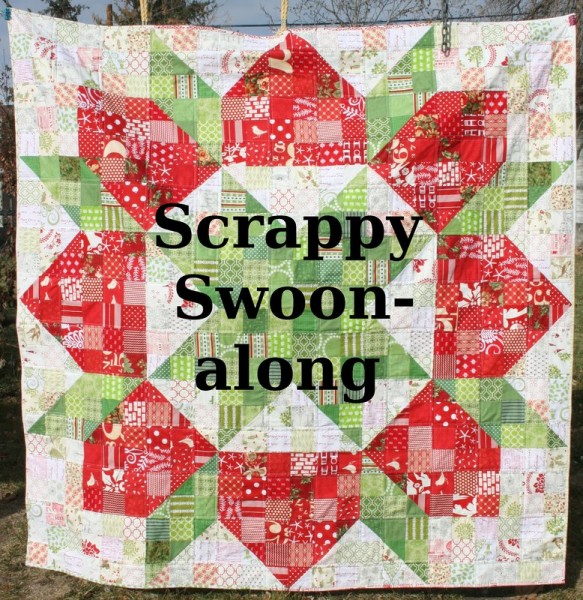
Welcome back to the Scrappy Swoon Quilt Along!  Today’s post will knock out sections 7 and 8.  I can hardly believe how close we’re getting to a finished quilt top!  Let’s get started!

Section 7
Section 7 is another simple patchwork block.  You will need 36 – 3.5 inch squares in your secondary color.  These are the last of your secondary color squares!

section7squares

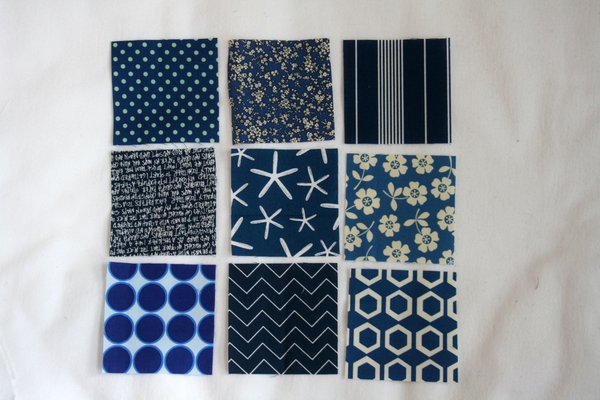
Each block requires 9 – 3.5 inch squares.  Lay them out in a 3 x 3 nine patch pattern as below:

section7layout

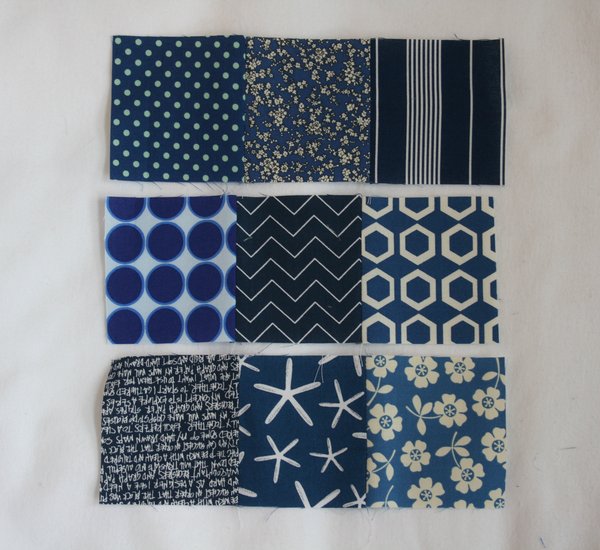
Sew them into three strips:

section7strips

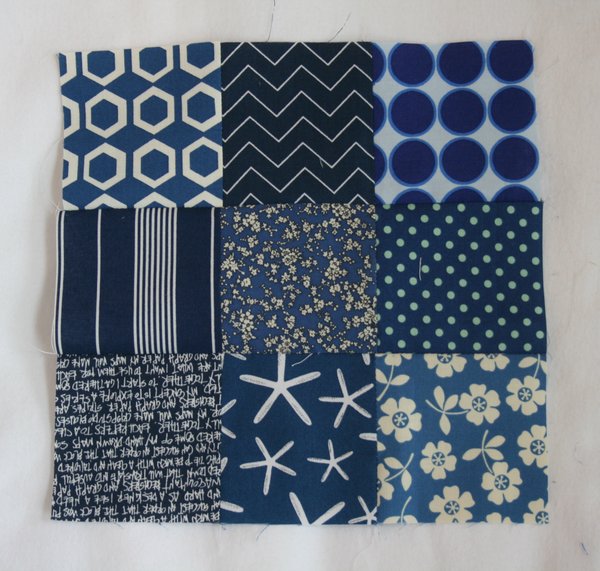
And once again, the strips into a 9.5 inch square block.

section7

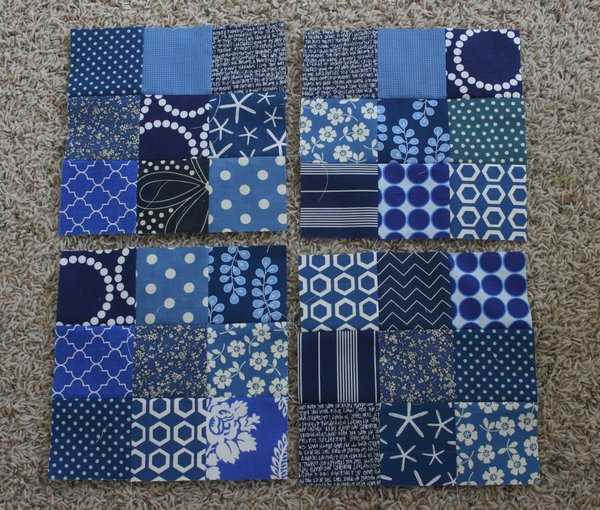
Make 4 of this block.

section7make4

These blocks will fill in the corners of the secondary color sections, completing the points on the corners.

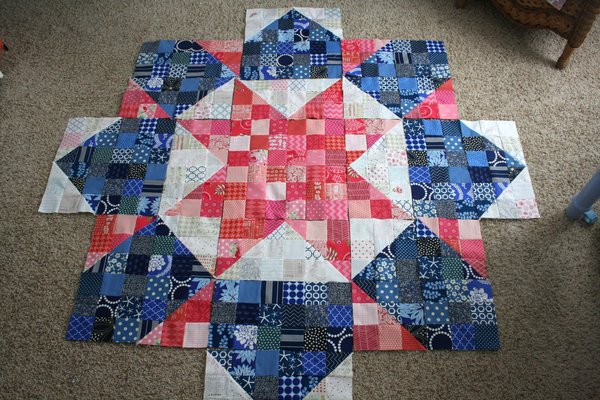
sections1to7

Now we’re done with your secondary color!  Next up is section 8 and the last of our primary color squares as well.

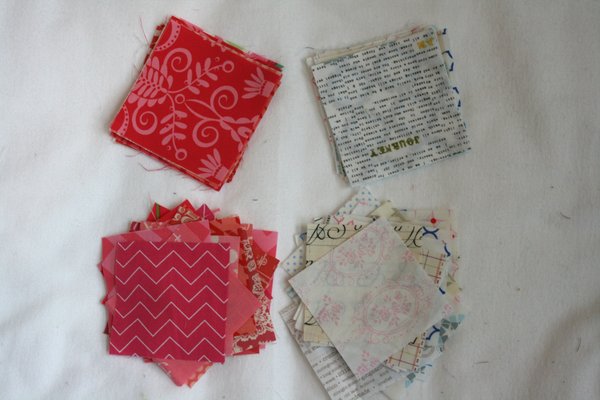
Section 8 Section 8 comprises the last of your half square triangles and the last of your primary color squares.  For this section you’ll need 12 – 3 7/8 inch squares of both your primary color AND your background color. You’ll also need 24 – 3.5 inch squares of both primary and background prints.

section8squares

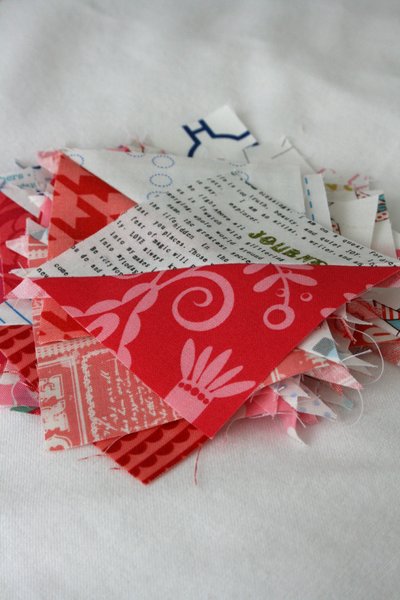
Pair up your 3 7/8 inch squares and make 24 half square triangles.

section8HST

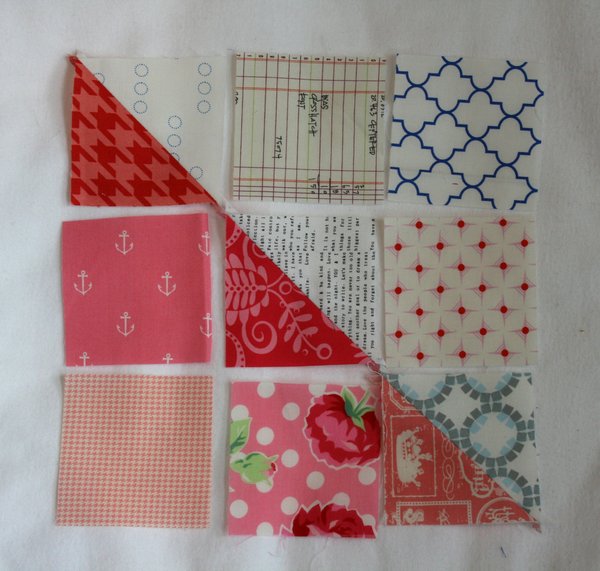
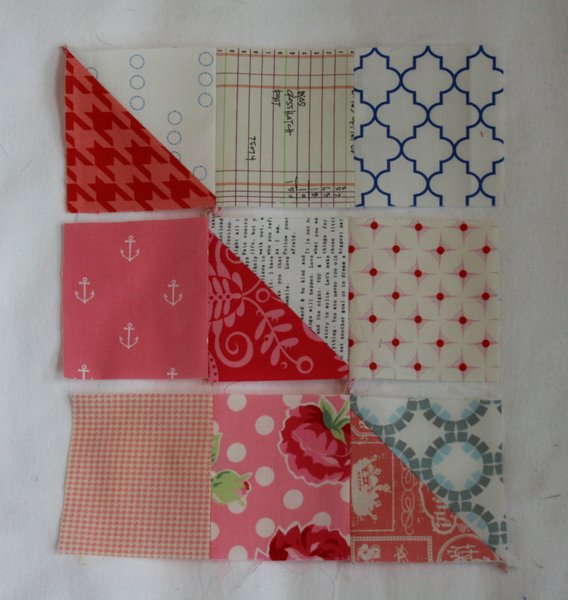
Each block will require 3 half square triangles, 3 – 3.5 inch sqaures of background fabrics and 3 – 3.5 inch sqaures of primary color squares.  Line them out in three rows of three with the half square triangles making a diagonal line throught the square.

section8layout

Sew the squares into three strips.

section8strips

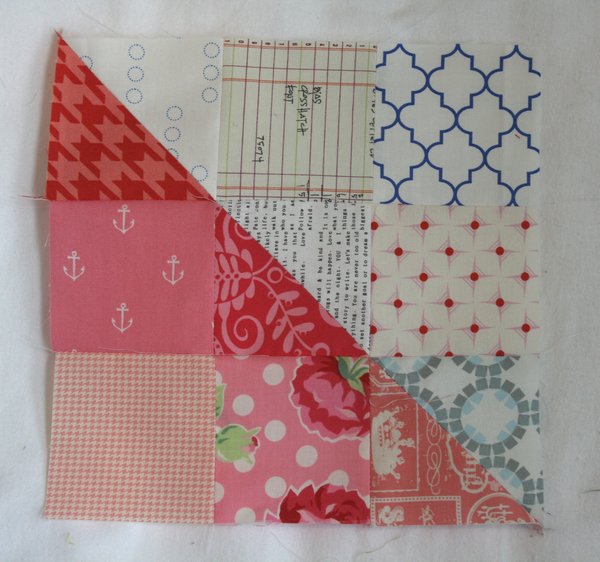
Sew the strips together to make a 9.5 inch square.

section8

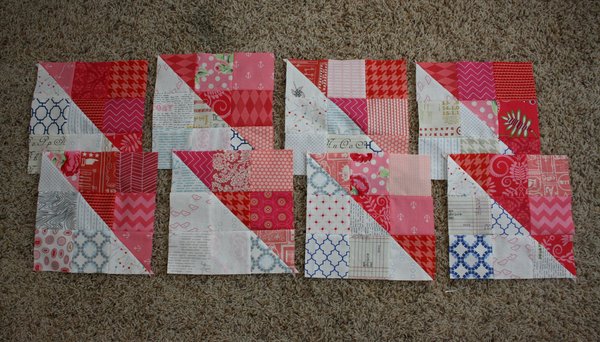
Make 8 of these blocks.

(Remember the stacked paper method from section 4!)


section8make8

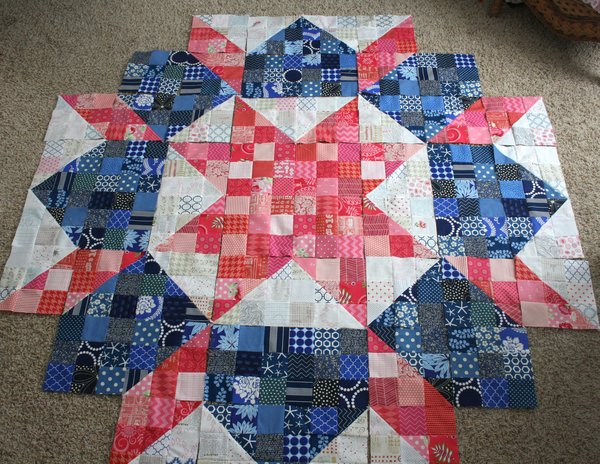
These blocks will be placed along each side of the section 6 blocks.

sections1to8

OK.  There we go!  Finished with all the half square triangles (and we’ve made a lot of those!) and finished with your primary and secondary colors.  Next Monday we’ll wrap up the background fabric with blocks 9 & 10.  I’ve had so much fun watching all the color combinations and fabric choices popping up in the flikr group .  Keep them coming!  Can you believe you’re almost done?  Have a great week!

Jennifer

1 20 21 22 23 24 53