Merry Christmas mini quilt

My youngest sister graduated from college last weekend.  Way to go Kris!
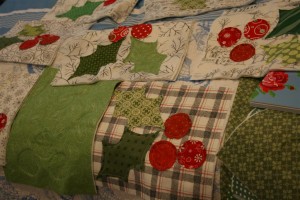
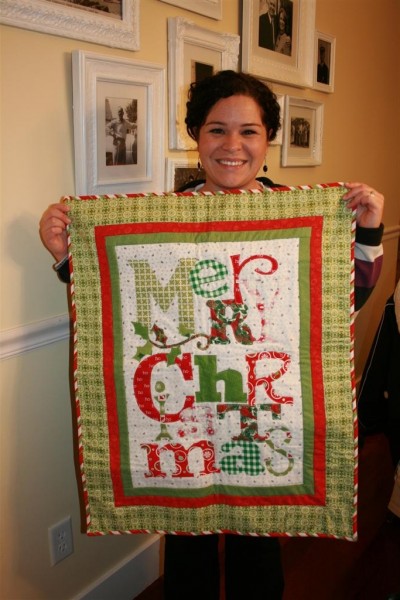
I made her an adorable Christmas mini quilt as a graduation gift, to go along with the rag quilt that we made in November.

The pattern is from Nancy Halvorsen’s book, I Believe .  I spotted the pattern back in July and loved it.  I had planned to make several of them for my mom, sisters and some close friends, but it’s looking like this will be the lone quilt made this holiday season.  The book also has patterns to make a Christmas card holder and an apron using these same Merry Christmas letters.  I’d like to make one of each!

I changed the color combination to the traditional green, red and white and am very happy with it.

The project really wasn’t hard.  I began by tracing the letters onto interfacing.
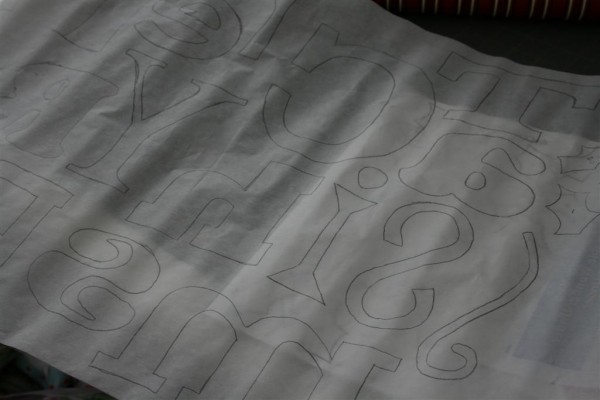

Then I cut them out, but not on the line.  I cut about 1/4 inch outside the lines, and then ironed the letters onto the back of a variety of fabrics.  After this, I cut them out of the fabric by cutting on the lines I’d traced.

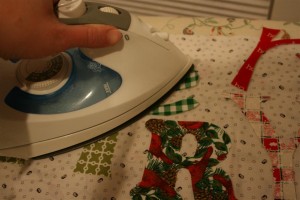
I used a black and white background because we did that in her other quilt, and just arranged the letters until they were all in place.  Then I peeled the paper off the backs and ironed them in place.  (Sorry about the poor lighting; it was around 1 a.m. and I obviously didn’t have any natural light.)
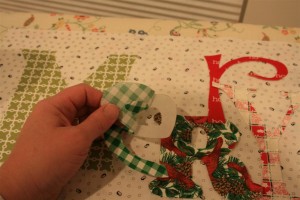
IMG_8882 (Large)
IMG_8883 (Large)
When they’re all ironed in place, stand back and ooh and aah a little bit at how cute it is!
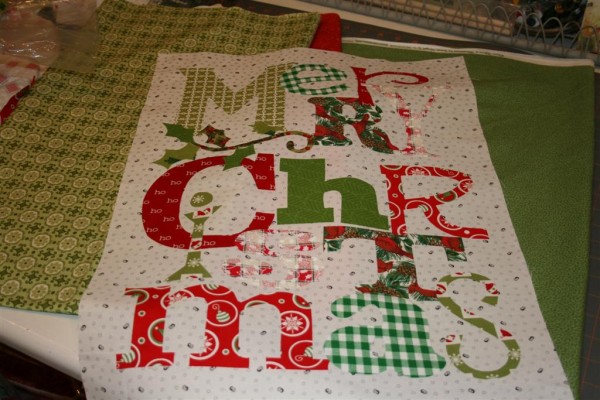

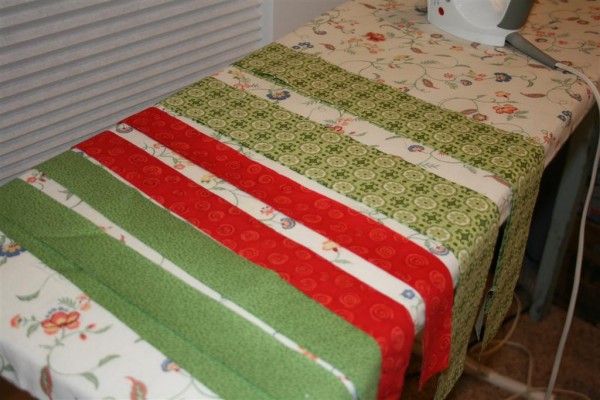
Next came the borders, simple and straightforward.

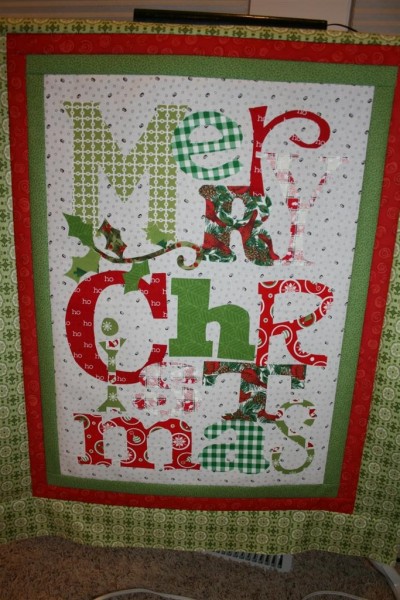
Ta, da!  The top is completed.

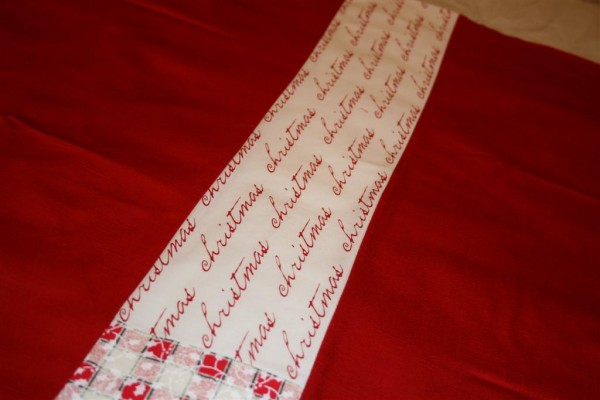
I decided to piece a backing so I could put in a strip of my favorite Christmas fabric.

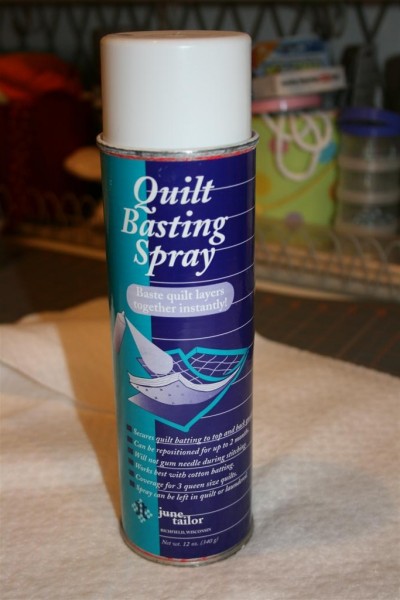
I cut my batting the same size as the backing, and since the quilt is so little I decided to use basting spray to hold it together while I quilted it.

I laid some paper on the floor to protect my floor from the overspray.  Then I put my batting down and sprayed half of it.
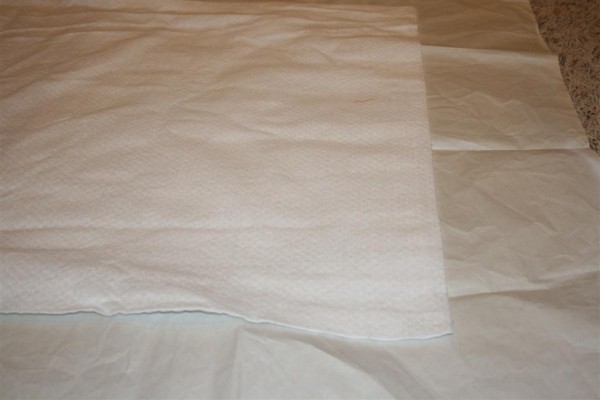

I carefully placed my backing, right side up, on the batting, working from the middle to smooth it out really well.  Then I sprayed the other half of the batting and did the same thing.  Next I turned it over and sprayed the other side of the batting and put the top of the quilt on the same way.

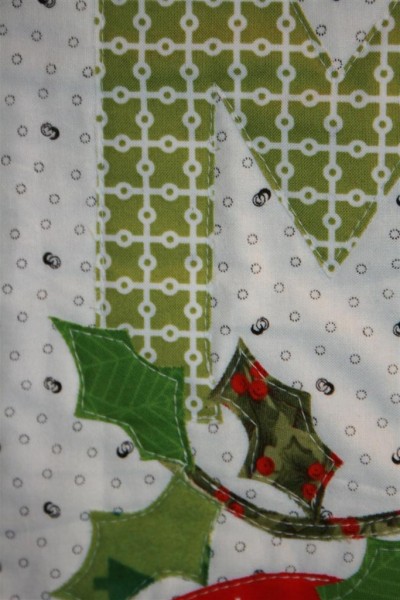
Then came the only real time consuming part:  quilting around every one of those letters!  I most certainly didn’t do a perfect job, but I think it turned out fine.

When that was done, I used some leftover striped binding from a quilt I made a couple of years ago, and bound it.

Finished!  The quilt measures approximately 24 by 30 inches.
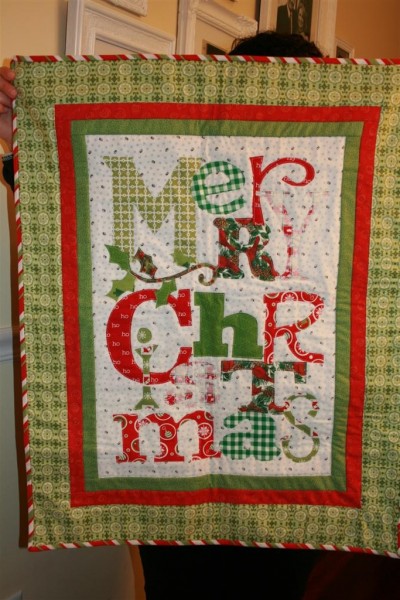

I love this pattern.  I think it’s one I will end up making several of (hopefully, next year!) because it’s just so happy and festive.  I’m really glad that she liked it.

Merry Christmas!

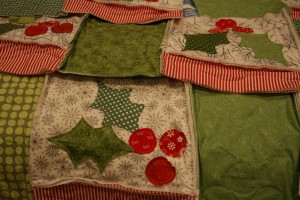
Holly & Berries Christmas rag quilt

So, back in October I sketched a little design for a Christmas rag quilt.

My sister and I
went shopping for fabrics, and after she cut out tons of holly leaves and berries, we got together to make a quilt.


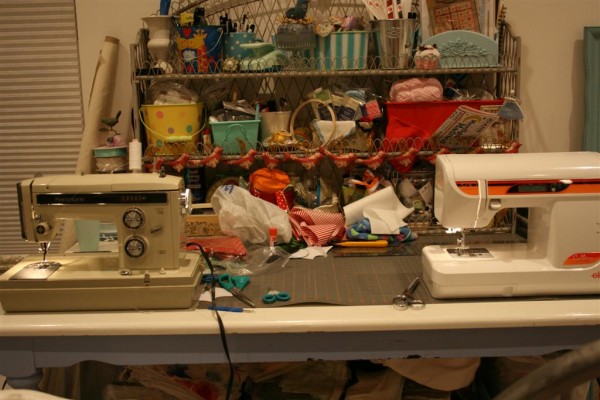
Two sewing machines on my table!  What fun!  As we began this project, she looked at me and said, “You realize that a lot is at stake here, don’t you.  If this doesn’t work, I’ll probably never try making a quilt again.”

Yes, I realized that a lot was at stake.

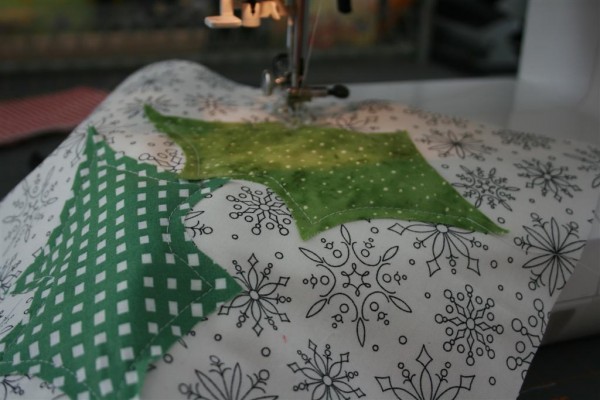
So, we took a deep breath and began!  Here are the first two holly leaves.


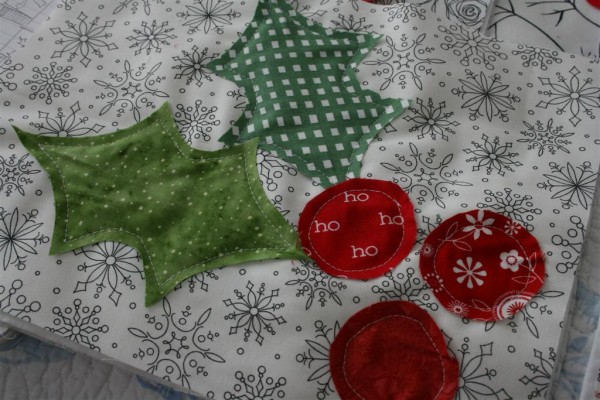
Add the berries, and we’re liking it!


And so it began.  A day of sewing with my sister.  It was a really fun day, as the quilt slowly began to take shape, one block at a time.
IMG_8372 (Large)
IMG_8371 (Large)
I think she’s having fun.  I hope so.


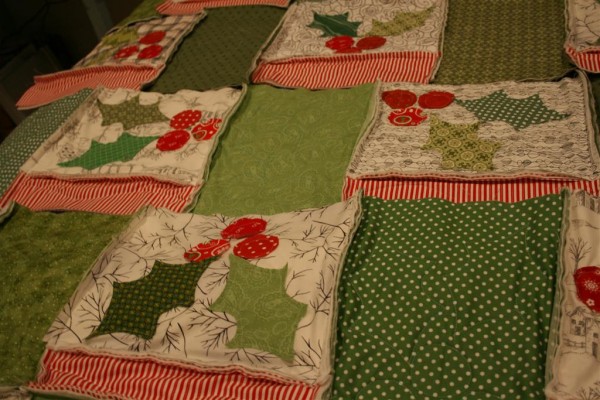
After quilting every piece, we laid them all out.
IMG_8376 (Large)
IMG_8378 (Large)
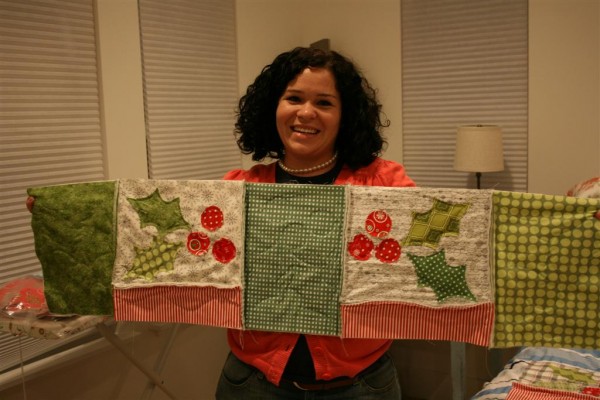
Here’s Kristen holding the first finished row:


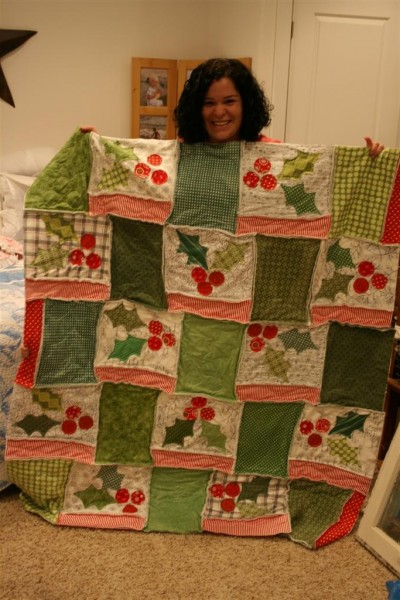
Right about now I realized I’d made a mistake in my math when I drew the pattern out, and we made an adjustment so it would still work.  Then we sewed the rows together, and here it is!


It was time for Kristen and Jake to head home, so she took the quilt minus the borders and finished it at home.
She just sent pictures of the finished product, with borders, all snipped and washed and snuggly.


I think it’s so cute.  I love the way the holly leaves and berries turned out, and I hope that she likes it.  It was a fun project to do together.

So here’s the big question:  Will she ever make another quilt?

I know I will.  I might make one of these!

Placemats turned Tablerunner DIY

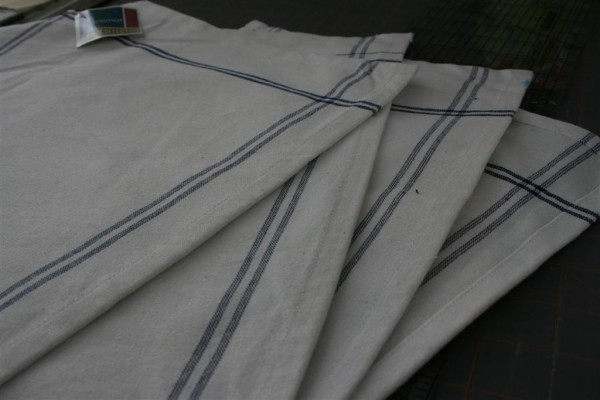
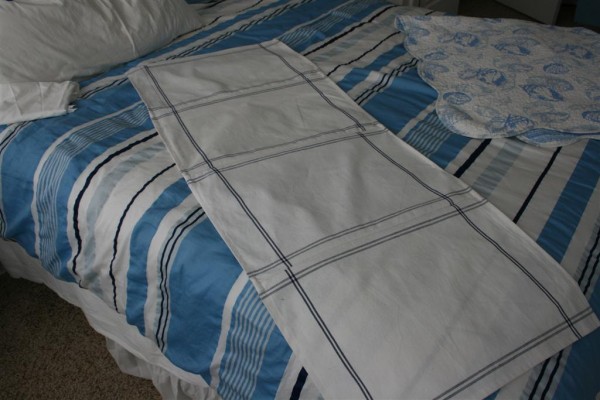
I was at the dollar store with my friend when I ran across these placemats.


I liked their crisp blue and white color and the stripes.  But I really didn’t need placemats, and remember:  at my house things like that have to come in sets of ten!  Then I remembered my laundry room.  I’ve been looking for a super simple runner to put on top of one of my dryers……..  you know how those  moments go, when inspiration strikes.  I put four of them in my cart and brought them home!

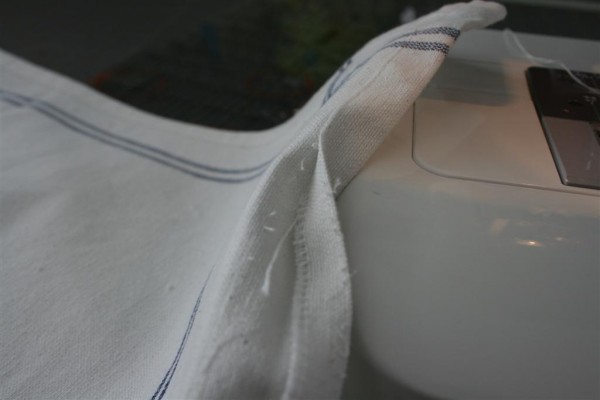
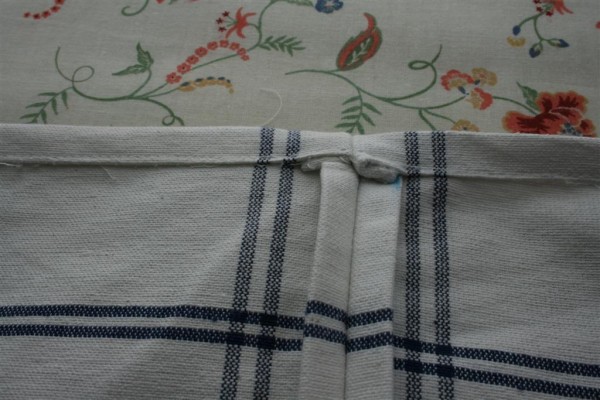
I decided to rip open the seam on the short ends so that I could stitch the entire length of the runner closed at the end, and have it look like one long, tidy seam.


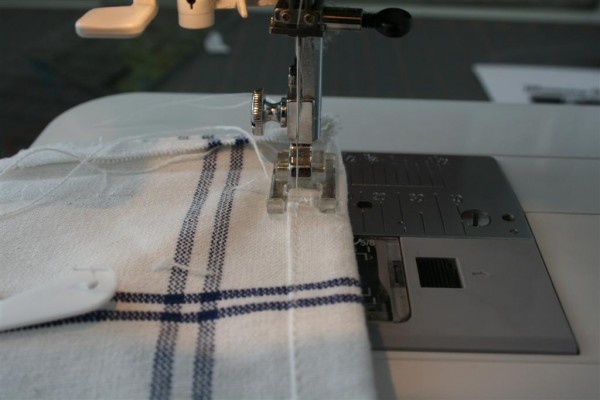
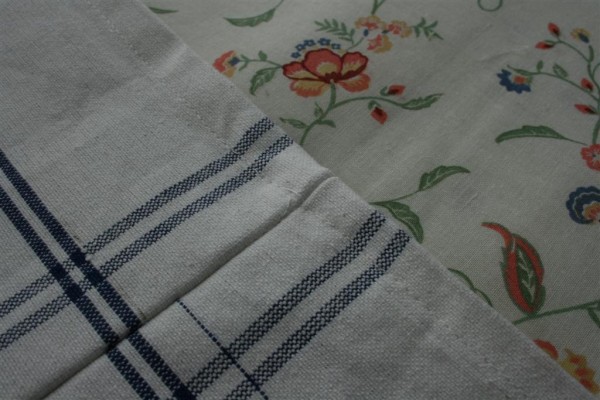
I left the long sides as they were and decided not to unstitch them.  I could handle a thick seam if I ironed well, I thought.  Since this cotton weave frays easily, I also didn’t want any raw edges underneath.  I placed right sides together and stitched the four placemats together lengthwise.  Notice I’m not sewing the sides with the open seams.


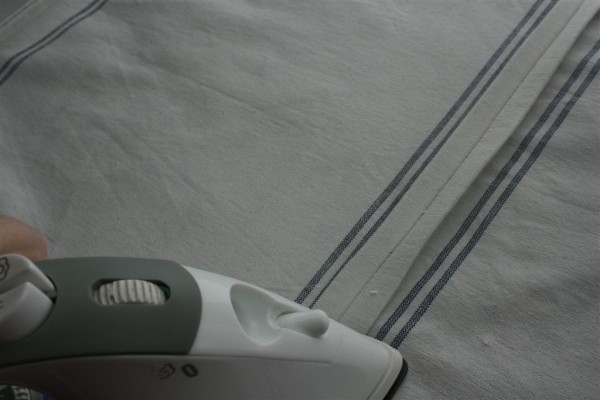
Next I pressed the seams open on the back and flipped the runner over to press it once more.


Finally I folded the long sides back under and stitched them up!  This is what the back side of the runner now looks like, with the thick seams connecting the placemats together pressed open, and the hem down the side folded over the seam and stitched up.


The top side of the runner looks like this.  I like how tidy the seam looks.


Ta-da!  Only about 30 minutes in all.


Excitedly I took it to my laundry room to see how it would look…..


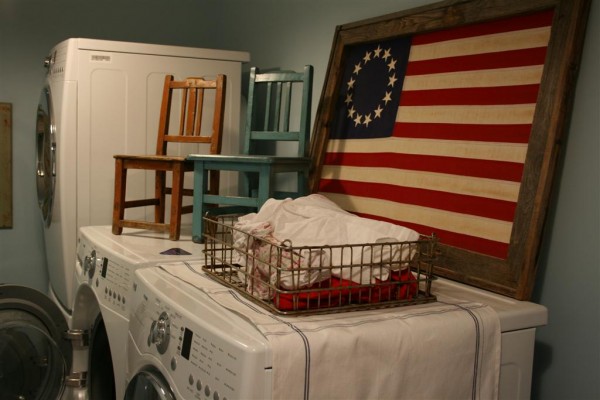
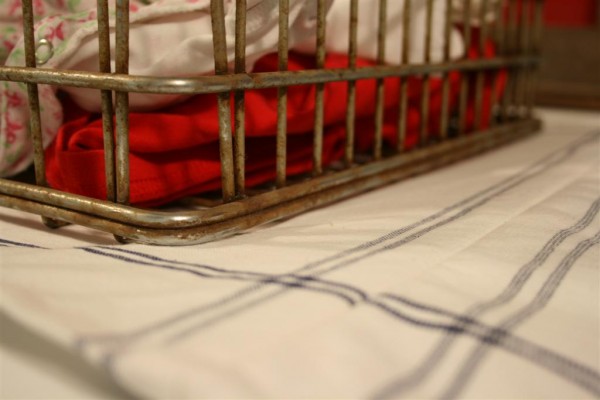
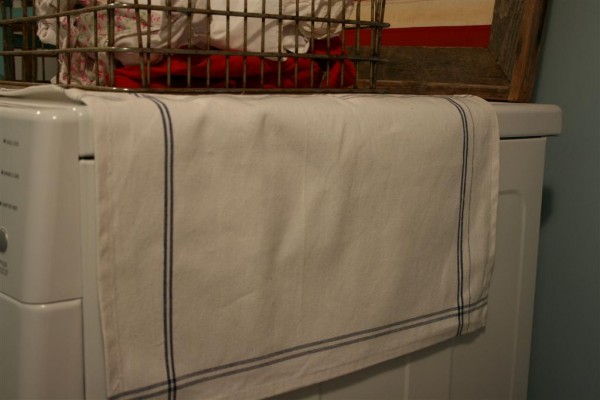
Perfect!  I wanted something to protect the top of my dryer from being scratched by my vintage metal basket, and I wanted it to fit the style of the room.


Just what I pictured.  I really like how it’s so simple looking.  The placemats are 100% cotton, but not a quality weave.  Still, they work great and have the look of linen toweling.  The perfect fit for my space.


Simple, inexpensive, and done in 30 minutes.  I like it!
You could do this same thing with lots of materials instead of placemats.  You could use kitchen towels, linen napkins, vintage handkerchiefs, etc.  The sky is the limit (that’s the way creativity works!).

HH

1 9 10 11 12 13