“Spoon Rolls” Recipe Review

I saw this recipe in the April 2010 issue of Country Living, and tried it within 24 hours.  The concept was too good to pass up.  Trisha Yearwood is coming out with a cookbook this month, and the story featured a handful of recipes from the book.  The one that caught my eye is called “Cousin Peggy’s Spoon Rolls.”
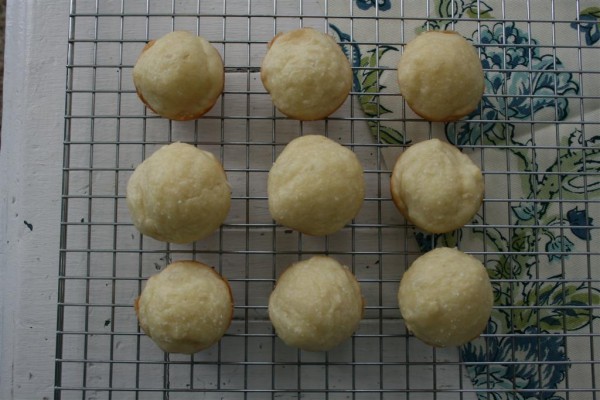
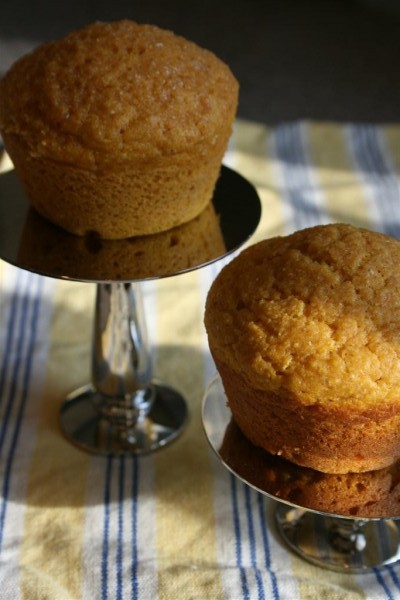
spoon rolls 1

It’s a winner.  I’ve made them three times now, and my family has loved them.   The reason I love them is because they take about 5 minutes to mix up.  Because I use SAF Instant Yeast, I was able to simplify the already simple recipe even more.

Here’s how I made them.

In a large mixing bowl, melt 1 1/2 sticks (3/4 cup) butter Add 1/4 cup sugar Mix together with hand mixer.

Add 1 egg and mix again.
Add 2 cups warm water and mix.

The recipe calls for 4 cups of flour.

I always use a quality bread flour (the best in my area is Roller Mills Turkey Flour) and add the flour one cup at a time, mixing after each cup.

With the second cup of flour, I also poured in 1/2 Tablespoon yeast.  Mix well.  (This is my only change to the basic recipe.  SAF yeast doesn’t have to be proofed in the warm water, so I can throw it in with the dry ingredients.  If you’re using active dry yeast, you need one packet (1/4 ounce) and you can add it to the 2 cups warm water before you begin mixing other ingredients.  If you want to learn more about SAF Instant Yeast, read here .)

Add the last 2 cups of flour and mix until smooth.

This is where it gets easy!

Transfer dough to a greased, airtight container and place in refrigerator to rise.
Refrigerate overnight or up to three days.  If it gets watery (mine hasn’t) you can add a bit more flour.
Remove from refrigerator and spoon dough into well-greased miniature muffin tins.  You really don’t have to do anything but spoon the dough out.  The recipe says it makes 5 dozen miniature rolls, but mine seemed to fill 4 dozen so I just went with that.
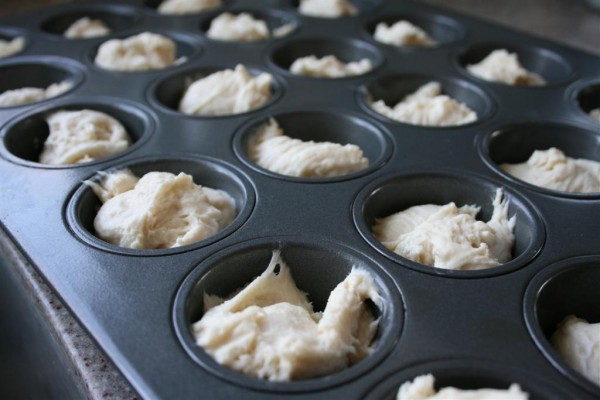
roll dough

Now transfer to a preheated 350 degree oven and bake for 18 minutes.

Remove from oven and brush with melted butter, sprinkling a pinch of kosher salt on each roll.  This is my personal addition.  I like to do this on all my roll recipes.  The bit of salt seems to make people feel like they don’t need to load the roll with butter or other things.
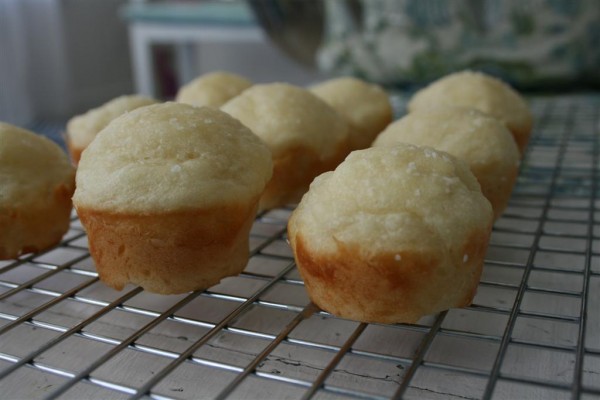
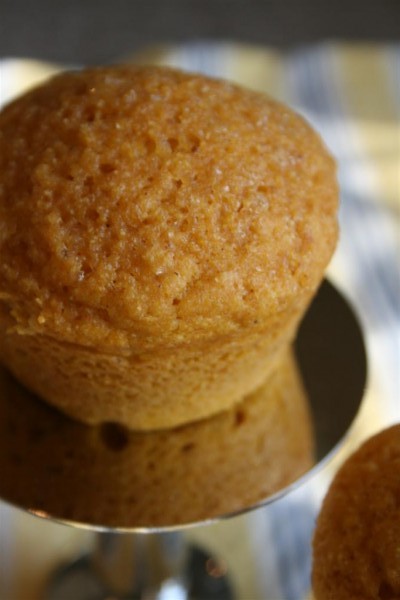
miniature rolls

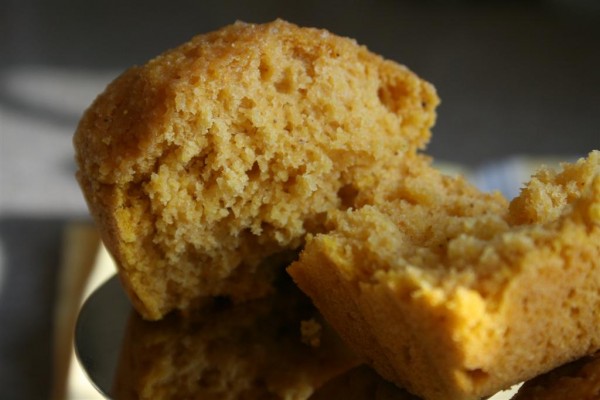
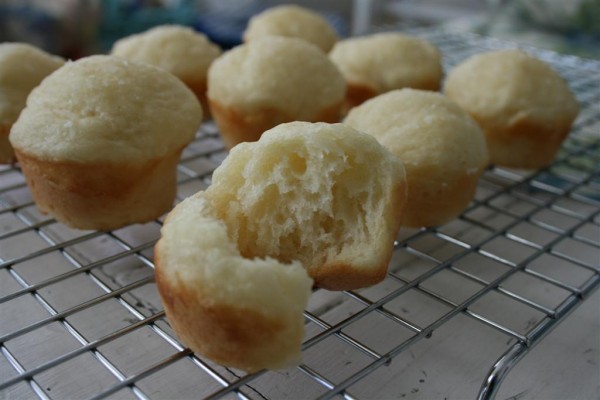
I’ve shared these rolls with my family and a few friends and everyone loves them!  They have a wonderful texture and are simply delicious.
spoon rolls 2

The down side is that they’re more fattening because of the butter.  My traditional roll recipe doesn’t have butter in it.  I must say, though, that the ease of this recipe is fabulous.  It takes 5 minutes to mix it up, then you put it in the fridge until you want to make them.  When it’s time to make them, it takes about 5 minutes to grease and fill the muffin tins.  So simple.  I also like the concept of baking rolls in miniature muffin tins.  With little children, the size is perfect.  Even my husband, who usually skips the bread, ate a bunch of them.  They would also be the perfect roll to make into tiny sandwiches for a luncheon or a little girl’s tea party.  They make enough that my family all gets some, but we have no leftovers.  For a smaller family, this is a good recipe because you’re not going to end up with too much.

And because no bread recipe makes it into my recipe book unless it’s pretty versatile, I tried making these without refrigerating them.  I mixed the dough as described above, then covered the bowl and let it rise for 15 minutes (which is all that is required with SAF Yeast).  Then I spooned the dough into the muffin tins and baked it.  I did find that baking them this way meant a much shorter baking time because the dough was still warm when I put it in the oven instead of cold from the refrigerator.  So, this way I shortened  the baking time to about 10 minutes, or when there is just a hint of golden brown around the edges of the rolls.  This meant that I had fresh rolls, start to finish, in 35 minutes!  Now THAT is a roll recipe you can start in the middle of dinner preparations if you want to.  Cleanup is a breeze as well.

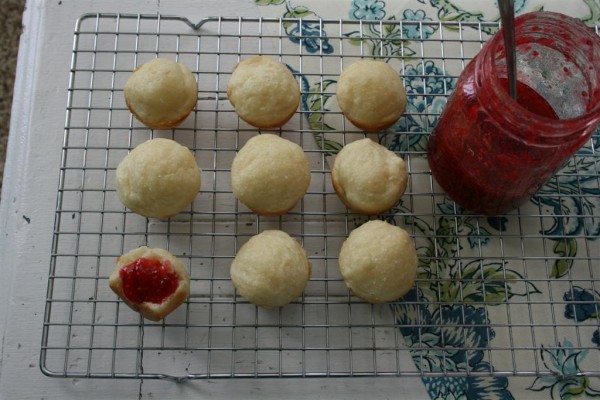
For perfection, just add homemade strawberry jam.
rolls with jam

Many thanks to Trisha Yearwood, cousin Peggy and Country Living  for sharing such a great recipe!  It’s a new family favorite around here.  I hope you’ll try them.  I’d love to hear what you think.

Heather Bullard’s Casino Butter

One of the delights of starting a blog has been poking around a little bit to read and see what others are doing.  Like every hobby or interest, I had no idea what a big world there was out there!  I’ve enjoyed learning from many creative people.  One of the blogs I discovered (all by myself, even!) is Heather Bullard’s.
I really love her photography.  It’s so beautiful!  Recently she posted pictures of her new baby chicks … in teacups!  Um, cute.  You should check it out if you haven’t already.  I think you’ll enjoy it.

I found this recipe on Heather’s blog, and had to make it.  In fact, it looked so good that I tried it out on guests without having made it before.  The verdict:  it’s fabulous!

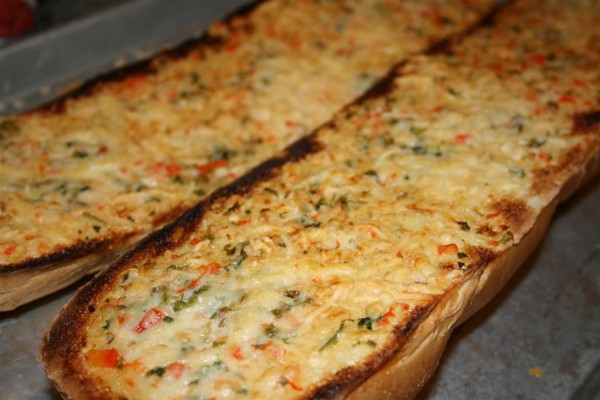
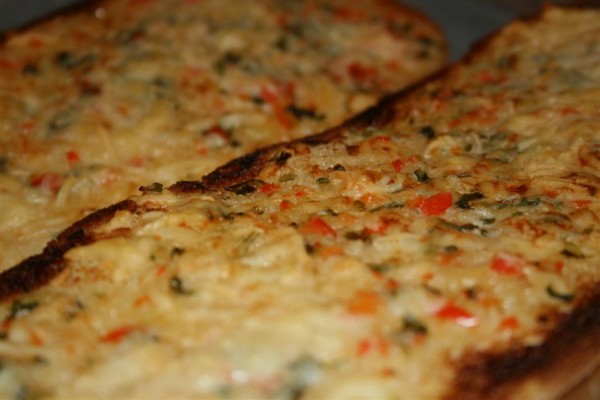
casino butter garlic bread

Here is the recipe for how I made it:

Heather Bullard’s Casino Butter 1 pound butter, softened 2 Tb. fresh lemon juice 1-2 tsp. hot sauce (I used Frank’s hot sauce) 2 cloves garlic, finely chopped 4 green onions, finely chopped 1/3 cup red bell pepper, finely chopped 1/3 cup fresh Italian parsley, chopped salt & pepper to taste Heather chops everything finely, then puts it in a food processor.  I have only a tiny food processor and so I would have had to do 4 or 5 batches.   I put the butter in a mixing bowl and used my hand mixer to whip it a little bit.  Then I chopped the garlic, onions, pepper and parsley and pulsed them in my processor.  I then added everything to the mixing bowl and again used my hand mixer to combine it all really well.  I think it worked.

Heather takes half the butter, rolls it in wax paper and freezes it.  Then she uses the other half on a loaf of french bread.  It was the french bread I wanted to try.  I spread butter over both halves, sprinkled with Parmesan cheese, and broiled it.  I think I only used 1/4 of the casino butter, though, instead of half.  I rolled up the rest in wax paper to freeze for another use.

Here is the link to Heather’s recipe, explanations and directions.  (She also puts wine in hers, which I omitted.)  And her pictures are far lovelier than mine.

Can I say that this became an instant family favorite?!  It was the YUMMIEST garlic style bread I’ve ever eaten.

casino butter on bread

Please, do yourself a favor and treat yourself!  It’s delicious!  Thanks for sharing, Heather!

Glazed Zucchini Bread

This glazed zucchini bread is a great way to take a common recipe and make it special.  It also adds a delicious flavor.

First, make the zucchini bread.  My recipe calls for 3 cups of flour.
IMG_7480 (Large)
To the flour add 2 teaspoons cinnamon, 1 1/2 teaspoons baking powder, 1/2 teaspoon salt and 1/2 teaspoon ground nutmeg.
IMG_7481 (Large)
Into a separate bowl, shred 2 cups fresh zucchini.
IMG_7474 (Large)
Add 2 cups sugar IMG_7475 (Large) and two eggs.
IMG_7476 (Large)
Next add 1 teaspoon lemon juice.
IMG_7477 (Large)
Pour in 1 cup of vegetable oil.
IMG_7478 (Large)
Combine well.
IMG_7479 (Large)
Add flour mixture to zucchini mixture IMG_7482 (Large) and stir just until combined.
IMG_7484 (Large)
I picked up this amazing pan at a sale last year.  It’s heavy and sturdy and it makes a dozen tiny loaves.
I like to use it for my quick breads.
IMG_7485 (Large)
Scoop the batter into your pans.  This recipe makes 2 regular sized loaves.
IMG_7486 (Large)
Bake at 350 for 55-60 minutes for regular sized loaves.  These baked for about 20 minutes.
Be sure to check them a few minutes early so you don’t overcook them and dry them out.  Don’t they look great?
IMG_7494 (Large)
And now for the glaze.  This is where it gets delicious.
In a small saucepan, combine 1/2 cup sugar, 6 tablespoons butter and 3/4 teaspoon cinnamon.
IMG_7488 (Large)
Add 1/4 cup water.
IMG_7489 (Large)
Cook and stir over medium high heat.  Bring to a rolling boil and then cook for another 2 minutes.
IMG_7491 (Large)
Remove from heat and stir in 1 tsp. vanilla extract.
IMG_7493 (Large)
Spoon over hot zucchini bread.  Try to cover every spot.
IMG_7495 (Large)
Isn’t it pretty!  I love the shine it adds to the bread.
IMG_7496 (Large)
Continue until all your loaves are covered.  I usually do a thin coat and then go back and coat them all again.  Let the bread cool in the pans for at least 15-20 minutes so that the bread can soak in the glaze.
IMG_7498 (Large)
Remove from pans and serve.  Oh, this is good stuff!  Hope you love it like we do!
IMG_7501 (Large)
Hopeful Homemaker’s Glazed Zucchini Bread 3 cups flour 2 tsp. ground cinnamon 1 1/2 tsp. baking powder 1/2 tsp. salt 1/2 tsp. ground nutmeg 2 cups sugar 2 cups shredded zucchini 1 cup oil 2 eggs 1 tsp. lemon juice For the glaze 6 Tb. butter 1/2 cup sugar 3/4 tsp. cinnamon 1/4 cup water 1 tsp. vanilla In small bowl, combine flour, cinnamon, salt, nutmeg and baking powder.   In another bowl, combine zucchini, sugar, eggs, lemon juice and oil.  Add dry mixture to wet mixture and stir till combined.  Spoon into 2 loaf pans and bake at 350 for 50-60 minutes or until done.

To make the sauce, combine sugar, cinnamon and butter in small saucepan.  Add water.  Cook and stir over medium high heat until mixture comes to a rolling boil.  Cook 2 minutes longer.  Remove from heat and stir in vanilla.  Spoon over hot bread, coating multiple times until glaze is gone.  Let bread cool 15-20 minutes.  Remove from pans and serve.

1 2 3 4 5