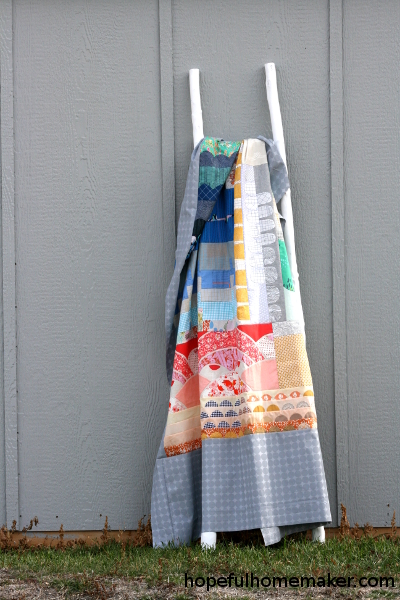
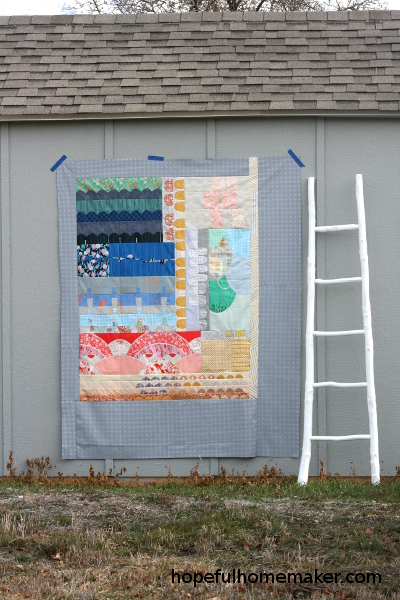
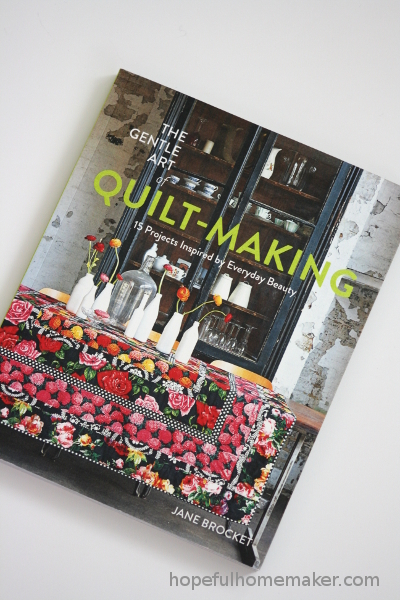
Have you ever bought a book because you loved the cover? That’s why I bought The Gentle Art of Quilt-Making . Something about the striking image of a dramatic quilt paired with white flower vases and the words “the gentle art of quilt-making” grabbed me and I didn’t resist. Is quilt making a gentle art? And why was it that such a simple quilt riveted my attention? I purchased the book.
Fast forward two weeks. There I stood in the airport, busy travelers coming and going but I simply stood, tears on my cheeks, my view of her shrinking as she made her way through the snaking line at the security gate. How? How do you do it? How do you send your child to another country for 18 months? How was I going to live without her stories, her laughter, her calls & texts, her presence for so long?
Our oldest daughter is off on one of the greatest adventures she will ever have, serving for 18 months as a missionary for the LDS Church in Paraguay.
I know heartbreak harder than this, and her leaving was a good thing! But this goodbye undid me deep inside. I stood there reminding myself that mothers have done this for thousands of years, that she will be fine, that the months will fly by. But for a few minutes it didn’t matter that I stood at the end of a long line of generations to know this kind of bittersweet; it was just me holding my breath with all the raw, fresh pain of it, experiencing something new.
So we watched until we couldn’t see her anymore, and my heart lurched at the idea of driving away while she was still somewhere in the airport. We made our way to the exit where that sixth sense of a parent told me that someone was missing. Without thinking, I looked around to see who wasn’t with us and it hit me – it was her. Fresh tears pricked at my eyes and I said to my husband, “I guess it’s time to learn to count to seven instead of eight.” He cleared his throat and turned away to blink hard.
The nine of us drove home in the rain, with tears and sniffles coming here and there in the van. I watched the water run down the window and pondered what it will be like to have a piece of my heart living on another continent. The kids and I spent the day quietly at home, just being together.
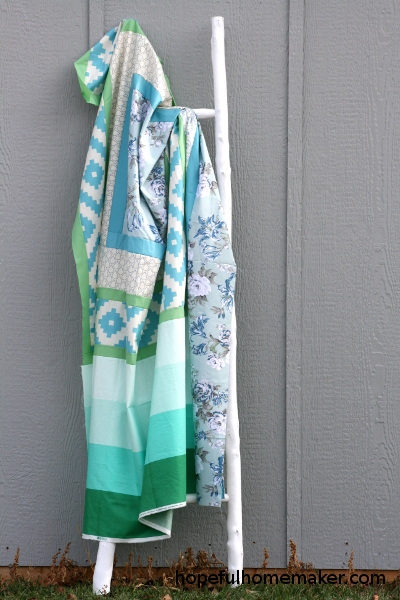
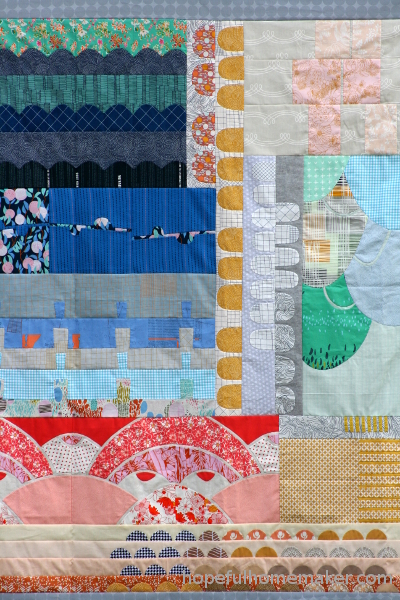
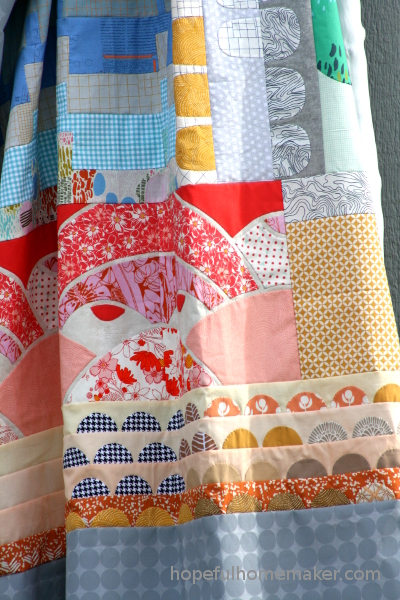
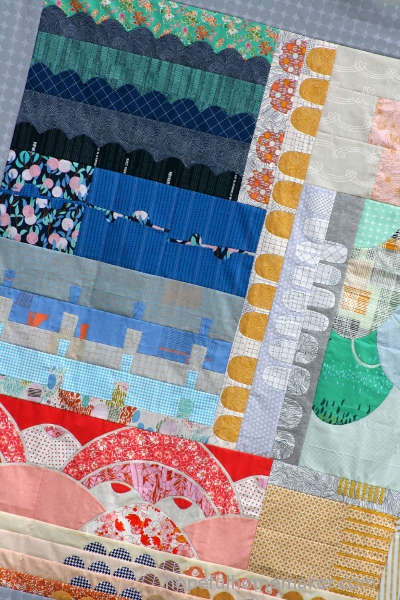
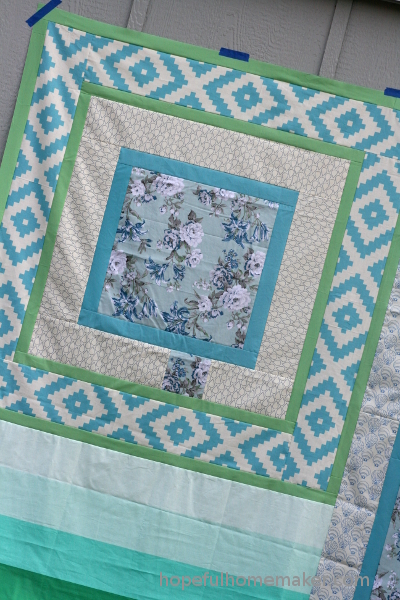
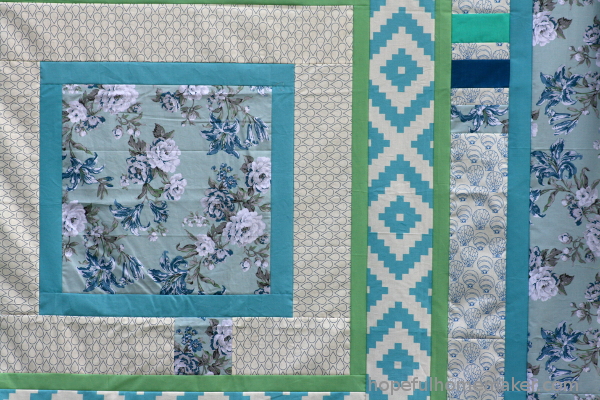
Then I noticed Jane Brocket’s book again, and thought, “I really need something gentle right now.” I flipped to the pattern for the cover quilt (she calls it Russian shawl) and decided to begin. I started with a lovely floral that caught my eye, and added a couple of solids. And raindrop/teardrop fabric. That was a must! I began as the pattern suggested, with an 18.5″ square for my center, and began adding borders, alternating narrow solids with wider prints. I didn’t follow the pattern exactly, but that’s the fun thing about the book. The patterns aren’t really so exact, because they’re meant to encourage you to find inspiration in your world and create your own quilt. This book would be a great way to coax yourself out of always following someone’s pattern and into designing simple quilts that capture your own inspiration. My quilt top progressed largely as expected until I got to that second narrow green border.
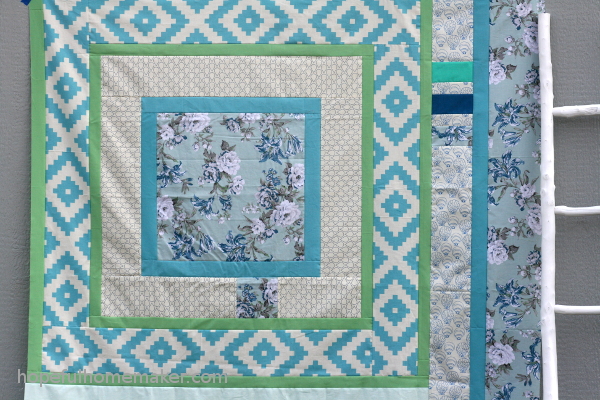
I’d been sewing in sadness until that point, but suddenly my eyes rested on the green ombre fabric and everything inside of me went very still. It reminded me of being at the beach, of standing at the water’s edge and looking out to sea. It reminded me of all the times I’ve stood in that place and let the sight of the ocean wash away my worries and sadness, and bring comfort and peace with the tide. I looked at that fabric and remembered that Emmeline was never mine; she was sent to us on loan, and now she’s off on a journey that will bring her back more HER than she’s ever been. It’s a journey I took too, many years ago, although I didn’t go so far. But it’s a journey I want her to take, a journey that will change us all for the better. I looked at that fabric and felt all of those feelings, and suddenly my sadness was gone.
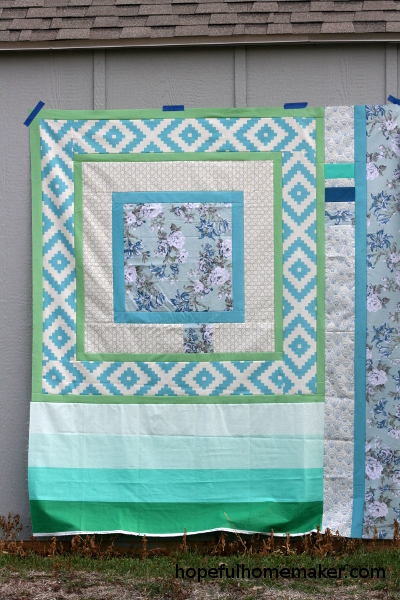
So I sewed that ombre fabric to the quilt, not worried that the colors weren’t a perfect match. I added it because it was part of the gentle art of healing my heart through quilt-making. It was part of the story. I had planned to call the quilt a farewell quilt, but suddenly the name changed. “Till we meet” was the story. The strips on the right side of the quilt came together as I listened to tributes to a great man and humble leader, Thomas S. Monson, who had recently passed away. And then the quilt was done and all the sadness drained and only peace was left.
Of the quilts in her book, Jane writes, “My quilts are most definitely not heirloom quilts, but are instead practical quilts that I have enjoyed making and truly like, quilts that are warm, useful, visually pleasing and packed with thoughts and associations. This is private, personal quilt-making as an absorbing creative pastime with lovely results, rather than quilt-making for show or competition….. You may find… that every quilt tells a story, that you can do it, that basic patterns can be supremely clever (which is why they have been around for so long), that making lovely quilts is not difficult, and that the results will be something of which you can be justifiably proud.”
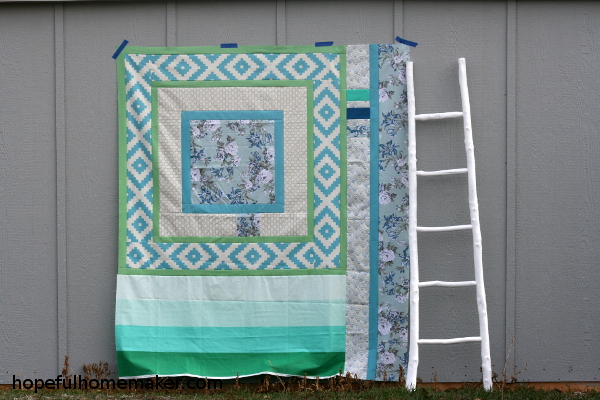
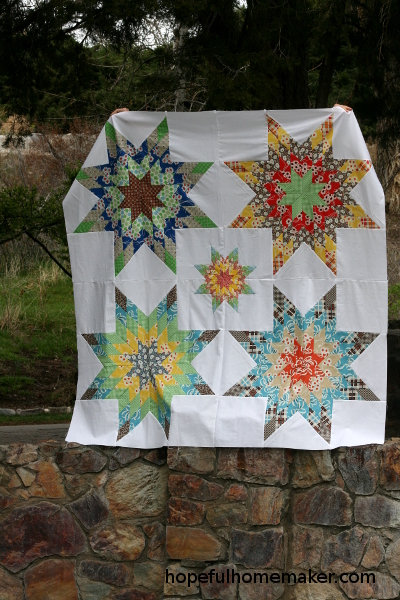
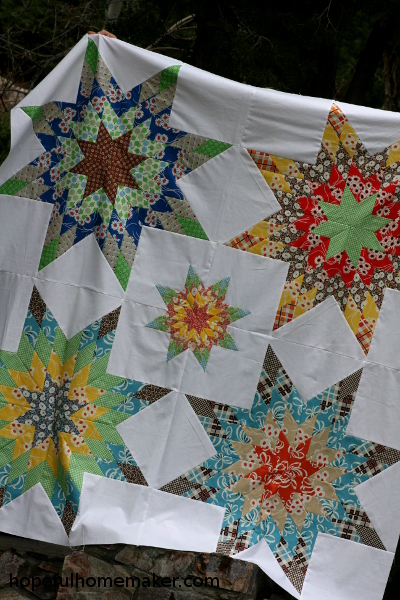
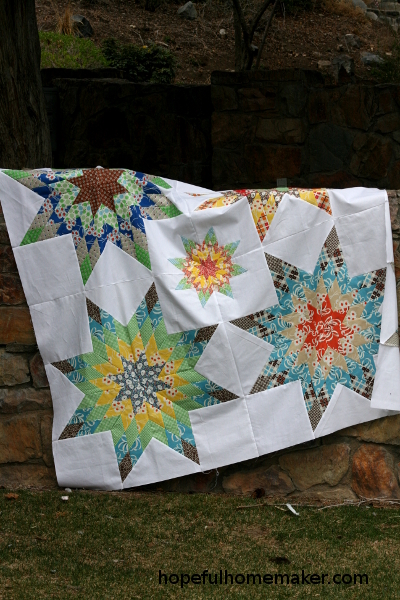
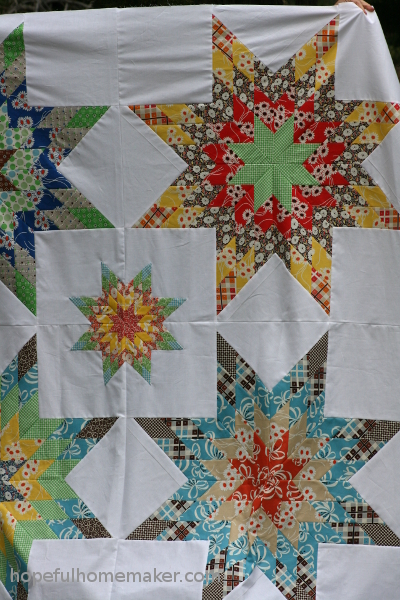
My quilt top doesn’t look much like the Russian Shawl quilt it was patterned after, but it tells the story of that day and reminded me that there is, indeed, a gentle art of quilt-making that i want to experience more often. I am grateful to have felt it with this project and feel eager to return to this book for more creative exploration.
And that sad January day? It was quickly swept away by all the blessings, all the good days, great emails, and tremendous growth for our daughter. She’s thriving in Paraguay and we couldn’t be happier!
