Long Time Gone quilt: a beginning
Earlier this year I joined the Long Time Gone sew along on Instagram. When I’m done sewing through all my Carolyn Friedlander projects I plan to sew through all the Jen Kingwell patterns I’ve got. The sew along seemed like a good excuse to start early.
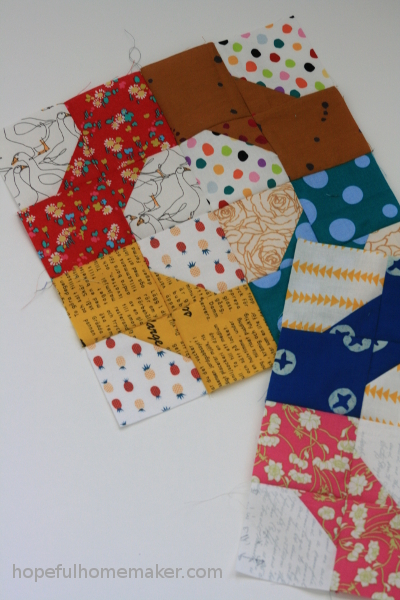
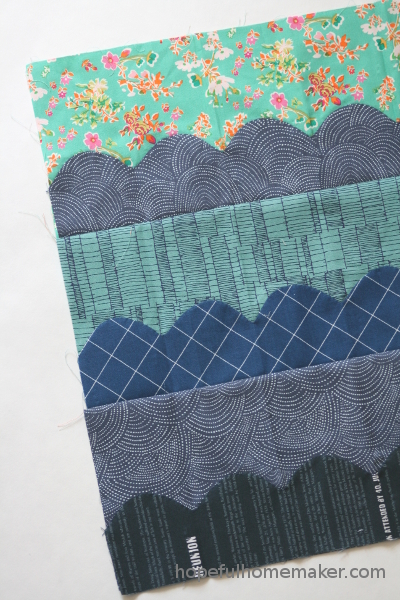
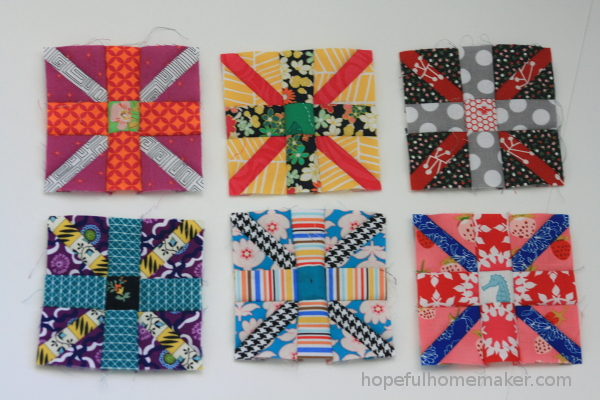
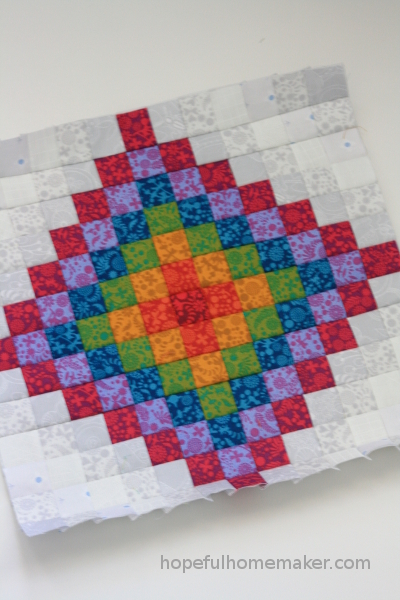
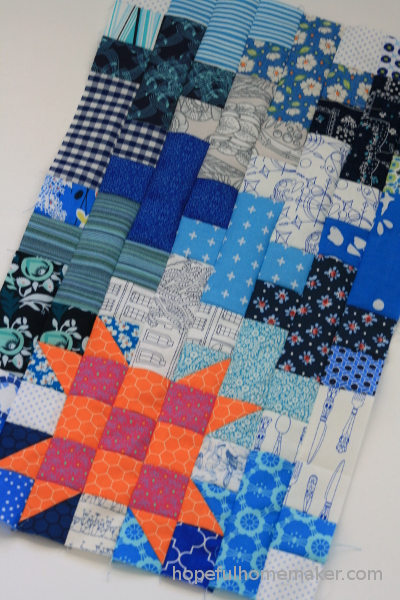
My plan is to use low volumes and brights. I’d like a quilt with a lot of contrast in it, so I’ve been pulling scraps along this theme. Many of the blocks in the Long Time Gone pattern are great for using scraps, and I enjoy using little bits of past projects and favorite fabrics to make new combinations and create quilts that are something of a scrapbook.
In fact, sometimes I wonder how long I could sew for if I only used scraps. I always think I’ll use a lot of them but my scrap bucket looks the same when a scrap quilt is finished. I’ve toyed with the idea of sewing for a year with only scraps, just to see what kind of creative journey it inspires.
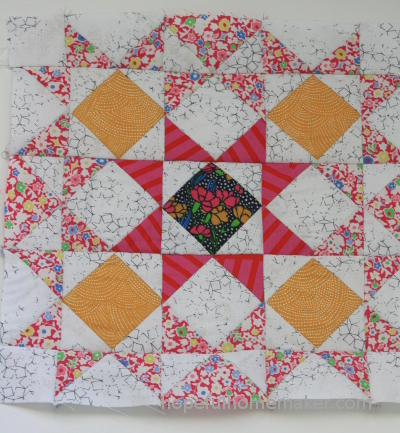
Unlike some of Jen Kingwell’s patterns, this one is easy to follow, and a block a week isn’t too much to accomplish. I like sew-alongs for that reason: they break things down to small steps, provide a deadline and a way to share progress, and I feel like I get more sewing done when I commit to them.
I did a good job of keeping up with the schedule for the first while, but when my daughter was in a car accident that left her with a concussion and just a few weeks left of high school, I let everything else sit while I worked to help her regain her health and finish school. Nearly six months later, these blocks are still waiting for me to finish the rest of the quilt. This year has been a lot crazier than I anticipated, and a lot is on the horizon, but I hope to have a finished quilt top before the holidays.
I have a few more blocks cut out and hope to squeeze in sewing time this week!
Jennifer