Scrappy Swoon-Along: Sections 7 & 8

scrappyswoon

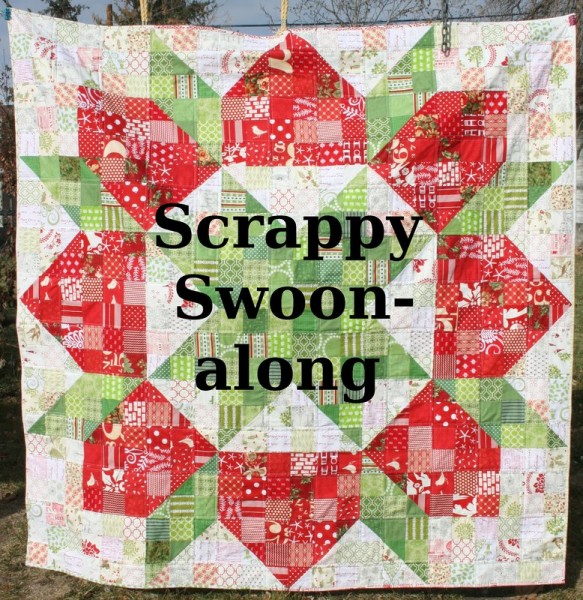
Welcome back to the Scrappy Swoon Quilt Along!  Today’s post will knock out sections 7 and 8.  I can hardly believe how close we’re getting to a finished quilt top!  Let’s get started!

Section 7
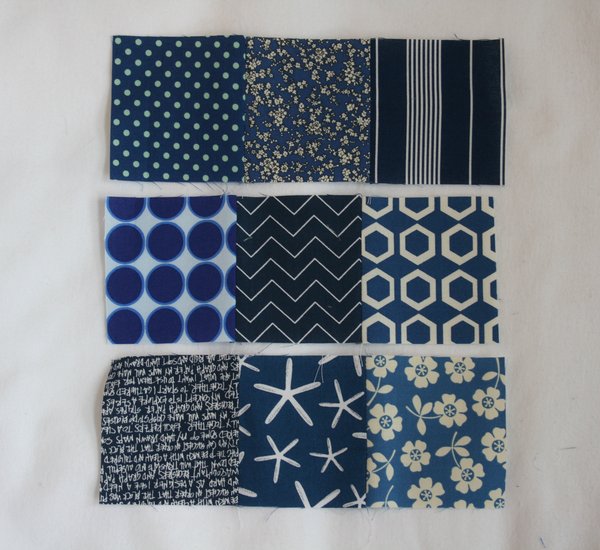
Section 7 is another simple patchwork block.  You will need 36 – 3.5 inch squares in your secondary color.  These are the last of your secondary color squares!
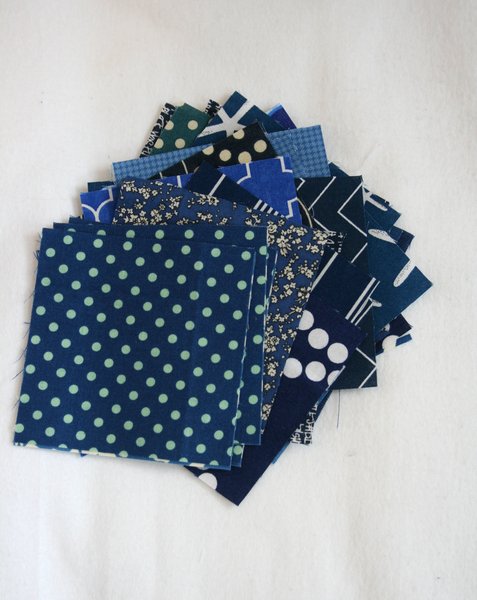
section7squares

Each block requires 9 – 3.5 inch squares.  Lay them out in a 3 x 3 nine patch pattern as below:
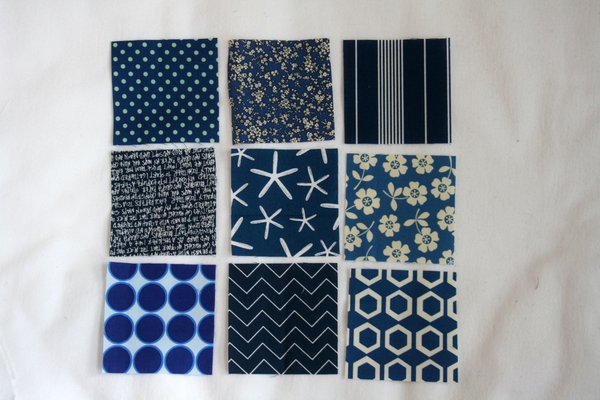
section7layout

Sew them into three strips:

section7strips

And once again, the strips into a 9.5 inch square block.
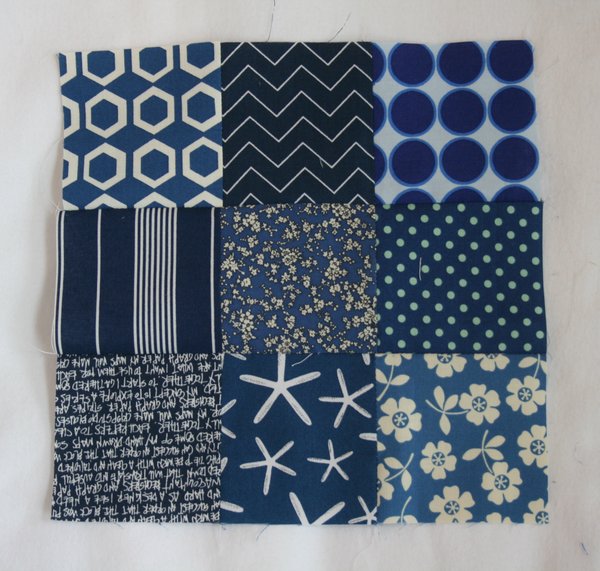
section7

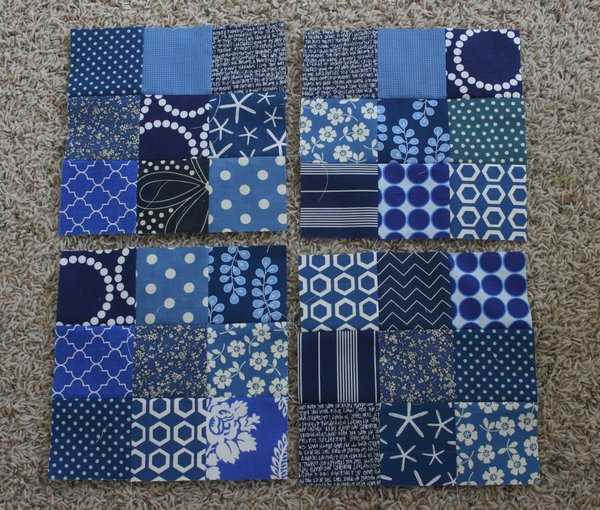
Make 4 of this block.

section7make4

These blocks will fill in the corners of the secondary color sections, completing the points on the corners.
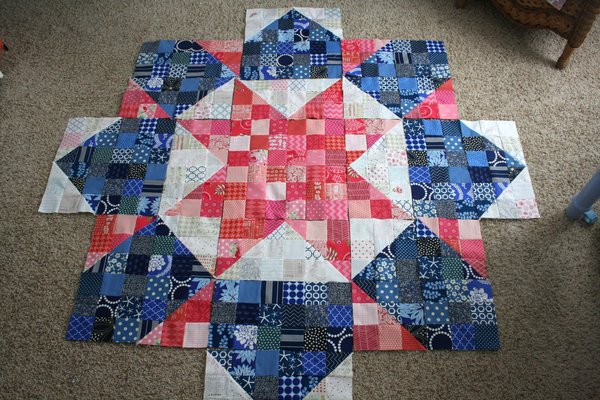
sections1to7

Now we’re done with your secondary color!  Next up is section 8 and the last of our primary color squares as well.

Section 8 Section 8 comprises the last of your half square triangles and the last of your primary color squares.  For this section you’ll need 12 – 3 7/8 inch squares of both your primary color AND your background color. You’ll also need 24 – 3.5 inch squares of both primary and background prints.
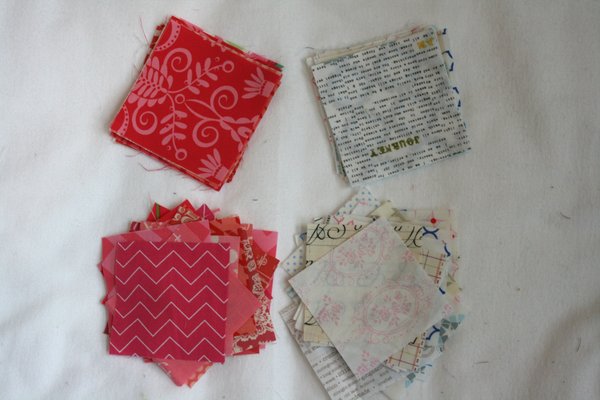
section8squares

Pair up your 3 7/8 inch squares and make 24 half square triangles.
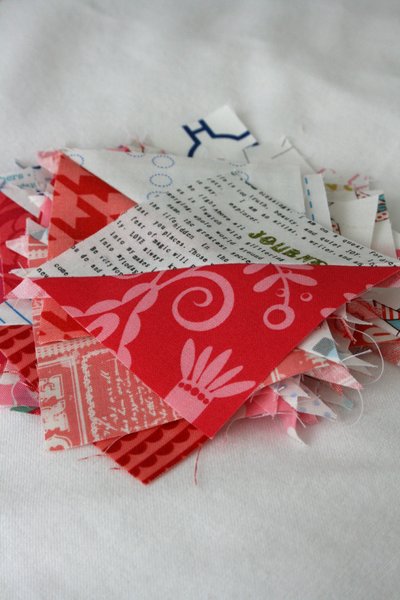
section8HST

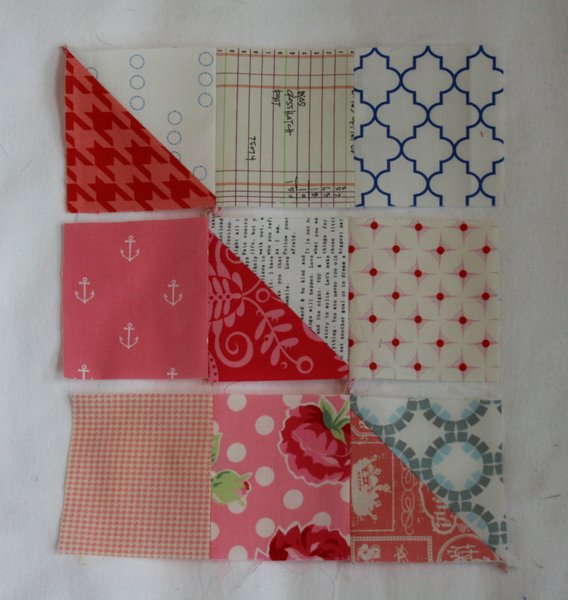
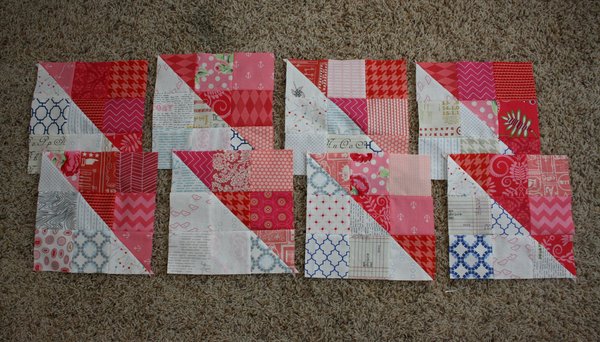
Each block will require 3 half square triangles, 3 – 3.5 inch sqaures of background fabrics and 3 – 3.5 inch sqaures of primary color squares.  Line them out in three rows of three with the half square triangles making a diagonal line throught the square.
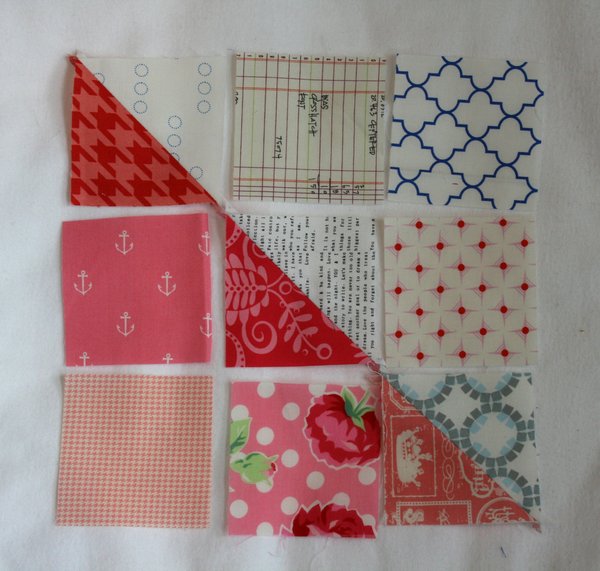
section8layout

Sew the squares into three strips.

section8strips

Sew the strips together to make a 9.5 inch square.
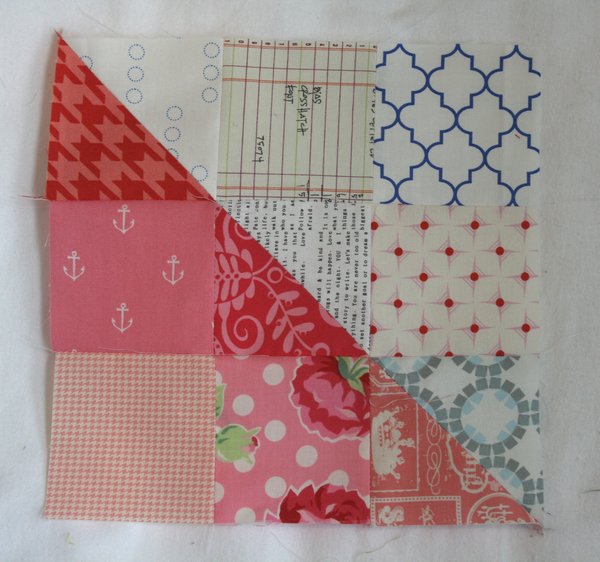
section8

Make 8 of these blocks.

(Remember the stacked paper method from section 4!)

section8make8

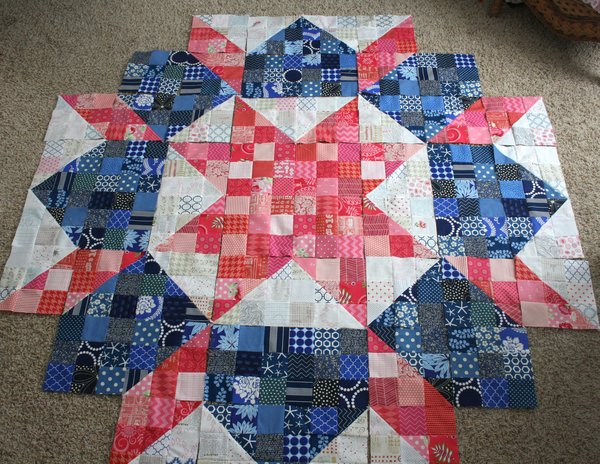
These blocks will be placed along each side of the section 6 blocks.
sections1to8

OK.  There we go!  Finished with all the half square triangles (and we’ve made a lot of those!) and finished with your primary and secondary colors.  Next Monday we’ll wrap up the background fabric with blocks 9 & 10.  I’ve had so much fun watching all the color combinations and fabric choices popping up in the flikr group .  Keep them coming!  Can you believe you’re almost done?  Have a great week!

Jennifer

Aim Higher: Drops of Awesome


Earlier this week
I linked to an amazing post that I read a week or two ago.  It’s really impacted me for the better and I wanted to find a way to share it with my family.

IMG_7030

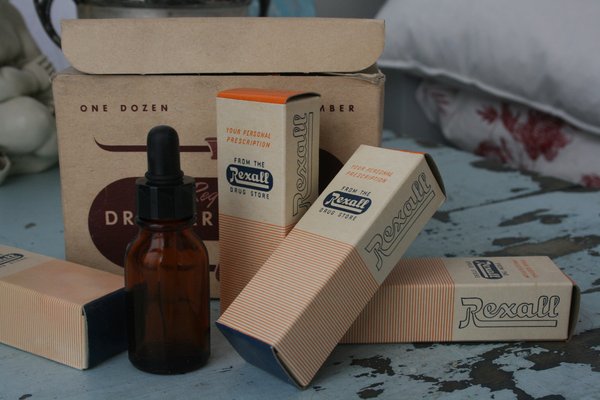
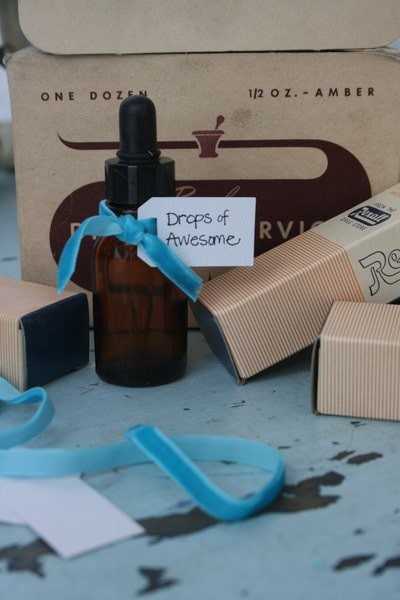
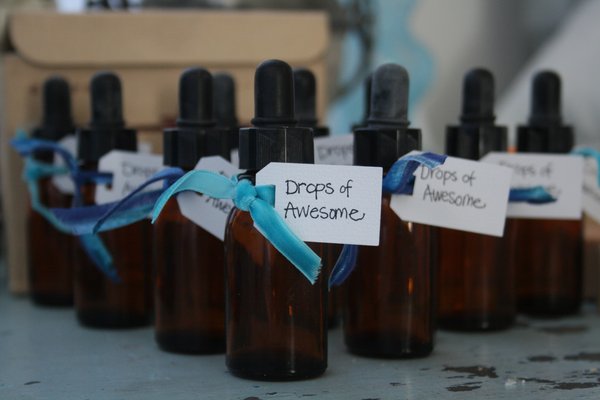
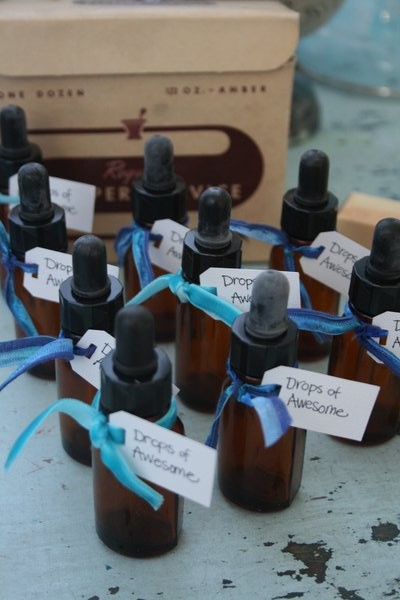
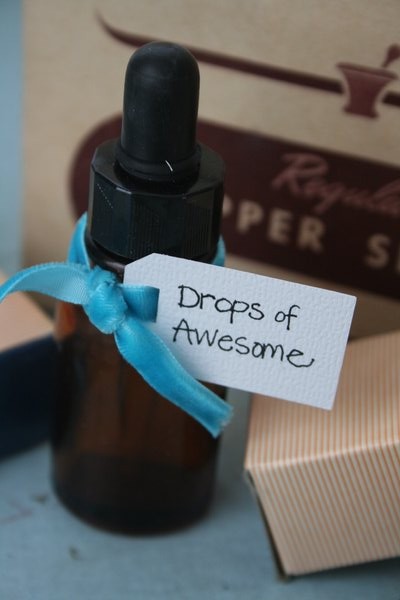
Then I remembered these vintage medicine dropper bottles that I picked up at a yard sale a few years ago.  I’ve considered getting rid of them several times but never did.  I dug them out of the box they were in and was thrilled to discover I had ten.  The perfect number!

IMG_7032

Out came some ribbon and tiny tags, and soon I had a “drops of awesome” bottle for each member of our family.

IMG_7034

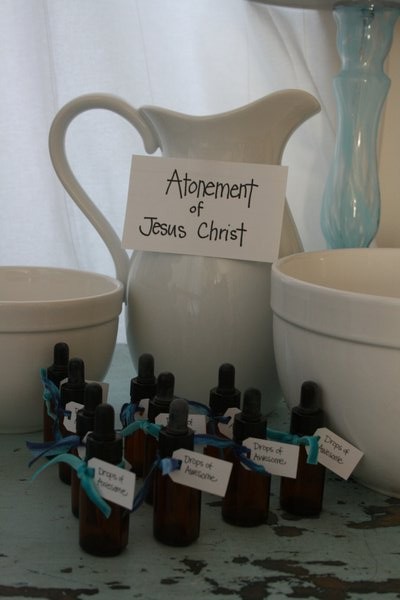
I shamelessly patterned our lesson after the one I’d read about in the post , using a pitcher of water to overflow the bowl when my children were sure we’d never get there with our little drops.

IMG_7036

We talked about how every drop of awesome we put into life brings joy.  It makes us want to work harder.  And it’s an invitation to the Lord to step in and do something awesome with our efforts, things that only He can do.

Now we have ten bottles around the house in bedrooms and other locations as reminders of what we’re after.

IMG_7035

A few of the questions I’ve asked my children since our discussion:

“What can you do to add a drop of awesome to this assignment?”

“Have you noticed others putting drops of awesome into life?  How did it make you feel to see them?”

“Did you notice the Lord turning any of your drops of awesome into something bigger?”

We talked about drops of awesome when my boys had to shovel somewhere around 15 inches of snow off of 8 driveways this week.

We talked about them while cleaning, doing homework, playing instruments.

I hope that “drops of awesome” can become code for “aim higher.”  My children know I’m a fan of excellence, and several of them resent my discussing it.

But drops of awesome are different.  They come just one drop at a time, and I guess life is more manageable for all of us when taken at that rate.

IMG_7033

I love what she writes at the end of the post:  “Small and simple.  Tiny drops.  Go forth.  Be awesome.”

This just might work.  For all of us, myself included.  And I couldn’t be happier!

What will be your next drop of awesome?

Jennifer

Lemon Crisp Cookies


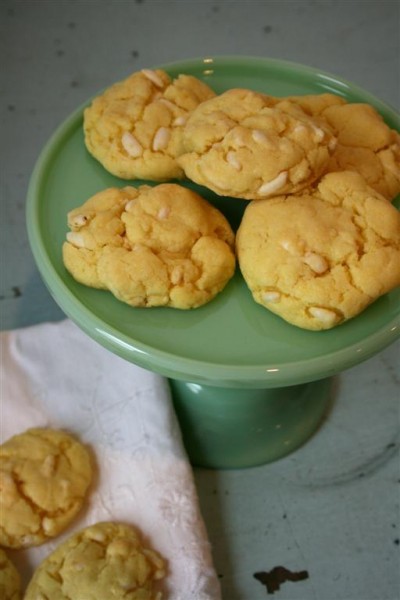
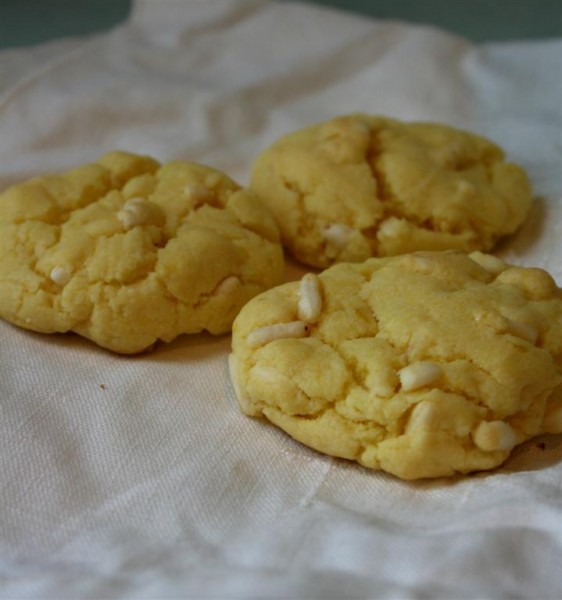
I made these cookies for a cookie exchange during the holidays.  I’m a firm believer that lemon is a great taste any time of year!

This is one of those recipes that has only 5 ingredients and you can prep them in about 5 minutes, making them a go-to cookie for me.  They’re also easy for my children to mix up, and who doesn’t love baking with Mom?

Lemon Crisp Cookies
Ingredients:
1 lemon cake mix 1 cup crisp rice or puffed rice cereal 1/2 cup butter, melted 1 egg, beaten 2 tsp. grated lemon peel In a large bowl, combine all ingredients until well mixed.  (The dough will be crumbly.)  Shape into 1 inch balls and place 2 inches apart on baking sheets.  Bake at 350 for 10-12 minutes or until set.  Cool for 1 minute before moving cookies to cooling racks.  Cool completely before serving.

Note:  My balls are usually a little bigger than one inch around, and a batch yields 2 dozen cookies for me.

IMG_6441 (Large)

I hope you’ll try them.  Enjoy!

Hopeful Homemaker

1 156 157 158 159 160 519