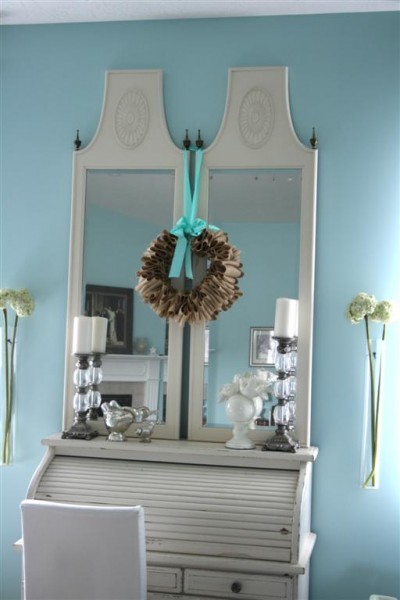
Love this table setting!

If someone from Martha Stewart would like to run on over to my house and set our table for Valentines Day, or any day for that matter, I’ll happily leave the door unlocked.

I love everything about this!  The gorgeous robin’s egg blue wrapping paper with birds used in the center, the red millinery birds on each napkin ring, the red carnations, and the white.  Oh, how I love white!  Gorgeous!

Vintage baby crib repurposed

It seems that so often when I see spaces that really appeal to me, the aspects I like most are those that are one of a kind.  It’s the vintage item being used in a new way that always makes me sigh.  I particularly like seeing vintage pieces being used creatively for storage/display.

A few weeks ago I spotted a small vintage baby crib, about the size of a bassinet or cradle.  I snatched it up, knowing I would find many things to store in it, but upon coming home I just hadn’t found the right spot for it so it’s been sitting in my studio.  (And much as I love my kids I wasn’t ready for them to claim it for the toy room.)

I have a corner in my studio that has been bugging me:
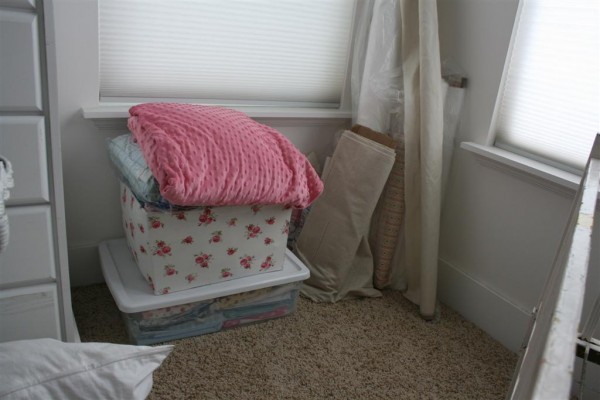
corner: before

Yesterday I walked in the room and realized that a great solution was sitting on the other side of the room.  I cleared out the spot and wheeled the crib over.  Sure enough, it fit.
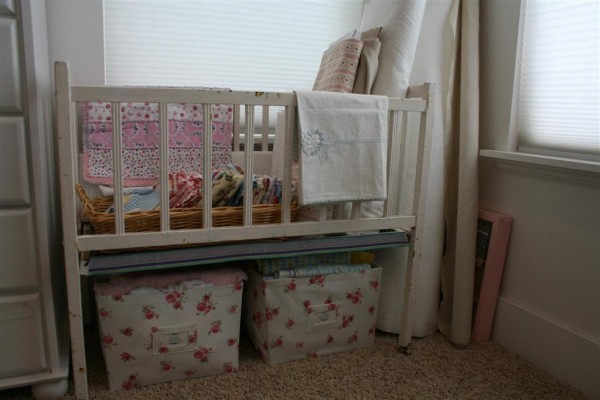
corner: after

I took the baby flannels out of the plastic bin and placed them in another flowered tote.  The two totes fit perfectly under the crib.  Whoever painted this crib years ago left a brown strip of wood that sticks out so I put some adhesive on it…
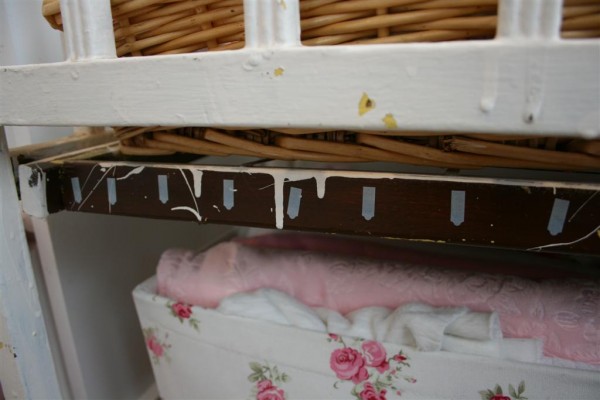

and added a strip of ribbon.  Much better.
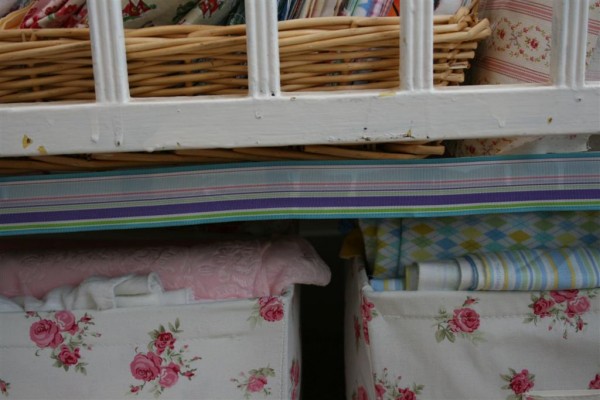

A walk around the house yielded a basket to put smaller pieces of fabric in for easy access.
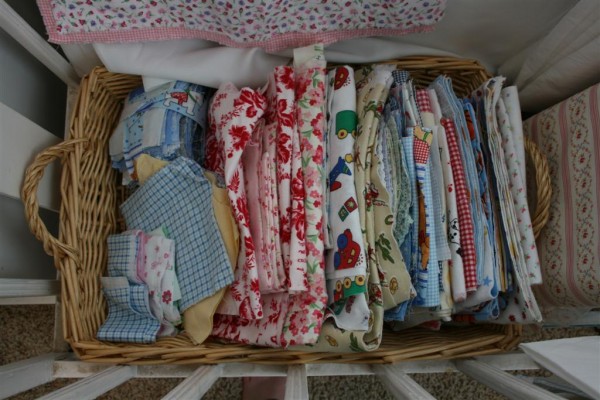
basket of fabric scraps

An unplanned ten minute project yielded an organized corner with more aesthetic appeal.
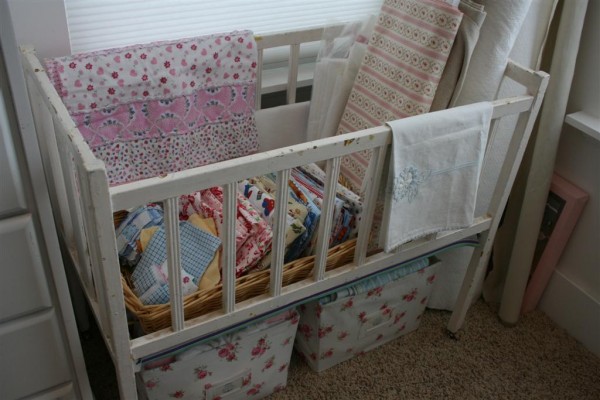
vintage baby crib storage

Oh that all my minutes could be spent so productively!

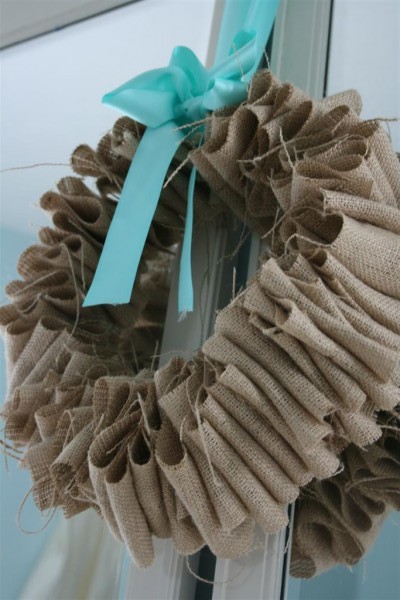
Burlap Wreath DIY

My sister came to town unexpectedly last weekend, so I decided a quick craft project was in order.
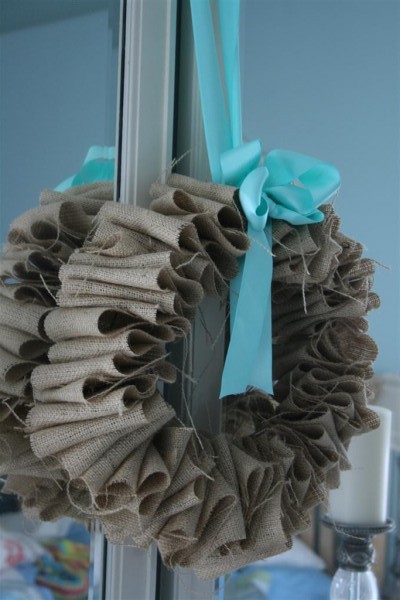
After bumping into this post recently, I decided to try making my own burlap wreath.

burlap wreath

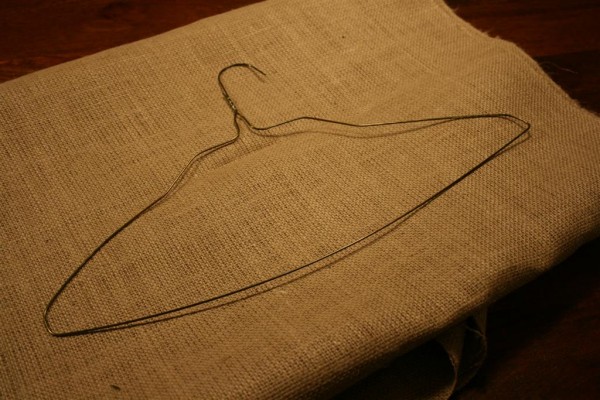
I bought a yard of burlap and found an old wire hanger, and we were set to go.  (sorry about the lighting, we made these late at night.)

burlap and hanger

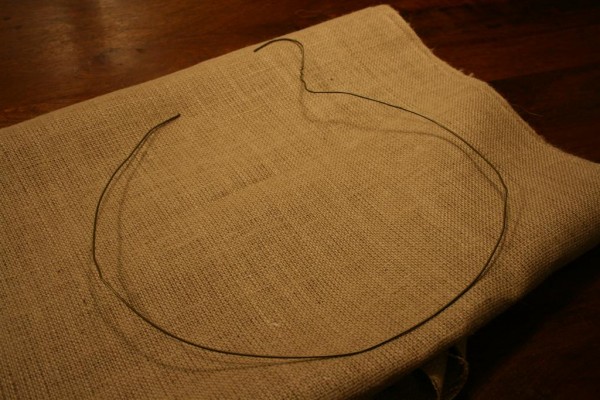
Open the hanger and shape it into a circle.


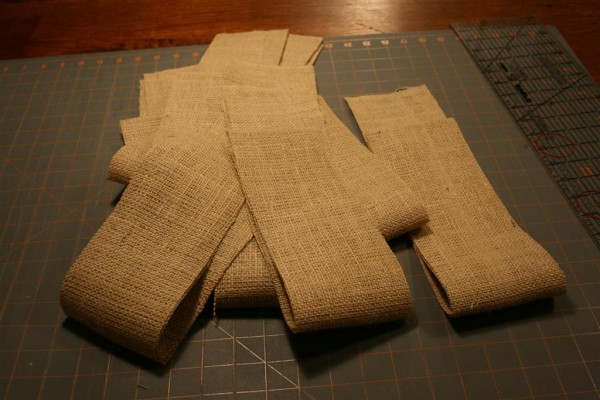
Next we cut the burlap into 4 inch strips.

strips of burlap

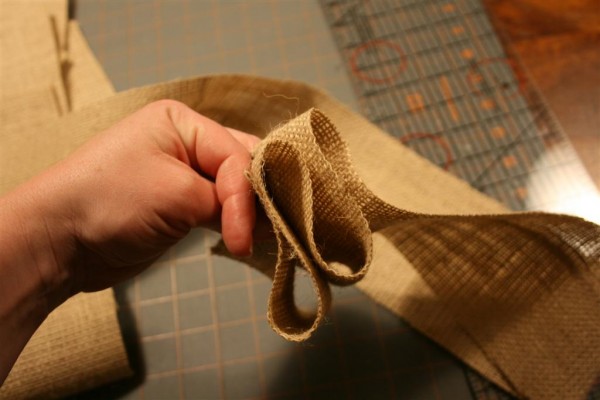
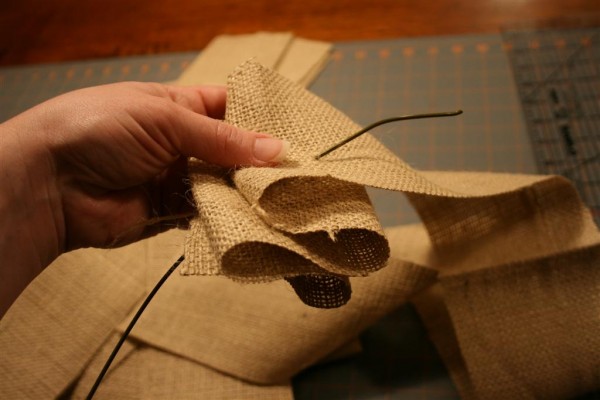
Then we just started folding the burlap back and forth….


and poking one end of the hanger through the middle.


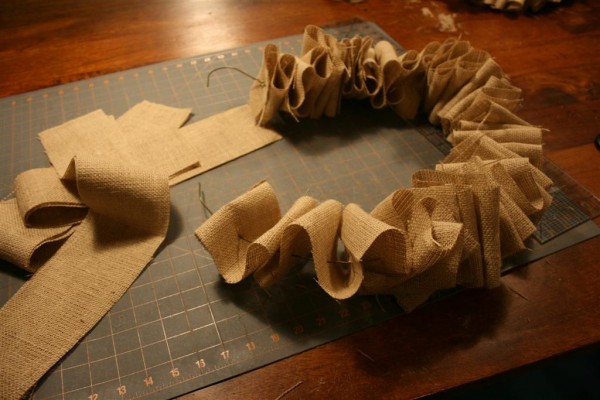
Continue doing this until you’ve used every strip of burlap.


Your last step is to twist the ends of the hanger to close the wreath.

burlap wreath 2

Lessons learned:
I probably should have made the wreath even smaller, because when I picked it up the burlap seemed to slide down and make the wreath seem bottom heavy.  Either that, or more than 1 yard of burlap should have been used.

We got around this by simply taking small pieces of scotch tape and taping them around the hanger at intervals to prevent the burlap from sliding.  This allowed the burlap to stay evenly spread around the entire wreath.

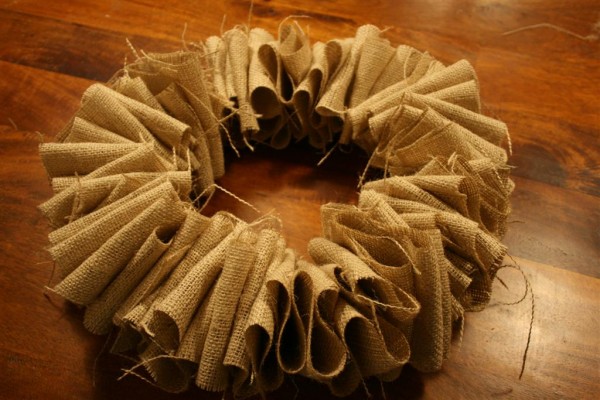
Finished product:

burlap wreath 3

Total cost:  $2.47 for one yard of burlap at Wal Mart.  Total time:  about 30 minutes.

1 17 18 19 20 21 24