Placemats turned Tablerunner DIY

I was at the dollar store with my friend when I ran across these placemats.
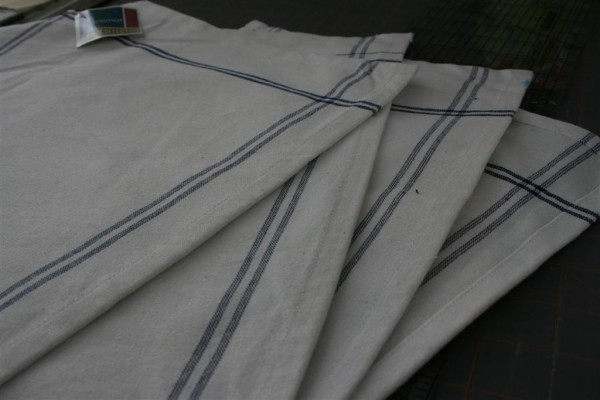

I liked their crisp blue and white color and the stripes.  But I really didn’t need placemats, and remember:  at my house things like that have to come in sets of ten!  Then I remembered my laundry room.  I’ve been looking for a super simple runner to put on top of one of my dryers……..  you know how those  moments go, when inspiration strikes.  I put four of them in my cart and brought them home!

I decided to rip open the seam on the short ends so that I could stitch the entire length of the runner closed at the end, and have it look like one long, tidy seam.
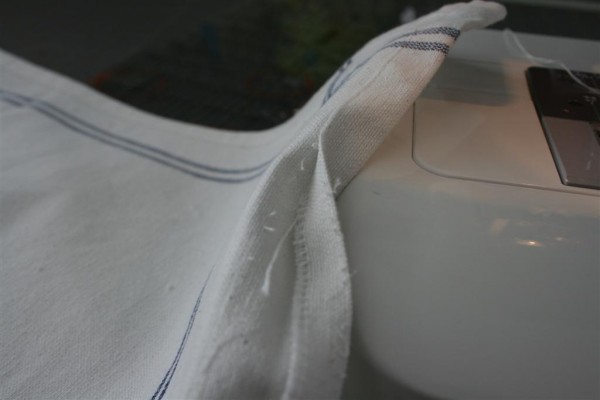

I left the long sides as they were and decided not to unstitch them.  I could handle a thick seam if I ironed well, I thought.  Since this cotton weave frays easily, I also didn’t want any raw edges underneath.  I placed right sides together and stitched the four placemats together lengthwise.  Notice I’m not sewing the sides with the open seams.
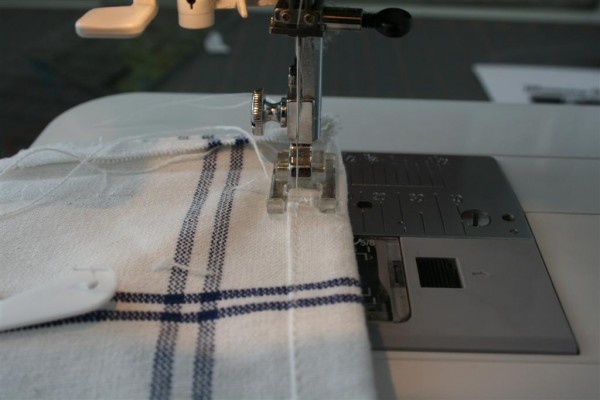

Next I pressed the seams open on the back and flipped the runner over to press it once more.
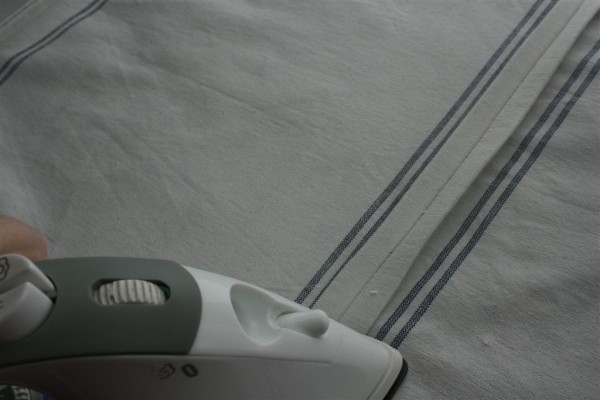

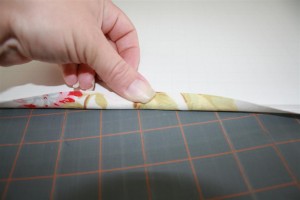
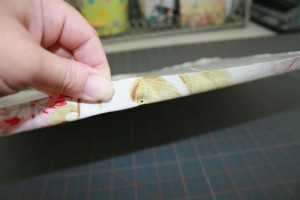
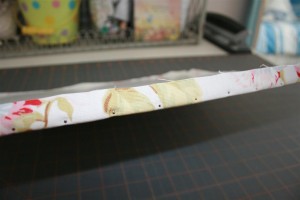
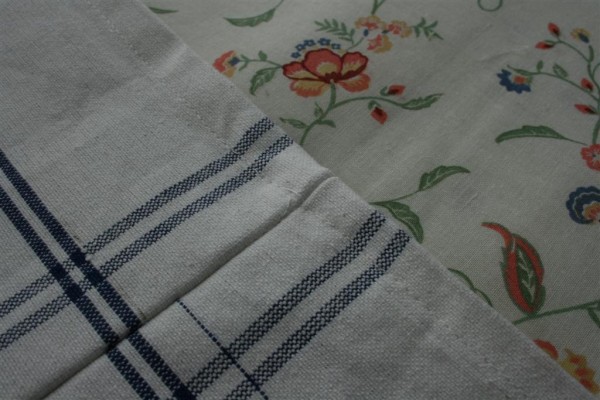
Finally I folded the long sides back under and stitched them up!  This is what the back side of the runner now looks like, with the thick seams connecting the placemats together pressed open, and the hem down the side folded over the seam and stitched up.
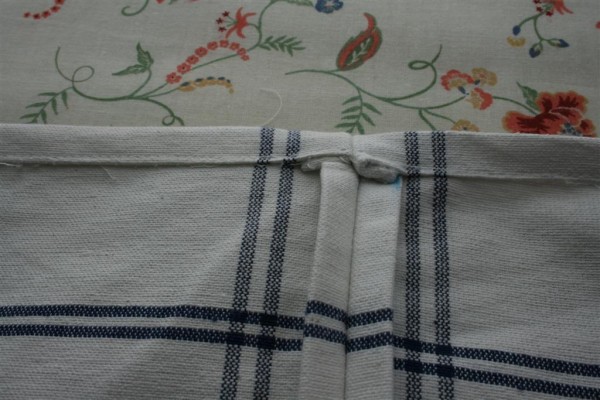

The top side of the runner looks like this.  I like how tidy the seam looks.

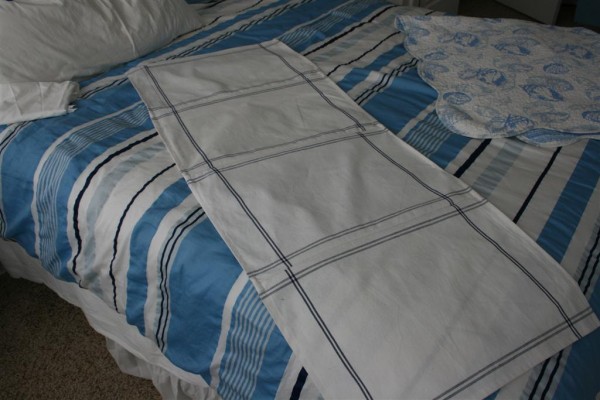
Ta-da!  Only about 30 minutes in all.

Excitedly I took it to my laundry room to see how it would look…..
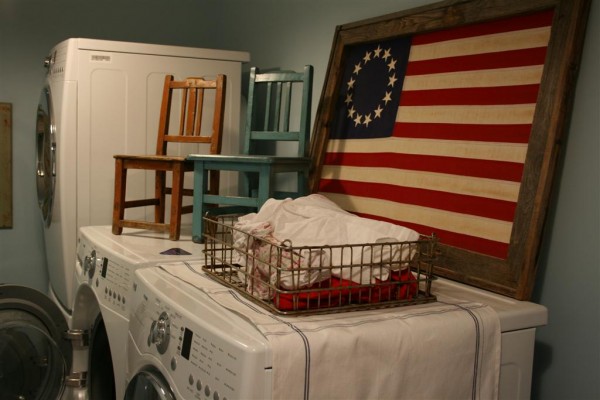

Perfect!  I wanted something to protect the top of my dryer from being scratched by my vintage metal basket, and I wanted it to fit the style of the room.
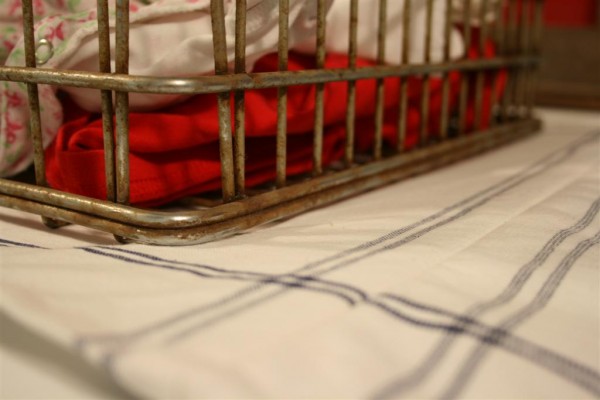

Just what I pictured.  I really like how it’s so simple looking.  The placemats are 100% cotton, but not a quality weave.  Still, they work great and have the look of linen toweling.  The perfect fit for my space.
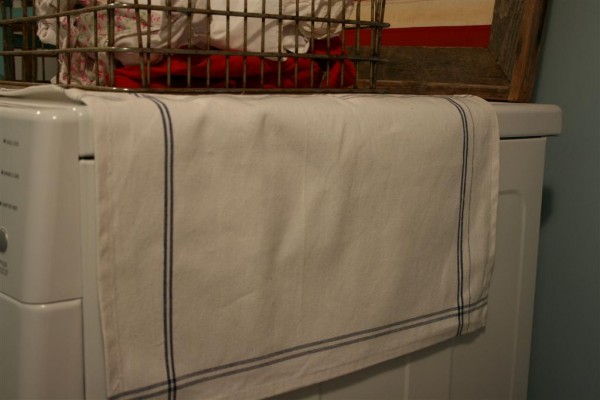

Simple, inexpensive, and done in 30 minutes.  I like it!
You could do this same thing with lots of materials instead of placemats.  You could use kitchen towels, linen napkins, vintage handkerchiefs, etc.  The sky is the limit (that’s the way creativity works!).

HH

Jewelry Board

I have a shelf in my bathroom closet that houses my jewelry.
It’s not expensive jewelry, but some of it I really like.  It fits my stage in life.

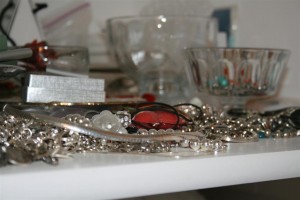
But lately, between my girls going through things and me falling asleep on the couch every night while I check my email (what can I say, it’s my 8th pregnancy!) which has caused me to become somewhat lazy with my bedtime routine, the jewelry shelf has become rather, well, scary.
IMG_5192 (Large)
Time to organize.

I’ve been looking for ways to accomplish this, and the other day I looked at one of my old picture frames that is now painted white and had an idea.   Today I’m going to make it happen.

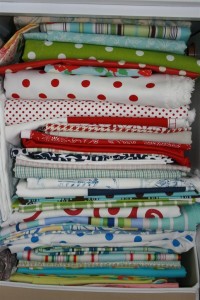
To make this board, all you need is a picture frame, a piece of foam core board, and fabric of your choice.   I went to my cupboard which holds my stash of heavier weight decorating fabric for ideas.
IMG_5124 (Large)2
I love all those colors!  Stacks of fabric are so beautiful.

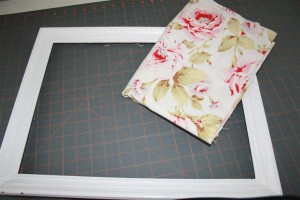
I came up with this frame and fabric:
IMG_5120 (Large)
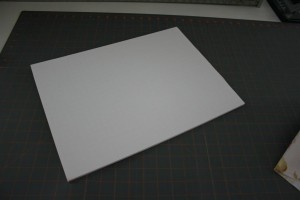
Step one is to carefully measure the opening of your frame.   This is done by turning the frame over and measuring the size of the hole where the glass would sit if you were inserting glass.  On older frames especially, measure carefully because the frame sizes weren’t so standardized as many are today.  Mine was 16 inches by 12 1/4 inches.  Next I cut a piece of foam core board (available at any WalMart for a couple of dollars) the same size.
IMG_5177 (Large)
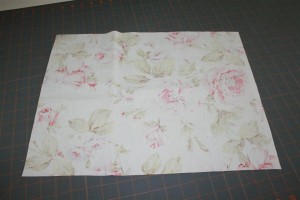
Next you need to cut the fabric, but it needs to be cut larger than the foam.  I cut mine 3 inches wider on both sides, making it 19 inches by 15 1/4 inches in size.  You can go even larger than this if you like, but I prefer not to have tons of fabric hanging around on the back to deal with.
IMG_5178 (Large)
You can see how it is bigger than the foam.
IMG_5179 (Large)
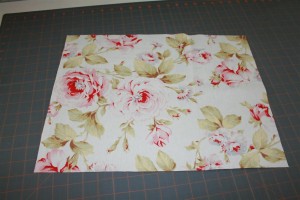
Now for the assembly.  Place your material face down on your work surface.
IMG_5180 (Large)
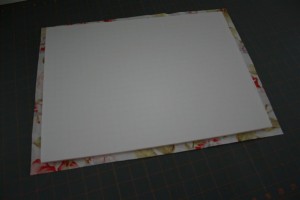
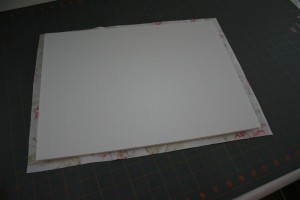
Now center the foam on top of the fabric.
IMG_5181 (Large)
All you need now is a bunch of straight pins with flat heads.  They are super cheap and can be found in any fabric store.
IMG_5189 (Large)
In the center of one side of your foam, pull the fabric tight around the edge of the foam board like this:
IMG_5182 (Large)
Carefully push a pin into the edge of the foam, pushing it all the way in.
IMG_5184 (Large)
Now do this in the center of all four sides of the board.  Then come back and start pinning all the way down every side of the foam.  I place my pins about one inch to 1 3/8 inches apart.
IMG_5186 (Large)
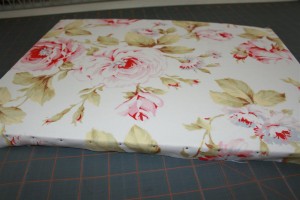
The only two things to remember while pinning are to keep the fabric taut so it doesn’t bubble anywhere and to get the pins in straight so they don’t come poking out of the foam in the front or back.  If your fingers become sore, just use the end of a pencil or something to push them in.  When you’ve done all four sides, turn it over and it should look like this.
IMG_5187 (Large)
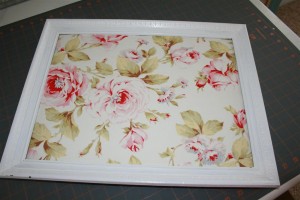
Now all you have to do is insert your fabric covered board into your frame.  If you measured and cut carefully, it should stay in pretty well on its own, especially because the pins will help make it a snug fit.  If you need to, you can tape the back to make it stay if you’re concerned it won’t hold.
IMG_5188 (Large)
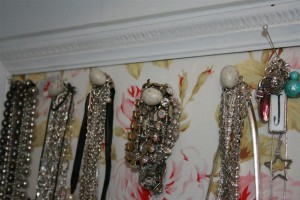
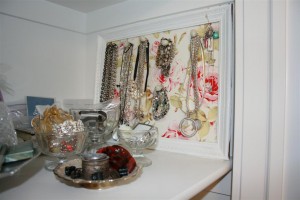
I’m excited to try mine out!  I leaned it against the wall on my shelf and used some big pins that I had on a different bulletin board to hang jewelry on.
IMG_5287 (Large)
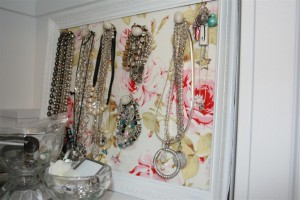
And here is my finished project!
IMG_5286 (Large)
Now I’d call that an improvement!  One organized, tidy shelf.  (Around here, baby steps are good things, especially when you’re pregnant and you just used all your second trimester energy getting 5 children through their soccer seasons.)
IMG_5285 (Large)
I like it!  This project took me about 20 minutes from start to finish (but would take longer if you had to paint your frame or something like that.)  Do you have a trouble spot somewhere that could be helped by a board to hang things on?  Try it out!  It’s fun, pretty, and inexpensive.

And it will motivate you to stay organized.  That’s a good thing.

Pictures to Mirrors

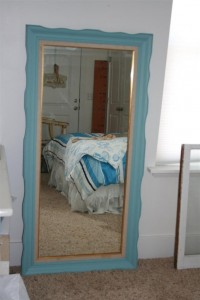
Have you ever noticed how expensive large mirrors are?  Last summer when my sister-in-law was here visiting, she asked if I had a full-length mirror in the house.  I didn’t.  A few months ago, a thought struck me when I was – you guessed it – at the thrift store.  I found a large old frame with an ugly old fishing picture in it.  (My apologies to those of you who love these types of pictures.)  I took it home, and of course it ended up in my basement for a while.  Well, recently I pried the painting out of it, painted it blue, and took it to my local glass shop to have them put a mirror in it for me.  And so, for less than $60, I now have a classy long mirror in my guest room/office.

Here is what the picture looks like that recently inhabited an old brown picture frame:

img_4637-large1

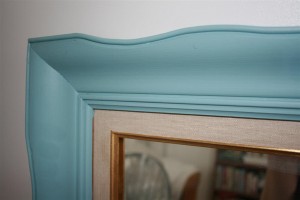
Here is what the rehabilitated frame looks like now that it’s blue:

img_4638-large

Not too shabby!  Here is the final product:

img_4636-large2

I’ll probably end up hanging it on the wall a few inches above the ground, but for now this works!

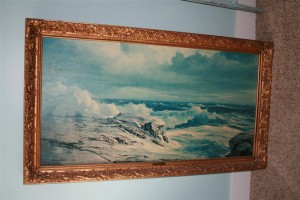
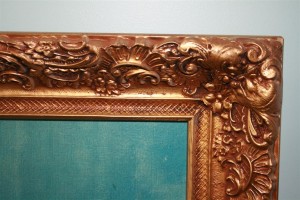
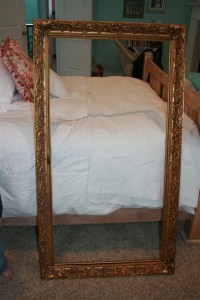
I then decided to do the same thing with a rather ornate frame I had.  I picked this painting up at an antiques shop for a song, and for a while we hung it over our bed.  Eventually I took it down, and thought about painting the frame.  But it’s a pretty cool frame as it is, even though I don’t usually like gold.

img_4580-large

img_4581-large

So here is a step by step example of how to get a big old frame ready for a mirror:

First, if there is a wire across the back of it for hanging, remove the screws and take it off.

img_4583-large

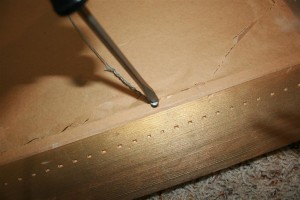
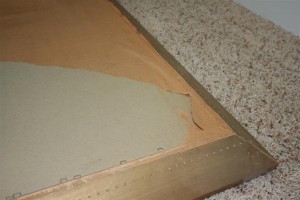
Next, remove the paper that covers the back of the painting.

img_4584-large

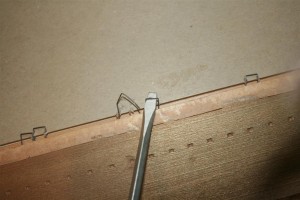
This should reveal the nails, or staples that were used originally to hold the painting in.  Using a tool, remove these staples.  I just pried them out using a flathead screwdriver.

img_4586-large

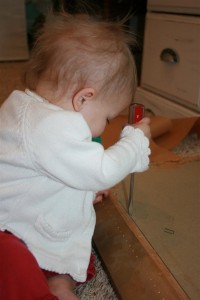
If you’re doing this on the floor like I was, and you have a toddler, you’ll probably have to let them take a turn.

img_4587-large2

When all the staples or nails are out, you should be able to lift the picture right out of the frame (if your toddler isn’t dancing on it).  Be sure you get all those old staples safely in the trash!  And pull off any remaining pieces of paper or anything sitting in the edges so your frame is nice and clean, ready for the men at the glass shop to do their stuff!  You should be left with a lovely frame!

img_4590-large2

I used to wonder at people who thought old empty frames were art on their own.  But I’ve slowly changed my mind over the past year or two.  I’ve ended up with a few really cool old frames, and I like them for what they are.  I’ve used some to frame things, but I do have a few empty frames around my house, just being themselves.  I like to look at them.  I left this frame as it was, but if you wanted to change yours, now is when you would paint it.  Then load it up and take it to your local glass shop.  They should be able to cut, fit, and insert a mirror into your frame.

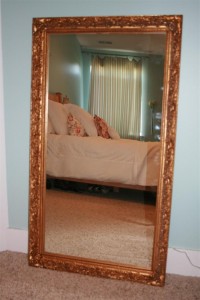
The following day, this is what was leaning against my bedroom wall:

img_4640-large2

I like it!  And I also like the price tag!  The mirror was less than $50.  I also like the experience of looking around my house and finding new ways to use and appreciate things.  It feels good to create something new from materials you have on hand.

So look around!  Have you got a mirror in your future?

1 6 7 8 9